FableVision Learning Spotlight Blog
Categories
- Animation-ish 42
- Books 21
- Civics! 2
- Classroom Spotlight 17
- Conferences and Events 20
- Creative Educator 3
- Creativity 25
- Distance Learning 13
- Dot Day 22
- FabClassroom 28
- FabFriday 19
- FabMaker Studio 66
- FabMaker Studio Classroom 13
- FableFive 7
- FableVision Games 3
- Free Educator Resources 36
- HUTCH 1
- Home Activities 5
- In the Classroom 34
- In the News 11
- International Dot Day 23
- Ish 1
- Library 1
- Mapping the World by Heart 7
- Paul Reynolds 10
- Peter H. Reynolds 54
- Professional Development 9
- STEM/STEAM 20
- Storybook Academy 2
- Teacher Spotlight 14
- The Dot 17
- The North Star 2
- Words and Their Stories 1
- Zoombinis 3

FabMaker Mystery Monsters: Math Shapes & Cool Tools for Imagineering
The following blog post is by Peggy Healy Stearns, Lead Software Designer, FabMaker Studio.
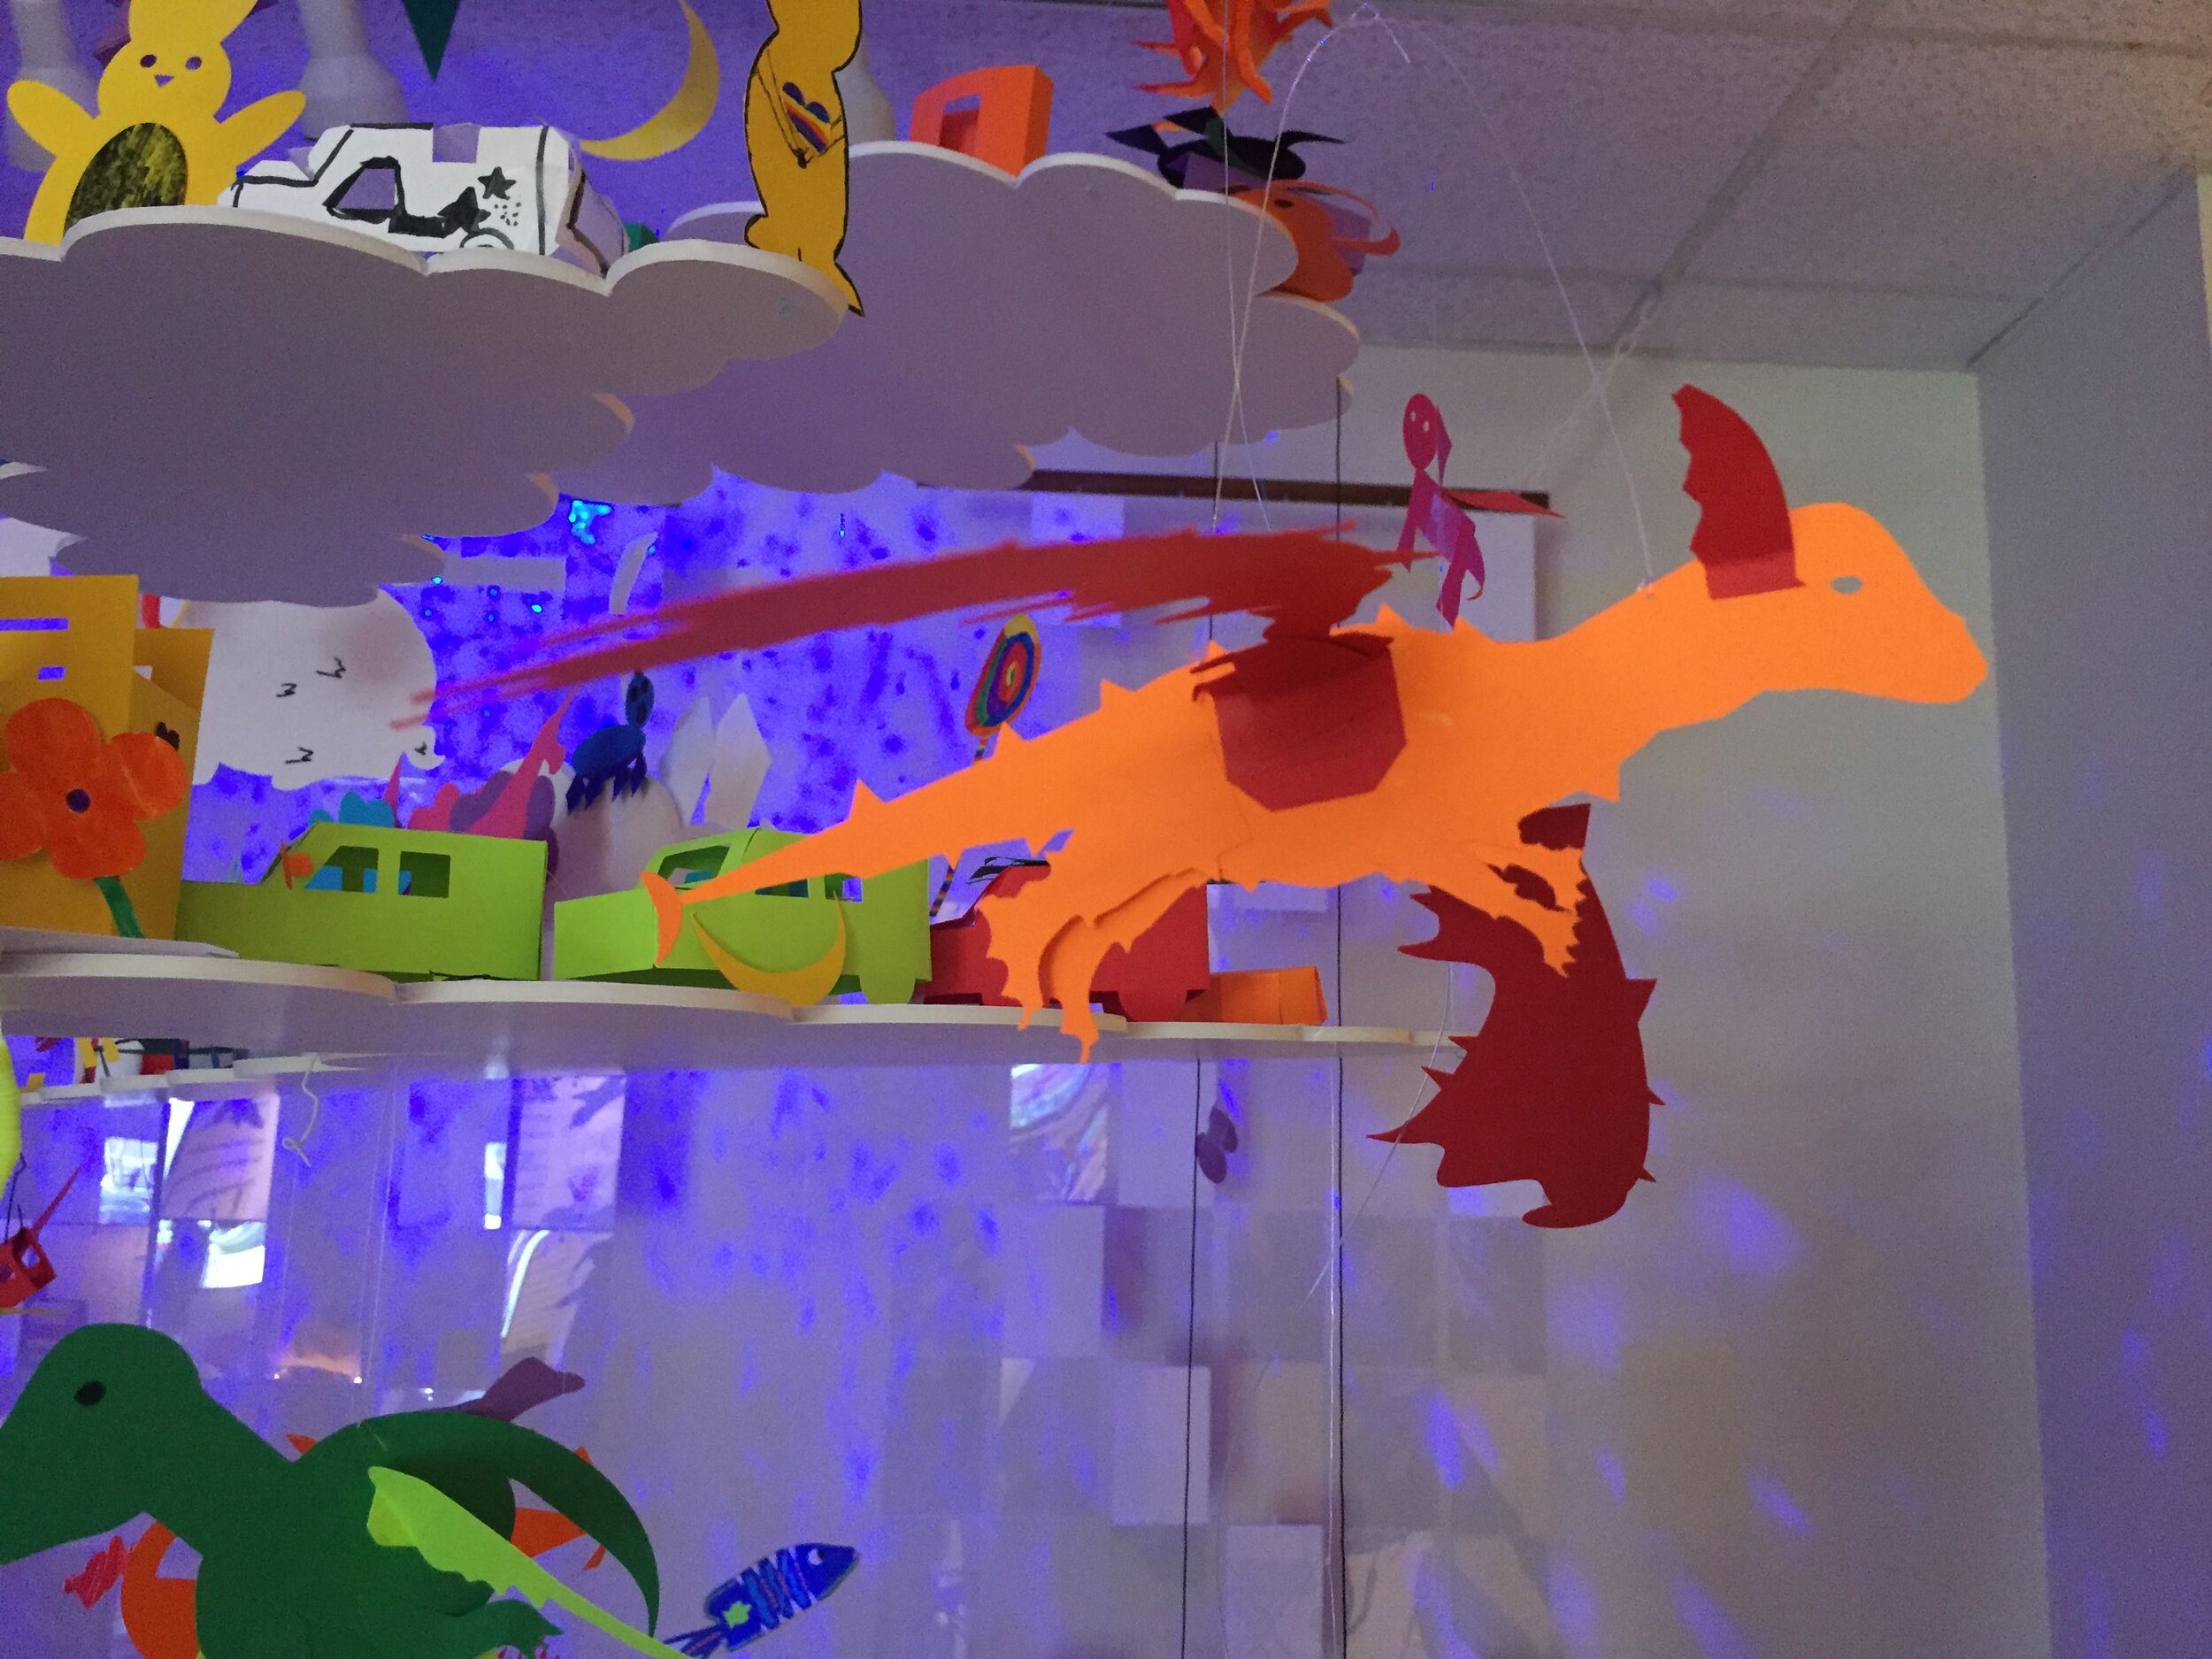
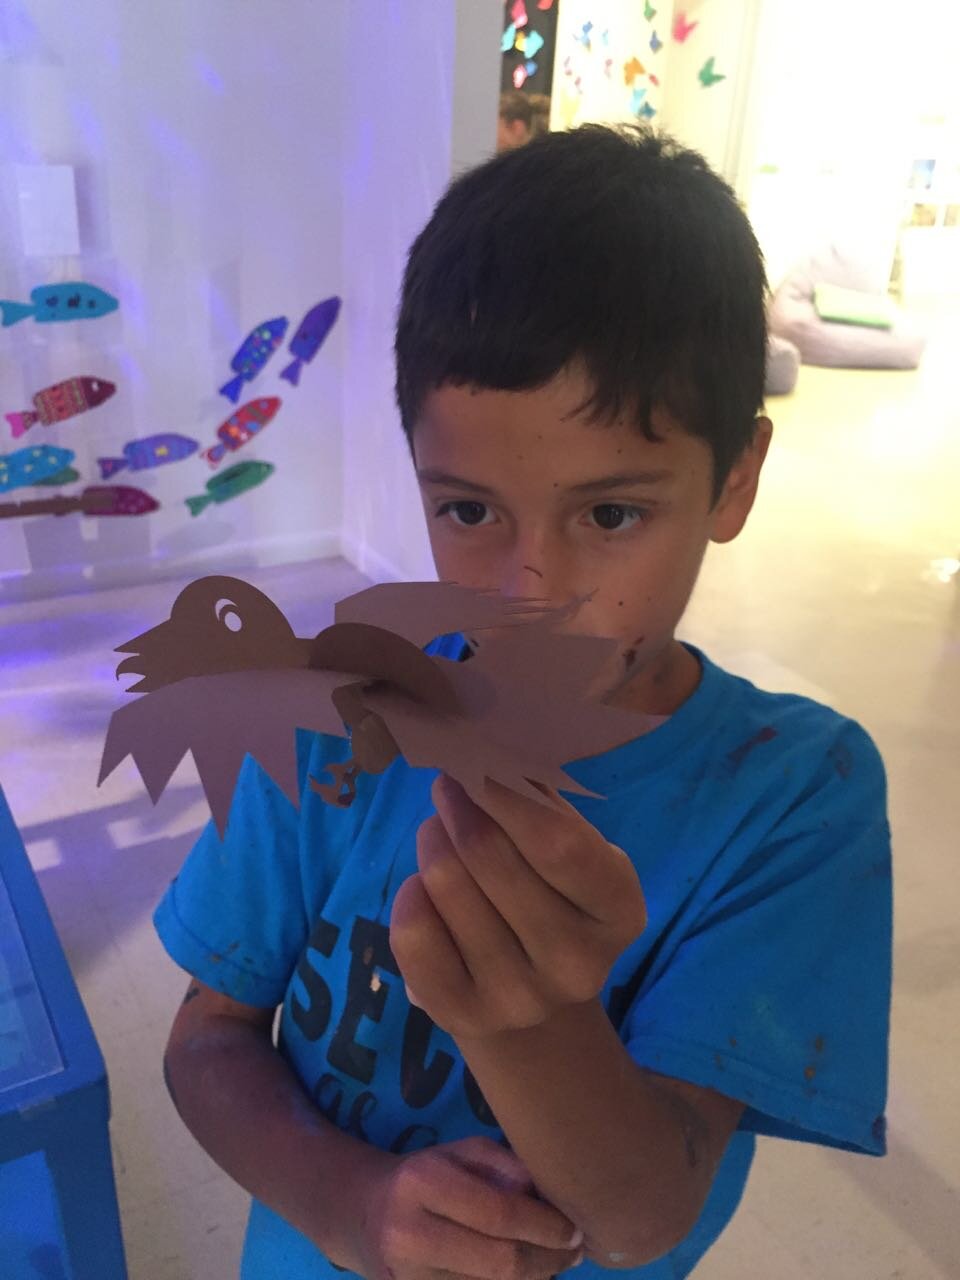
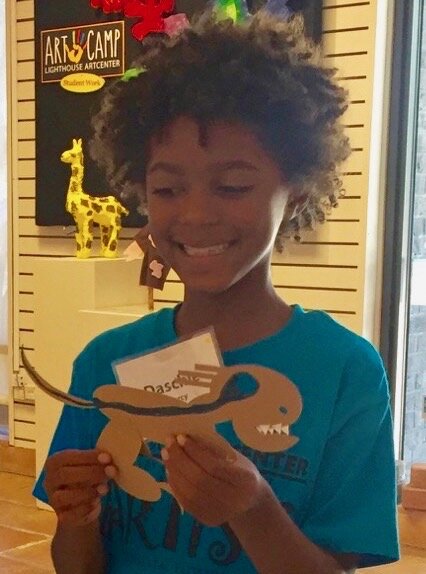
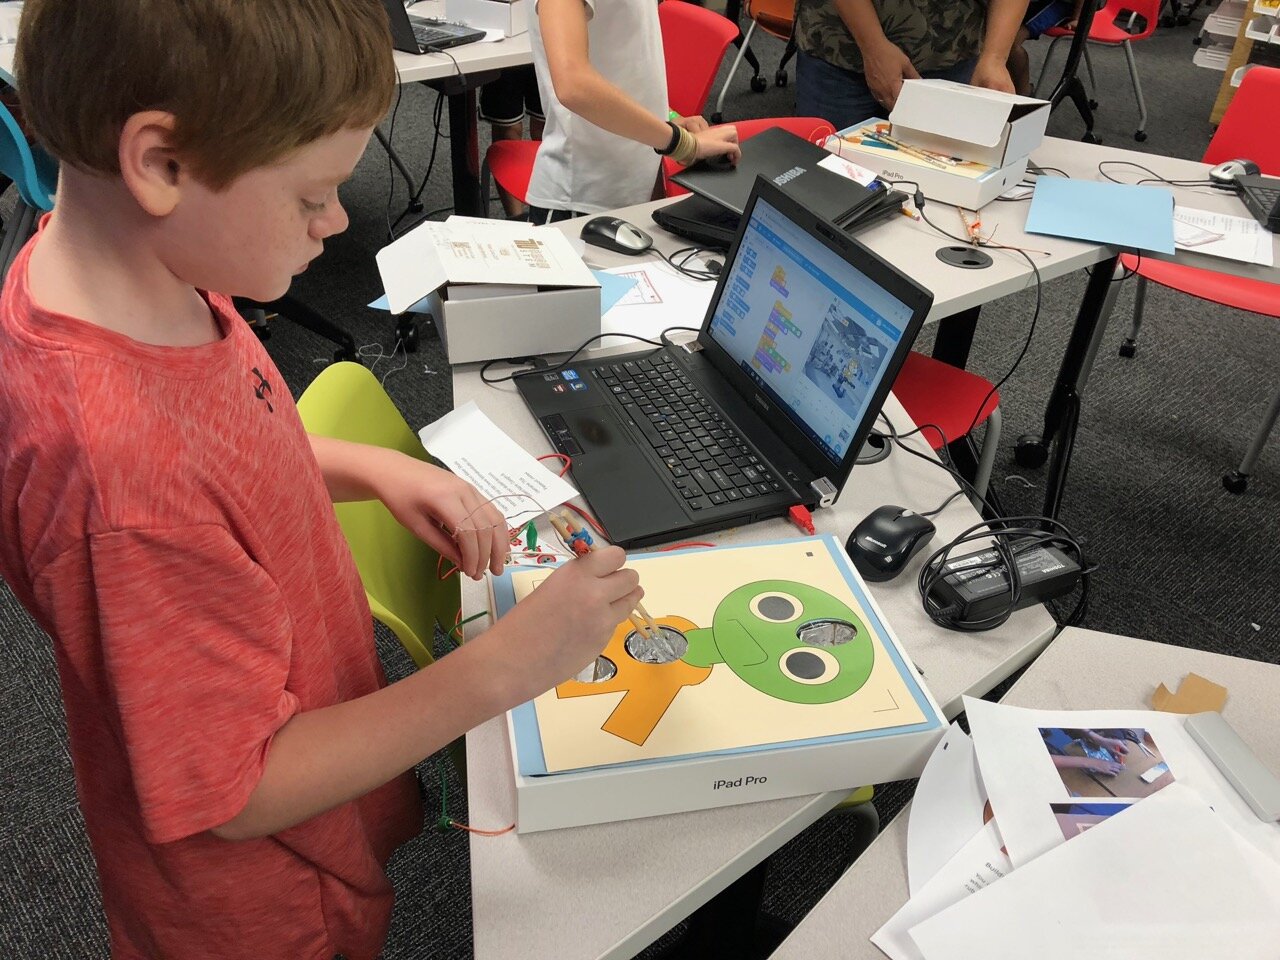
Create a 3D “Mystery Monster” with FabMaker Studio! Identify and combine shapes, weld shapes, and morph shapes. Add 3D wings, legs, ears and other body parts!
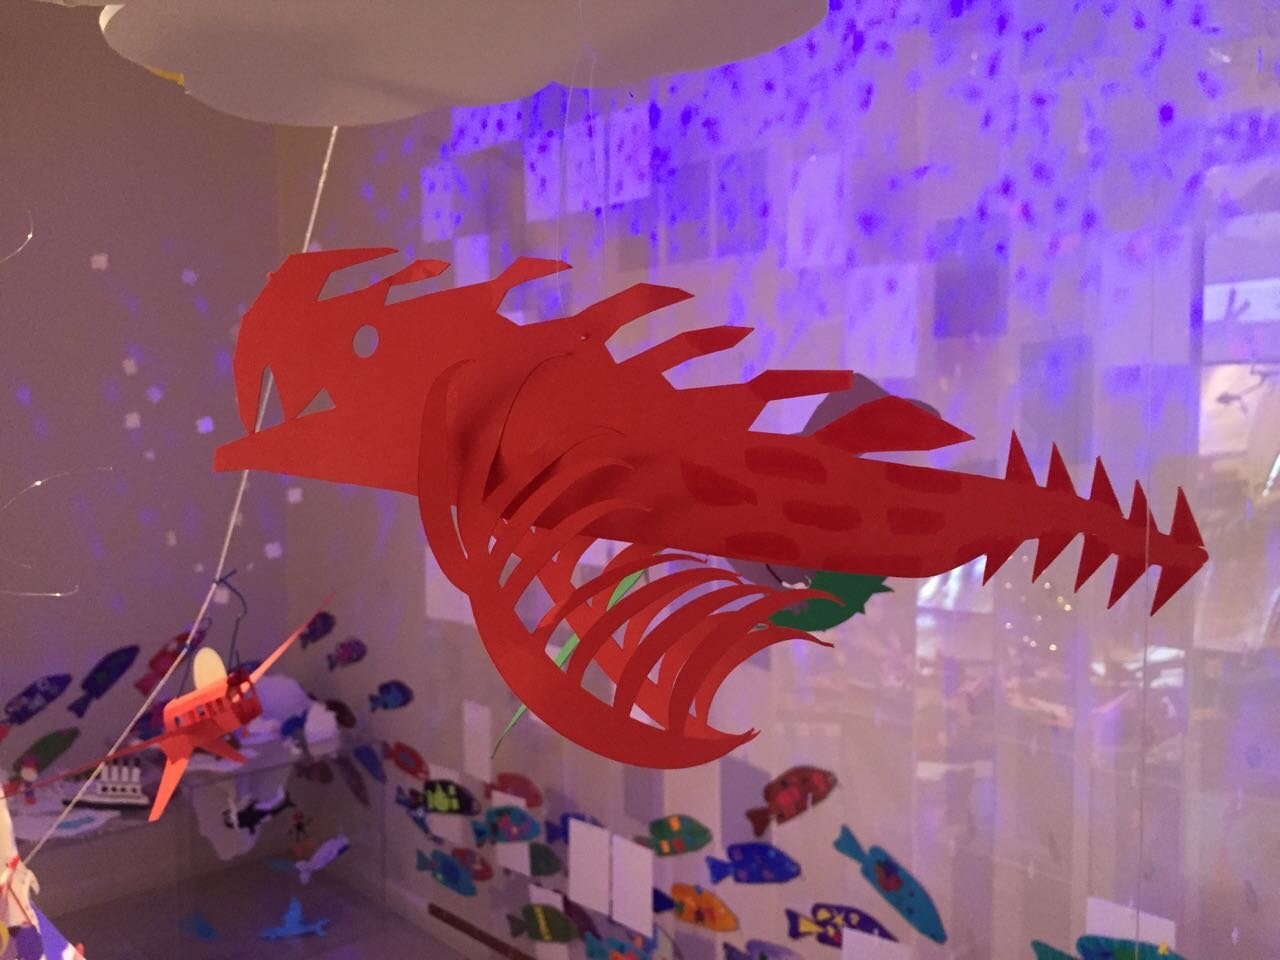
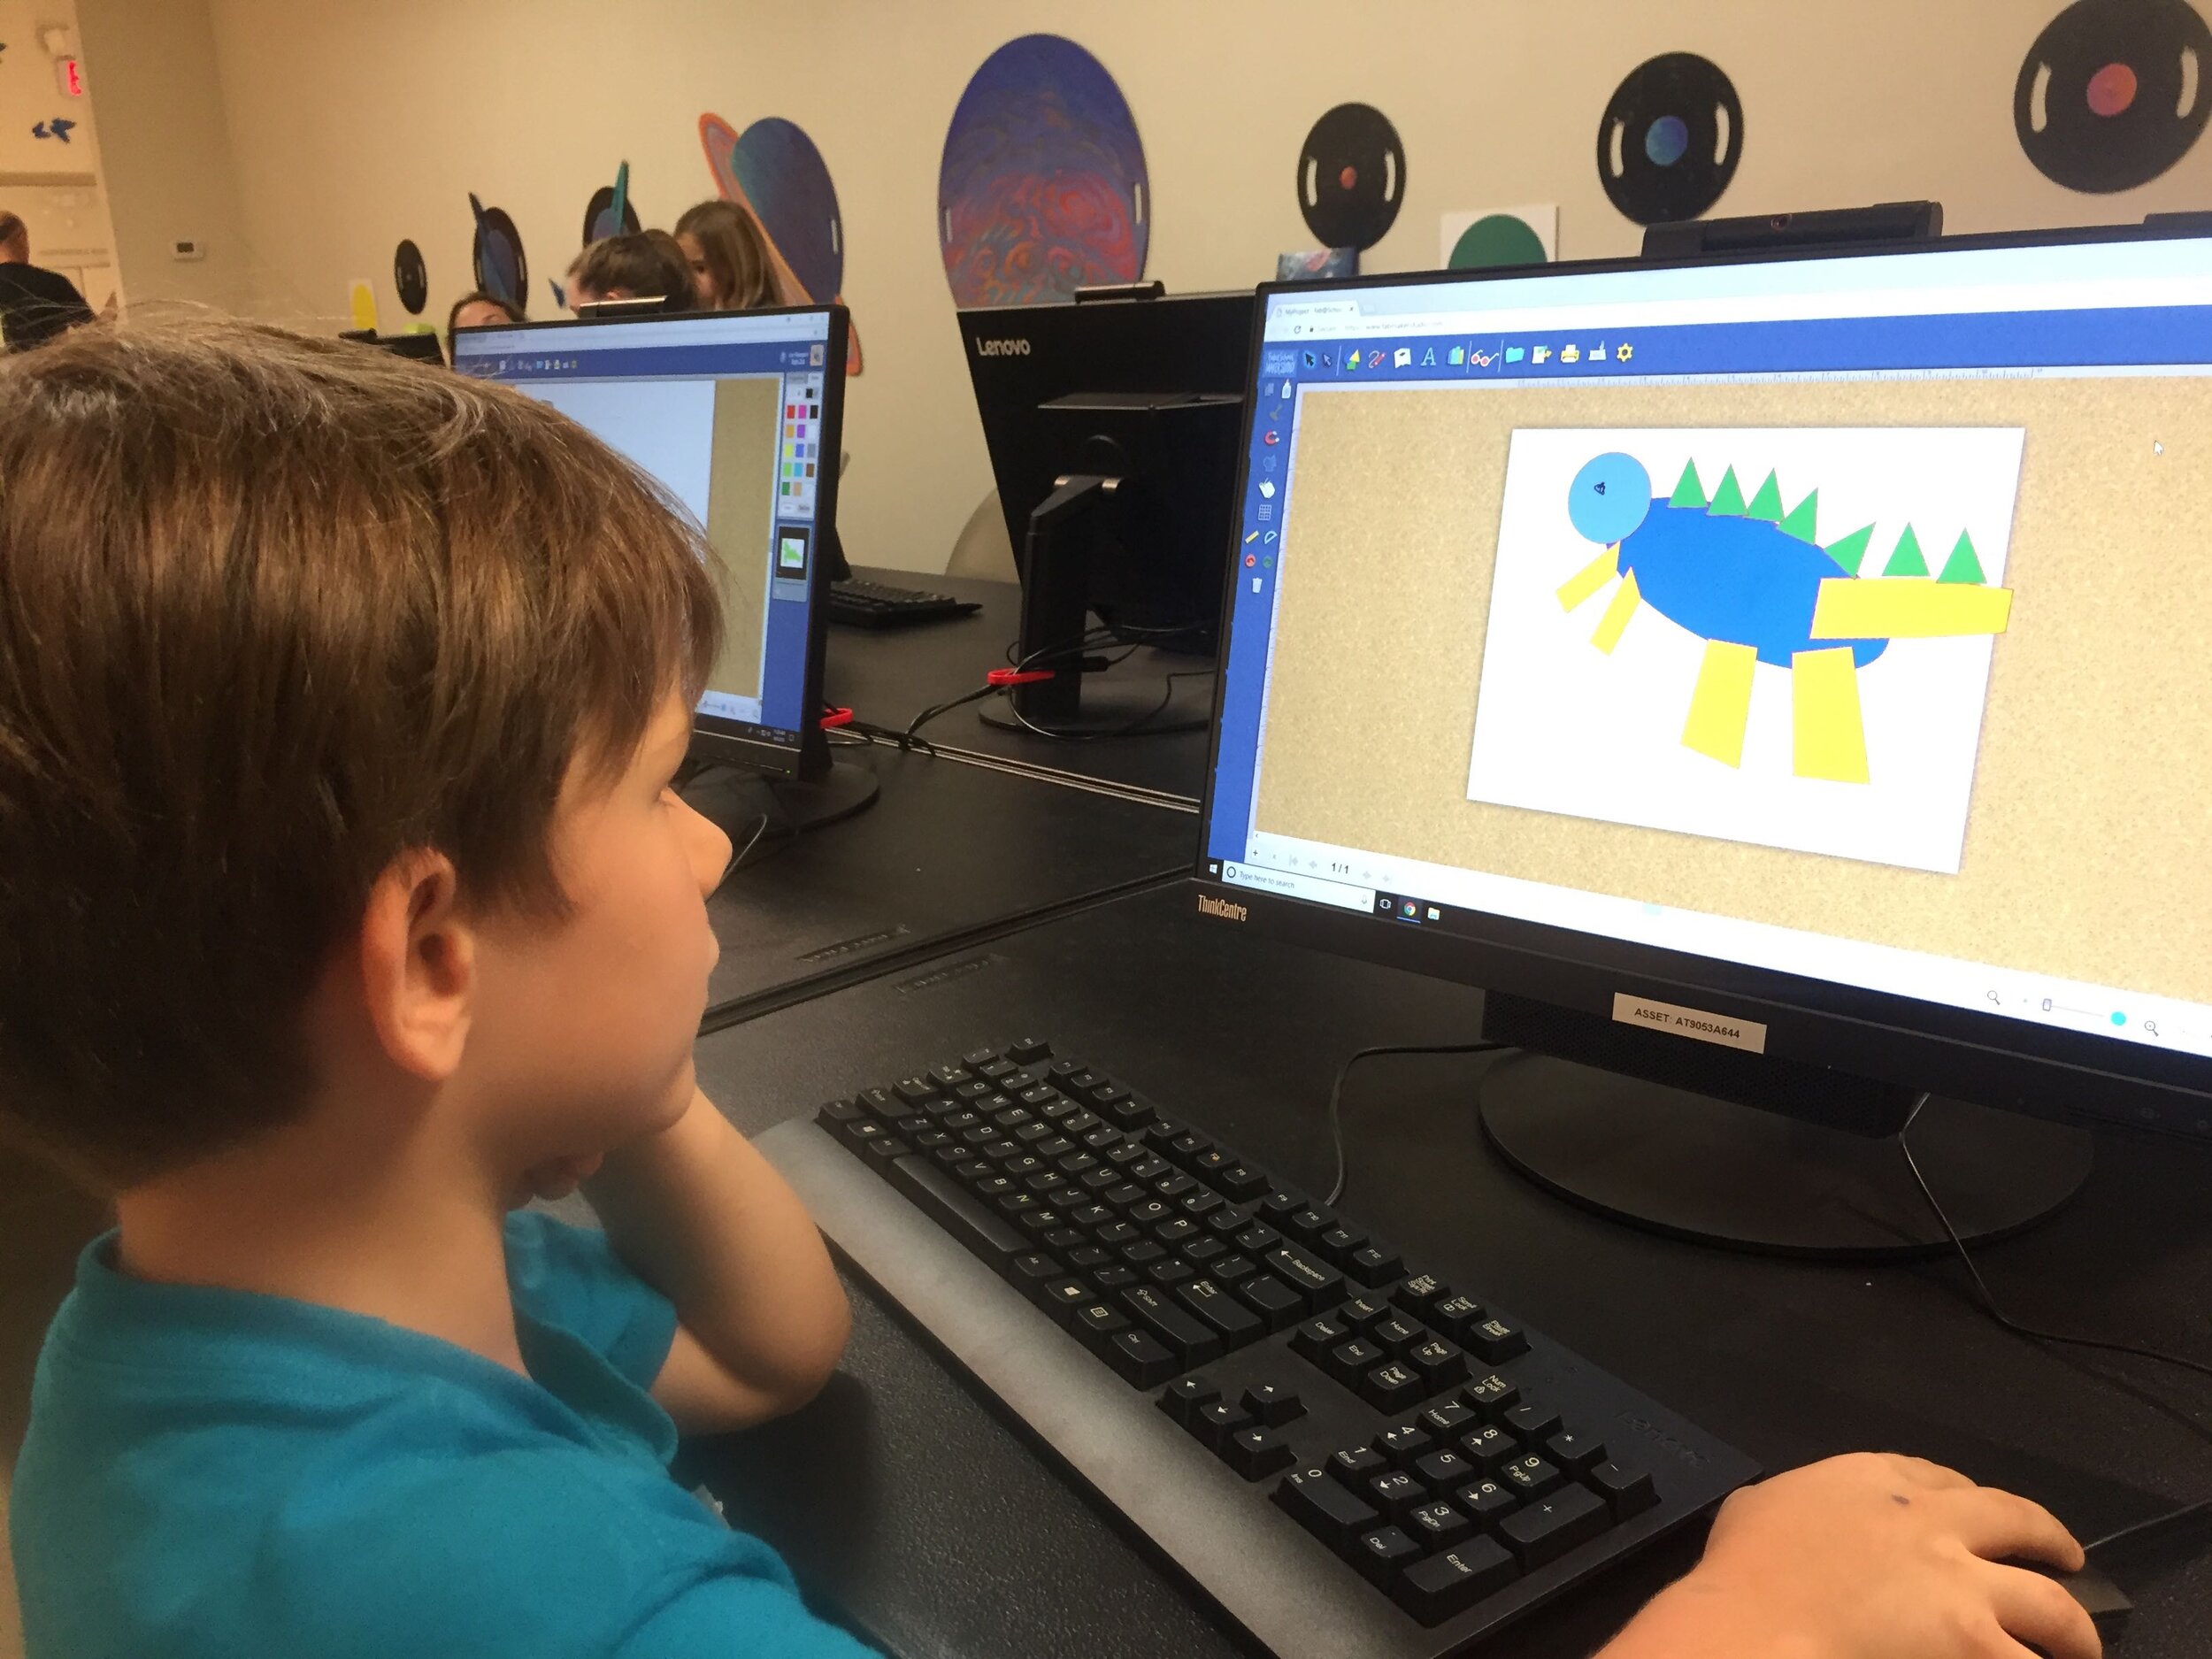
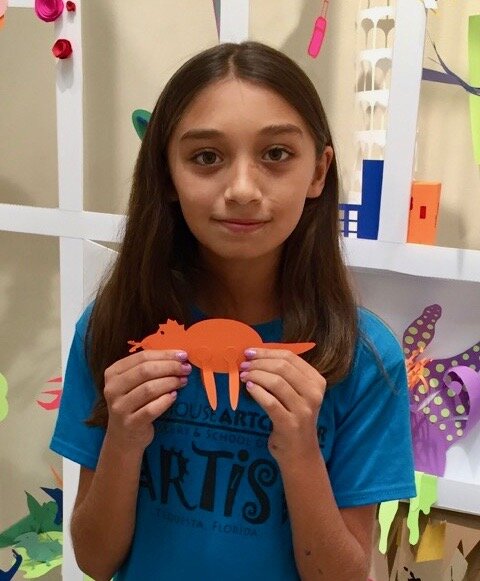
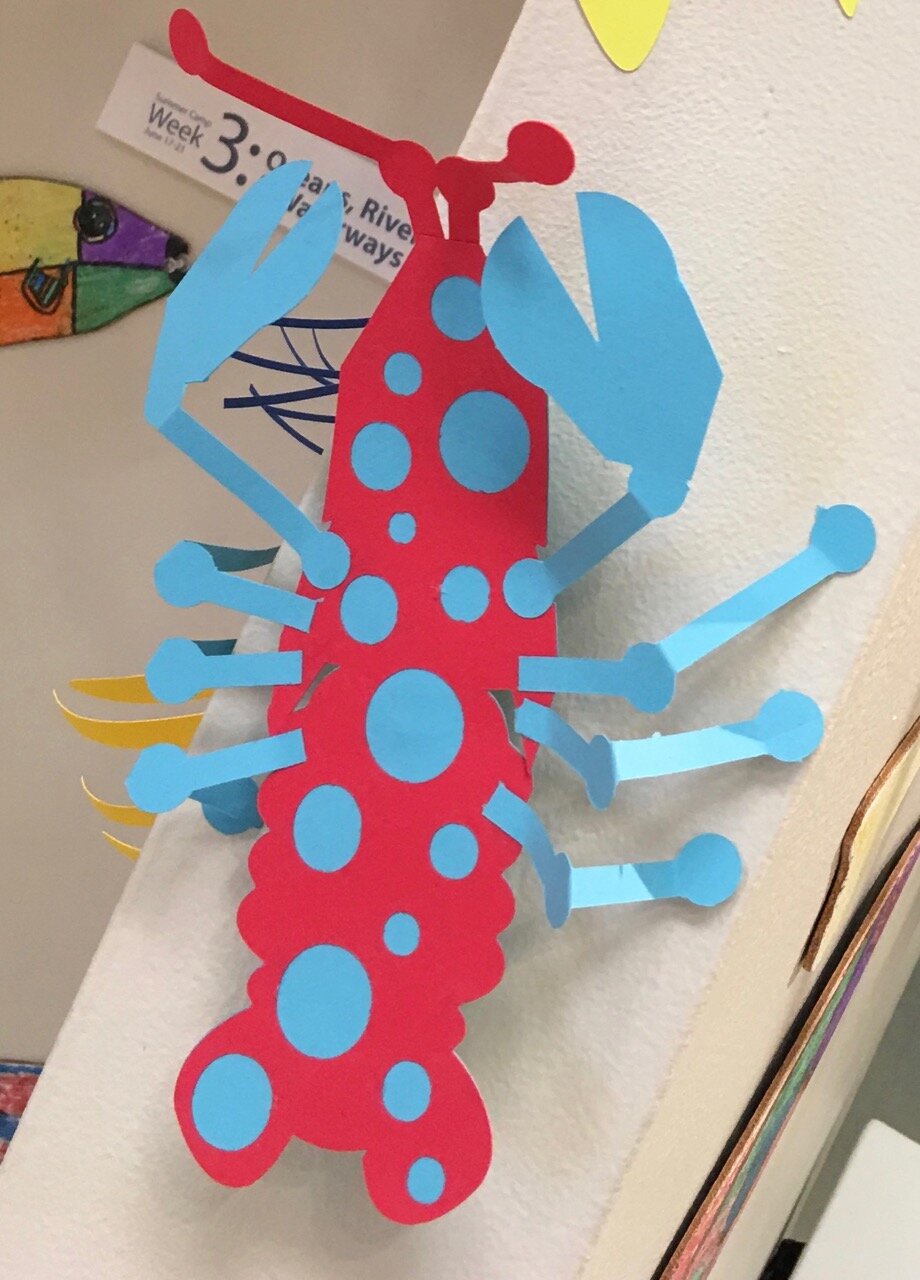
Designing “Mystery Monsters” is a motivating way to address foundational math standards and inspire meaningful writing prompts. In the process, students learn easy but powerful digital design tools they can use for years to come. This project can be simple or sophisticated. Follow the steps that work best for your makers and then print, cut and construct.
Make Your Monster
Watch this short video then follow the steps below.
Step 1: New Project Click here to go to FabMaker Studio. Sign in and go to New Project and click OK.
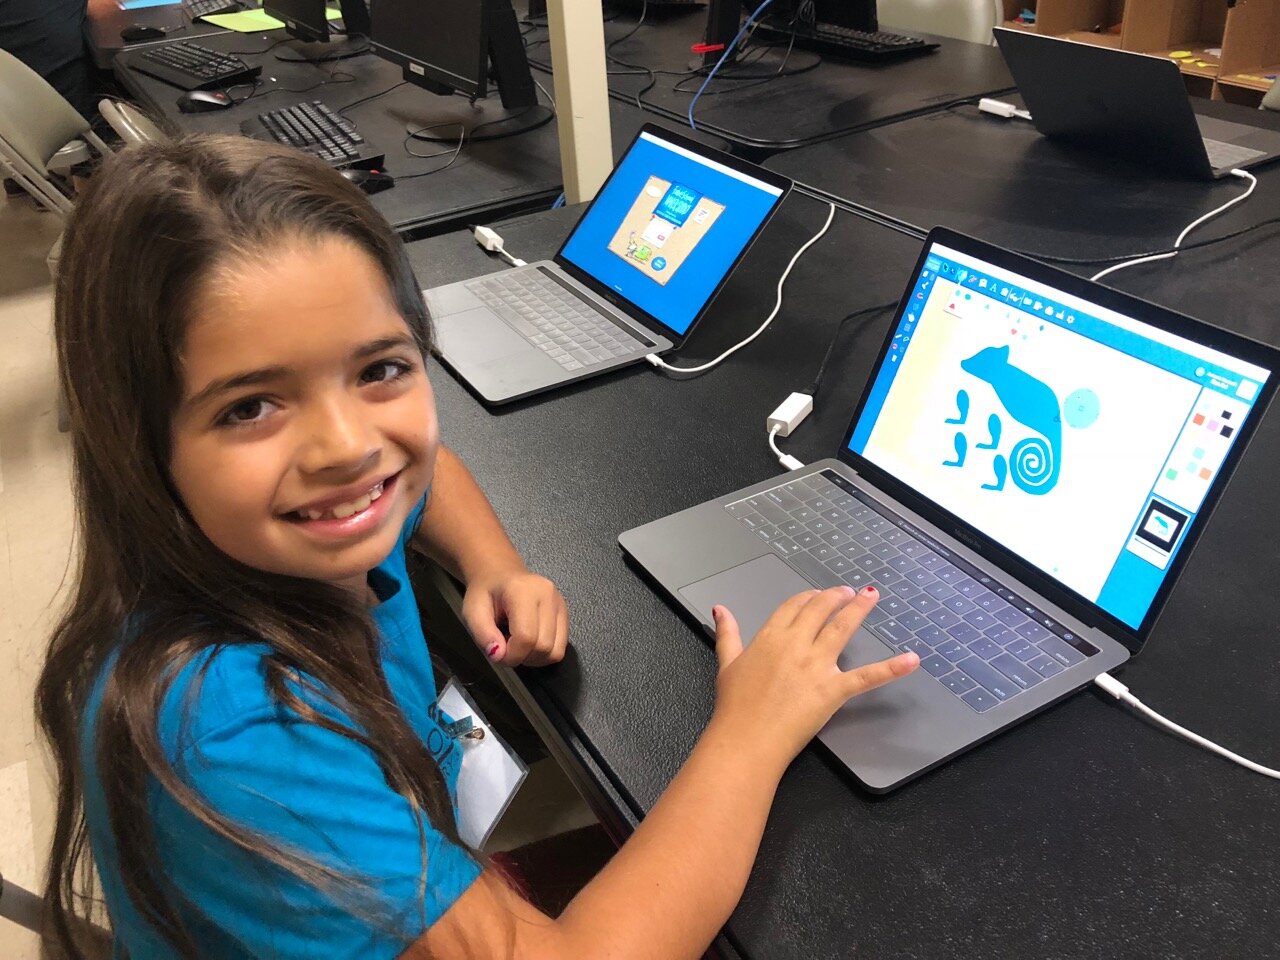
Step 2: Choose Shapes Open the Shapes tool at the top. Drag shapes onto the screen and arrange them to make your basic monster. To resize a shape, select it and drag handles.

Step 3: Weld Shapes Make sure your shapes touch or overlap. Then place your cursor and drag around all the shapes to select them. Choose the Weld button in the left toolbar to weld your shapes.

Tip: Be sure to drag far enough outside the shapes to select them all before welding.
Step 4: Rearrange If you want to rearrange your monster parts, you can Unweld. Select your monster and click the Weld button. This time, since your monster is already welded, it unwelds. Rearrange the shapes and then drag around to select them all and Weld again.
Tip: Make a mistake? Use the red Undo and green Redo buttons on the left above the Trash can.
Step 5: Save Go to the File button on the top toolbar and choose Save. Select “My Online Files” (or another location if desired), give your file a name, and click Save.

Tip: If you save your FabMaker Studio file to My Google Drive or My Computer, it can only be opened from within the FabMaker Studio software.
Morph Your Monster
Watch this video then follow the steps below.
Step 1: Turn on Edit points With your monster file open, choose the gray Edit Points cursor in the top left corner of your design. The edit points that anchor your design will appear.

Step 2: Drag Edit points Drag edit points to morph your mystery monster.
Step 3: Add new Edit points Click anywhere on the outline to add a new edit point, and then drag the new edit point to reshape. Edit points can be tricky -- sometimes it helps to zoom in. Play around. You can always Undo and Redo.

Step 4: Check your design Choose the standard cursor (black arrow) again to see your morphed monster.

Tip: If you Unweld after using Edit points, you’ll go back to your original shapes and lose all your morphing! Remember you can quickly Undo changes.
Step 5: Save Go to the File button on the top toolbar and choose Save or Save As.
Make Your Monster 3D
Watch this video then follow the steps below.
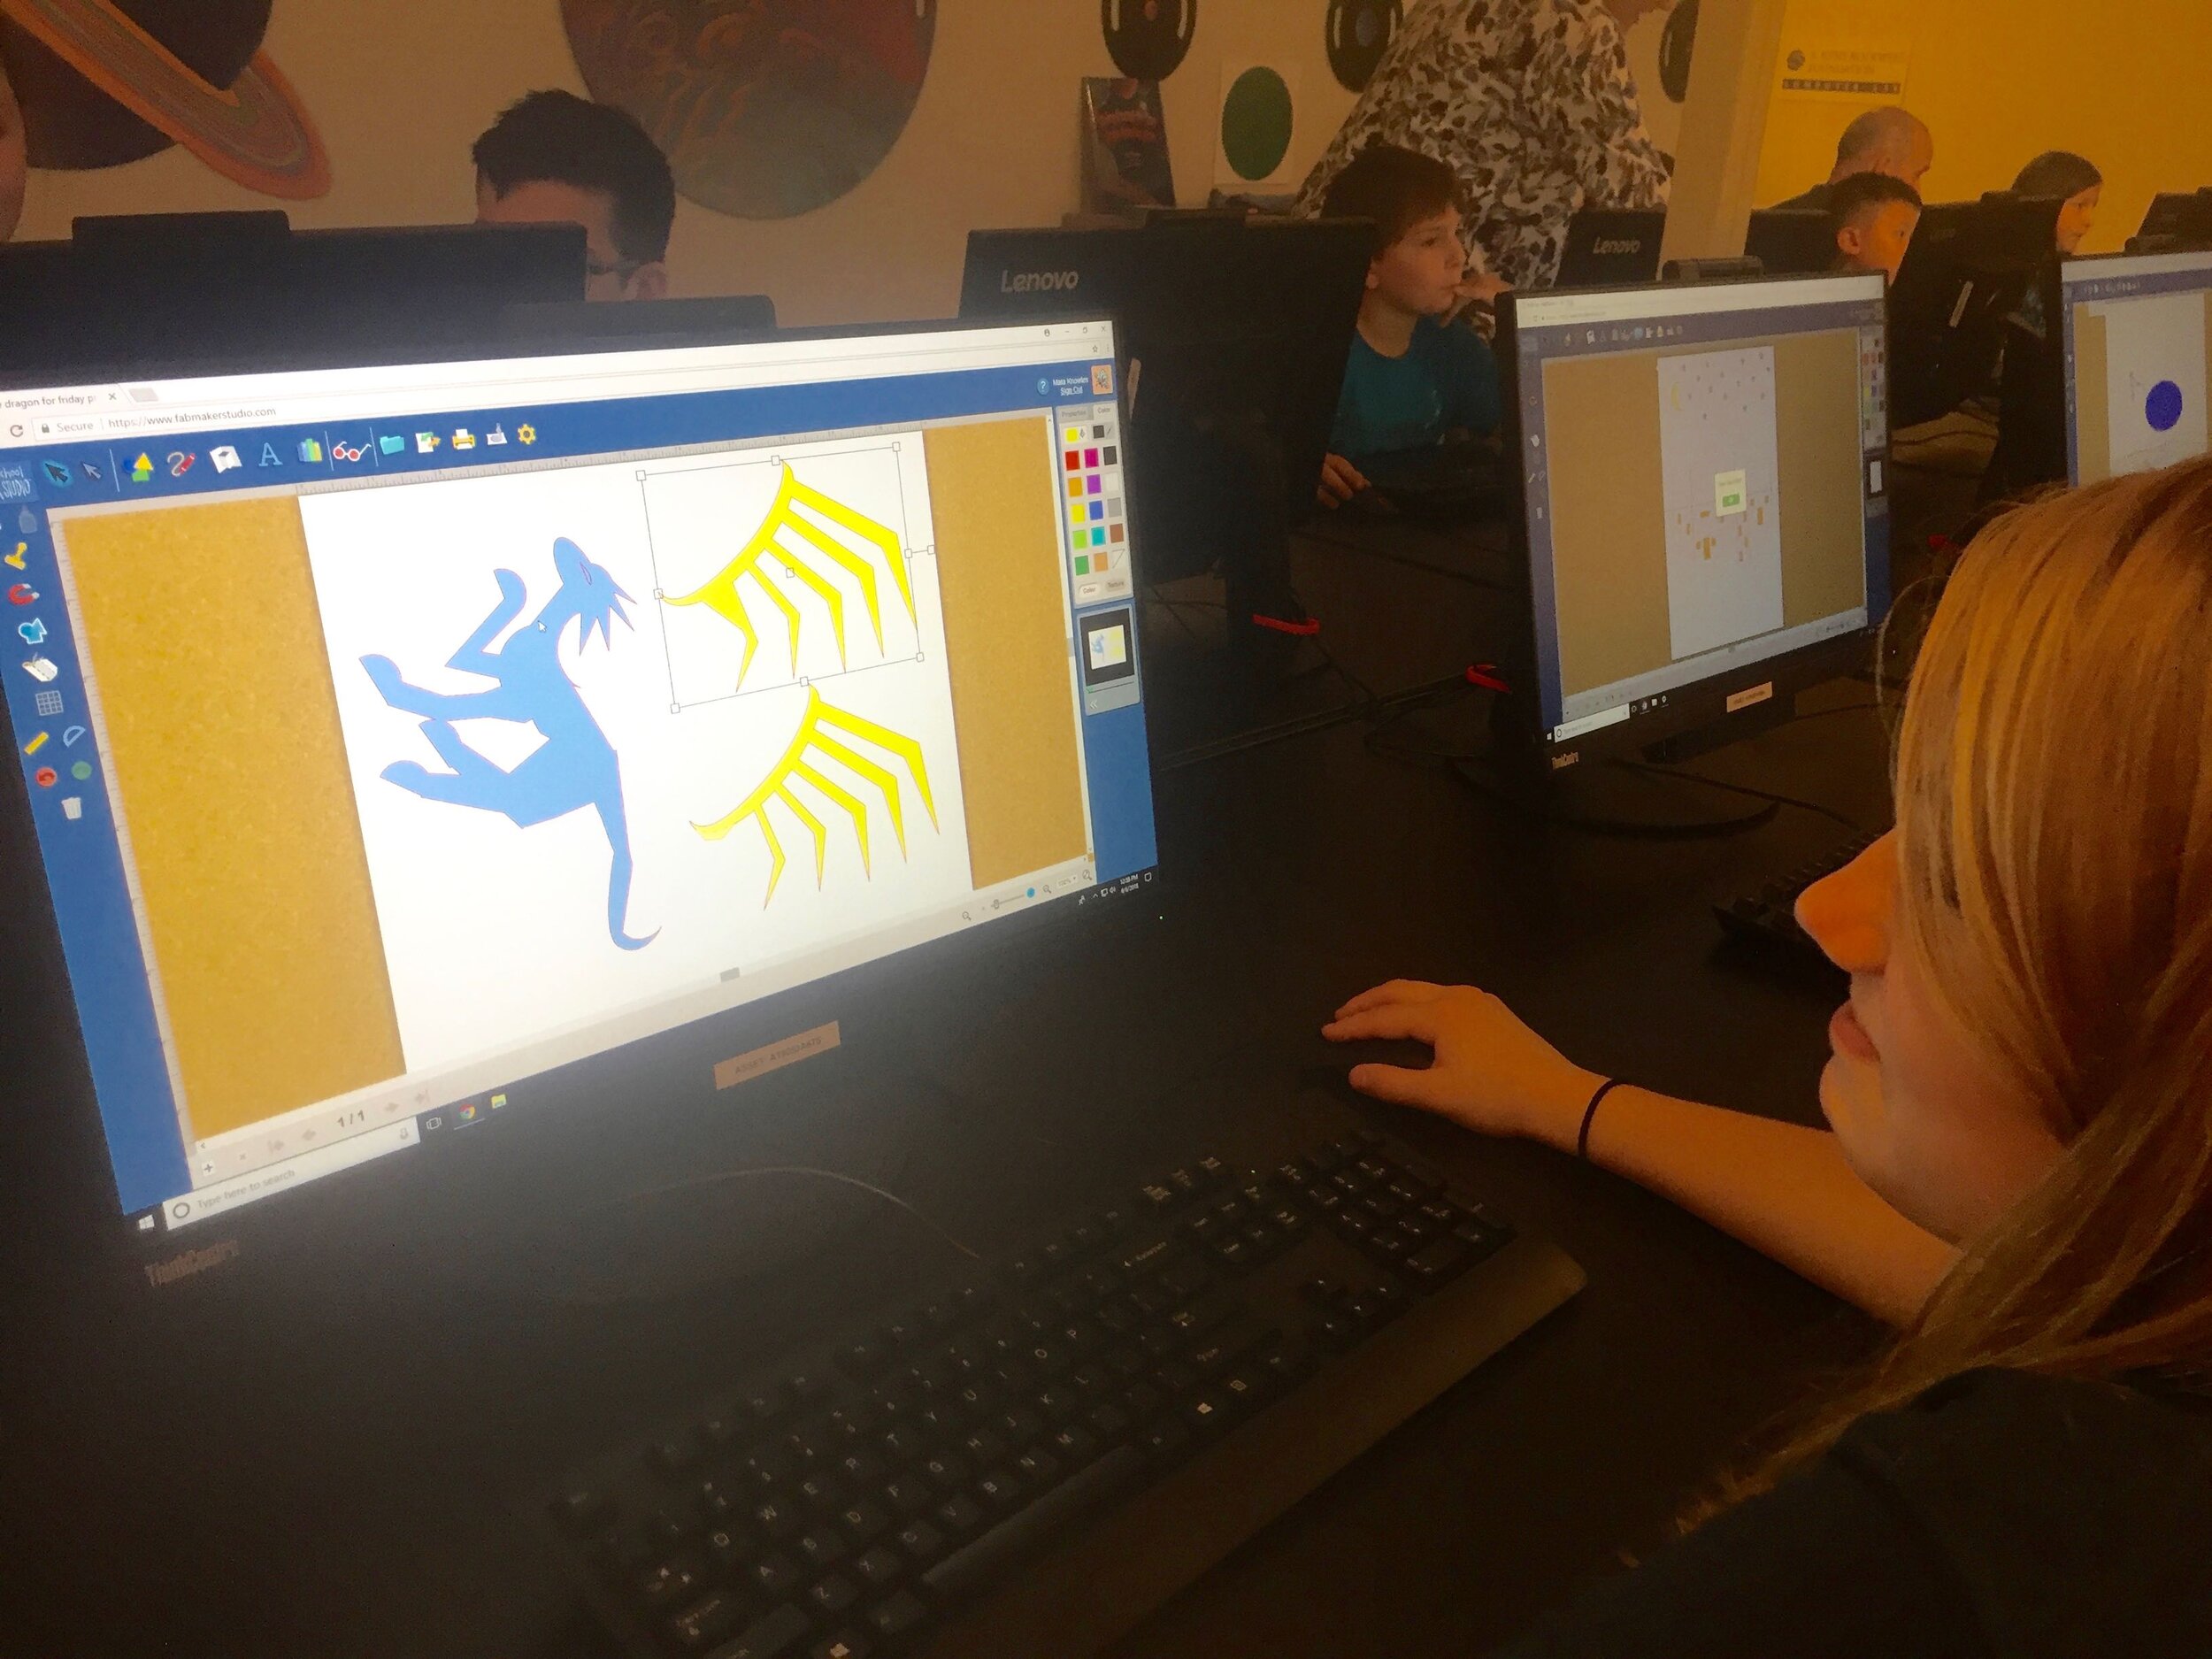
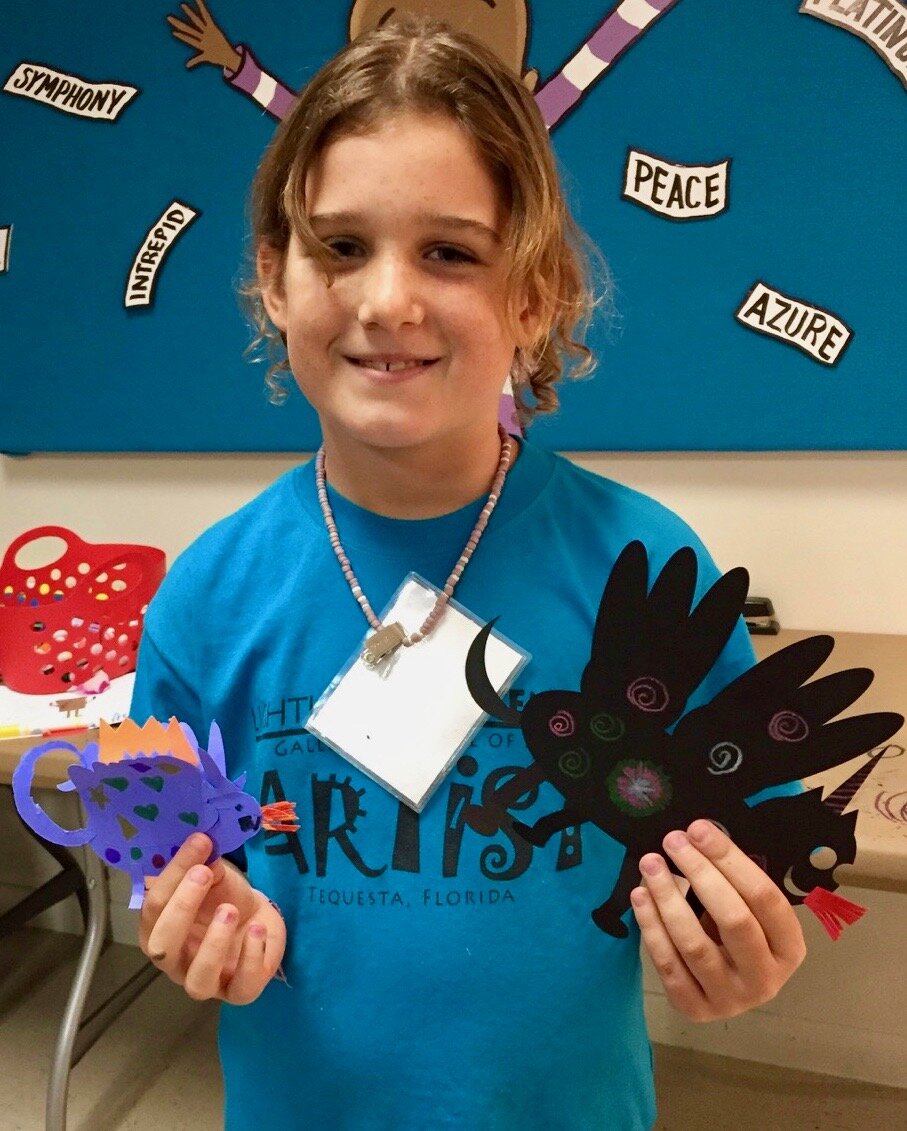
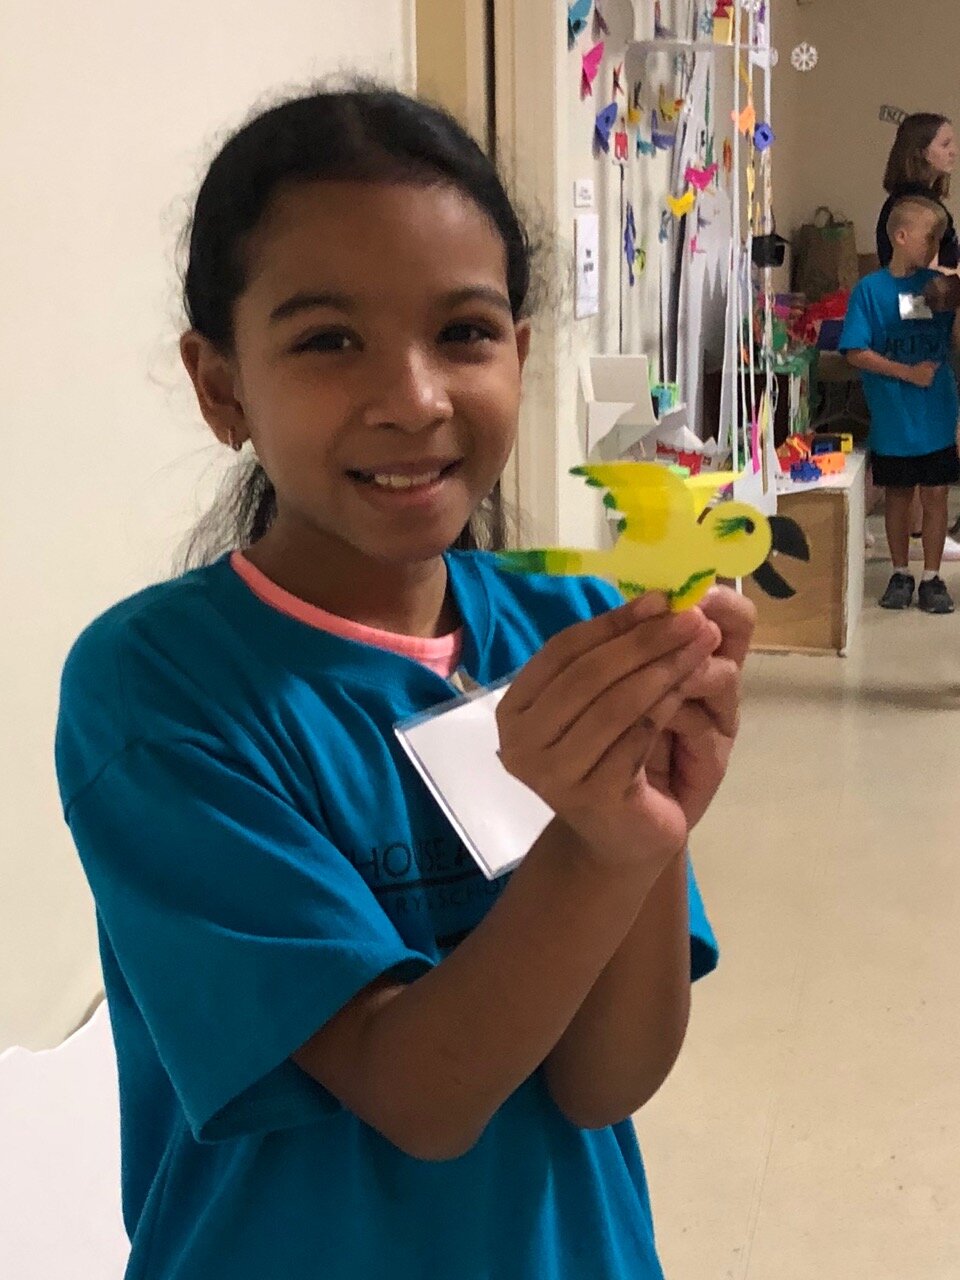
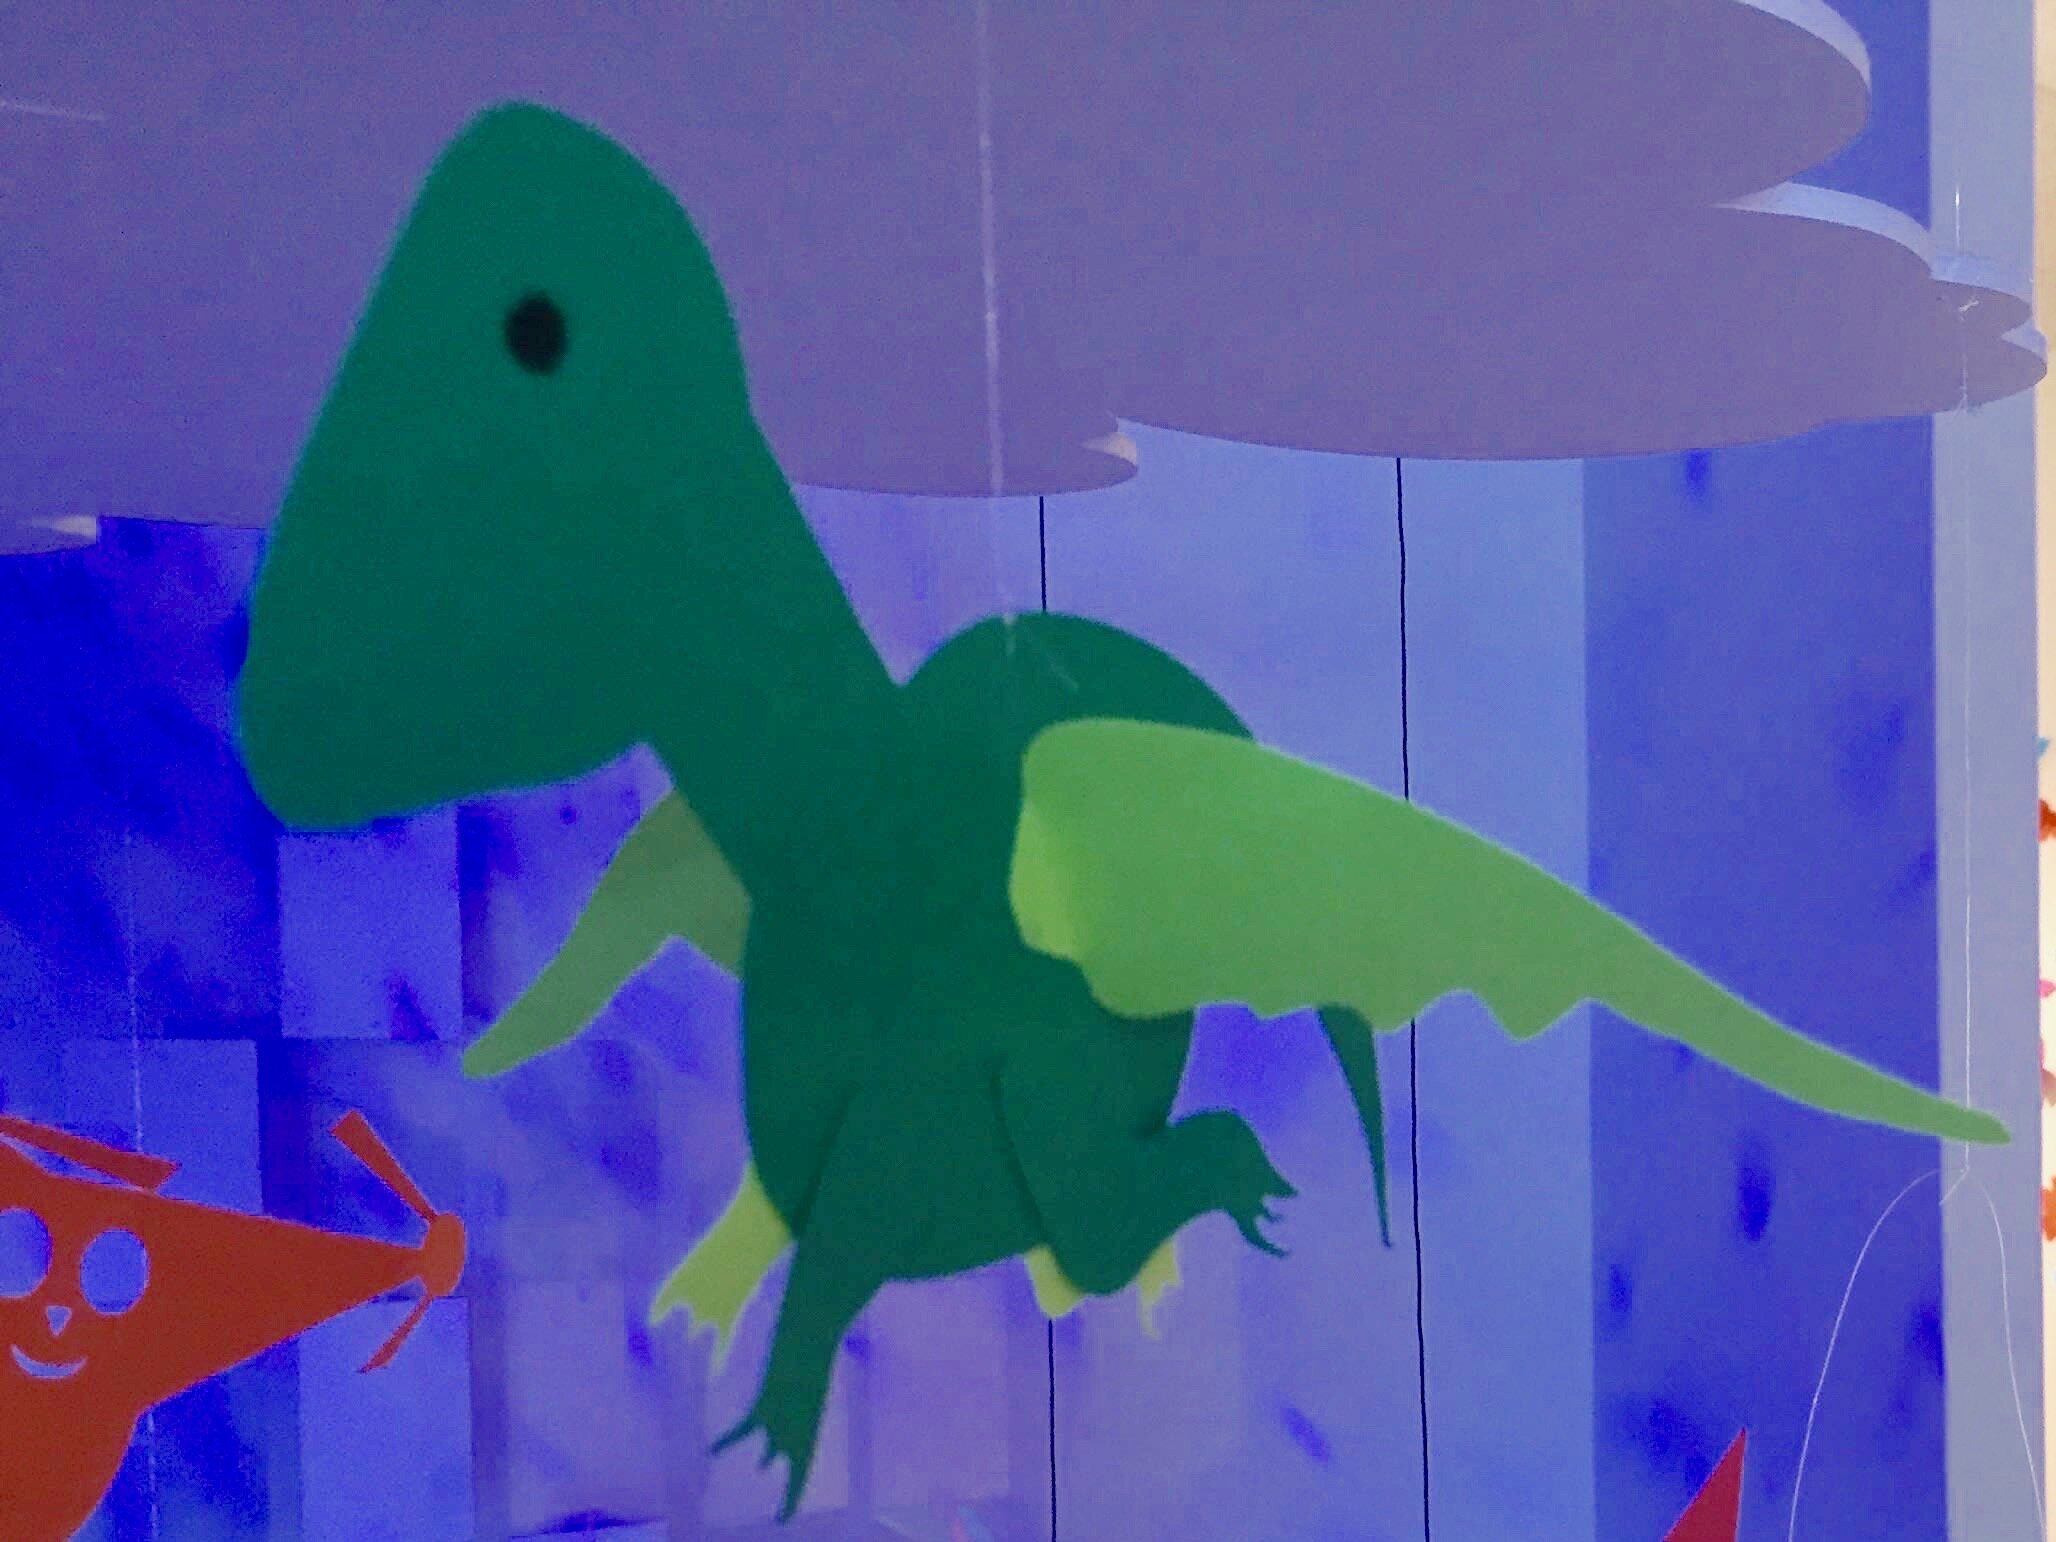
Step 1: Make a new body part Design wings, ears, legs, bigger tail or other parts to cut separately and attach to your monster. Check the photos for ideas. You can use the following tools.
A. Shapes Tool: Choose a shape and use the handles to resize and reshape it. If you want, combine two or more shapes, weld them, and the choose Edit Points to morph.
B. Lines Tool: Choose the Lines tool and then choose Straight Lines, Curved Lines, or Brush. To use Straight Lines or Curved Lines, click to place each point. Double-click to place the final point. To close a shape, place your final point at or near the beginning point. For more detail on the Lines tool, see the FabMaker Studio Lines tutorial.
Step 2: Save Go to the File button on the top toolbar and choose Save or Save As.
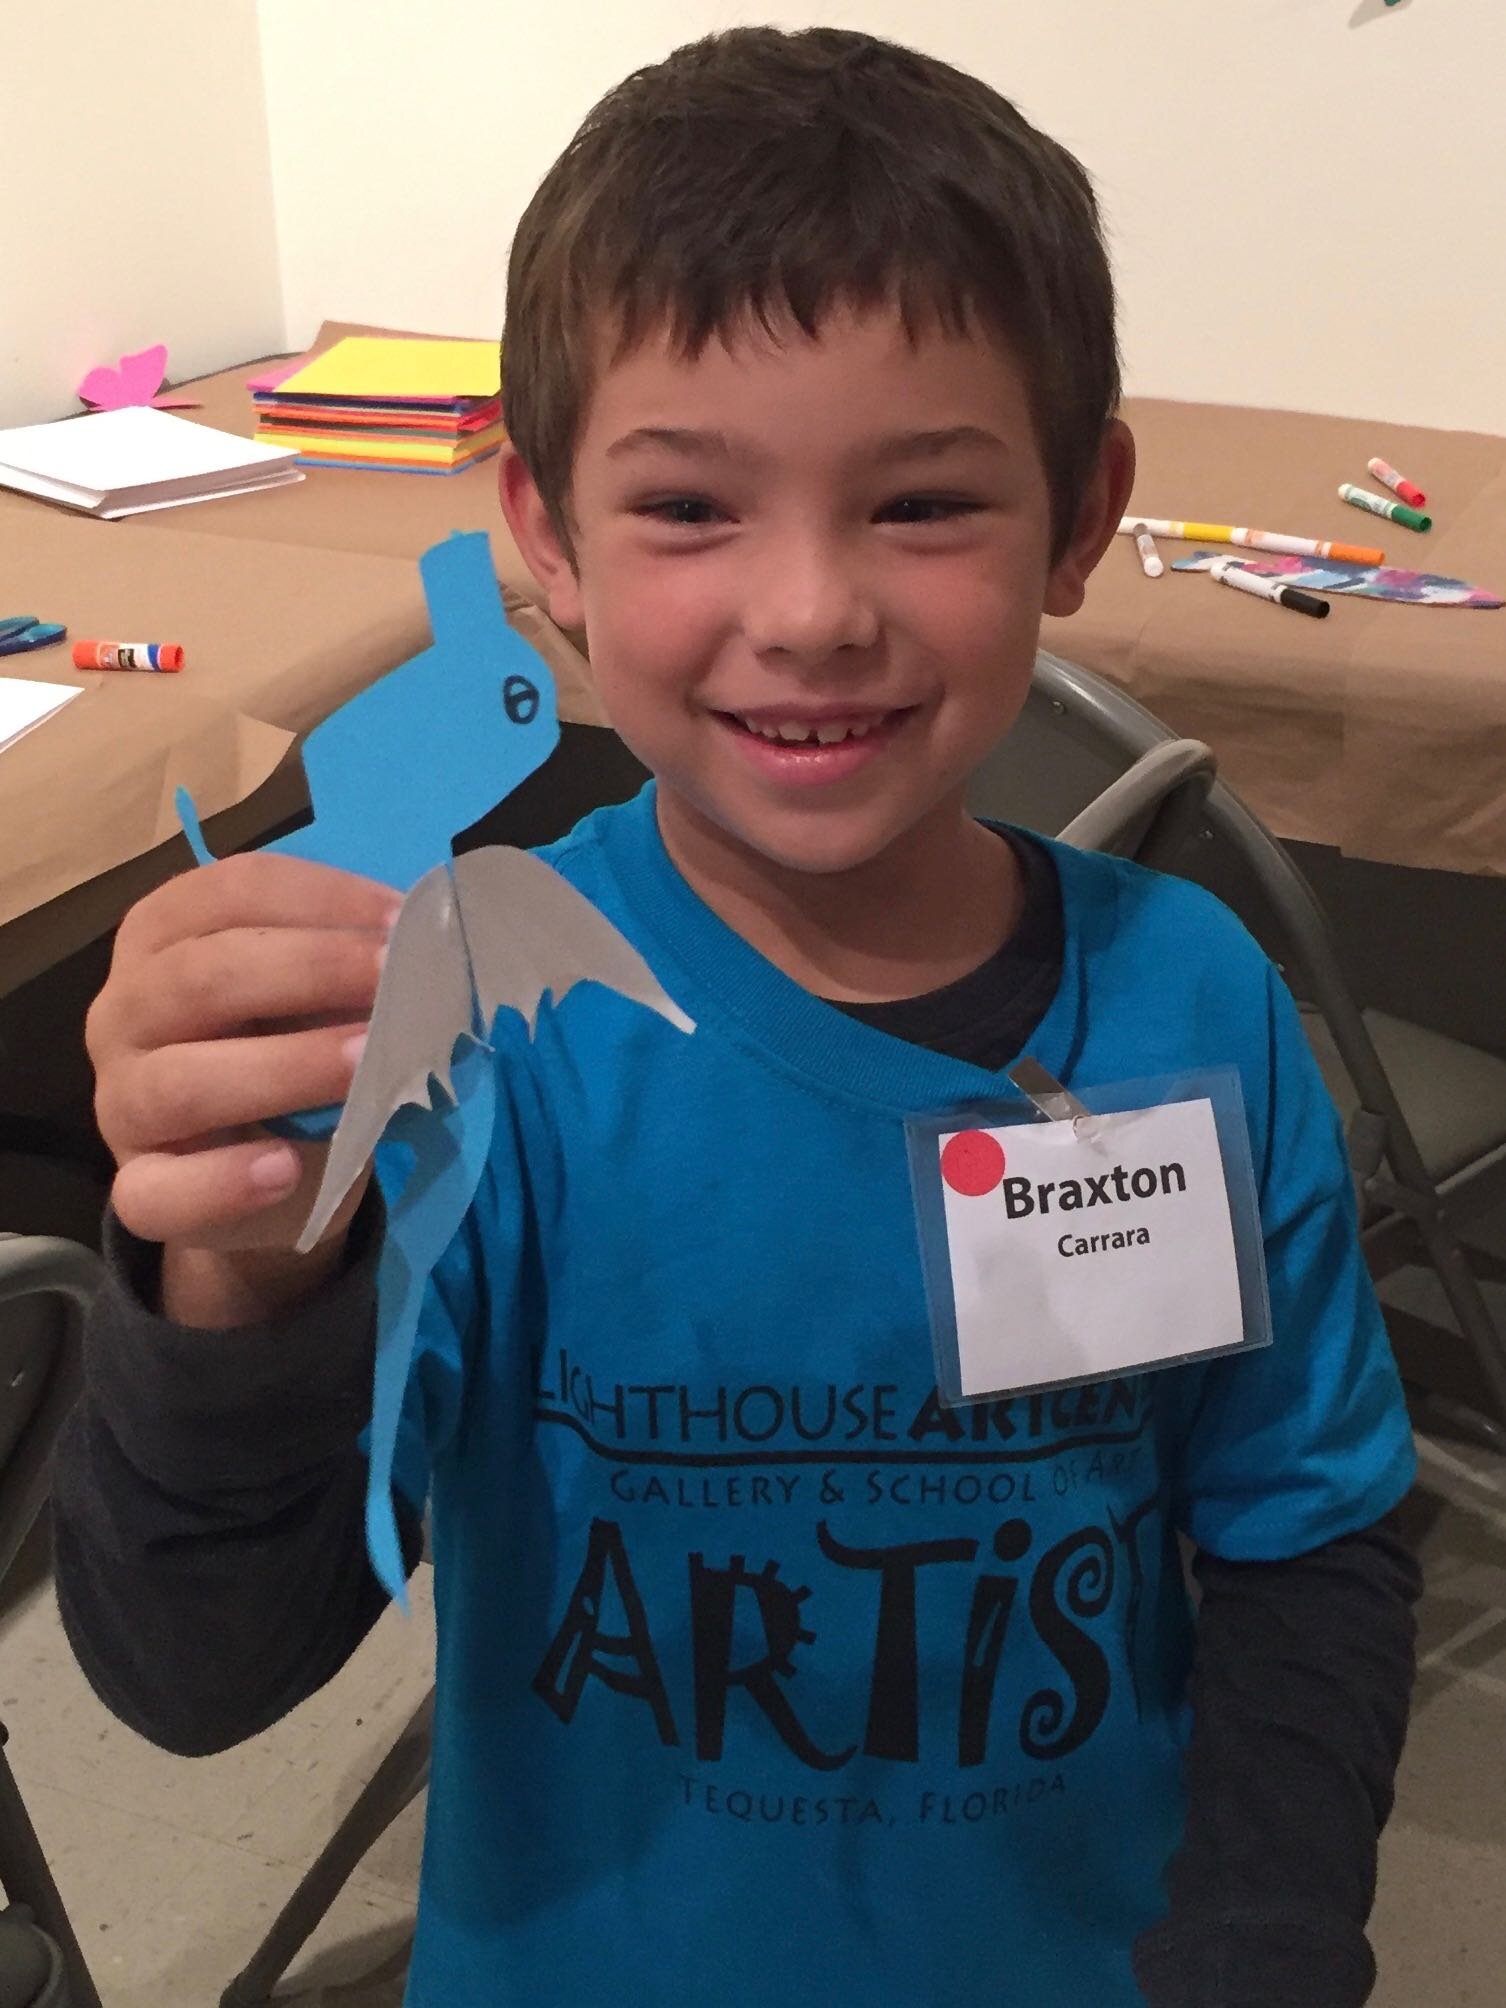
Step 3: Print, cut and construct
To cut by hand: Click the Print button at the top. If you want to color by hand or use color paper, select “Print Cut & Fold Lines” and “Remove Color Fill” on the Print Preview page. Then select Save to PDF and print.
To cut with a Silhouette: If you want to color by hand or use color paper, you can send directly to the cutter. Click the Fabricate button at the top and follow instructions. Tip: Shapes have automatic cut lines, but objects created with the Lines tool do not. To define the outlines of these objects as cut lines, see the “Cut Fold Tab” tutorial or the FabMaker Studio User Guide for details.

What To Do With a Mystery Monster?
Write about your mystery monster. How big is it? How does it move? Where does it live? What does it eat? Does it have any enemies?
Tell a story about your mystery monster.
Now that you’ve honed your design skills, create a herd or flock or an entire habitat complete with flora and fauna.
Share your mystery monster. Post a PDF or picture of your monster. For more share options, see the FabMaker Studio User Guide.
For more information, contact us at info@fablevisionlearning.com. We invite you to join the conversation on Facebook the FabMaker Teacher Group.

FabMaker Pop-ups: Math in the Palm of Your Hand!
The following blog post is by Peggy Healy Stearns, Lead Software Designer, FabMaker Studio.
Pop-ups are surprising and fun – and a great way to explore shapes, angles, triangles, parallel lines, symmetry and other math concepts. They also provide great opportunities for story telling and descriptive or other expository writing.
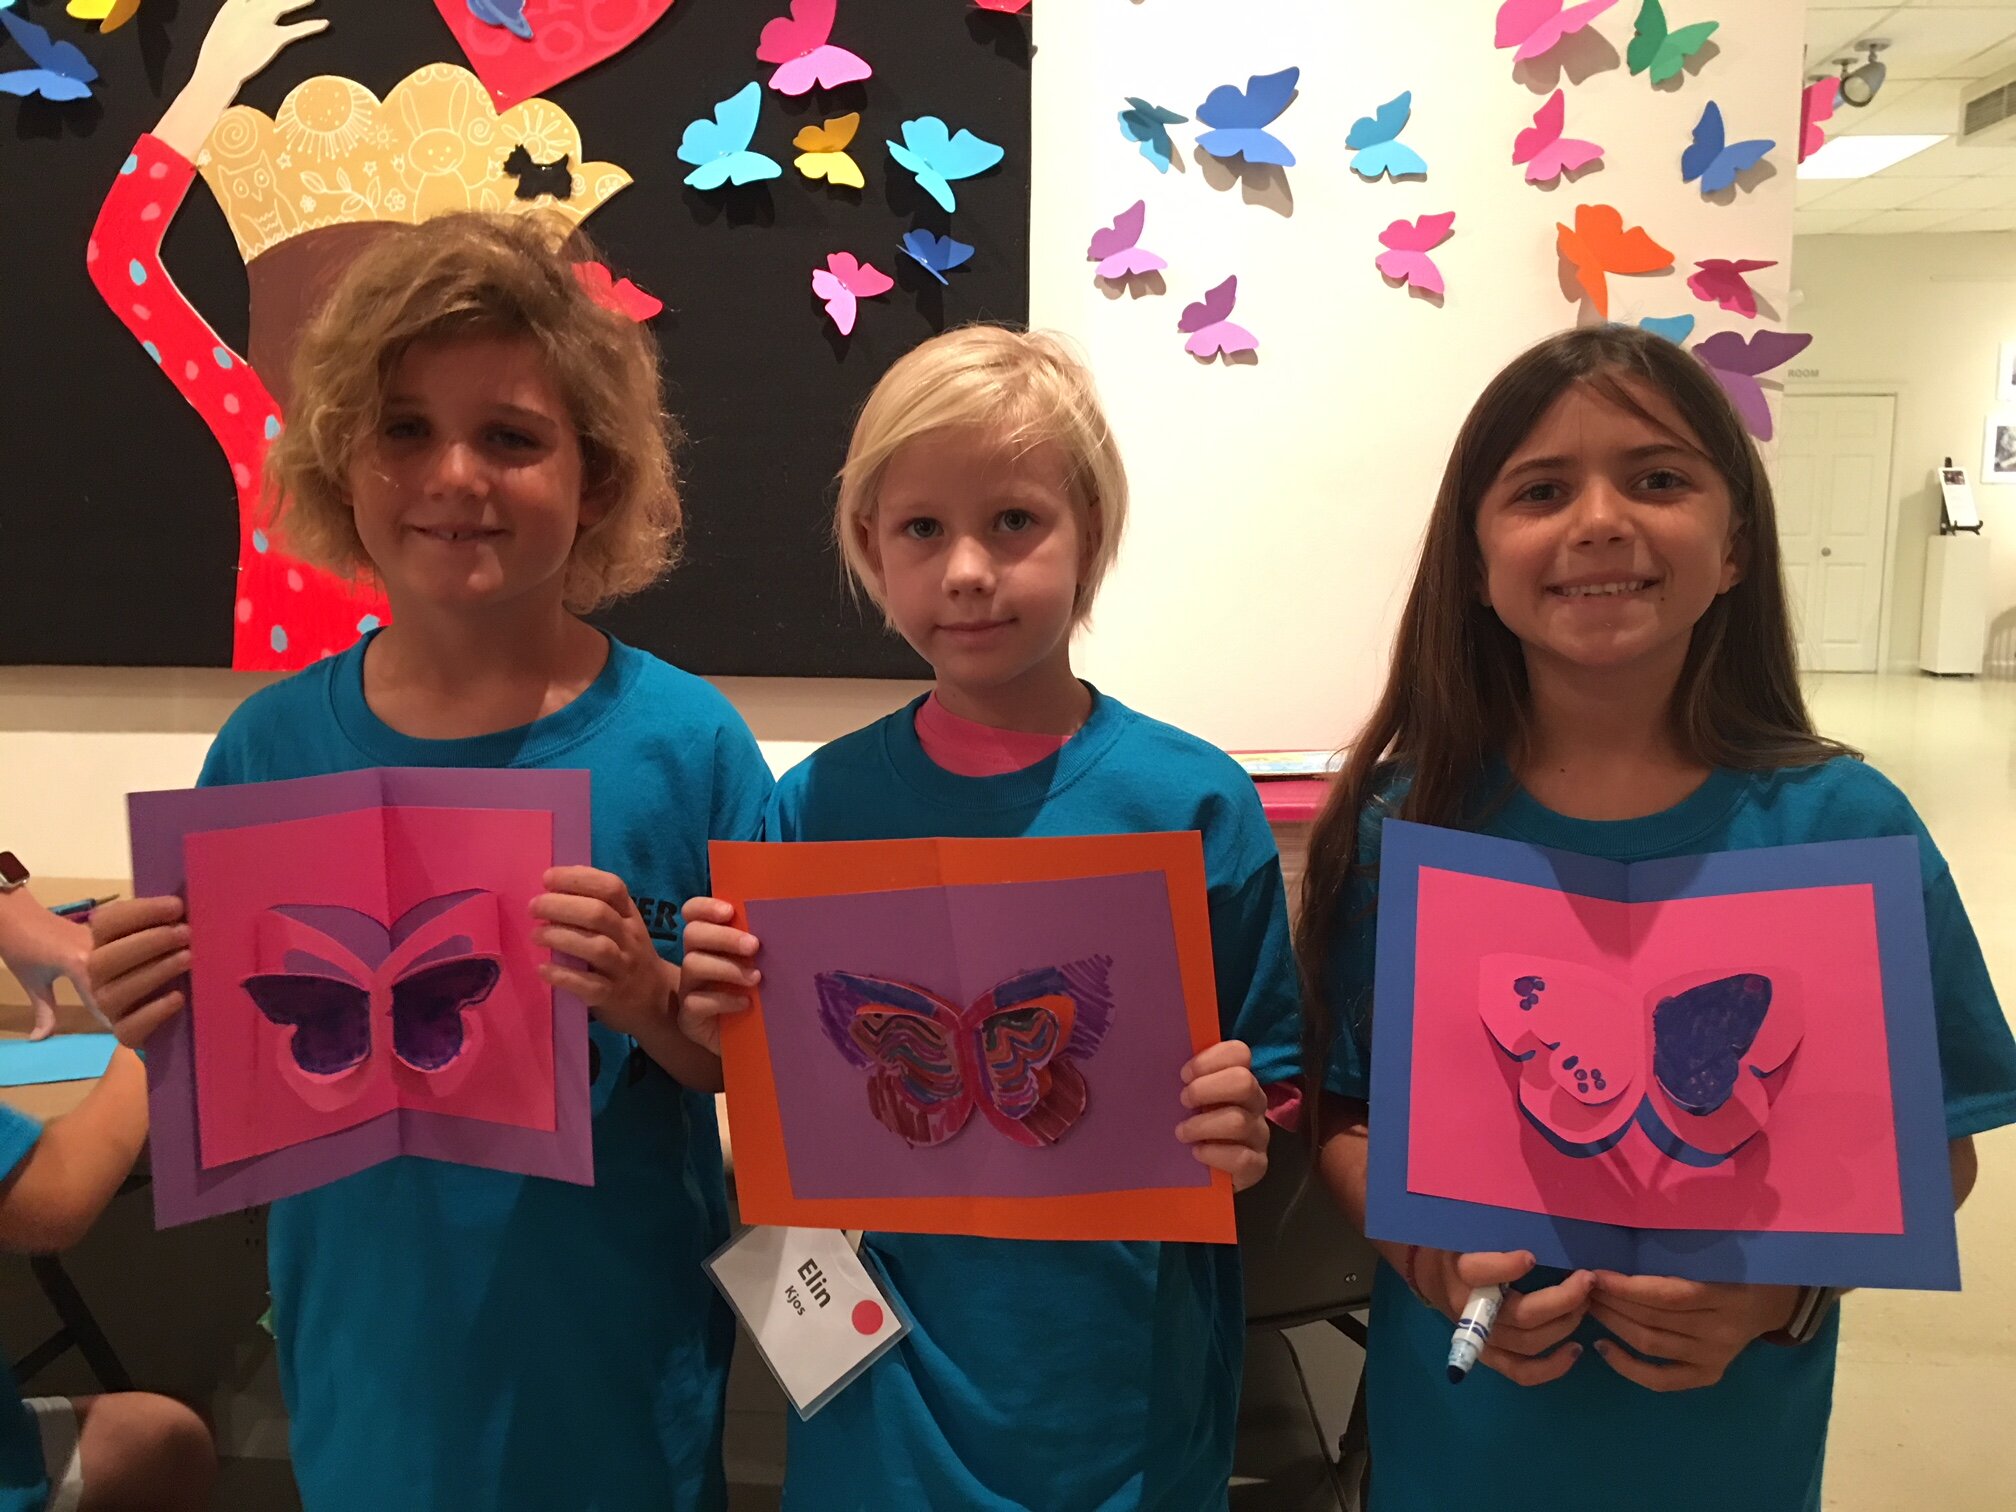
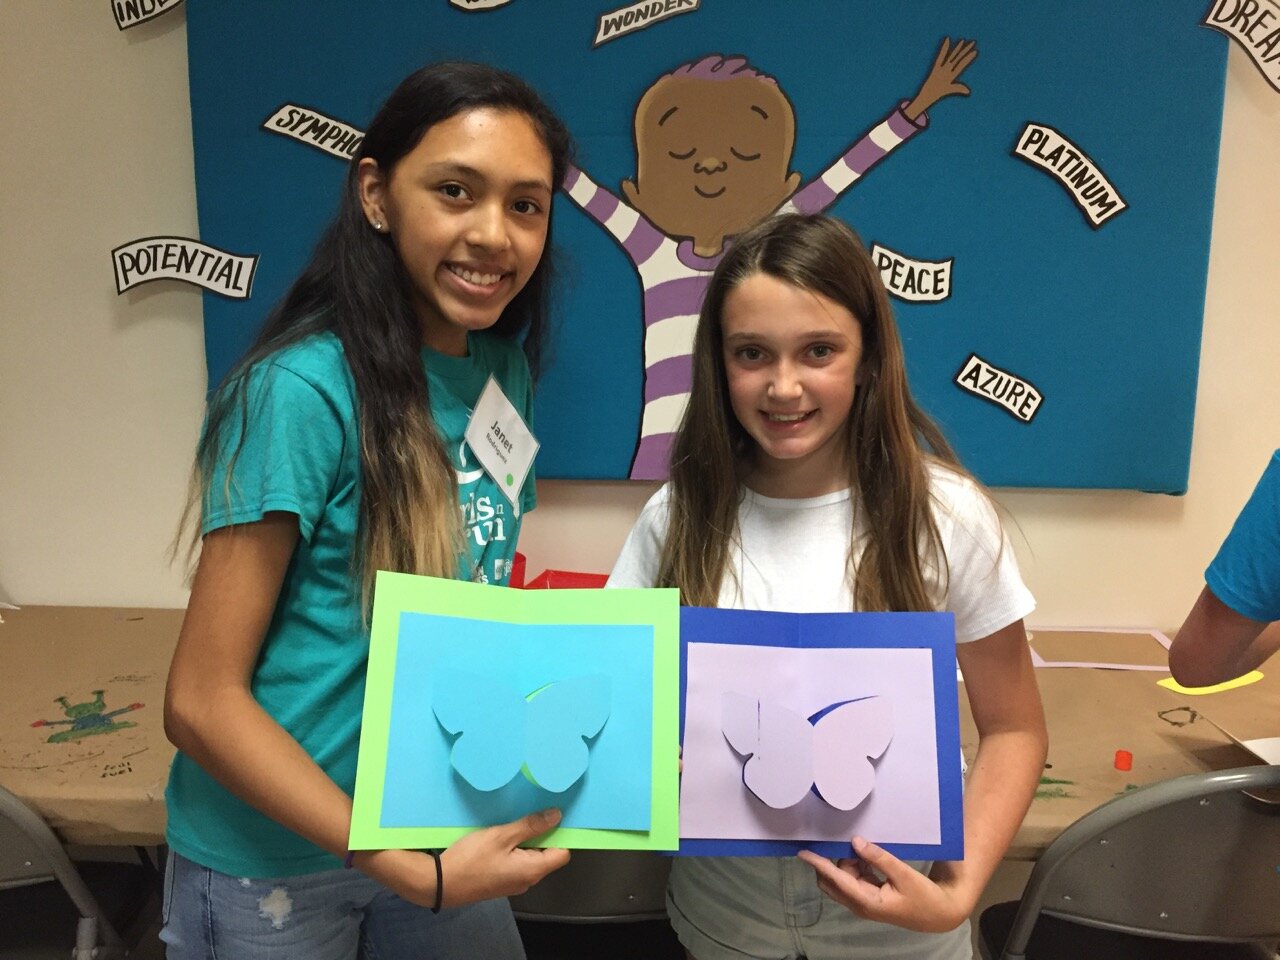
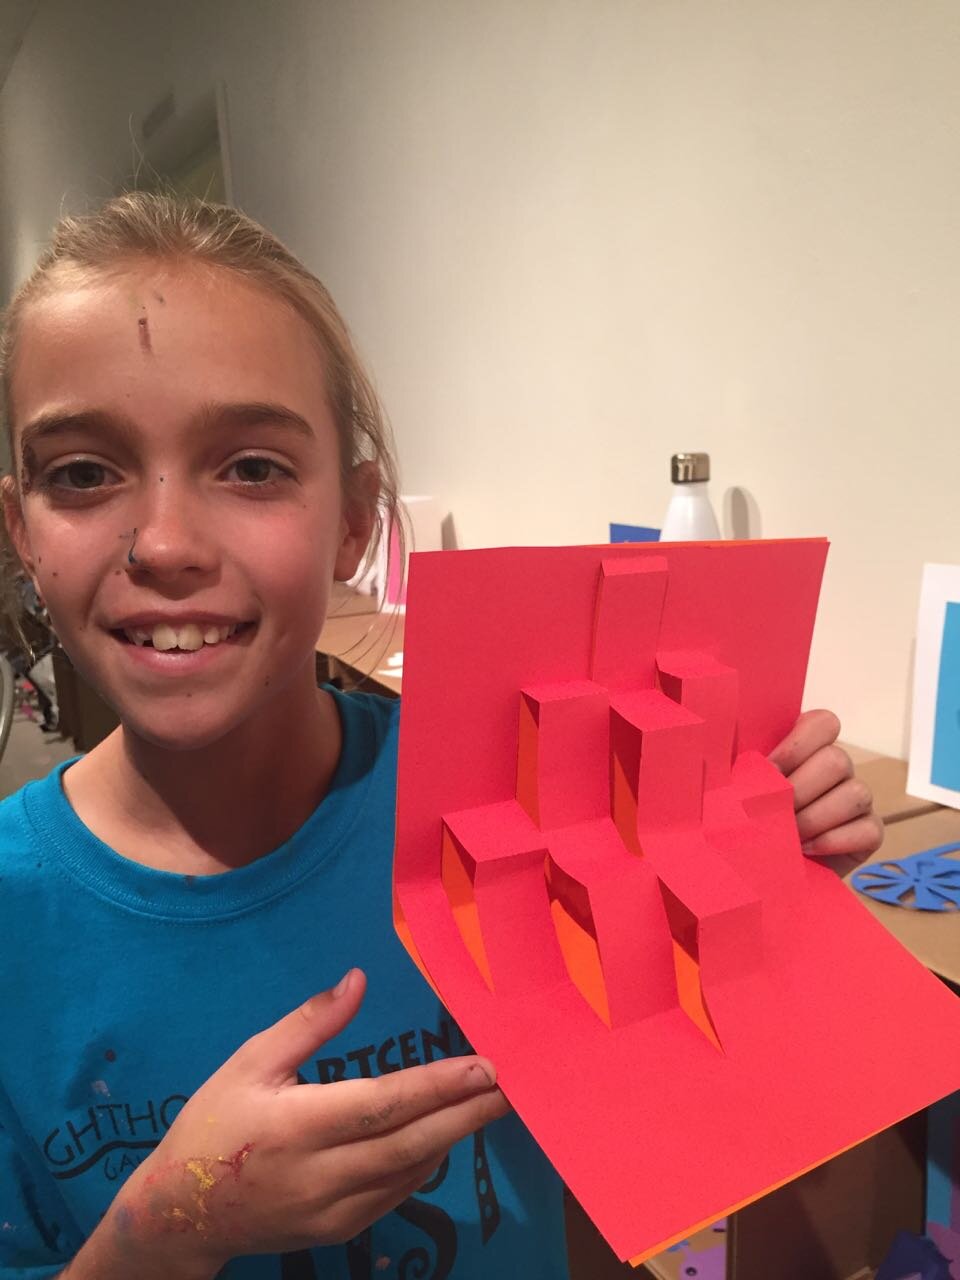
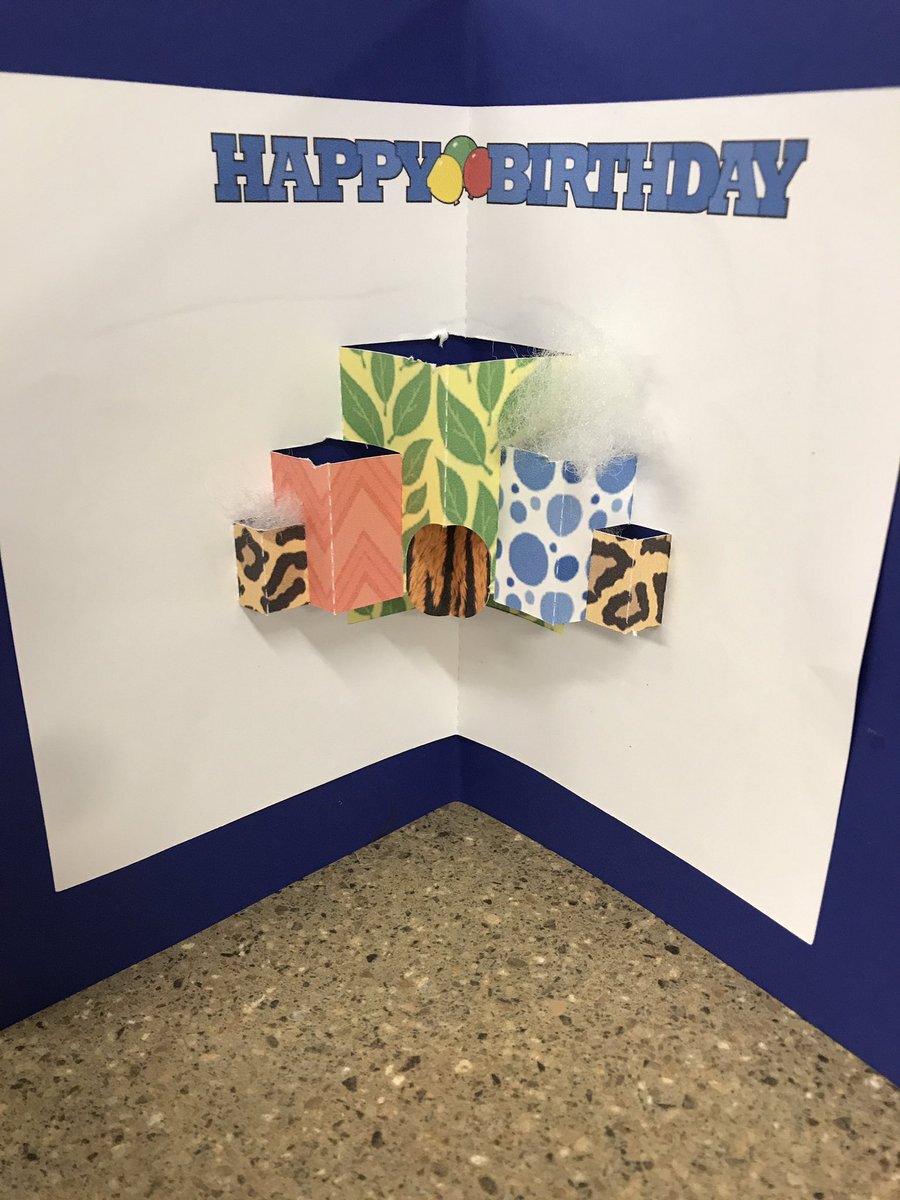
With FabMaker Studio, you can play with these cool constructions onscreen in both 2D and 3D view and then fabricate and explore them in the palm of your hands.
Watch this short video then follow the steps below.
Step 1: Open a Ready-Made Click here to go to FabMaker Studio. Sign in and go to Ready-Made Projects. Choose the tab for Pop-Ups. Wait for the projects to load and scroll down to select and open the Tree Pop Up.

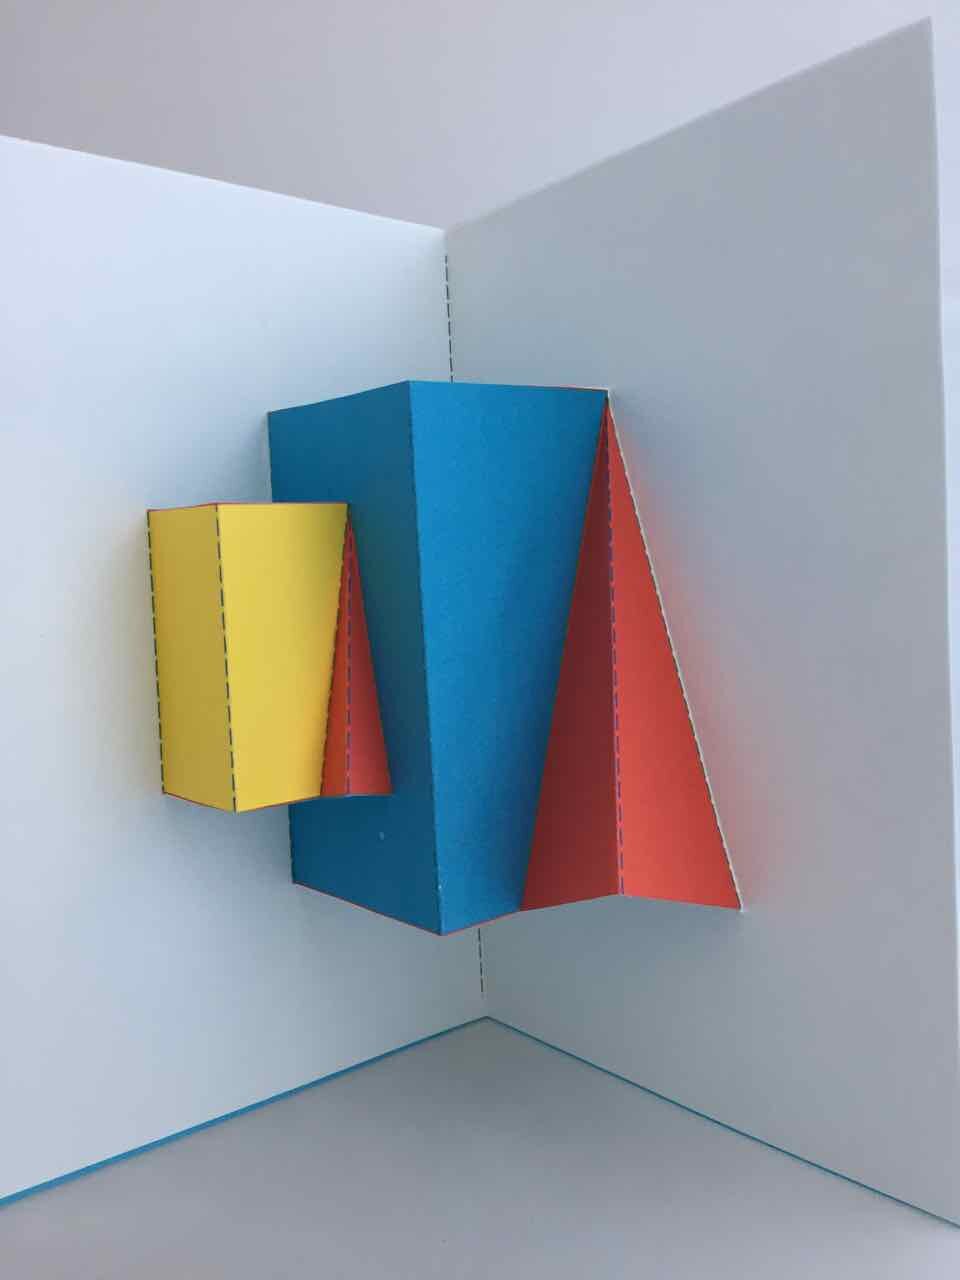
Step 2: Explore When your file opens in the Edit screen, note the different shape pop-ups and the red cut and green fold lines. Go to 3D View in the lower right and click the Larger button (double arrow) to expand the 3D view. Drag the green slider to see the box open and close. Place your cursor in the black area and drag to change the view angle.

Step 3: Print Click the Print button at the top. On the Print Preview page, select Print Cut & Fold Lines. If you colored your pop-up, you may want to select Remove Color Fill. Then select Save to PDF and print your pop-up on standard printer paper or cardstock.
For more details on how to to use scissors to finish your project click here.

Step 4: Construct Fold your printed pop-up along the center fold with the print side out. Cut along the three red cut lines. Then fold the three pop-up elements to the side along the green lines. Open your page and pop out the elements. If you want, color your pop-up and mount it on another piece of paper or card stock.
Watch the following video with quick tips for customizing a pop-up, then move on to Step 5.
Step 5: Customize. Go back to FabMaker Studio and modify the Tree Pop-up or another readymade pop-up to design your own original creation.
Add color
Move elements
Resize elements
Add new elements
If you want to save your customized pop-up, select the File button at the top and choose Save. In the dialog, choose a location to save to, give your file a name, and select Save.
Step 6: Design. Ready to design your own pop-up from scratch? Here’s one more video to set you on your way!
Play around, have fun, and discover how learning and play come together with FabMaker Studio! FabMaker Studio is the first digital fabrication software tool developed specifically for use in the classroom. It is an easy-to-use, web-based program that invites students to experience STEM and STEAM learning in an engaging, personally meaningful way.
For more information, contact us at info@fablevisionlearning.com. We invite you to join the conversation on Facebook the FabMaker Teacher Group.

Classroom Spotlight: Oceanside PROJECT EXTRA holds I Am Love/Limb Kind Celebration

For this year’s “I Am Love” charity event Oceanside's PROJECT EXTRA (New York) students from all six elementary schools worked together to raise awareness and funds for the Limb Kind Foundation.
Written by Susan Verde and illustrated by Peter H. Reynolds, "I Am Love" is a beautifully inspiring picture book that is a celebration of love in all its forms. Love allows us to act with compassion and kindness, to live with gratitude, and to take care of ourselves by practicing self-love.
As schools across the country are currently closed, the Project EXTRA event on March 31, 2020 became a virtual celebration.
Angela Abend, PROJECT EXTRA teacher shared on Facebook:
“What a day it was ... our virtual ‘I Am Love/Limb Kind’ Celebration definitely added some light to our day today and it was wonderful to be able to "share" it together. Thank you to all those who stepped up and helped out in a pinch! Here are all the links to the videos and presentations that were shared today. Remember ... together, especially at this time, WE are LOVE!.”
Celebrate the event with PROJECT EXTRA.
Oceanside PROJECT EXTRA reads “I Am Love”
Oceanside Project EXTRA
Oceanside PROJECT EXTRA students, with the support of Oceanside High School students, created an inspirational video recording of "I Am Love" that was to be shown as the kick-off to their charity event on March 31.
”I Am Love” author Susan Verde shout-out to PROJECT EXTRA
Susan Verde, author of I Am Love, gives a shoutout to Project EXTRA
Peter H. Reynolds Reads "I Am Love" during
his Facebook LIVE event
Peter H. Reynolds reads I Am Love
Rob Schulman from the the Limb Kind Foundation shout-out
Rob Schulman from the Limb Kind Foundation shout out for Project EXTRA
As one of their final projects in this three-year PROJECT EXTRA program, the annual sixth grade charity project gives the students an opportunity to "give back" and share their gratitude. The students would have given their "big check" to Mr. Robert Schulman, founder and executive director of the Limb Kind Foundation, on the day of their "I Am Love" event. Inspired by the writing of Peter H. and Paul Reynolds, the class was also going to receive a surprise visit from Paul Reynolds, twin brother to Peter and co-author to one of their favorite books, "Going Places".
The Limb Kind Foundation, is to improve the lives of children with limb loss both domestically and internationally, by strengthening the amputee community, and providing pediatric prosthetic care for all. Fifty sixth grade PROJECT EXTRA students have reached out to their Oceanside community and raised over $13,000 for the foundation. Fundraisers, speaking engagements, and community service projects rounded out their efforts and some famous musicians even joined in with generous donations, too! In addition, the students raised funds to have Limb Kind volunteers bring 30 copies of "I Am Love", along with 30 matching Beanie Babies, to the children of Ethiopia receiving free prosthetic care from the foundation. Amazingly, these students have raised $30,000 for the Limb Kind Foundation over the last three years!
More PROJECT EXTRA Shout-Outs and Rob Schulman Interview

FabMaker Project Idea: Package What You Love

The following blog post is by Peggy Healy Stearns, Lead Software Designer, FabMaker Studio.
During Peter H. Reynolds Facebook Live reading of I Am Love, he shared a box designed to package “unconditional love.”
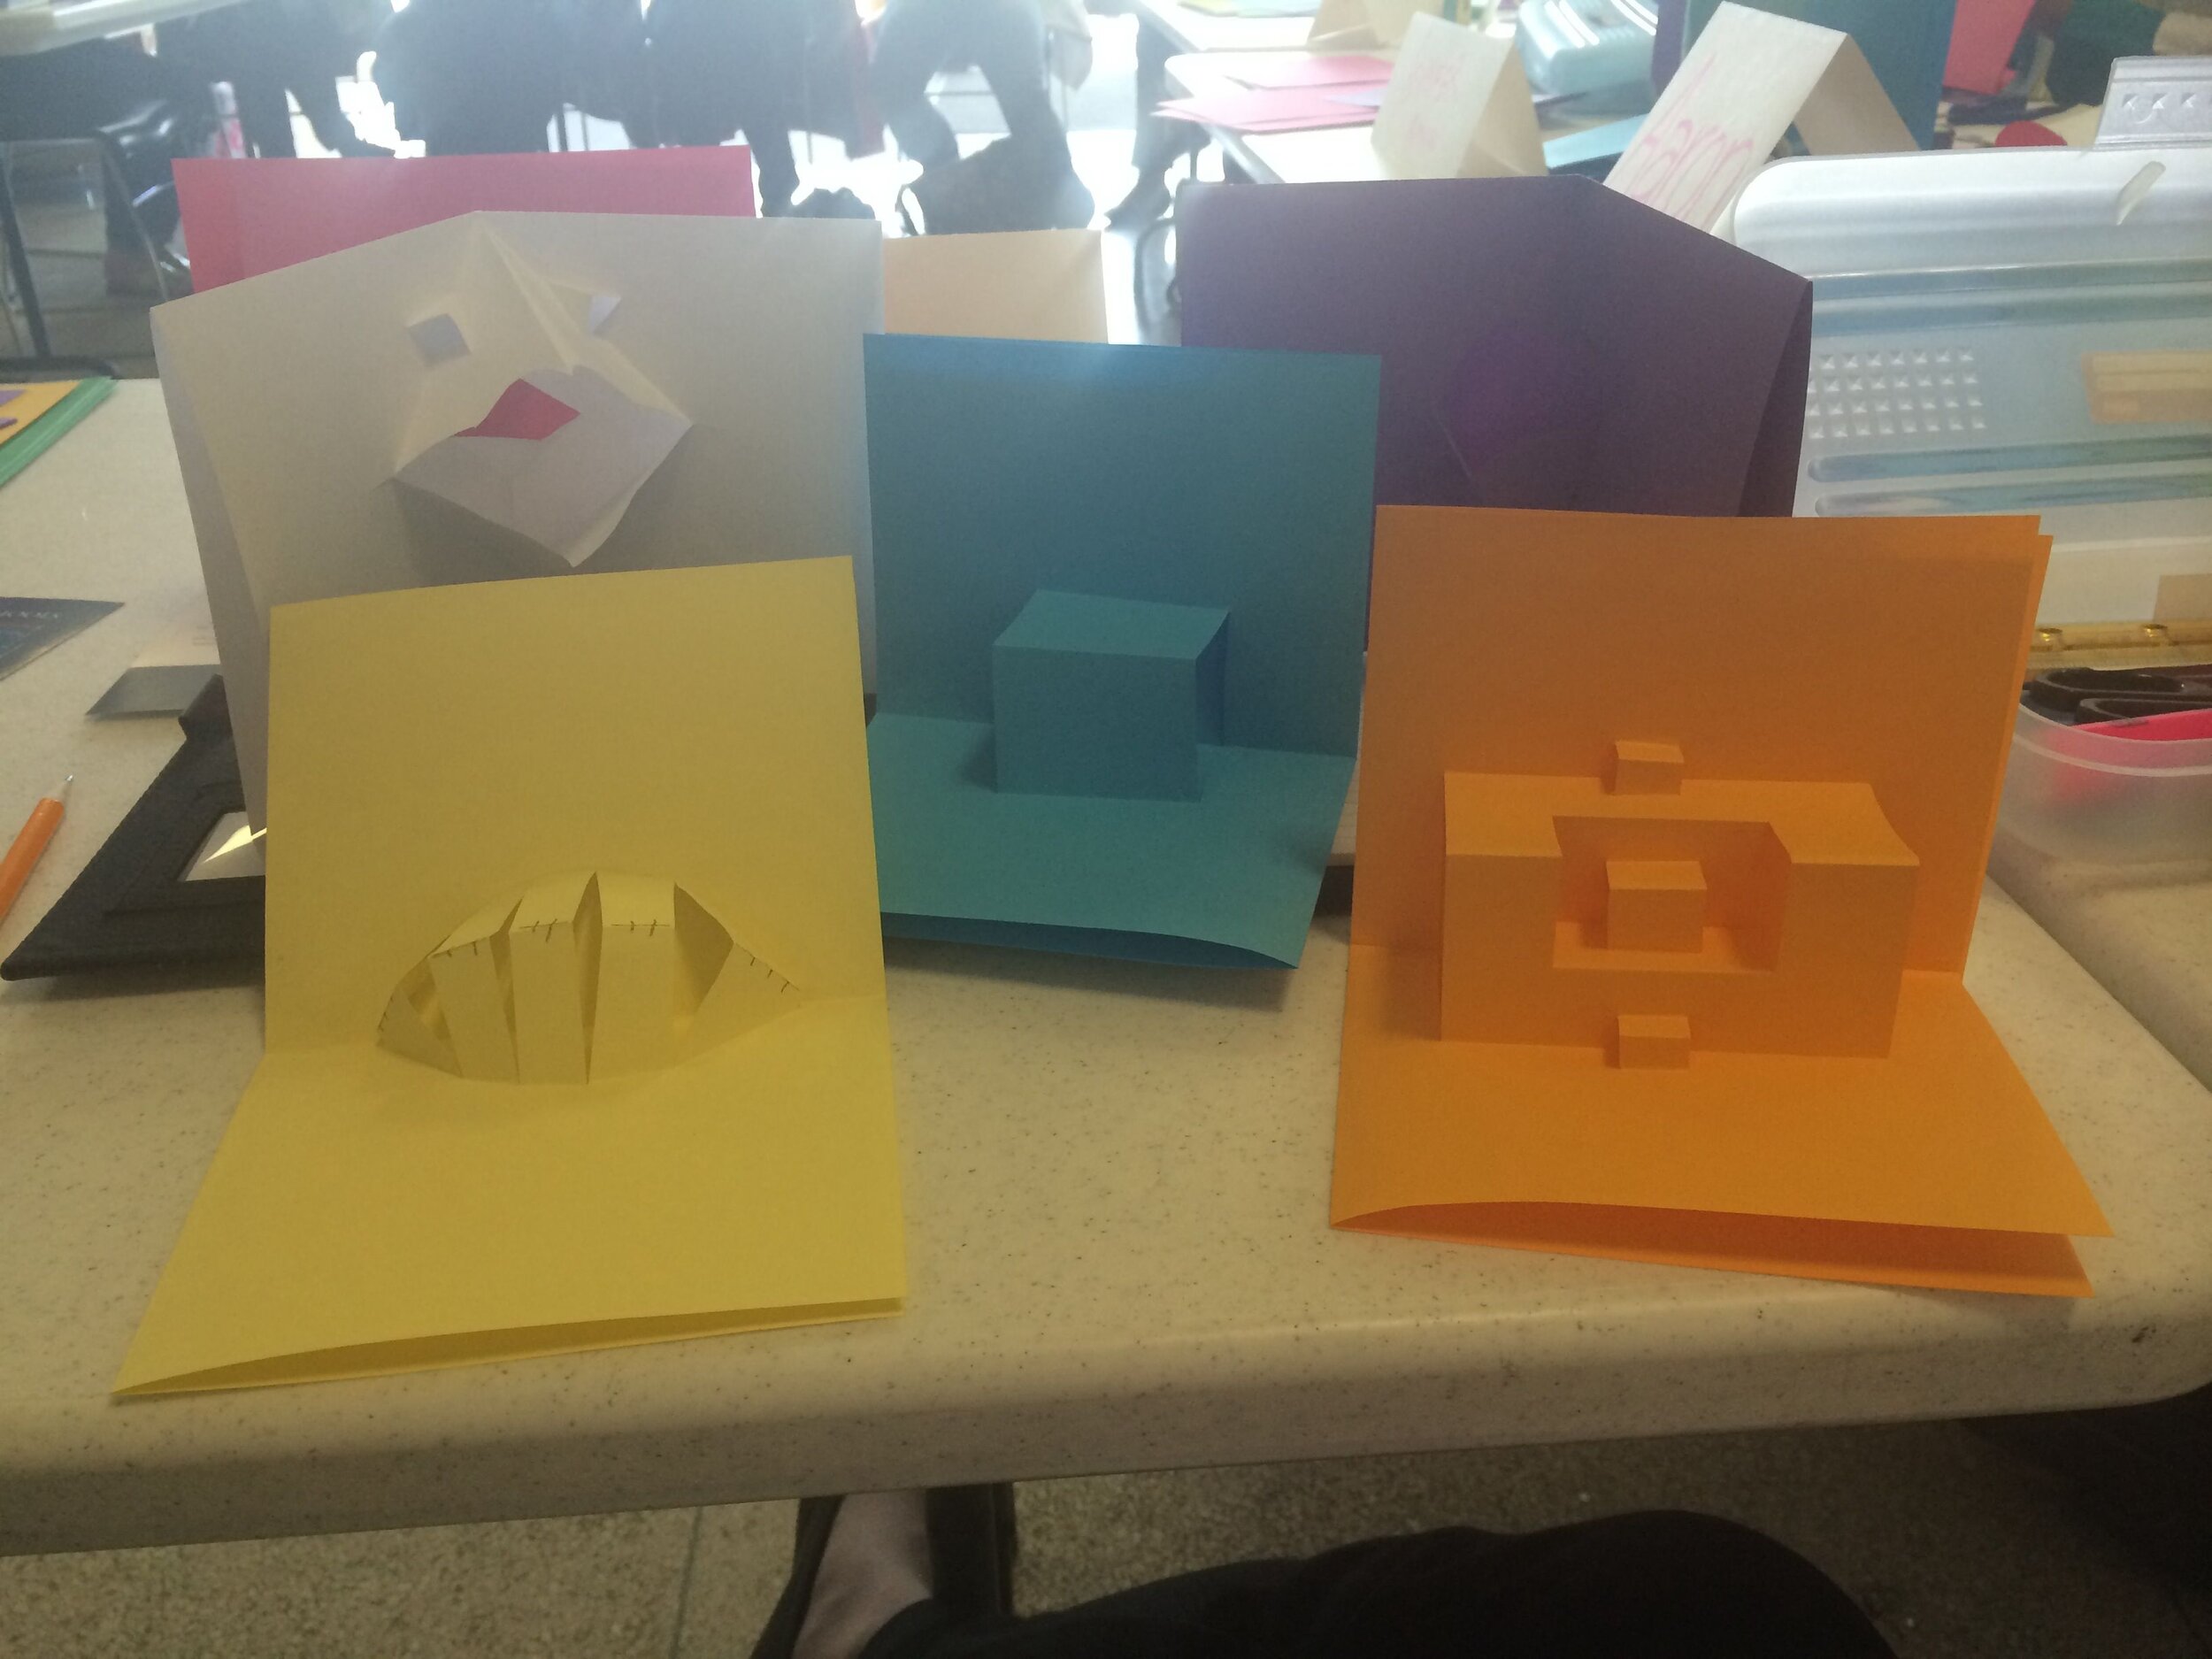
Is there something, real or imaginary, that you’d like to package and share with others? Follow these steps to design and construct your own boxes in FabMaker Studio
QuickStart Video #1 – Ready-Made Box
Watch this video, then follow the steps below.
How to create your custom FabMaker Box!
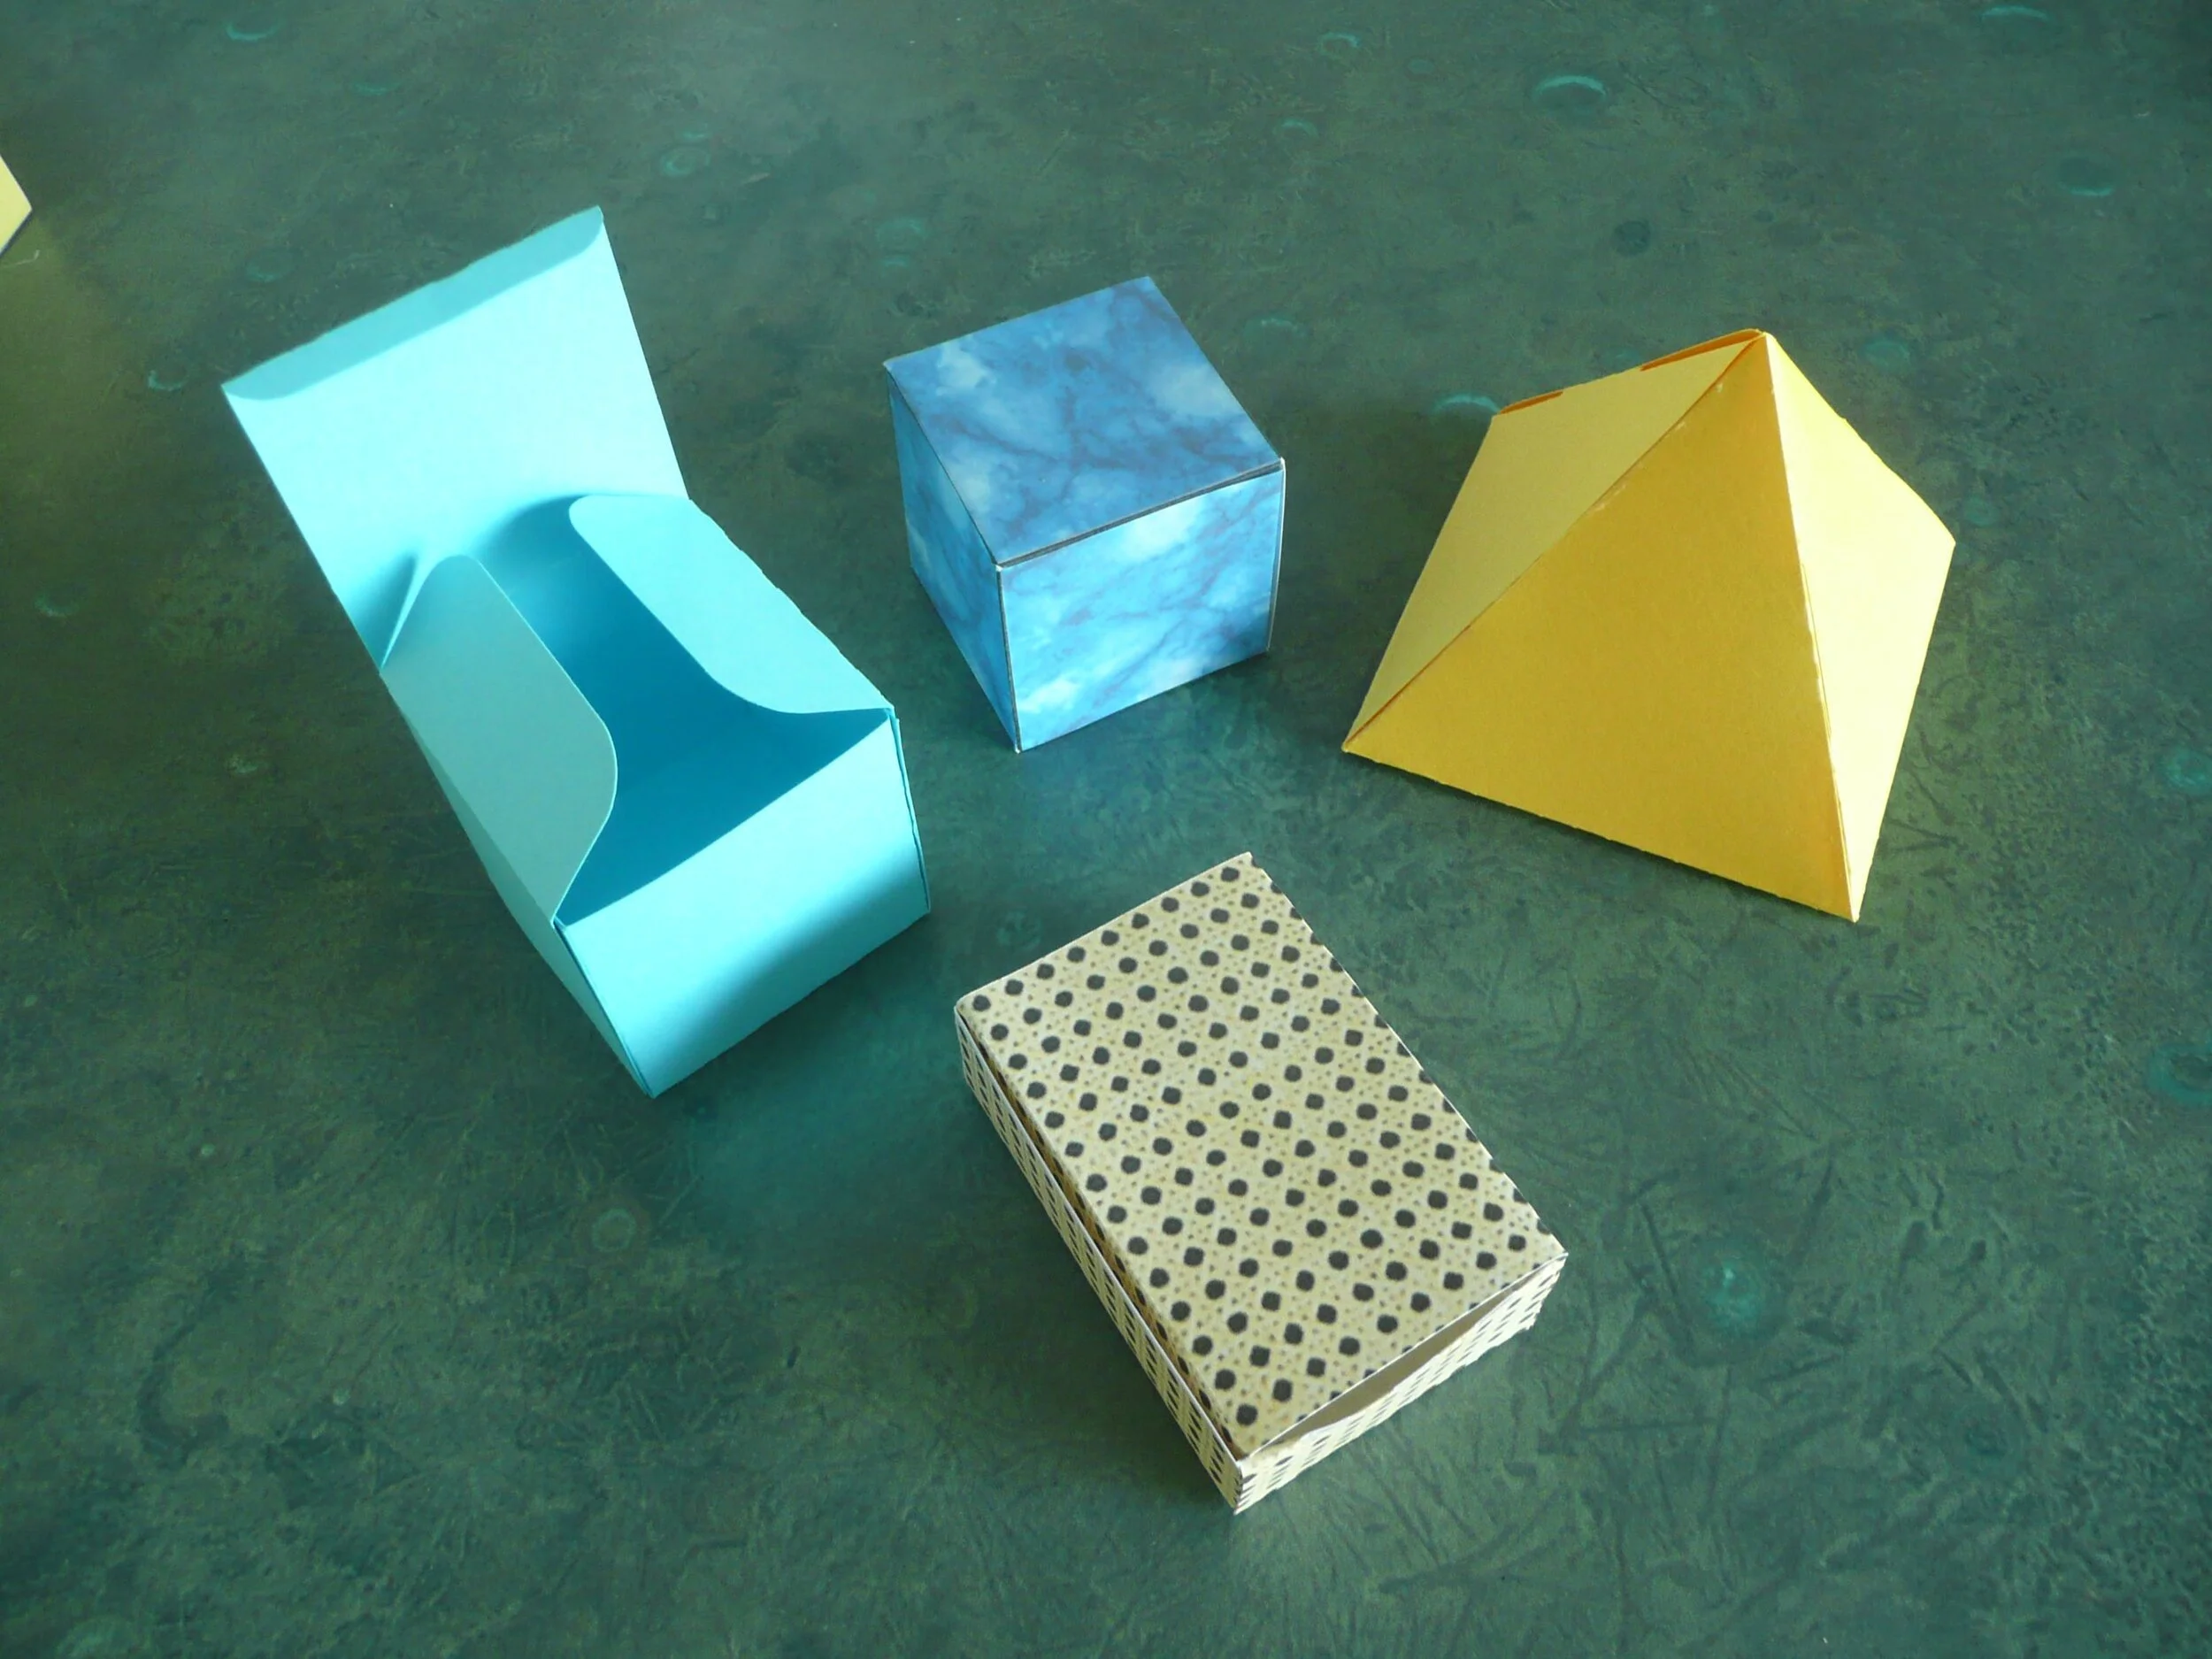
Step 1: Open a Ready-Made. Click here to go to FabMaker Studio. Sign in and go to Ready-Made Projects: 3D Stuff. Wait for the projects to load and open the Slit Top Box.
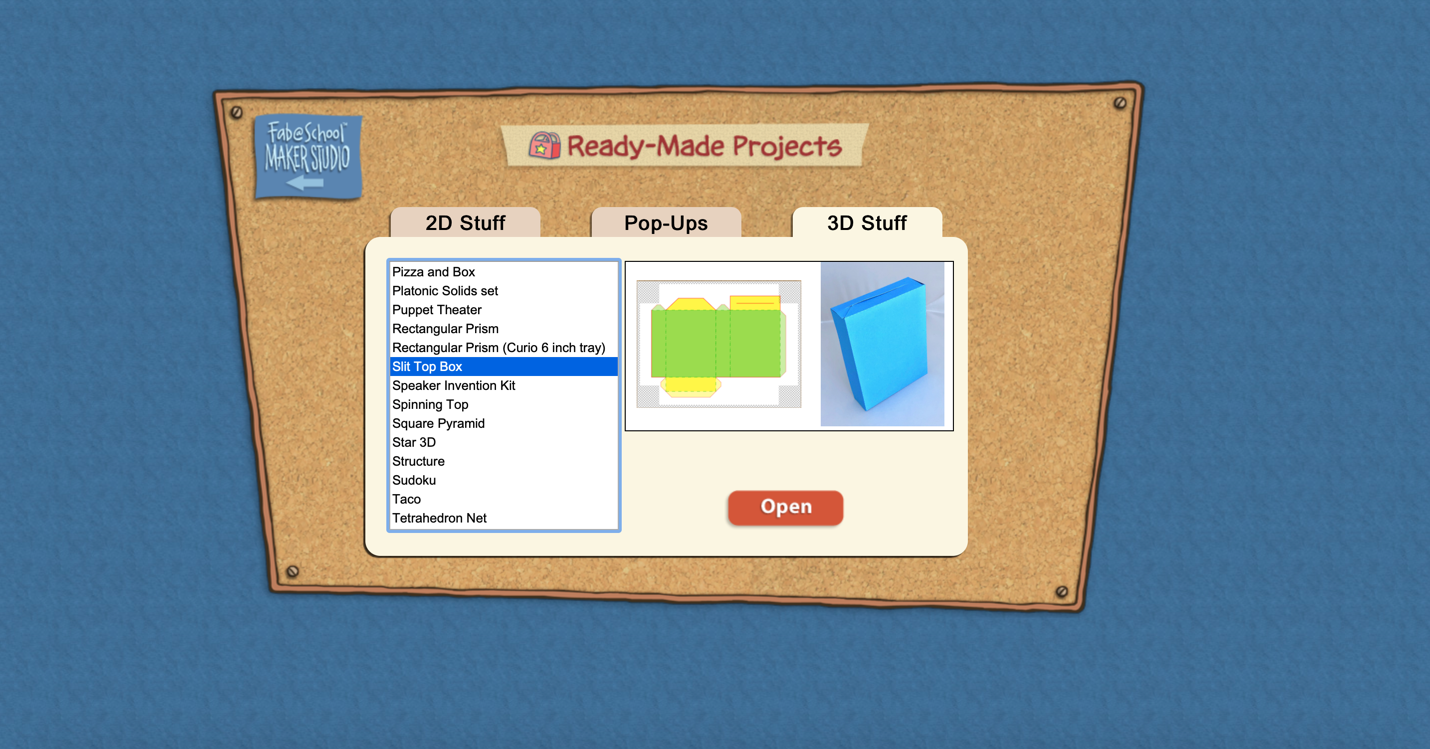
Step 2: Explore. When your file opens in the Edit screen, note the red cut lines and green fold lines. Go to 3D View in the lower right and click the larger button (double arrow) to expand the 3D view. Drag the green slider to see the box open and close. Place your cursor in the black area and drag to change the view angle.

Step 3: Print. Click the Print icon at the top. On the Print Preview page, select “Print Cut & Fold Lines” and “Remove Color Fill.” Then select Save to PDF and print your pattern.

Step 4: Construct. Use scissors to cut (or a Silhouette if you have one) to cut your pattern, then fold your box, but don’t glue it together yet. Identify the front, back, sides, top and bottom. Decide what you’d like to package and color your design. When you’re done, construct your box. Give your packaged treasure to someone or save it for inspiration.
Step 5: Design. Explore other package designs from FabMaker Studio’s Ready-Made 3D Stuff. Then use the following video as a guide to design your own box from scratch!

Using FabMaker Studio with Distance Learning
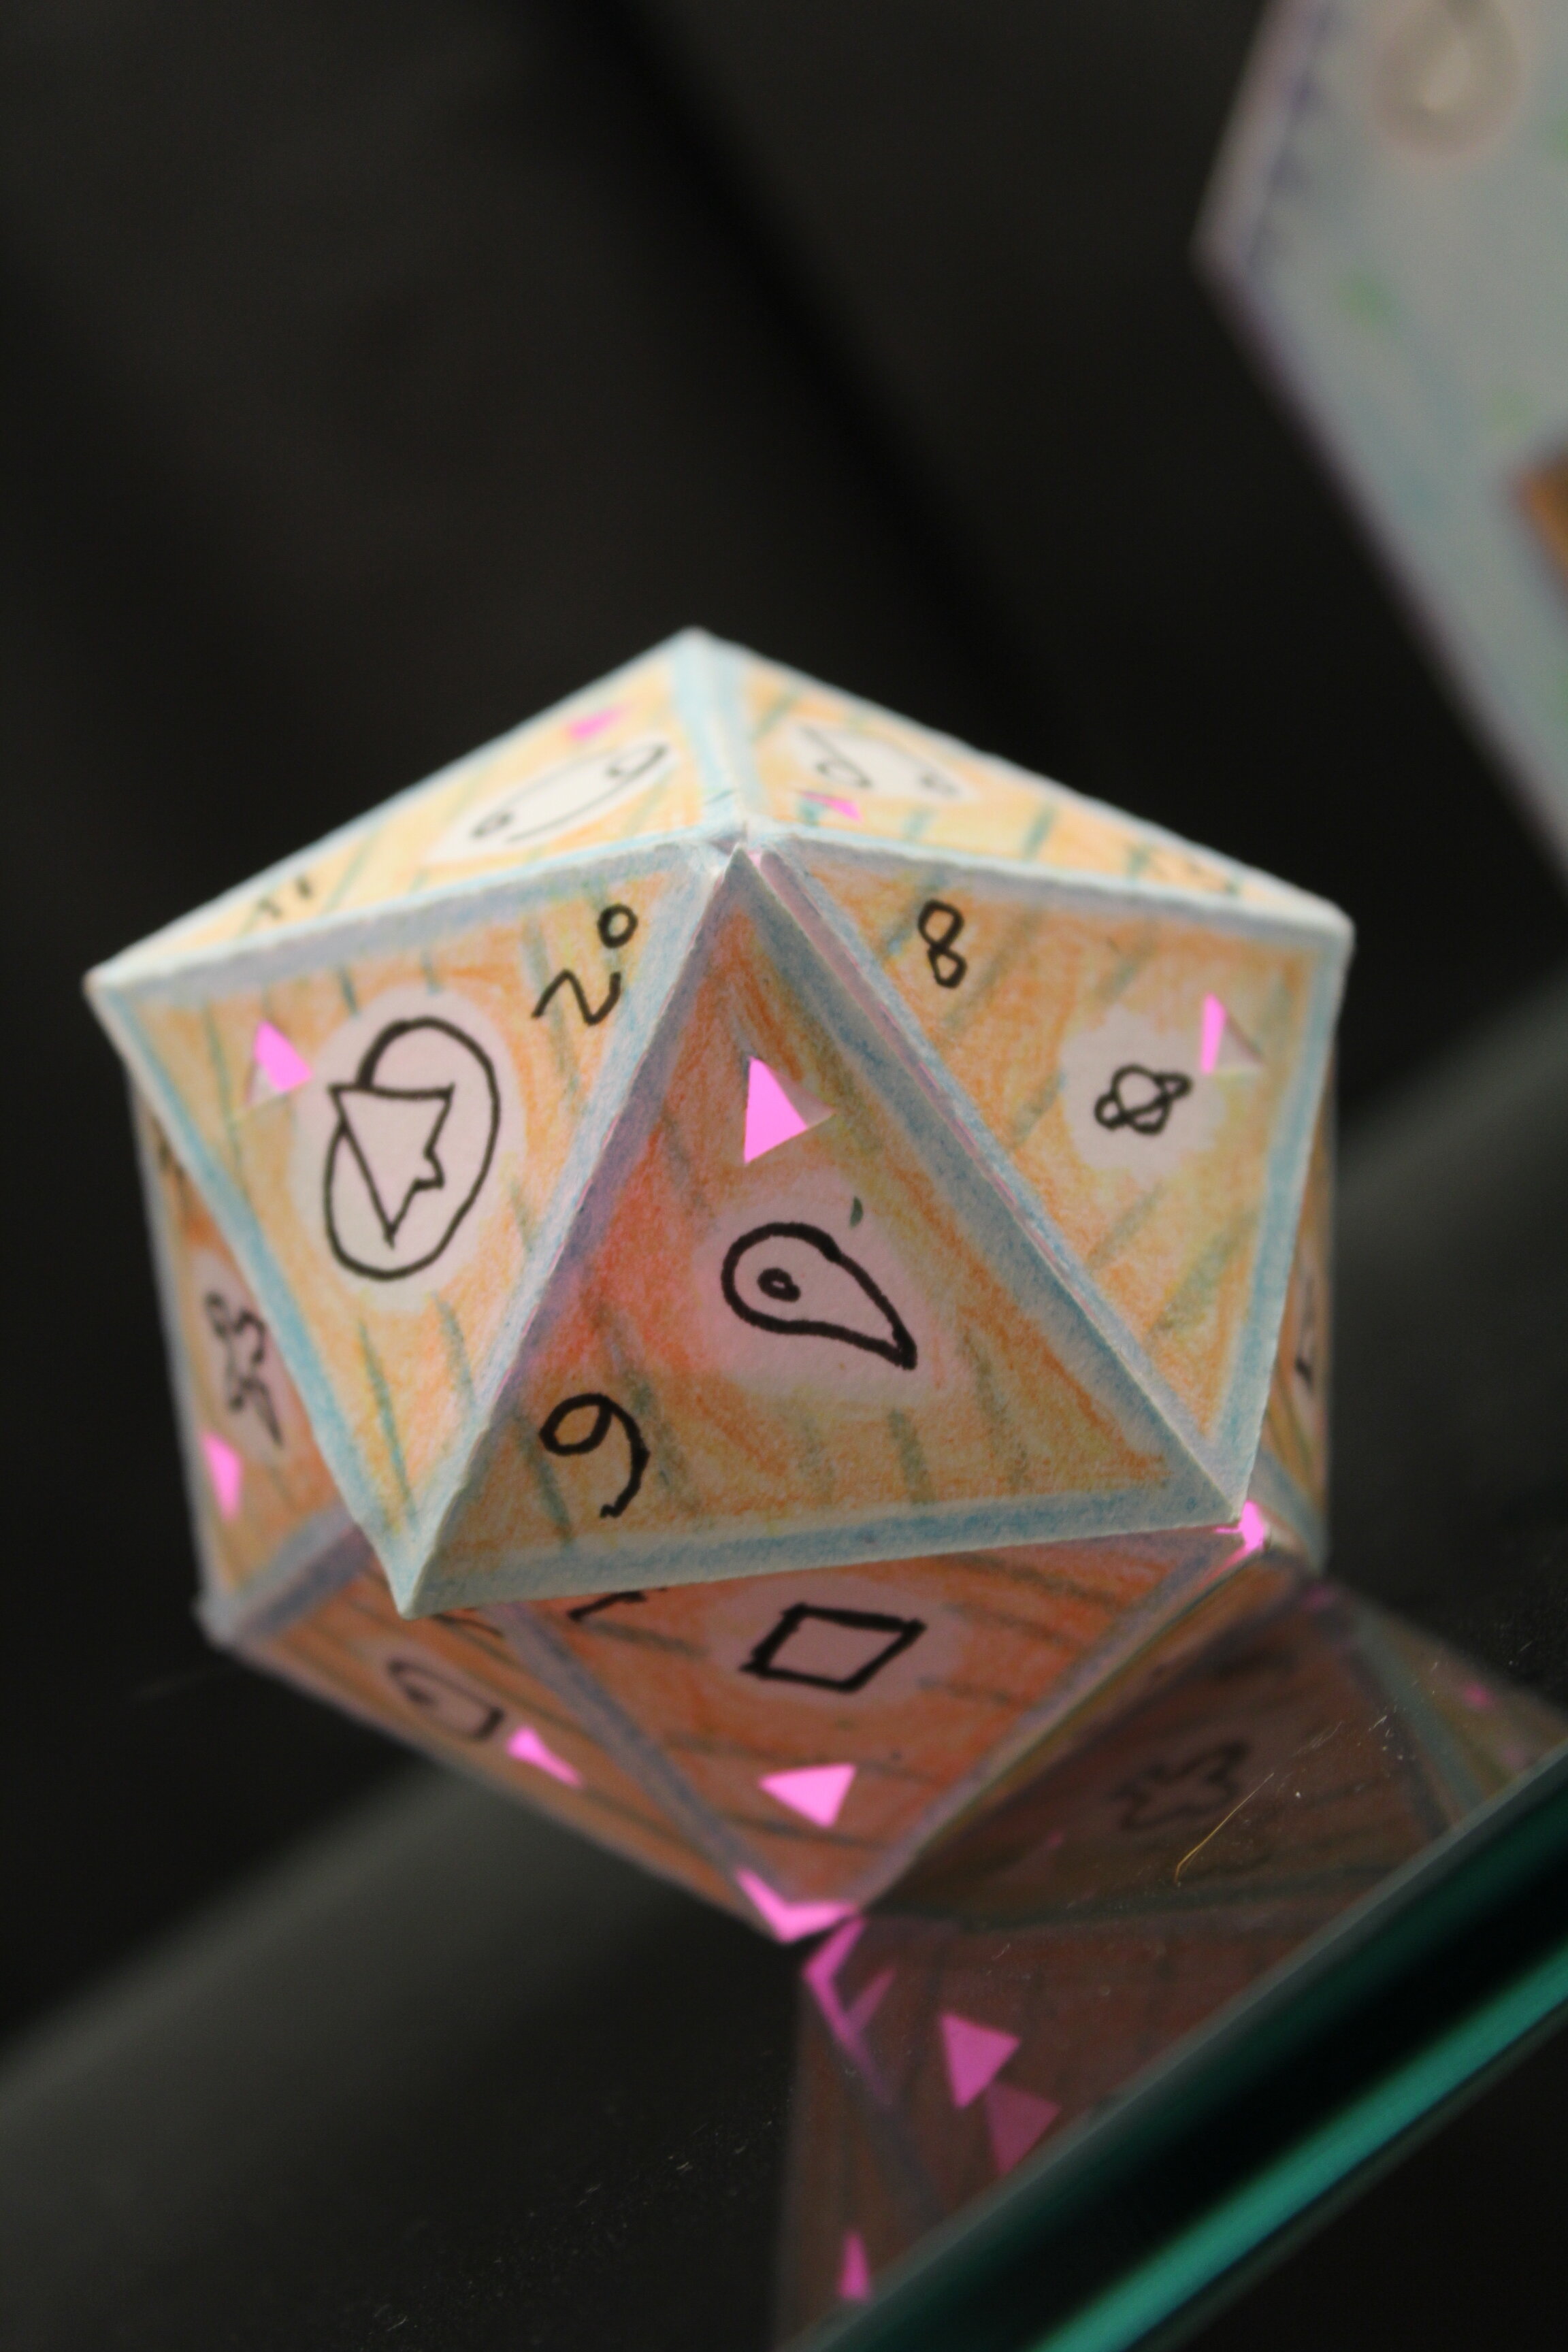
How many squares create a cube? This prompt sparks a variety of answers depending on the age. First graders usually answer four and often, we hear the number 12. With FabMaker (Fab@School) Studio, students can use shapes to digitally create 2D nets and with the 3D viewer tool immediately see how the finished project will fold. And this is just the beginning.
FabMaker Studio, our digital design and fabrication tool, opens the door to authentic learning and assessment. And as a web-based tool, FabMaker Studio can easily be folded into distance learning as they explore the Engineering Design Process. To encourage your students to think through their designs and document the process, we’ve created a handy project journal.
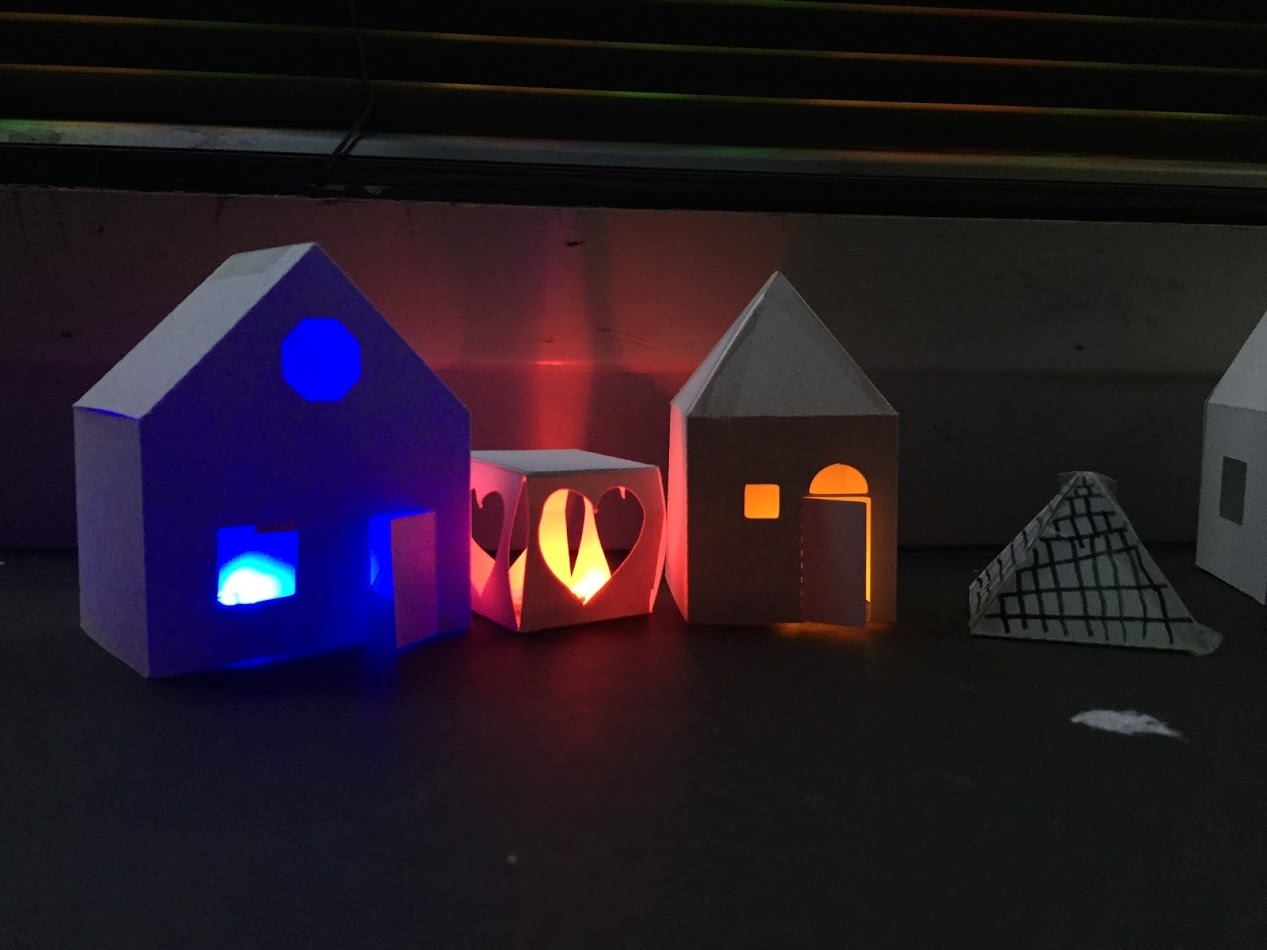
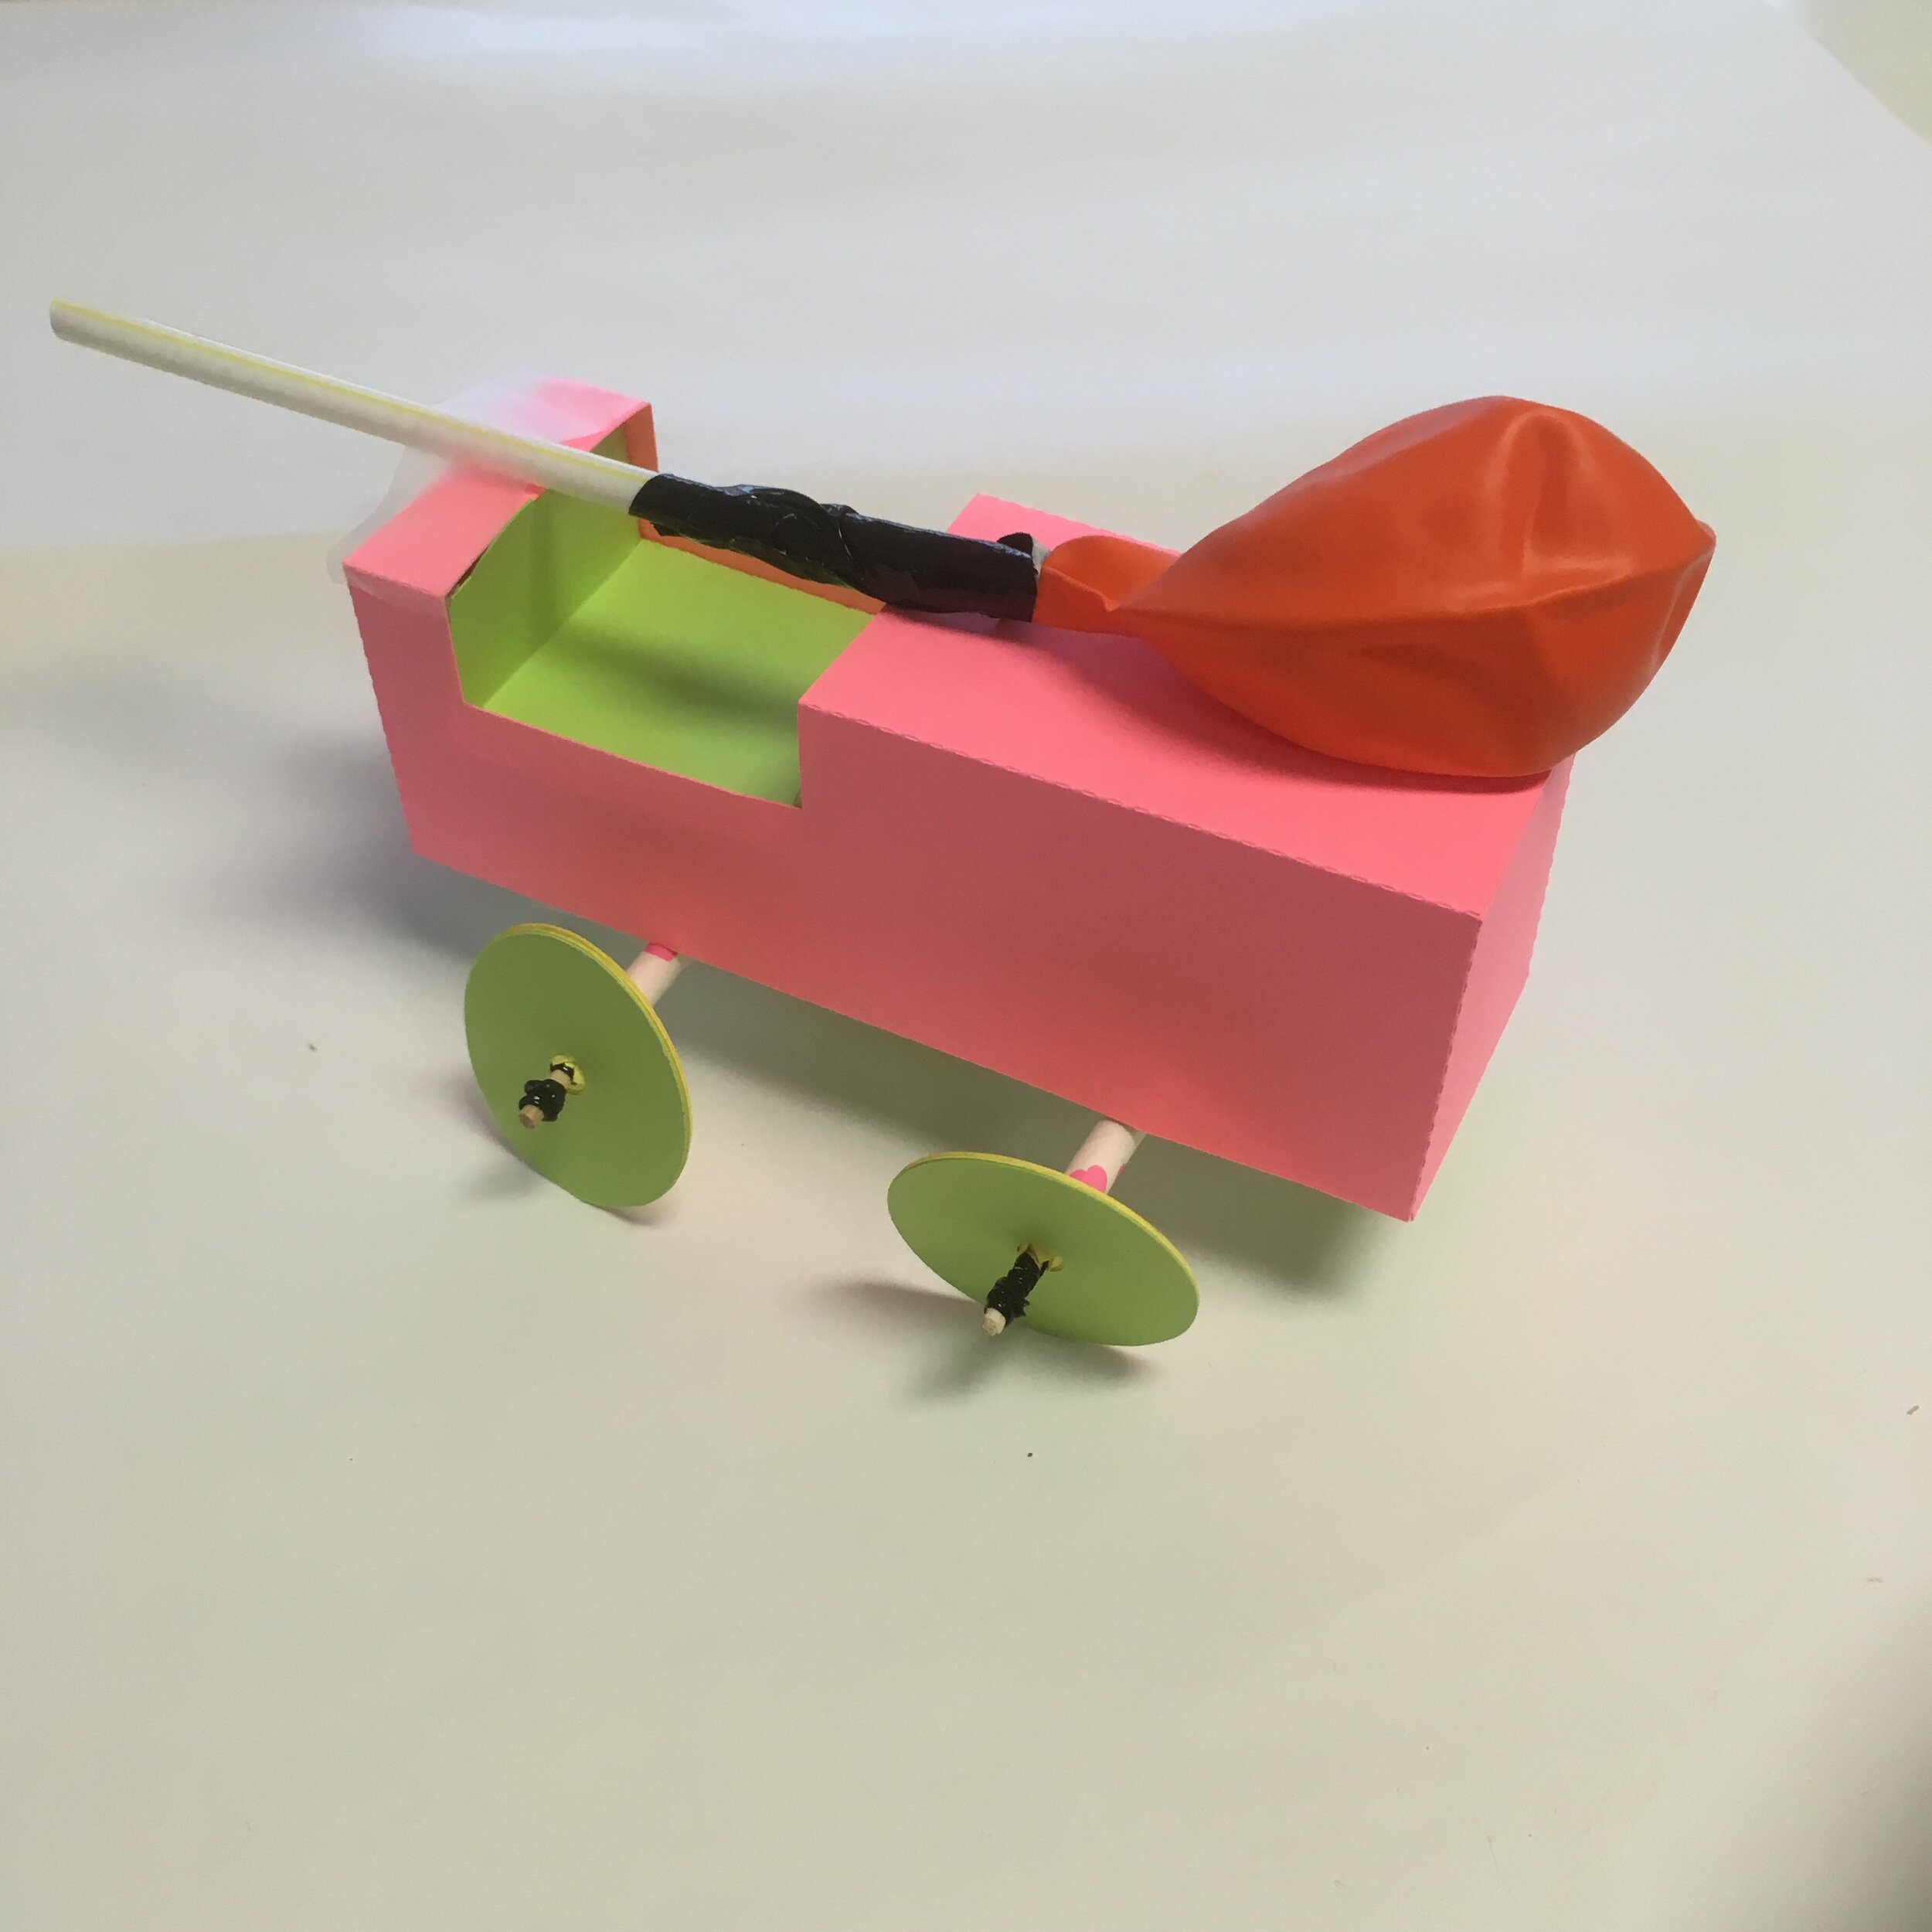
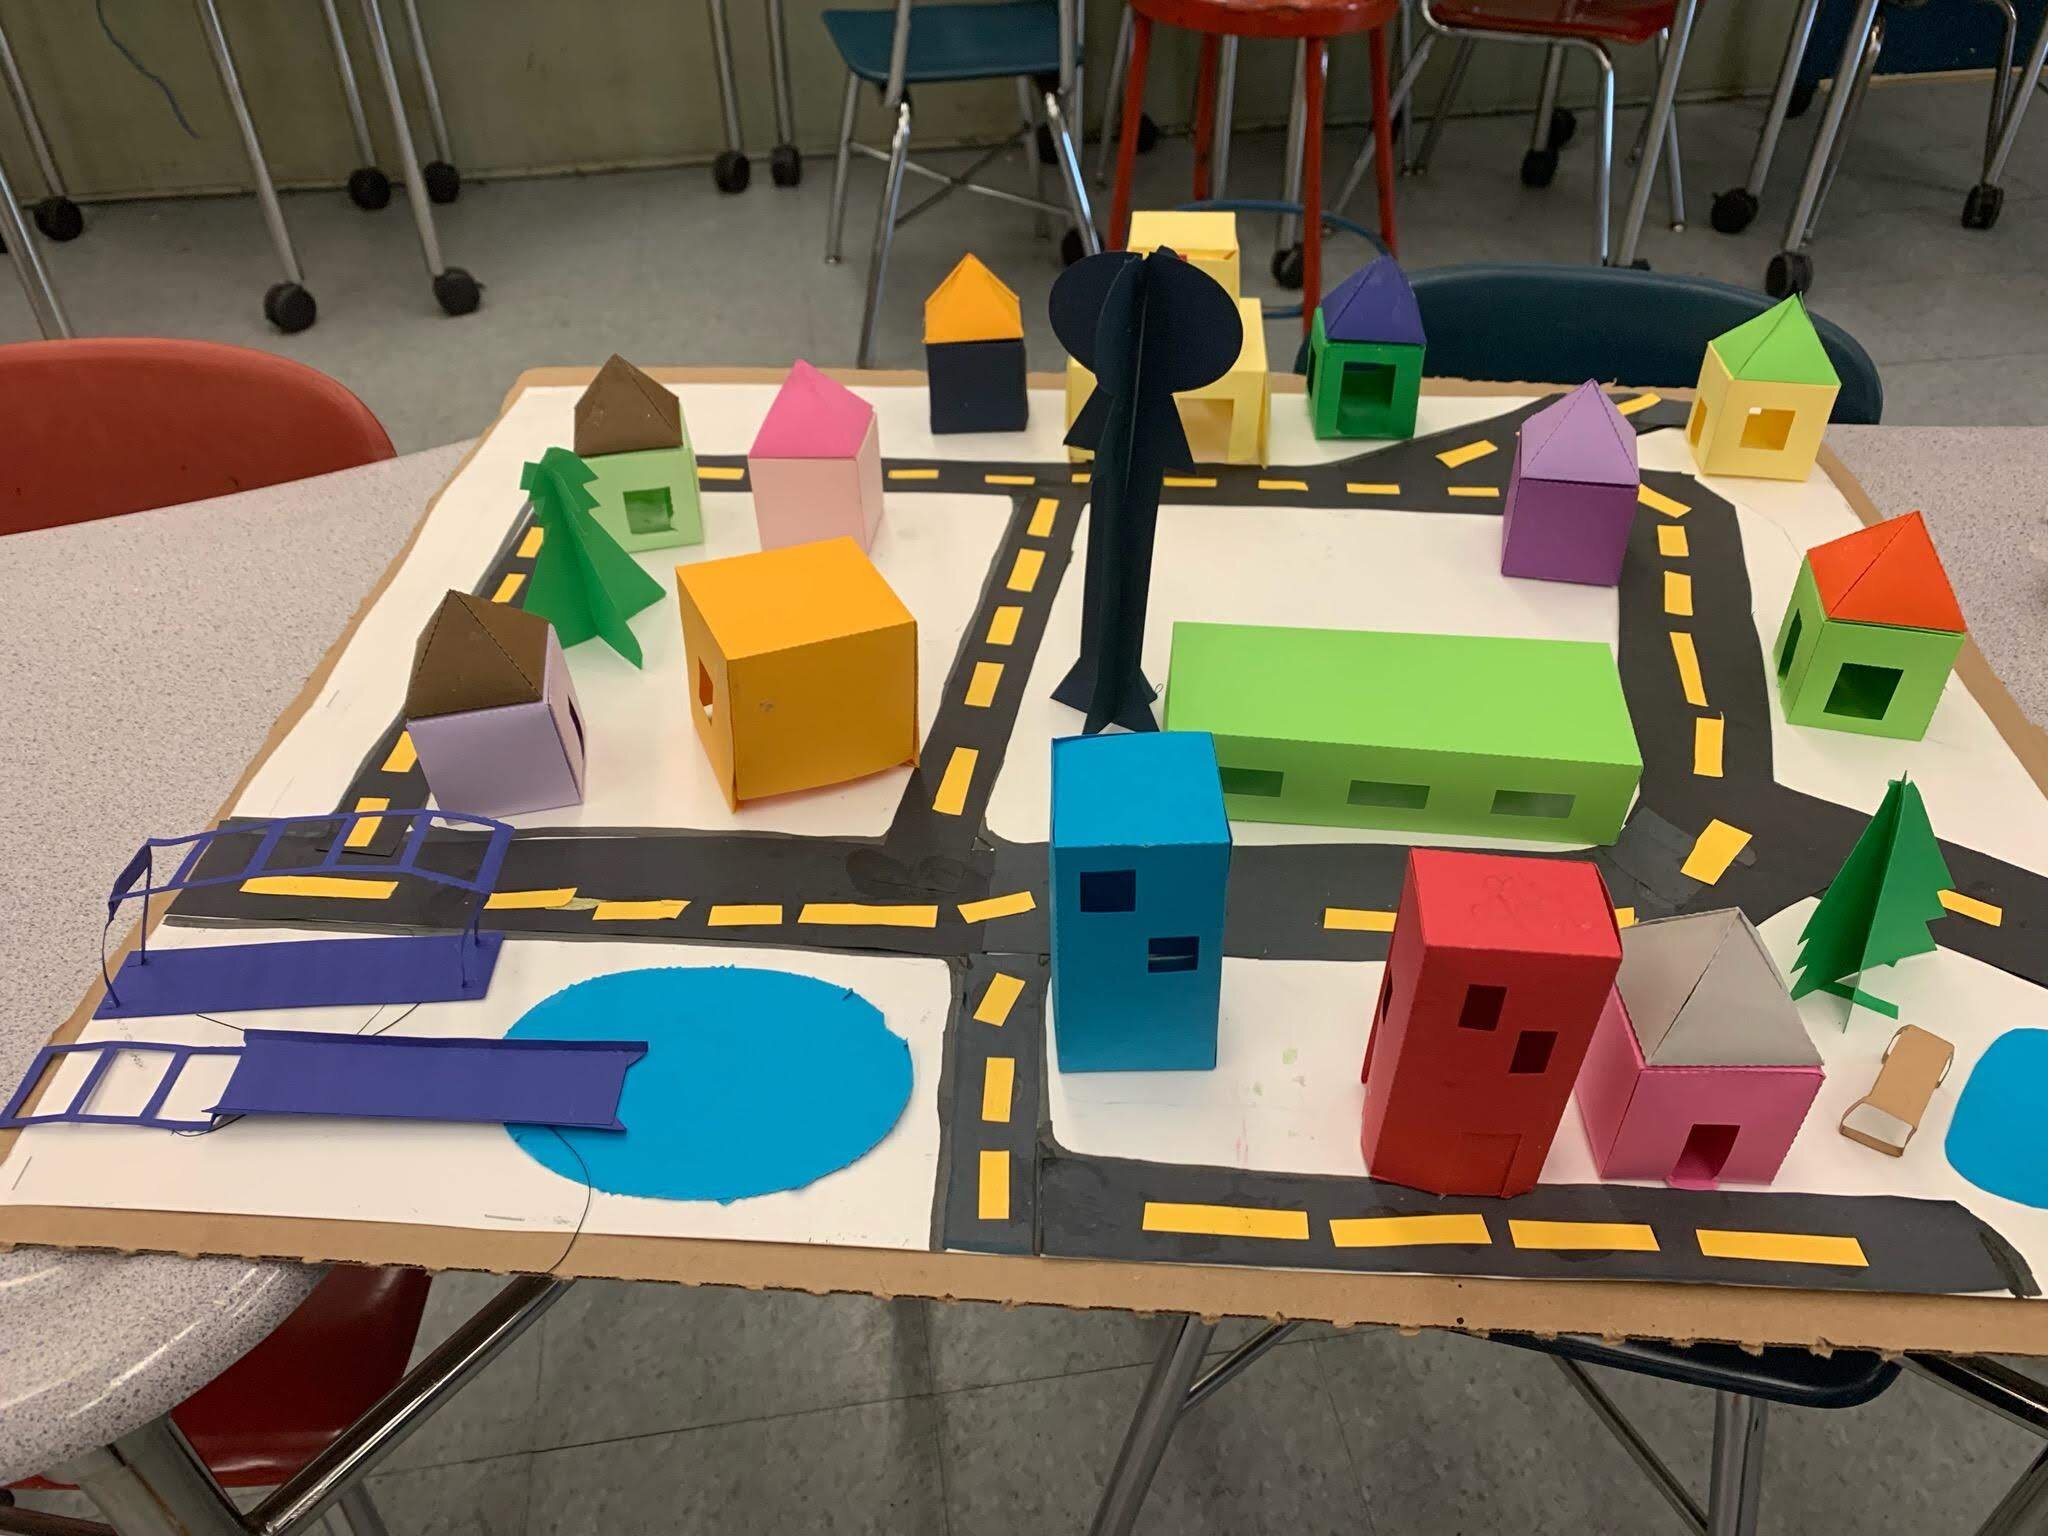
STEM content: Through FabMaker Studio, students can learn about constructing geometric shapes (activity here) and use the built-in measurement tools to engineer a scale model of a city or to exploring force and structure (go-cart activity).
Building first through technology then with actual materials is a hands-on way to gain skills in all the STEM fields.
Paper Prototyping: Prototyping is a valuable part of the creative process. Utilizing affordable and easily accessible materials, FabMaker Studio can help students make tangible objects to represent their ideas in order to test out their understanding. For details on how to use scissors to complete a project click here.
Spatial Reasoning: When designing in FabMaker Studio, students must think about how the final product they’re imagining would look when unfolded. Students have to envision where the paper must be cut and folded to create the end goal. Developing their spatial reasoning in this way is valuable for many applications and future careers.
FabMaker Tips: There are three lines in FabMaker Studio - perforated fold lines (green), cut lines (red), and black lines (don’t cut). For tips on how these lines function download our FabMaker Tool Tip sheet.
Design and Creativity: Students get to build objects starting with their imagination and then bringing them into reality. There are multiple possible ways to build the same object when you are talking about paper fabrication, so students’ design and creativity skills really get to shine. For ideas on how to get started with FabMaker Studio, check out these Spotlight Blogs and examples on the Reynolds Center site.
Perseverance and Resilience: Fabricating with just paper and tape/glue provides a low-stakes environment for taking risks and making mistakes. Students learn to try again and again and to think of mistakes as pieces of information to learn from. Perseverance and resilience are all part of the process.

Vocabulary-Building Game for Distance Learning
As you formulate your plans for distance learning, you might want to consider vocabulary building as part of a well-rounded remote curriculum.
However, it can be a challenge to teach vocabulary to students remotely. How can you make your lessons both effective and engaging?
One resource for your distance-learning toolkit can be Words and Their Stories - a fun, game-based online vocabulary-building program that teaches (you guessed it!) the fascinating stories behind words.
Etymology is Great Storytelling!
Etymology can be thought of as the history of words. Where and when, you might consider, did a word originate? Who created it, and why? What other words are related?
You’ll find that, much like people, words have surprising stories to tell…
Berserk: “Now here's a weird word! In Old Icelandic, the words ber serk meant ‘bear shirt.’ This was a reference to the fact that Norse warriors wore shirts made of bear hides, and if one of these warriors fought with extraordinary violence and fury, he was called a berserker.”
Peculiar: From the “Latin pecu, meaning ‘cattle.’ Like many other societies in the ancient world, the early Romans measured their wealth in cattle. Thus, peculium came to mean ‘private property; property in cattle,’ followed by peculiarus, which meant ‘of one's own property.’ So, when peculiarus became the English peculiar around 1450, it no longer referred to cattle or property, but to something specific to ‘one's own’ self.”
Yoke: From “the Old English geoc, meaning ‘oppression.’ In ancient times, a yoke was an arch that conquering Roman soldiers made with their spears and forced their enemies to walk under, a clear sign of Roman control.”
These are three examples of the kinds of “stories” that can be found in the Words and Their Stories program.
The platform then leads the students through quizzes, context clues, and analogies — each offering a different type of critical thinking.
Unlike plain memorization, this kind of game-based interaction with words makes the definitions really stick!
Working Remotely, and Working Well
Teachers can arrange for students to log-in to the Words and Their Stories program on their laptops or home computers.
From home, students will play the game, learn new words, quiz themselves, and have a lot of fun!
Teachers will be able to:
Track student's improvement and see scores for each level of the program.
Filter words by level of difficulty and/or theme, which makes lesson creation simple.
Add their own words to the program and create custom word lists.
Vocabulary Opens Doors
A strong vocabulary is arguably the cornerstone of your students’ communicative development. It allows them to better understand what they read, and also empowers them to express their thoughts with greater fluency, precision, and skill.
This can build confidence that will last a lifetime!
To bring Words and Their Stories to your grade 5-12 “remote classroom,”
please contact us at info@fablevisionlearning.com.

Use Animation-ish with Distance Learning
Animation is a fun, visual way to represent knowledge, concepts, ideas, and feelings. Here are some ways to use Animation-ish with distance learning.
Assessment: In Animation-ish, encourage your students animate a concept you have taught: the life cycle of an animal, a math word problem, a vocabulary word definition, one of the rights from the Constitution, or the problem from a story. Animation requires us to “highlight the essence” of what we are trying to represent - a creativity skill. Using animation is a way to allow for student creativity while also finding out whether they understand a concept.
Animation-ish Tip: Select the “SHARE” button to export an animation as an .mp4, .mov, .mpg, and as an image sequence (.png). These files can be uploaded to a virtual classroom or emailed to a teacher.
Communication skills: Animation is one way to tell a story. Students can work on storytelling skills and conveying a message through a visual medium. This practices communication and the creativity skill “visualize it richly.” Bring thoughts to life through animation!

Executive Function: Practice planning, developing, and implementing an idea through Animation-ish. Animation starts with a storyboard where students plan out their ideas. Then they move to creating the animation. Playback allows them to find and fix mistakes in an iterative process of development.
Animation-ish Tip: Click on the Animation Storyboarding Kit to download a PDF of the activities, including a storyboarding template.
Art: Animation is a form of art and expression. Students can express their feelings and develop artistic skills related to animation, including techniques for drawing for movement.
Animation-ish Tip: Students can save their animations in progress to their Project Vault to work on later.
Build Confidence: The features in Animation-ish are leveled so that the youngest students can feel confident and competent in animation. Watching the most simple of drawings come to life engages student imagination and shows them that they can make awesome things to share with the world.
Share your ideas? How do you plan to use Animation-ish with distance learning? Share your tips and tricks in the comments below.

FabMaker Tip: Using Scissors to Engineer Your Project
Schools, libraries, and afterschool programs across the country have been using FabMaker Studio to design, invent, and prototype 3D projects, pop-ups and 2D creations with the help of a Silhouette paper cutter. But did you know that projects can also be completed with a printer and a pair of scissors?
Check out the video below for a quick how to:
This means the FabMaking isn’t limited to where a Silhouette is available. At home, students can print the cut & fold lines and create their FabMaker projects.
Step 1: Once the project is ready to be printed, select the Printer icon.

Step 2: On the Print Preview page select the “Print Cut & Fold Lines.” And if you don’t want to print the interior color, you can select “Remove Color Fill.” Next, select Save to PDF to start the printing process.

Step 3: Open the PDF in a reader of your choice, hit print, and grab your scissors!

What happens next is up to you. If you need a refresher on what the different lines mean, download the FabMaker Tool Tips guide.

Free Printable Activity: Let’s Create a Mash-Up Story!

If you find yourself with young children at home who are looking to both socially engage and exercise their creativity, this collaborative Mash-Up Story activity might be a perfect fit.

Step One: Drawing Roles + Defining the Challenge
To begin your collaborative “Mash-Up Story” activity, print out these free Paper-Slip Templates, which address the following story elements:

Primary Characters
Secondary Characters
Locations
Objects
Feelings
You will notice that half of the slips are filled in with starter ideas, and half are left open for you to complete. Brainstorm as a group, and consider characters, places, and objects that are meaningful to you!
When all of the slips are filled in, cut them out and place them in 5 containers that are separated by subject matter. The containers can be jars, hats, bowls, or whatever you have on hand.

Then, for each participant, conduct a “drawing” that results in each person having a series of 5 story prompts. You can make this process as theatrical as you’d like. (Drumrolling is optional.) For example, “Julie” might end-up with:
Primary Character: Talking Fish
Secondary Character: Pinocchio
Location: Trampoline Park
Object: Magic Coin
Feeling: Jealous
The other participants will each have a different series of prompts that they will be challenged to combine in a story!
Step Two: Brainstorming, Writing + Illustrating the Story
Prior to writing, each participant can brainstorm about their own plot line, central message, and even mood structures (reference: Trevor Bryan).

Image courtesy of Trevor Bryan
Depending on the age of your group, you can challenge your writers to teach a lesson, or to devise a story structure that starts with a difficult hurdle and ends with a happy resolution.
(For more information about Using Mood Structures to Support Student Writers, see the blog post by Trevor Bryan.)
Next, print out this Cover Template and Illustrated Pages Template.
With an idea in mind, participants can then dive in to their writing and illustrating. You can print out as many copies of the pages as you might need…don’t be afraid to adjust your approach partway through, or rewrite!
Adjustments, edits, and revisions are part of the fun.

Step Three: Share, Collaborate + Repeat
Once the stories have been written, they can be shared. Keep in mind that this component represents an opportunity to connect virtually with people in other locations.
This week, we have been sharing our printable activities in advance with grandparents, cousins, classmates, and friends, and then using FaceTime, Zoom or Skype to share our stories.
It allows for a dedicated time each day to reach out, to share laughter and ideas, and to hear familiar voices.
Step Four: Crossover to Other Media (Optional)
If you’re working with kids who have a favorite method of self-expression, you can encourage them to take their story to the next level!
They might:
Make a comic book or graphic novel.
Turn their story into a script for a play, and act it out with costumes.
Storyboard and animate their concept, in a program like Animation-ish.
Make a stop-motion video with Legos/figurines, or record a live-action video with family members reading different roles.
Remember, storytelling is a fun, powerful, collaborative tool. You’ll be surprised to see how differently people approach their characters and concepts!
Printable Resources:
In the coming weeks, we will continue to share resources for creativity. If you have ideas, questions, or comments, please reach out to us at info@fablevisionlearning.com.
We would love to connect the dots with you!

Encouraging Creativity at Home

As a mother and educator, I am now, like many across the globe, working to find a new normal with my elementary aged kids at home. With everything so up in the air, I’m finding myself grateful for the training and experience I have in creativity, so I thought I would share the first two things I did when my kids’ school was closed.
Embrace the Challenge.
This is a creativity skill. When we run into a problem, we are more able to handle it with resilience and creativity if we see it as a challenge to be faced. This attitude is going to be necessary many, many times while we are social distancing. My kids miss their friends, they need things to do while I work, we’re not used to everyone being home all day every day. Challenges are going to appear. So, when they do, we put on our creative thinking hats and state the problem as a question:
“How might we organize our day?”
“How to connect with friends and family?”
When the going gets tough, this is what we are going to try to do - recognize the challenge, state it as a question, and then engage in divergent thinking.
What is Divergent Thinking?
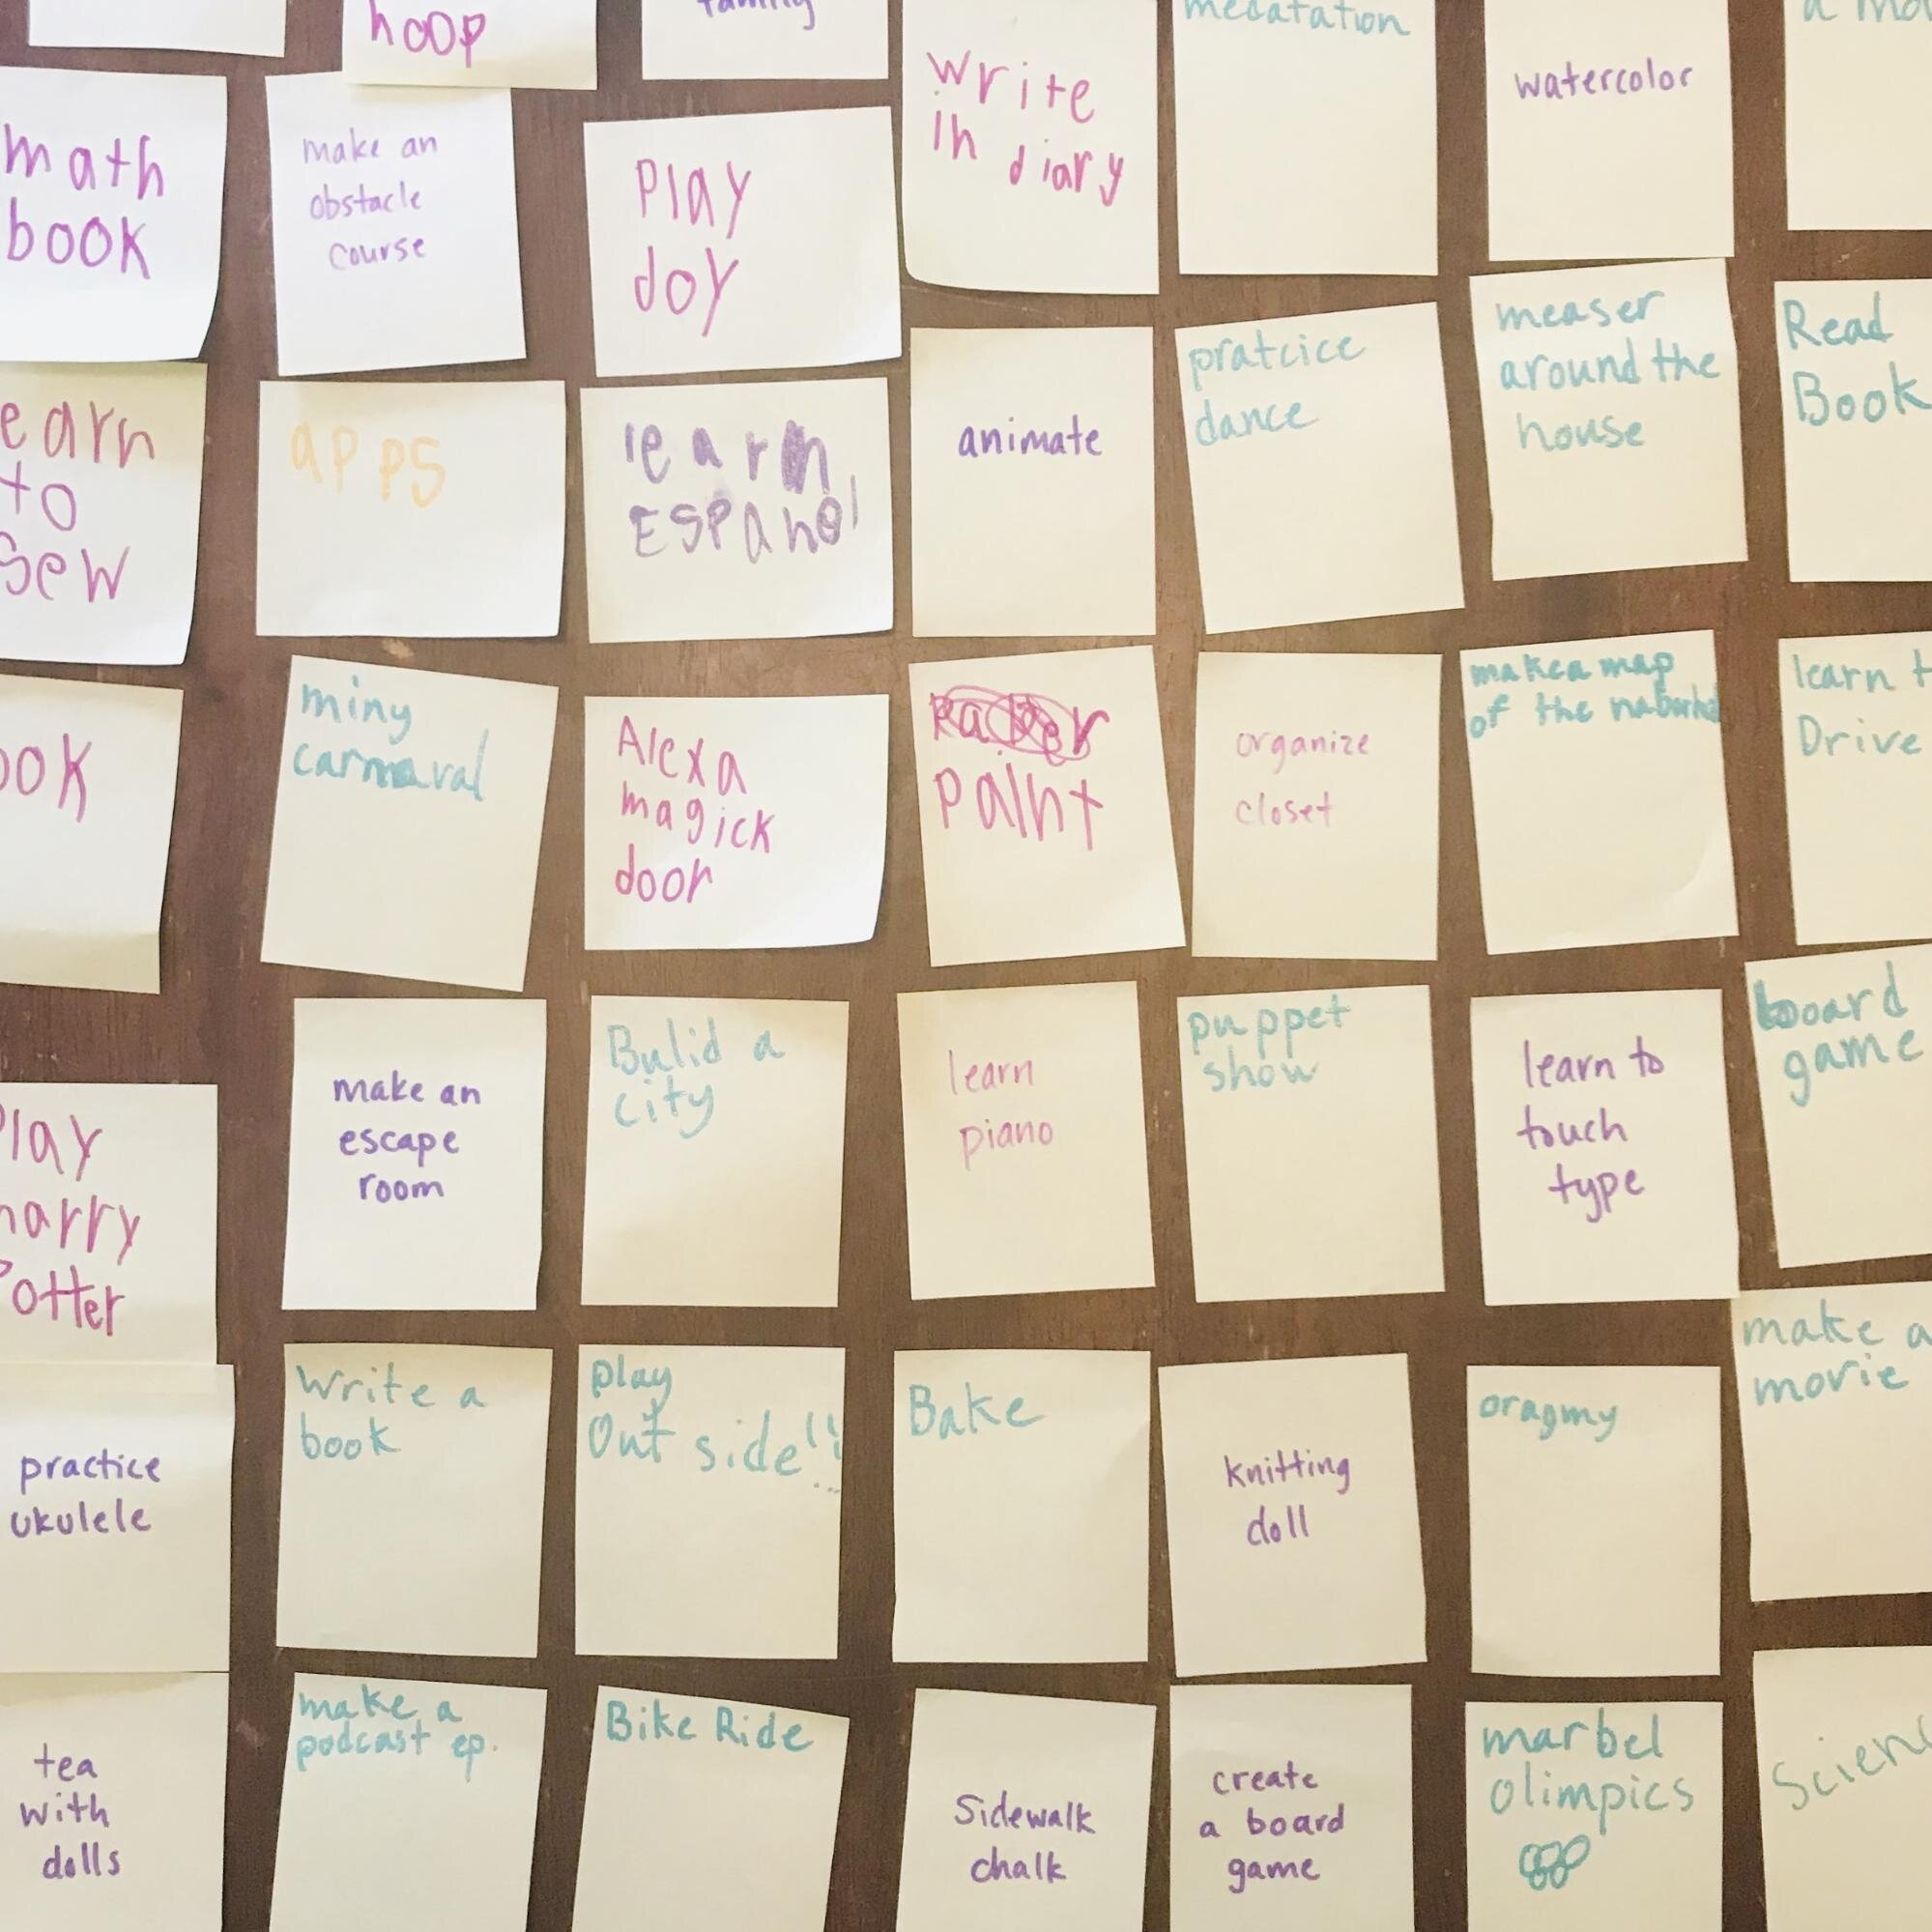
Divergent Thinking is a foundational building block of creativity. In my house, once we recognized the challenge before us, I gathered the kids and pulled out a pack of sticky notes and the magic words of divergent thinking: “What might be all the…?”
We focused on what the kids could do while at home for the next while. I wrote “What might be all the things to do?” and we started coming up with as many ideas as we could. We wrote each one down on a sticky note without judgment. Divergent thinking is all about letting ideas flow freely and accepting others’ ideas. We came up with over 50 ideas in a pretty short amount of time, and I left the sticky notes out so we can continue to add.
We don’t know a lot about what is going to happen in the next few weeks, but we do know it’s going to require the best of our resilience and creativity, and our children are going to see and learn from the way adults respond.
Through this, I hope my children learn that we can work together to make the best of a hard situation, that we can problem solve creatively, and that we are here for each other in hard times, ready to face challenges.
There are lots of amazing ideas for parents and children on the internet. I urge you also to spend time coming up with your own ideas together as a family. We can give our children the gift of learning how to confront the many challenges they will face in life as they grow.
Here’s a fun divergent thinking activity we like to do with kids to get them thinking flexibly.
About Sara: Sara Smith is Creative Education Development Manager for FableVision Learning. She holds a Master of Science in creativity from the International Center for Studies in Creativity at SUNY College at Buffalo. Sara is compelled by learning and its intersection with creativity, and her vision is to develop and support creative communities that help people to grow and to nurture their passions and strengths.

Celebrate World Wildlife Day with FabMakerStudio!

When it comes to wildlife, the first step toward conservation may be appreciation. It’s easy for students to fall in love with nature when they explore the exciting worlds of animal life (fauna), plant life (flora), and the astounding ways in which they interrelate.
In the classroom, World Wildlife Day (March 3, 2020) provides a unique opportunity learn about the importance of biodiversity. If you’re looking to incorporate this year’s theme—Sustaining All Life on Earth—into your curriculum during the coming weeks, FabMaker Studio can serve as a fun, creative, and intuitive tool for your students.
Here’s a list of some of our favorite FabMaker Studio projects that relate to wildlife!

The Flight of the Bumblebee
There is a common myth that bumble bees defy the laws of physics as they apply to aerodynamics. How is it possible that they are able to fly? Using high-speed photography, Michael Dickinson—a professor of biology and insect flight expert at the University of Washington—researched how the bumblebee takes flight and published his findings. Through this Fab@School Maker Studio activity, your students will examine the anatomy of a bumblebee, or other flying insects.

Giraffe Masks
Did you know that the small horns on top of a giraffe’s head are called ossicones? Giraffes appear to share these skin-covered, boned protuberances with an extinct relative called the Sivatherium. (Reference: National Geographic, "Sivatherium: A giraffe with a trunk?", and ”The Biggest Giraffe of All Time.”) Even as one of the most common symbols of wildlife, giraffes are relatively little-understood creatures, whose habits and origins are still being researched and discovered!
These card stock Giraffe Mask designs are a ready-made project in FabMaker Studio. For a simple activity, they can be assembled + worn by students, or combined into a classroom/hallway display.
Alternatively, you can use the mask designs to launch a lesson about the evolution of animal features, and how fossil records help researchers to decipher the evolutionary story of a species. With the FabMaker Studio design interface, students can use their imagination to adapt the features, or dream up attributes that the giraffe’s relatives could have evolved to survive. (For example, longer or differently-shaped ossicones, pointed teeth, a trunk, and more!)

Pair a Wildlife Project with a Themed Book!
For World Wildlife Day (and beyond) teachers can use FabMaker Studio projects alongside themed books to create memorable experiences for their students - especially those who like to get hands-on while learning!
For example, this January at the School Within School at Goding in Washington, DC., FableVision/Reynolds Center TLC’s own Paul Reynolds spoke about his book, Sydney & Simon: Go Green!, which addresses the threat that ocean pollution poses to the environment and aquatic life…including sea turtles! Afterwards, the third grade students assembled 3D turtles that were created using FabMaker Studio.
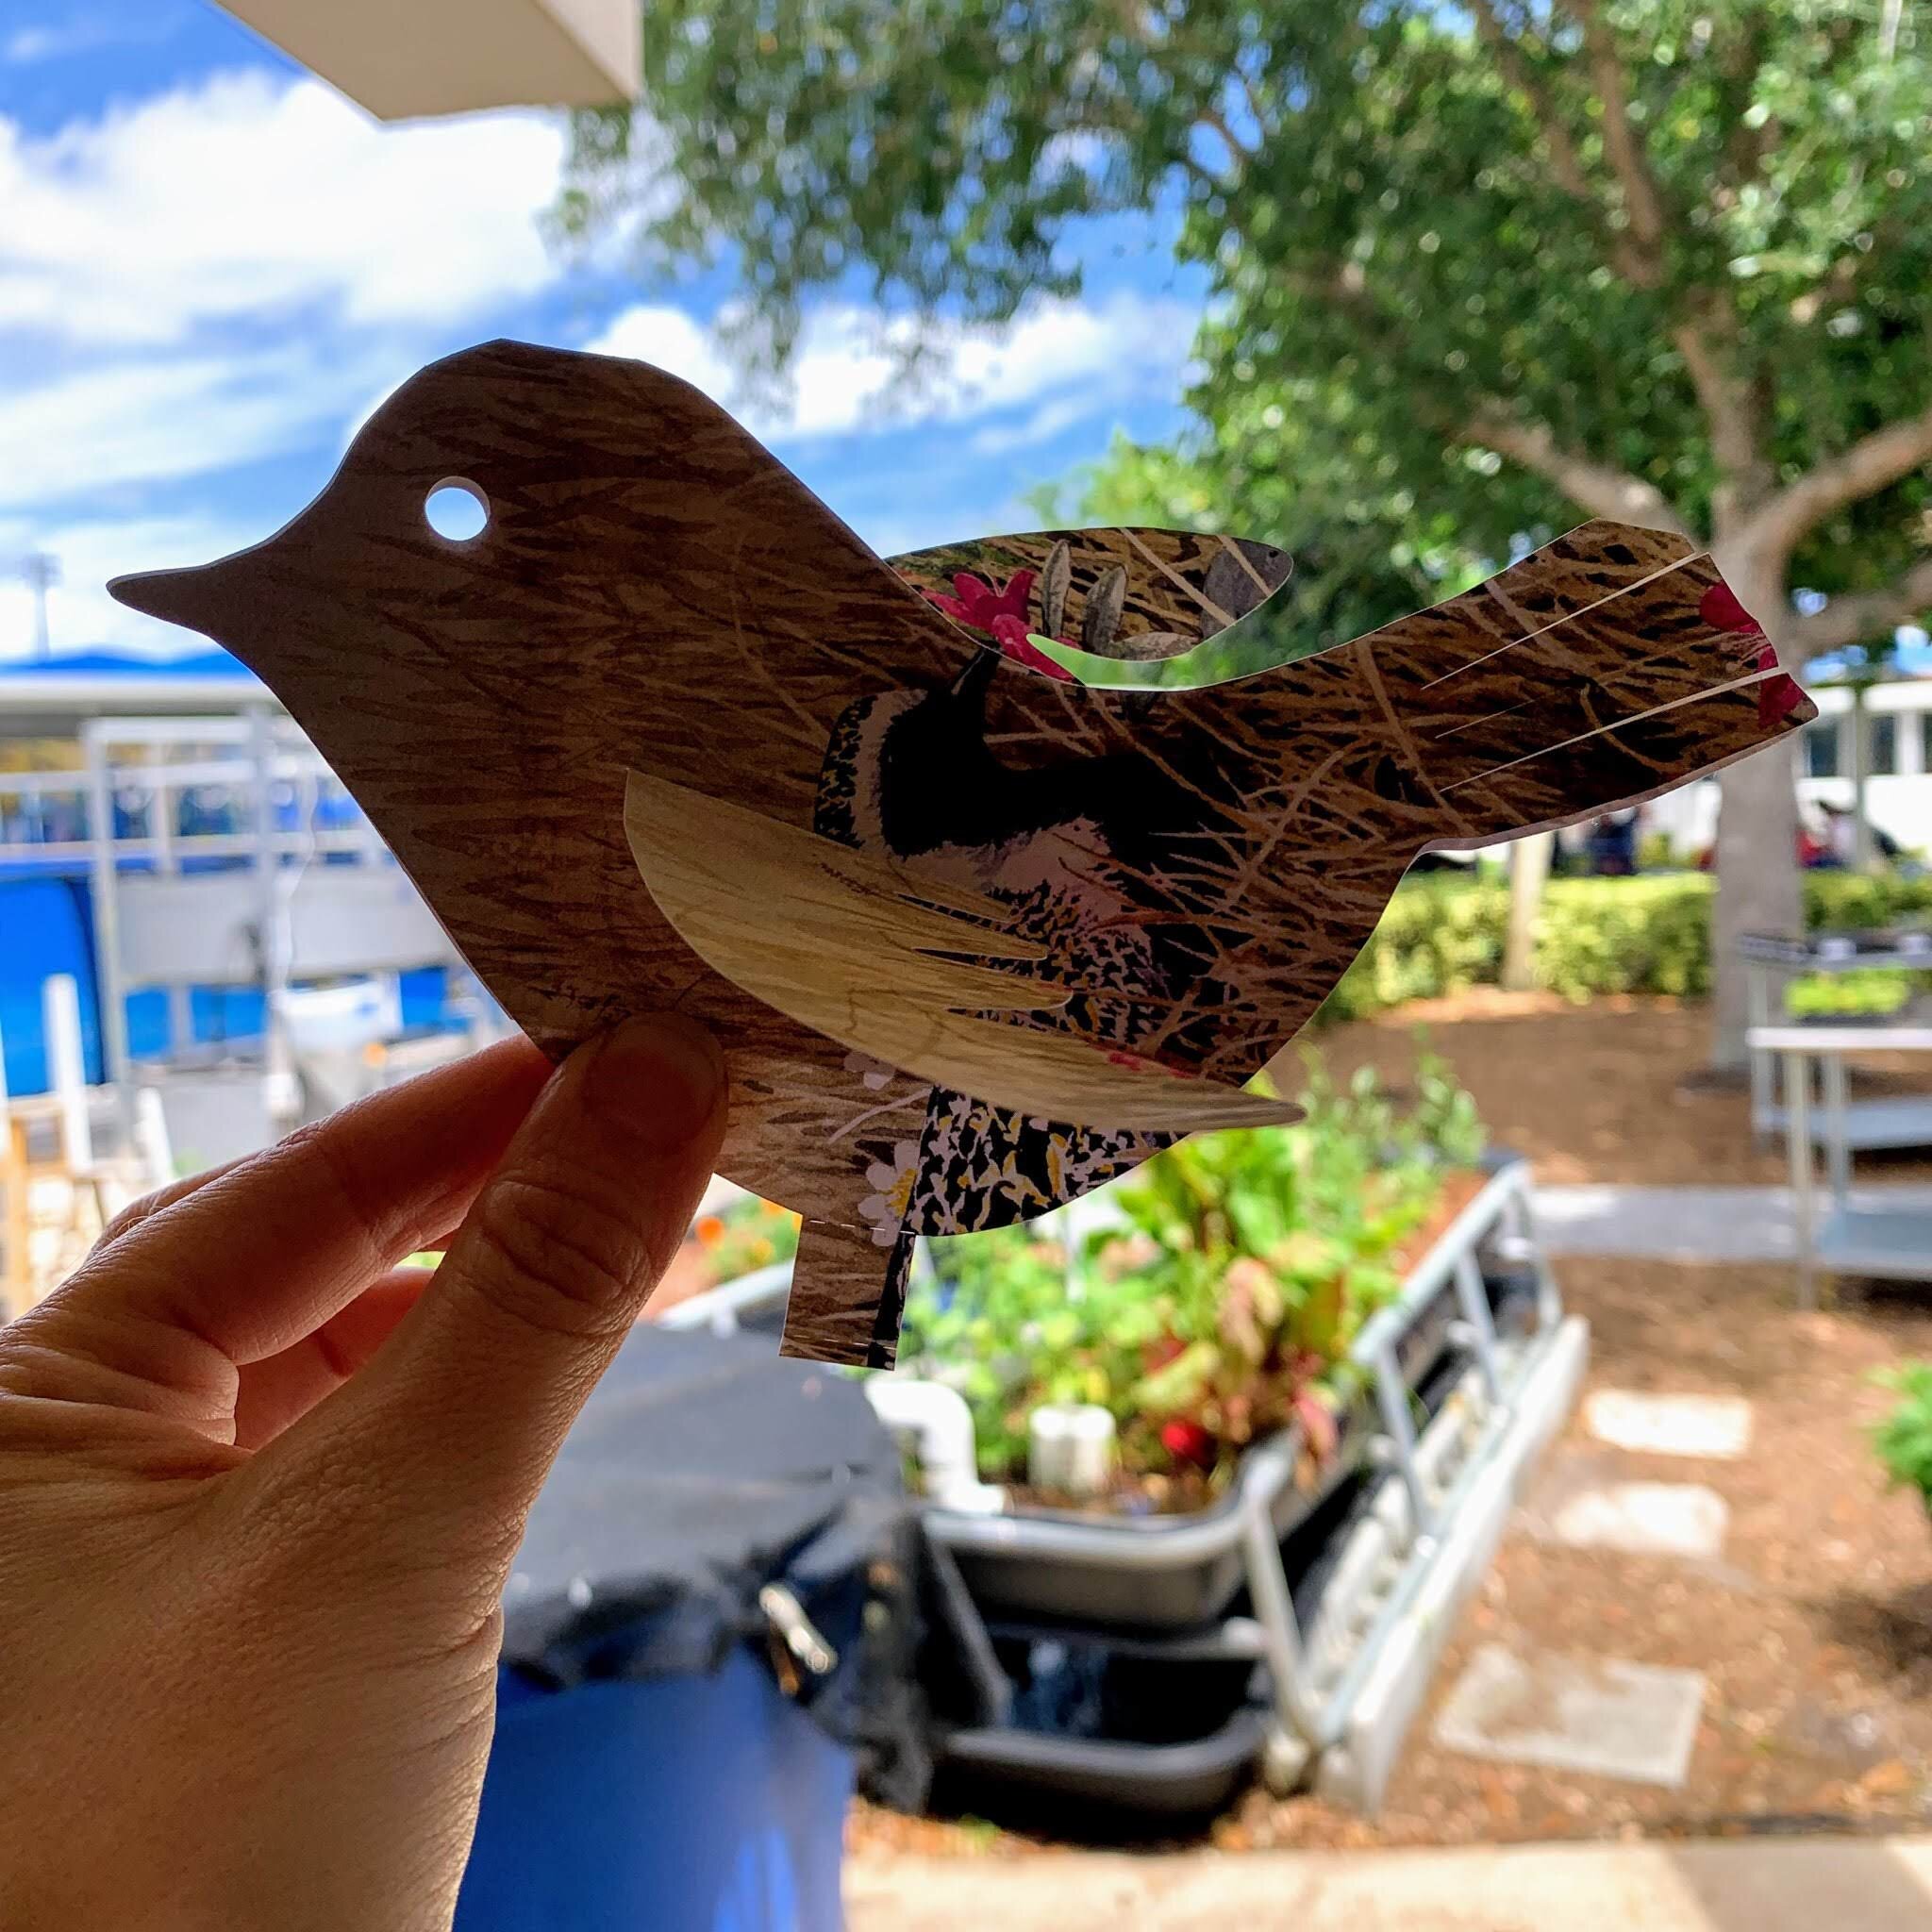
When considering your plans for celebrating wildlife in the classroom, remember that FabMakerStudio offers ready-made projects that feature bears, birds, foxes, turkeys, deer, and many more! Consider which of your favorite books about wildlife could be paired with a paper fabrication project!
How will you bring the lessons of World Wildlife Day in your classroom? How will you incorporate FabMakerStudio 2D and 3D fabrication to make your lessons come alive? For a chance to be featured in our FableVision Learning Spotlight, please email info@fablevisionlearning.com!
To learn more about school visits with Peter H. Reynolds and Paul Reynolds , click here.
Click here to learn about FabMaker Studio.

Fabricating Fun for National Engineers Week

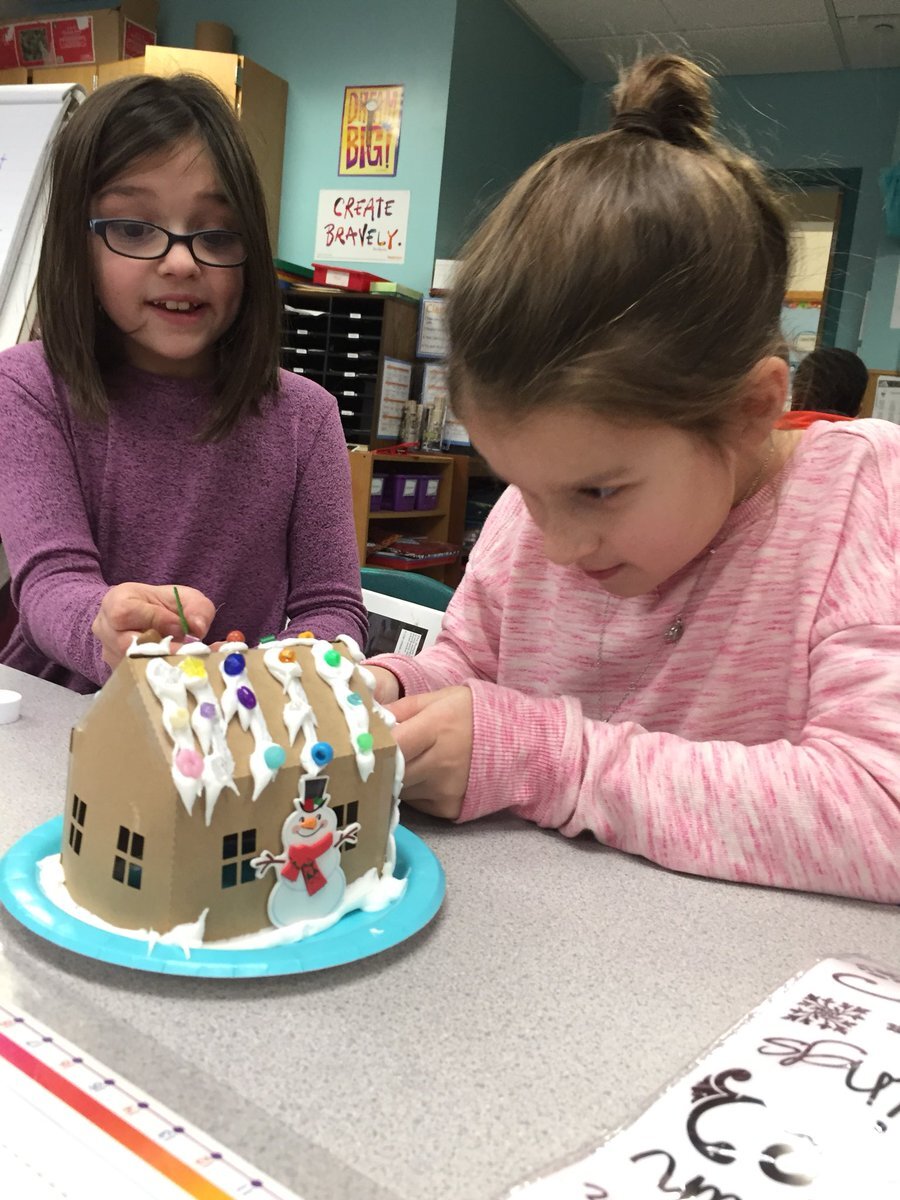
Build a snowman without the frostbite! Watch this quick time-lapse video to see how educators can introduce engineering concepts to young learners with FabMaker Studio.
FabMaker Studio is the first digital fabrication software tool developed specifically for use in the classroom. It is an easy-to-use, web-based program that invites students to experience STEM and STEAM learning in an engaging, personally meaningful way.
For more information, contact us at info@fablevisionlearning.com