FabMaker Pop-ups: Math in the Palm of Your Hand!
The following blog post is by Peggy Healy Stearns, Lead Software Designer, FabMaker Studio.
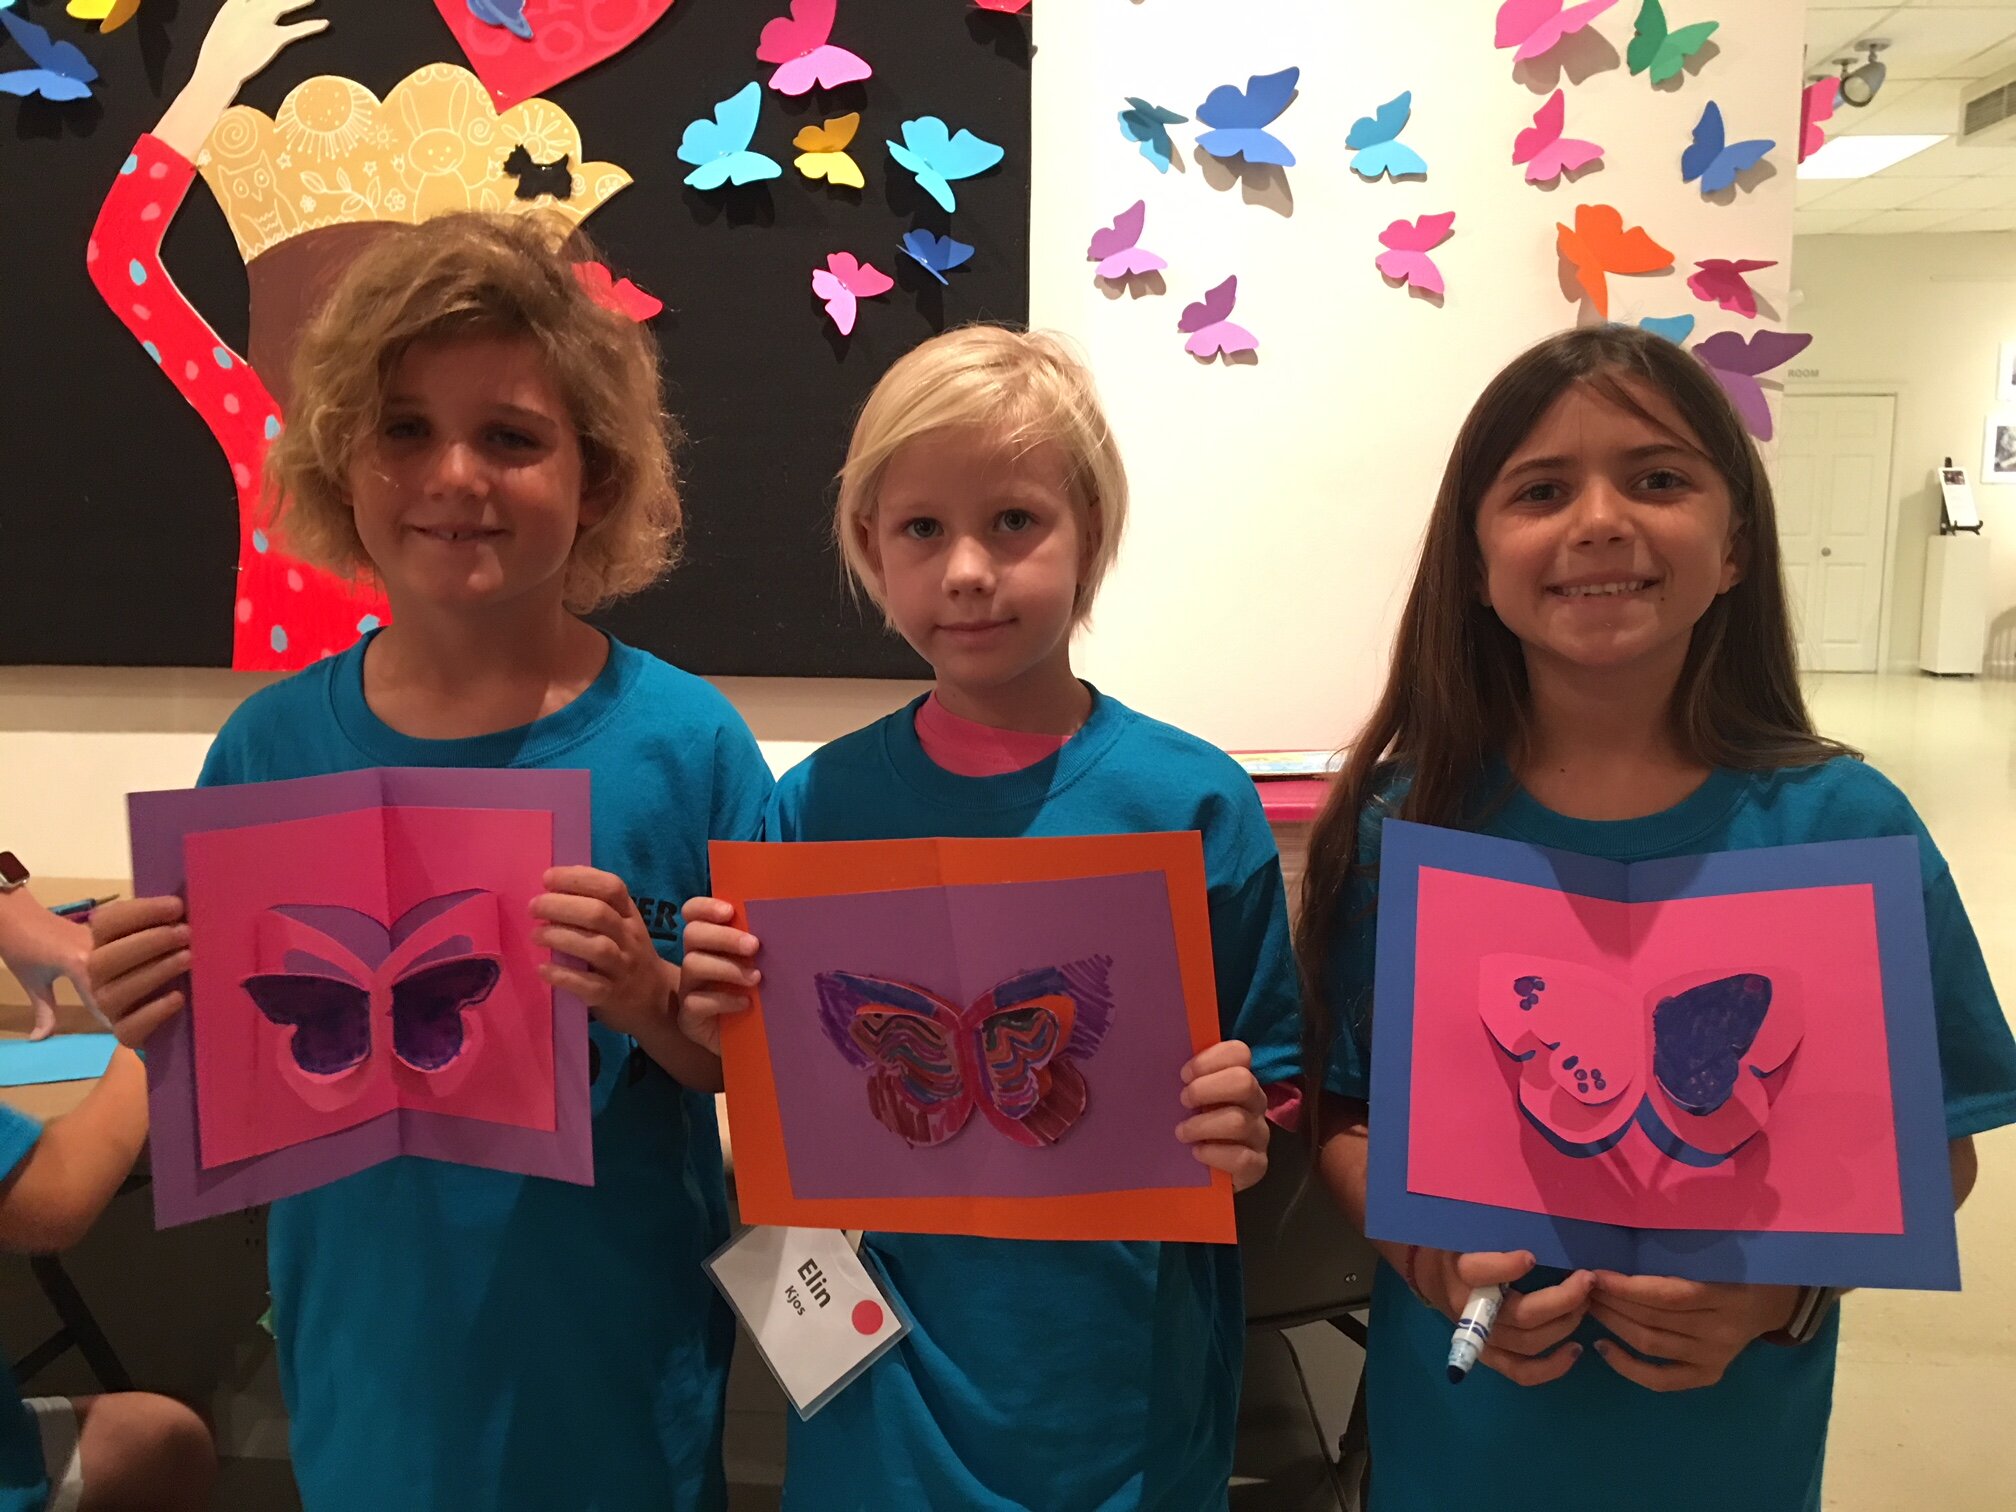
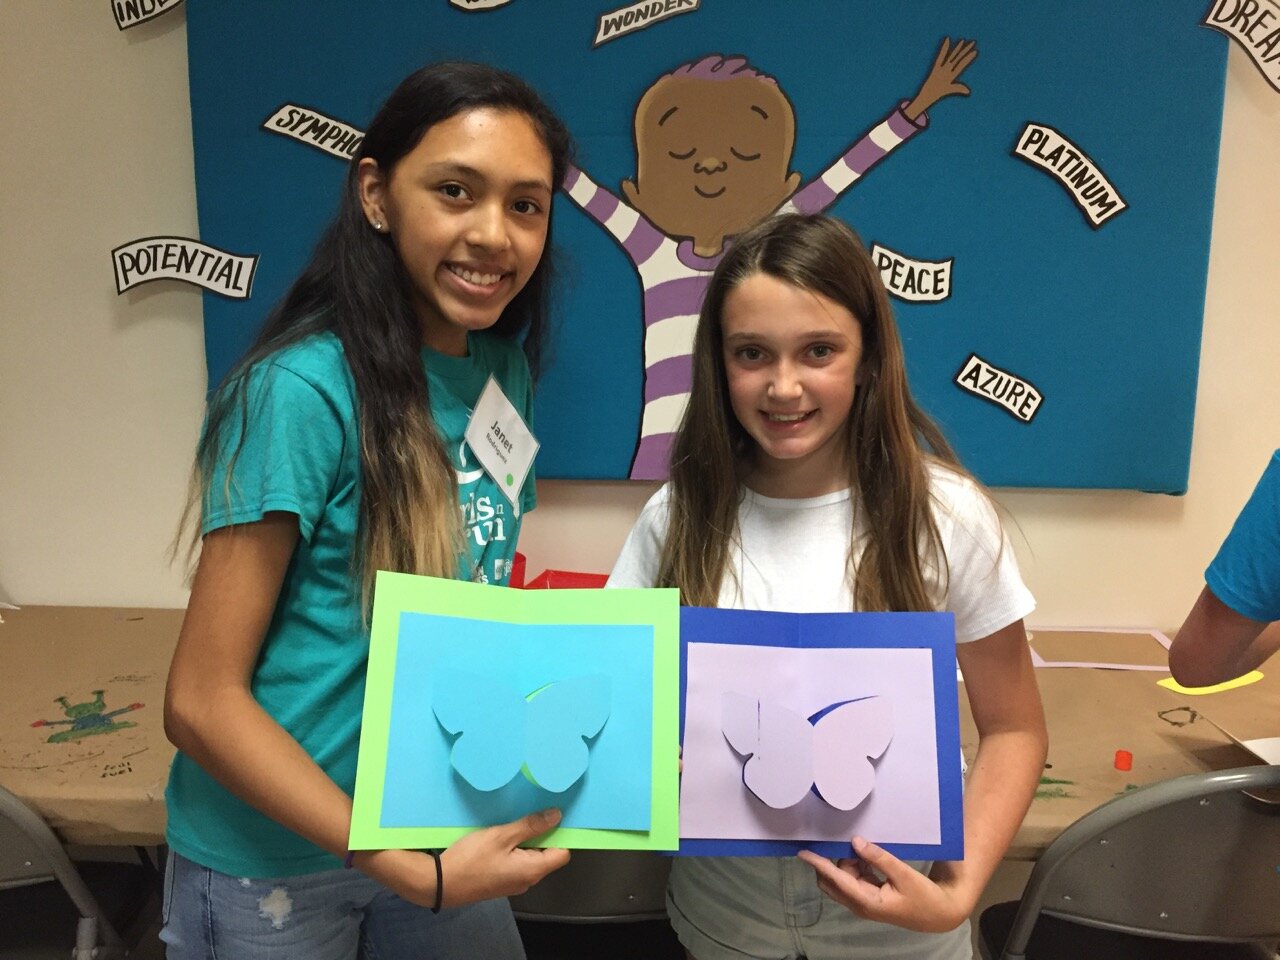
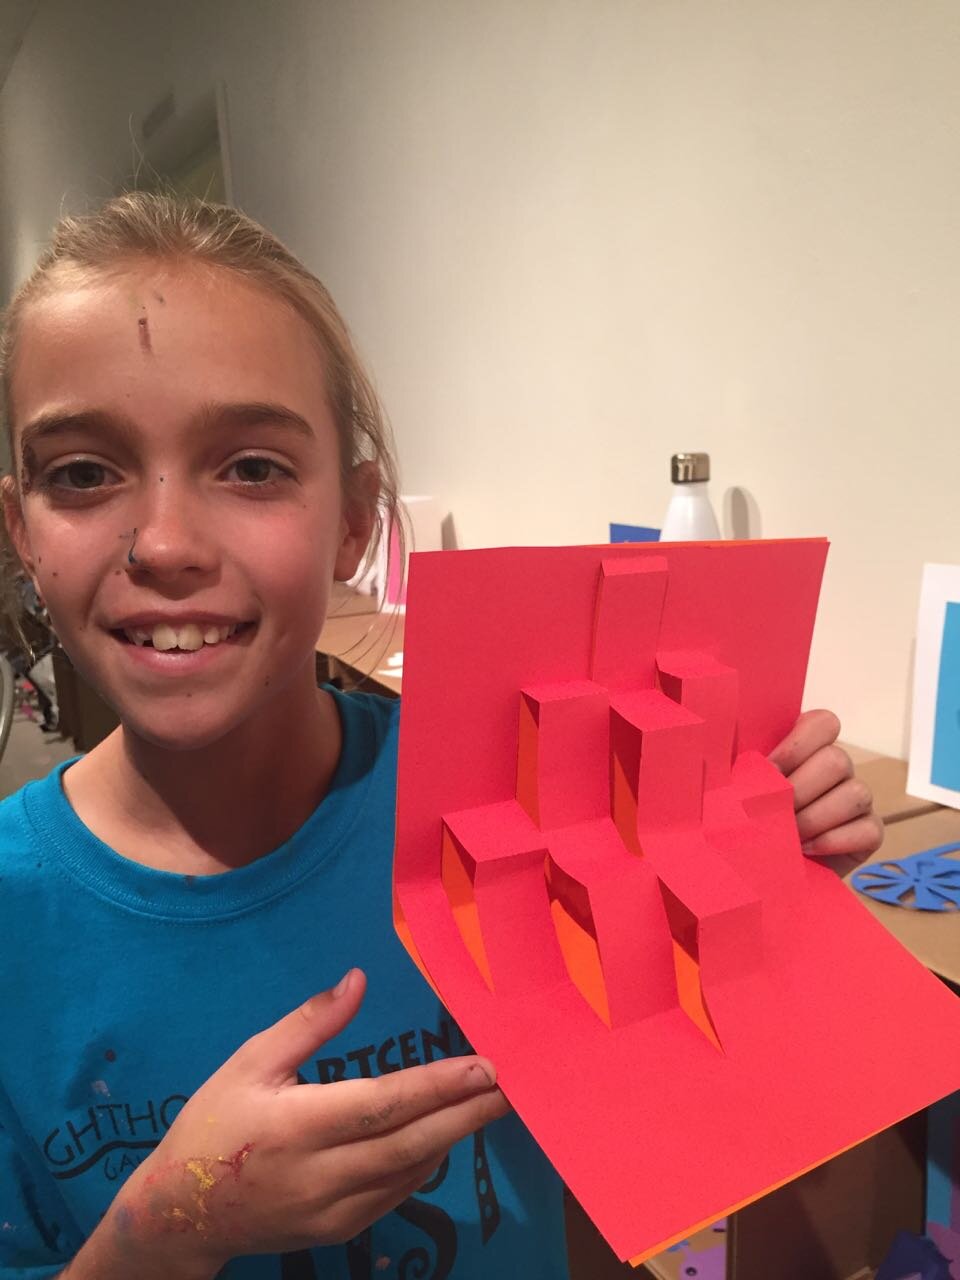
Pop-ups are surprising and fun – and a great way to explore shapes, angles, triangles, parallel lines, symmetry and other math concepts. They also provide great opportunities for story telling and descriptive or other expository writing.
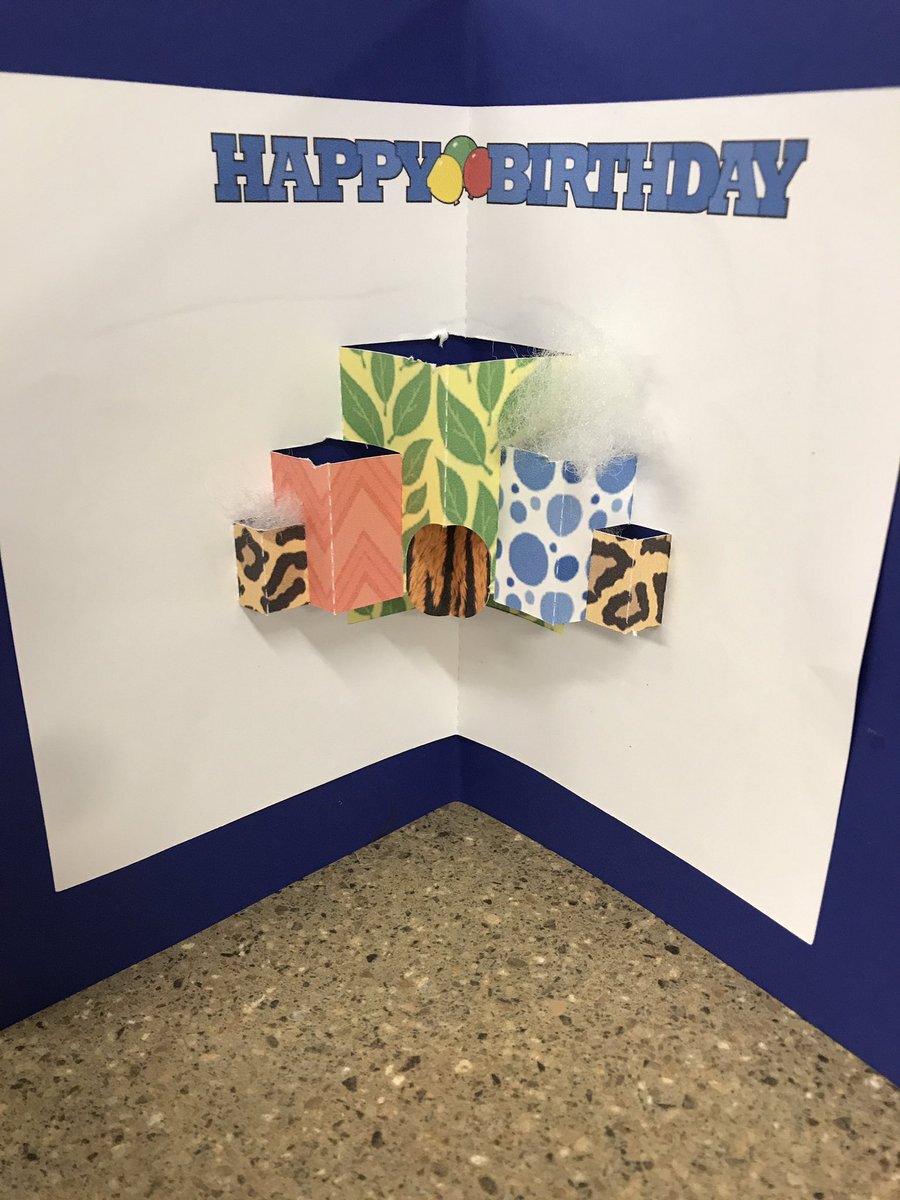
With FabMaker Studio, you can play with these cool constructions onscreen in both 2D and 3D view and then fabricate and explore them in the palm of your hands.
Watch this short video then follow the steps below.
Step 1: Open a Ready-Made Click here to go to FabMaker Studio. Sign in and go to Ready-Made Projects. Choose the tab for Pop-Ups. Wait for the projects to load and scroll down to select and open the Tree Pop Up.

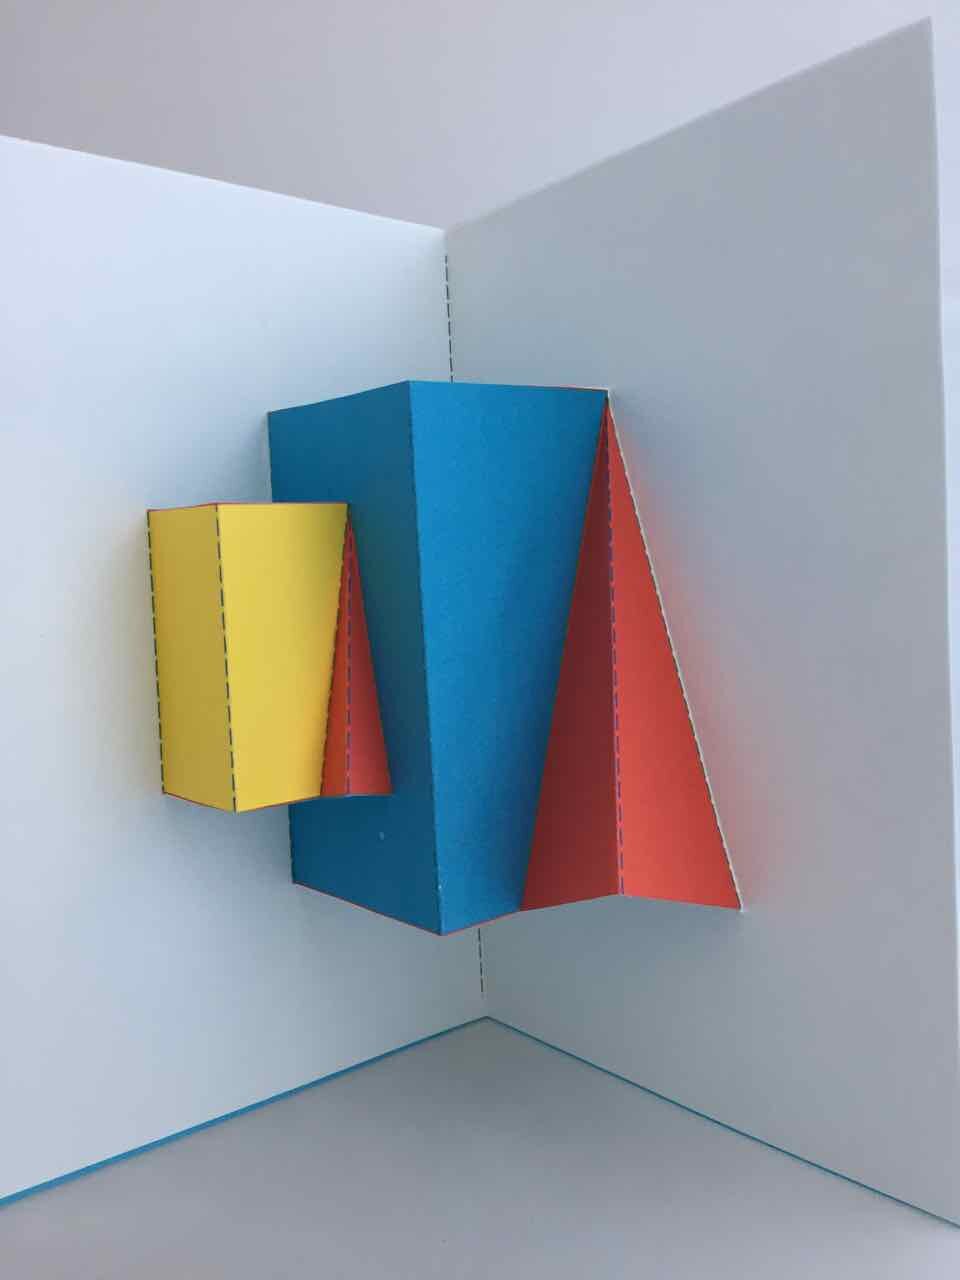
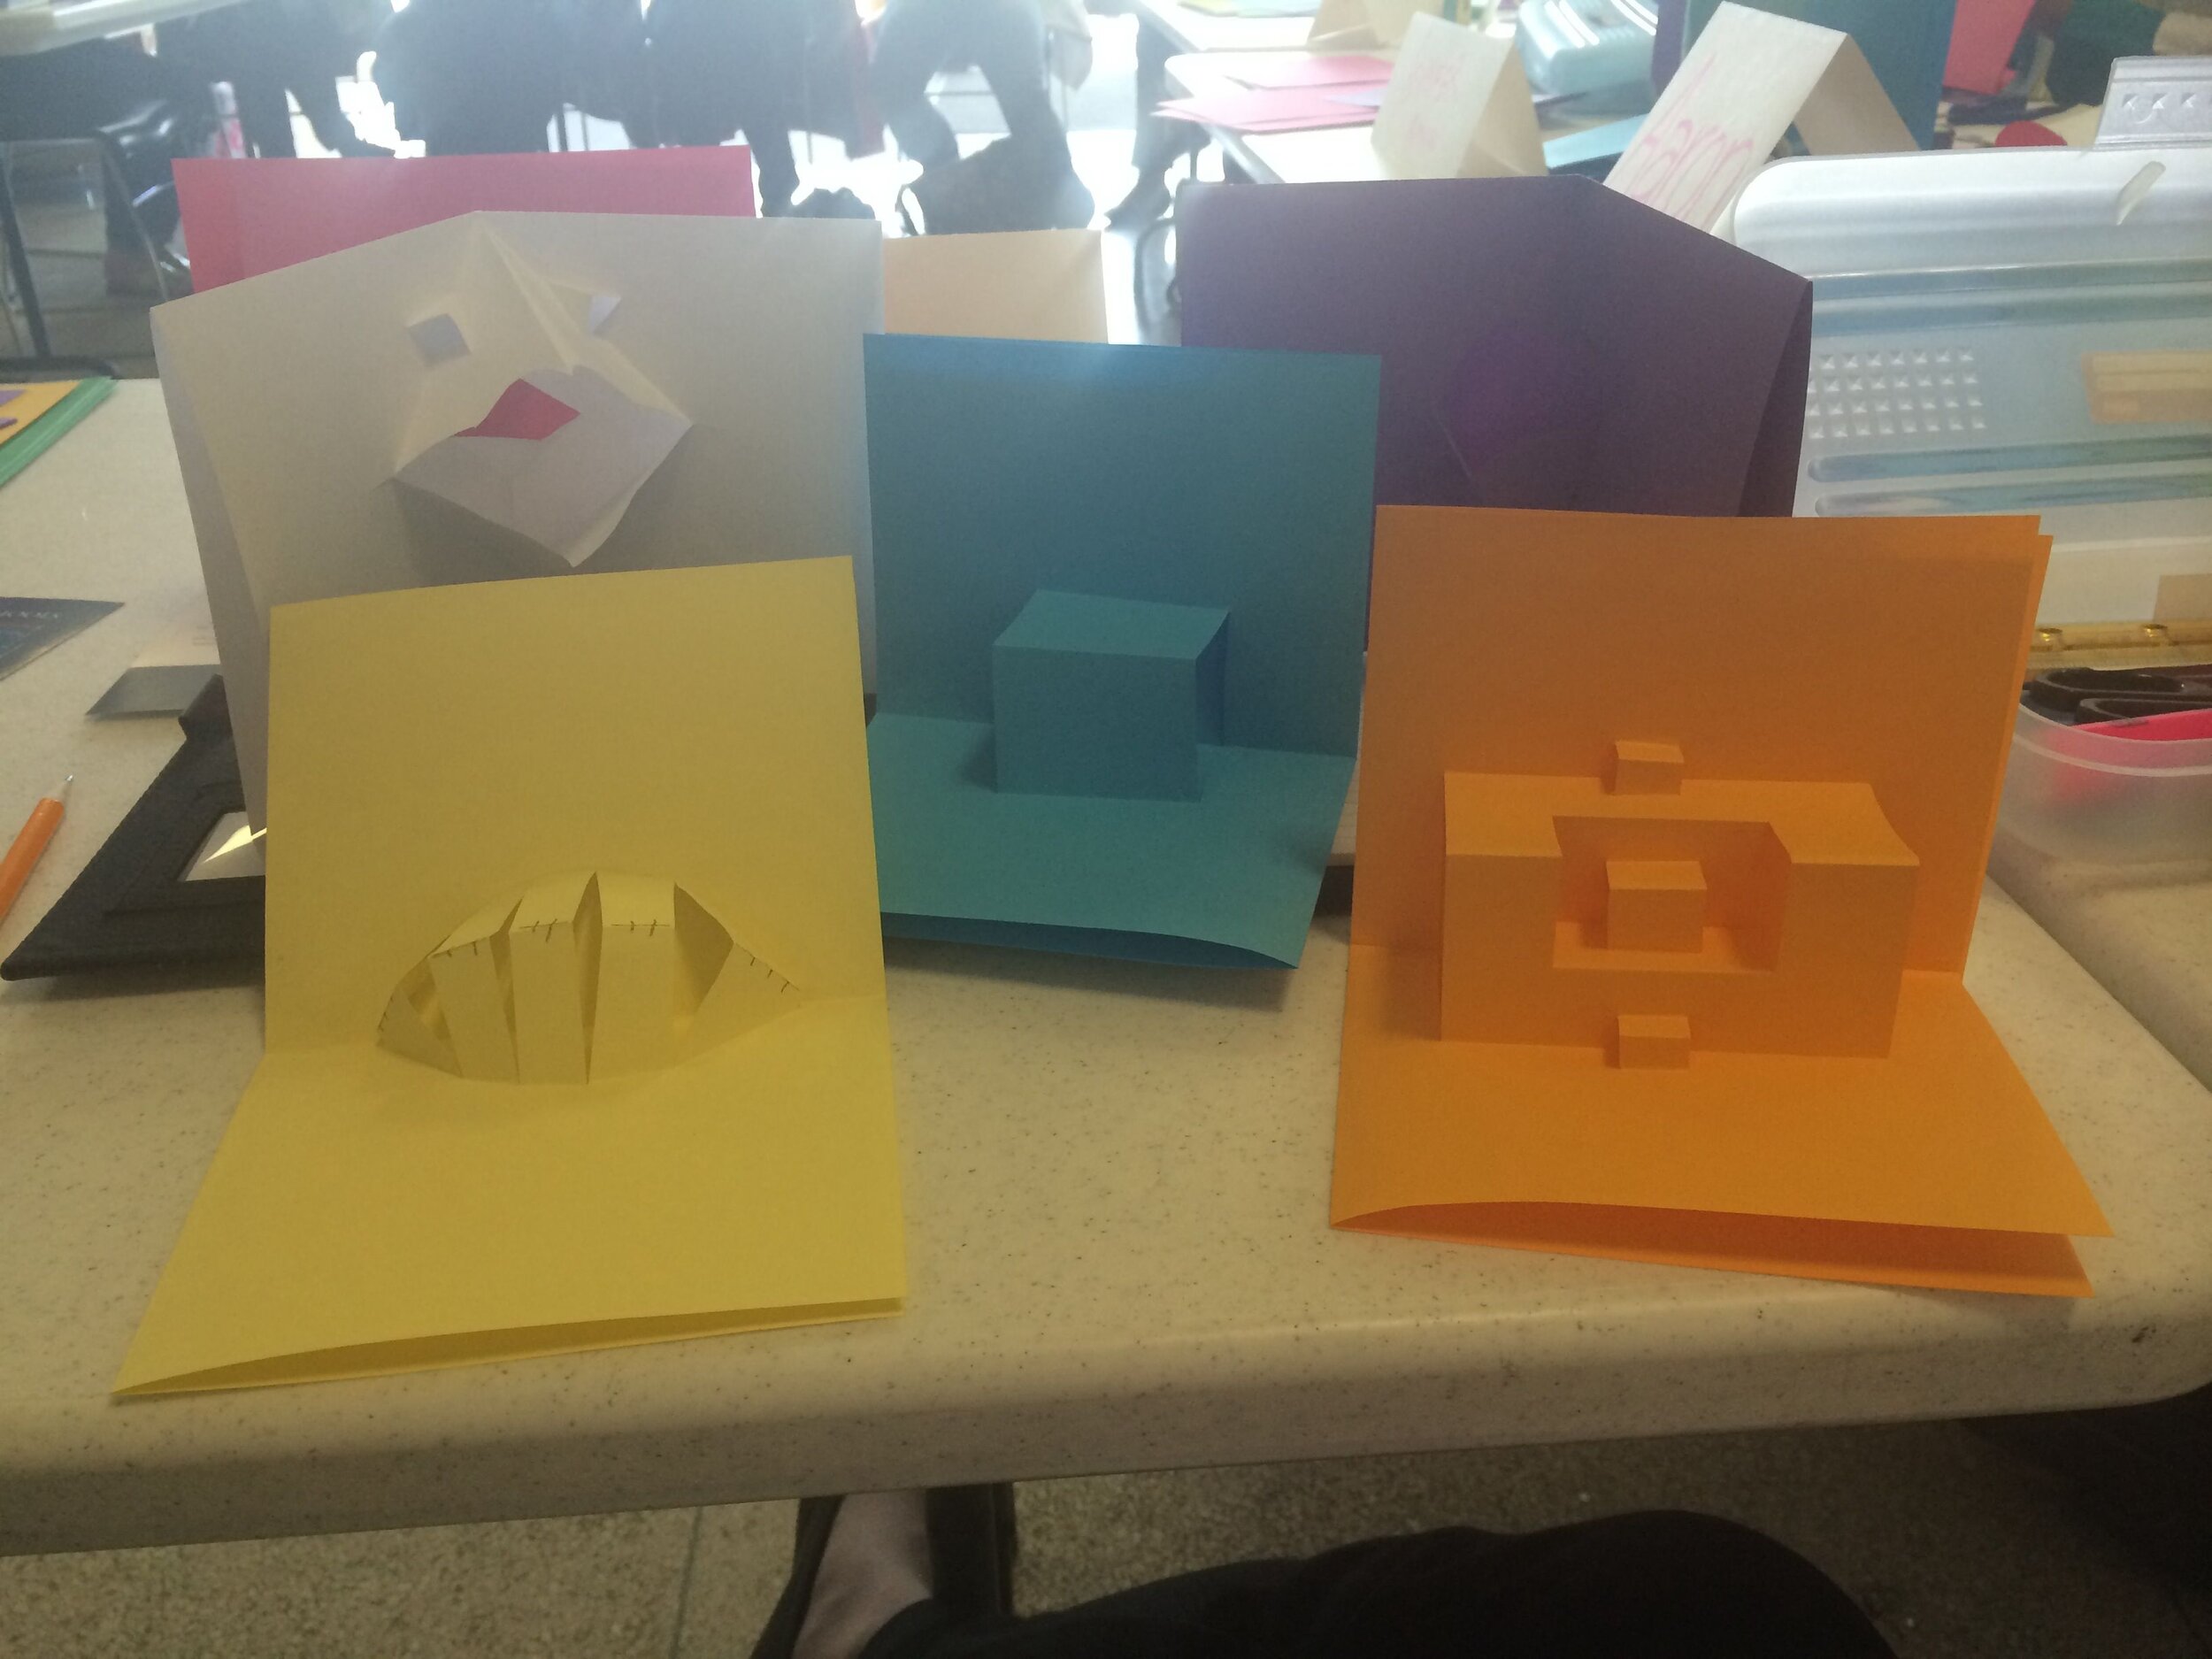
Step 2: Explore When your file opens in the Edit screen, note the different shape pop-ups and the red cut and green fold lines. Go to 3D View in the lower right and click the Larger button (double arrow) to expand the 3D view. Drag the green slider to see the box open and close. Place your cursor in the black area and drag to change the view angle.

Step 3: Print Click the Print button at the top. On the Print Preview page, select Print Cut & Fold Lines. If you colored your pop-up, you may want to select Remove Color Fill. Then select Save to PDF and print your pop-up on standard printer paper or cardstock.
For more details on how to to use scissors to finish your project click here.

Step 4: Construct Fold your printed pop-up along the center fold with the print side out. Cut along the three red cut lines. Then fold the three pop-up elements to the side along the green lines. Open your page and pop out the elements. If you want, color your pop-up and mount it on another piece of paper or card stock.
Watch the following video with quick tips for customizing a pop-up, then move on to Step 5.
Step 5: Customize. Go back to FabMaker Studio and modify the Tree Pop-up or another readymade pop-up to design your own original creation.
Add color
Move elements
Resize elements
Add new elements
If you want to save your customized pop-up, select the File button at the top and choose Save. In the dialog, choose a location to save to, give your file a name, and select Save.
Step 6: Design. Ready to design your own pop-up from scratch? Here’s one more video to set you on your way!
Play around, have fun, and discover how learning and play come together with FabMaker Studio! FabMaker Studio is the first digital fabrication software tool developed specifically for use in the classroom. It is an easy-to-use, web-based program that invites students to experience STEM and STEAM learning in an engaging, personally meaningful way.
For more information, contact us at info@fablevisionlearning.com. We invite you to join the conversation on Facebook the FabMaker Teacher Group.