FableVision Learning Spotlight Blog
Categories
- Animation-ish 42
- Books 21
- Civics! 2
- Classroom Spotlight 17
- Conferences and Events 20
- Creative Educator 3
- Creativity 25
- Distance Learning 13
- Dot Day 22
- FabClassroom 28
- FabFriday 19
- FabMaker Studio 66
- FabMaker Studio Classroom 13
- FableFive 7
- FableVision Games 3
- Free Educator Resources 36
- HUTCH 1
- Home Activities 5
- In the Classroom 34
- In the News 11
- International Dot Day 23
- Ish 1
- Library 1
- Mapping the World by Heart 7
- Paul Reynolds 10
- Peter H. Reynolds 54
- Professional Development 9
- STEM/STEAM 20
- Storybook Academy 2
- Teacher Spotlight 14
- The Dot 17
- The North Star 2
- Words and Their Stories 1
- Zoombinis 3

FabMaker Project: Our Table Challenge
The following blog post is by Peggy Healy Stearns, Lead Software Designer, FabMaker Studio.

Peter H. Reynolds’ new picture book for all ages, Our Table, tells the story of a young girl named Violet who notices that, as her dad, mom and brother spend more and more time on their devices, their once lively dining table is shrinking! Violet longs to bring her family back together and dreams up a project on which they can all collaborate –- designing and building a new table!
This timely story provides an opportunity for children to consider the importance of gathering with family and friends – and to engage in a meaningful engineering design process.
To get ready and set context for the challenge, after reading Our Table, discuss students’ memories dining with family and friends. What made those times special? Where did they eat? Was there anything special about their table?

Peter’s Creative Challenge!
Peter loves using his imagination to design and make things - drawings, paintings, sculptures, and paper mache animals! And so, Peter is excited to present a special maker challenge to your students: “Using FabMaker Studio, imagine, design and fabricate your own table and/or chairs to send to me!” Peter will select some finished projects to feature on the FableVision Learning websites and social media.
So, let’s get started! Have students work collaboratively to Ask, Imagine, Plan, Create, Test and Improve a paper or cardstock prototype.

Ask: What kind of table would you like? How big should it be? What shape? Does it matter how it looks? Use questions like these to define the criteria. Students may want to research images of tables and interview family members. Then outline constraints – e.g., the final prototype must be designed with FabMaker Studio and constructed with paper or cardstock.
Now it’s time to Imagine. Have students brainstorm and sketch different designs and consider each option based on the criteria they set earlier. A single design may not meet all the criteria. Which criteria are most important? Once students choose a favorite design, they’re ready for the next step.
Tell students to use a ruler to draw a Plan for their table and label dimensions.
Then have them use FabMaker Studio to Create their prototype. They can use the Chair design found in the FabMaker Ready-Made 3D projects. This starter project shows how Shapes can be combined to create a flat pattern that folds into a 3-dimensional object. Their tables might be constructed of a single flat net like the chair or made of multiple elements folded and constructed individually and then combined.
Encourage students to be inspired by Peter’s creativity. Suggest they use FabMaker’s color and texture tool -- or use plain white cardstock and color by hand.
If there’s time, ask students to consider how they would Test their prototype? Tell them to refer back to the criteria they set at the start. If their table’s not quite right, ask them how they would Improve their design.
You can adapt this activity to different grade levels by challenging students to use FabMaker Studio to design other 2D and 3D objects from the book. Younger students can weld shapes to create fruits and vegetables. More experienced makers may want to design bowls or glasses or even the vegetable cart.
Need more tips and tricks on how to use FabMaker Studio? Check out the Tutorials page.
Send your students’ designs to info@fablevisionlearning.com or use the #FabMakerChair in your social posts . We’ll feature the best designs on the FableVision Learning Spotlight Blog!

Engineer, Invent & Make: Getting Started with FabMaker Studio (VIDEO)
From solar-powered homes to magnetic turtles and pop-up book reports, schools/programs across the country are using FabMaker Studio to encourage invention, creation, and engineering - all with paper.
Not sure how to get started? No worries we’ve got you covered in 4 easy steps!
Step 1: Watch Andrea Calvin as She Shares Her Tips & Tricks

Step 2: Tune into the Tutorials & Blogs
From how to use shapes to exploring the reflection tool, Peggy Healy Stearns, lead designer for FabMaker Studio, guides you through the the ins and outs of the program through these Quick Tips tutorial videos. Another awesome resource can be found on our Spotlight Blog. There your will find step-by-step guides from Peggy Healy Stearns and ideas pulled from the classroom.
Step 3: Give it a Go
If you have an account, hop into FabMaker Studio and take it for a test drive. Open a Ready-Made Project and send it to to your printer (our favorite one to start with is the house). Once you built the starter project, take it apart and build from scratch. How will you modify your design?


Step 4: Join the Conversation
Have a question or a a FABawesome idea to share? Join the FabMaker Studio Facebook Group. We are all in this together.
Want to Learn More? Send us an email at info@fablevisionlearning.com

FabMaker Mystery Monsters: Math Shapes & Cool Tools for Imagineering
The following blog post is by Peggy Healy Stearns, Lead Software Designer, FabMaker Studio.
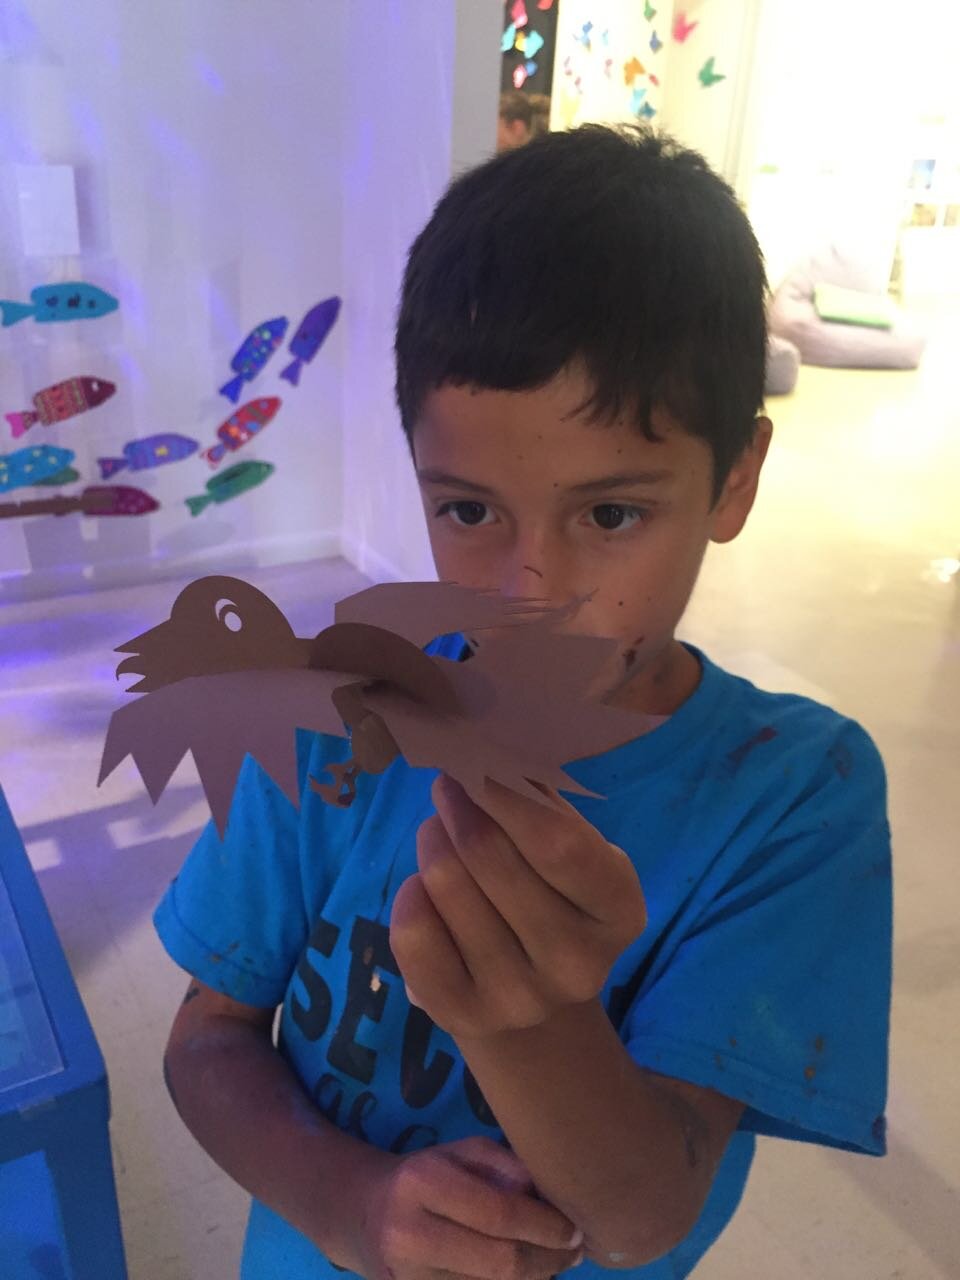
Create a 3D “Mystery Monster” with FabMaker Studio! Identify and combine shapes, weld shapes, and morph shapes. Add 3D wings, legs, ears and other body parts!
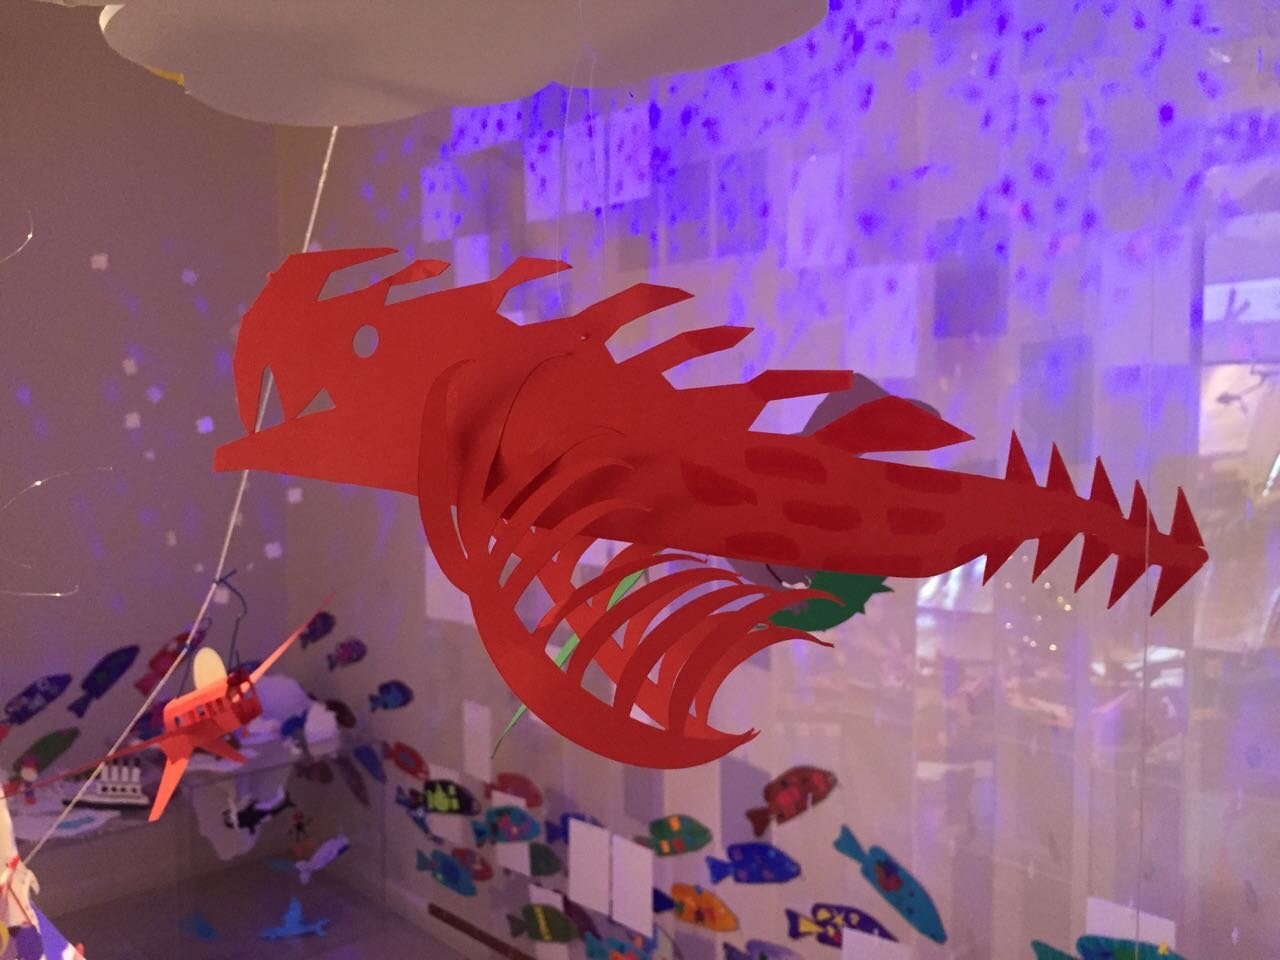
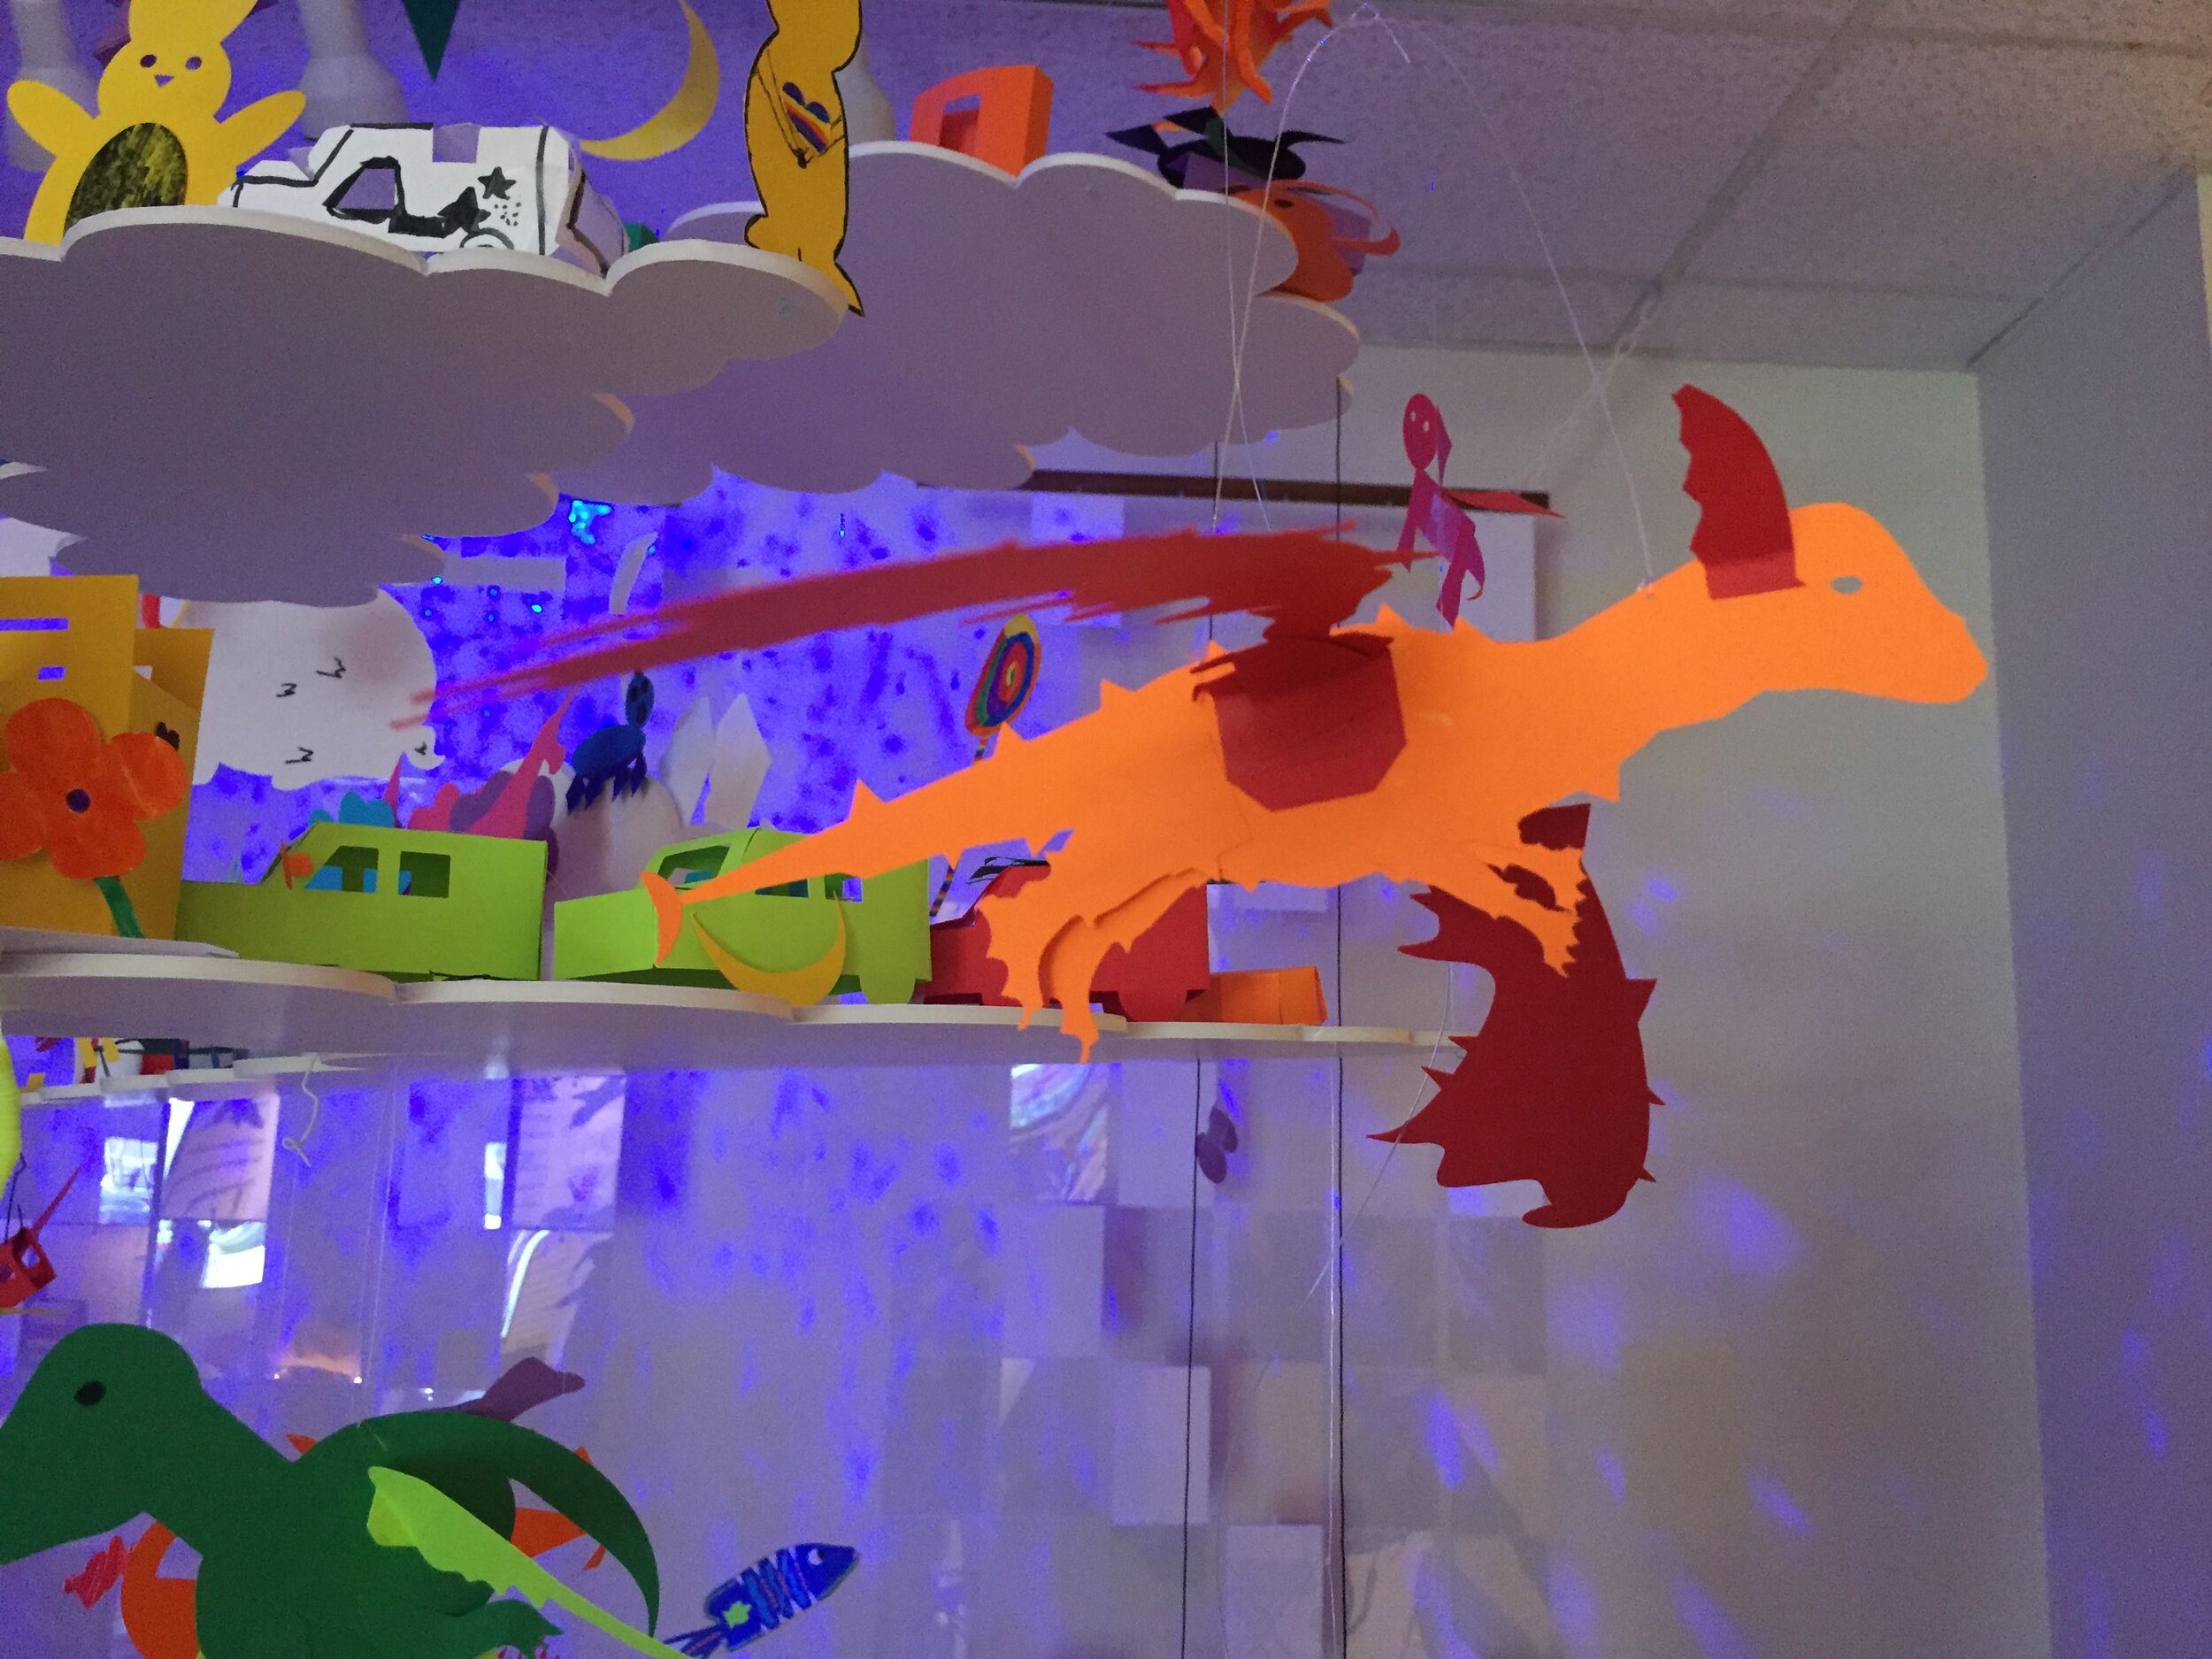
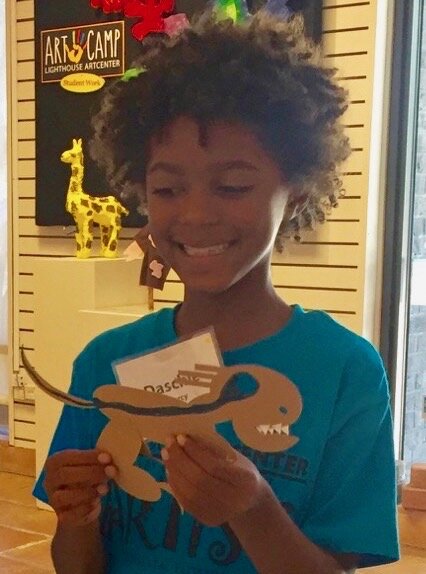
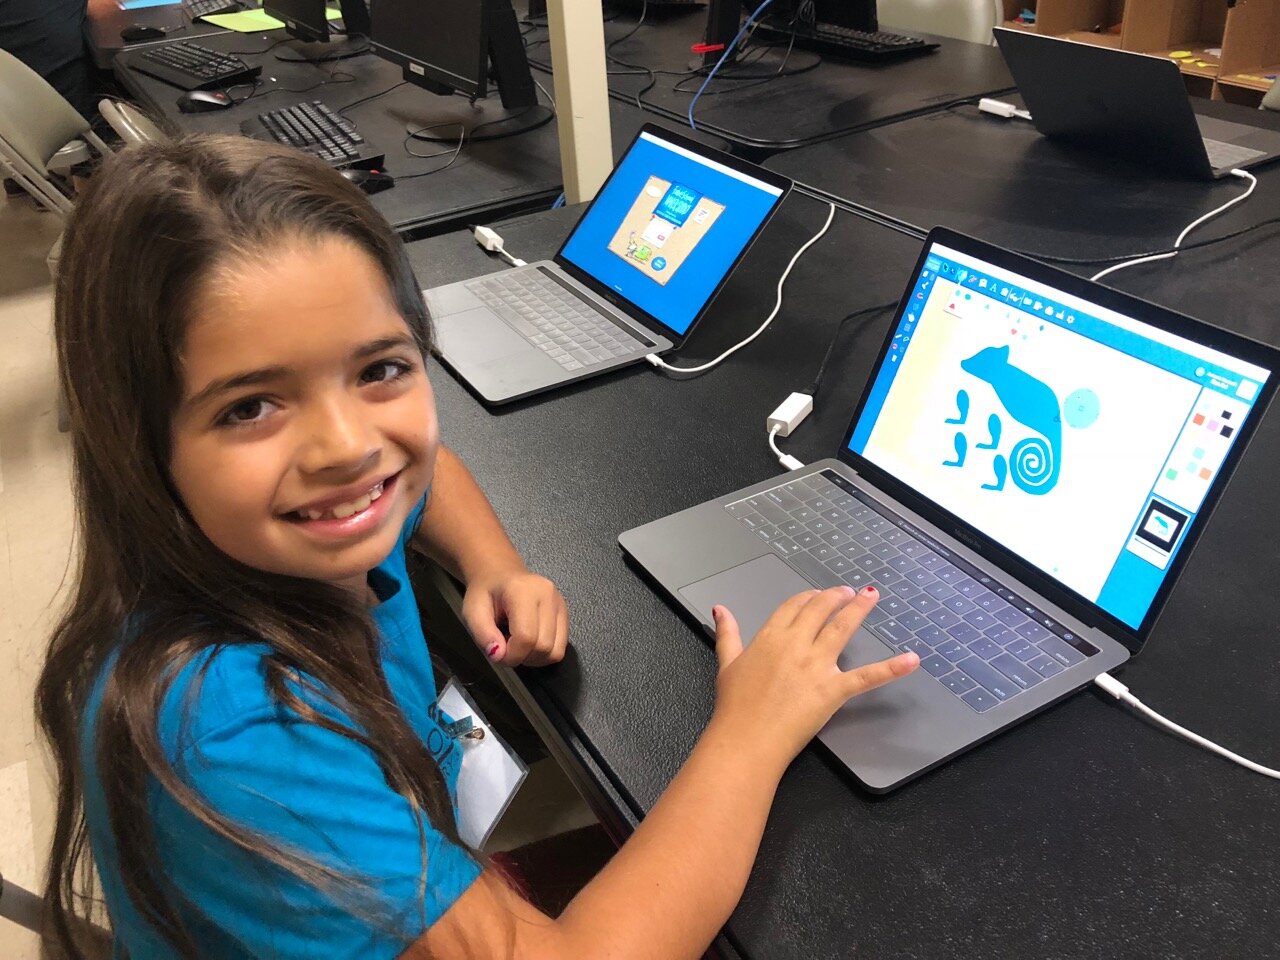
Designing “Mystery Monsters” is a motivating way to address foundational math standards and inspire meaningful writing prompts. In the process, students learn easy but powerful digital design tools they can use for years to come. This project can be simple or sophisticated. Follow the steps that work best for your makers and then print, cut and construct.
Make Your Monster
Watch this short video then follow the steps below.
Step 1: New Project Click here to go to FabMaker Studio. Sign in and go to New Project and click OK.
Step 2: Choose Shapes Open the Shapes tool at the top. Drag shapes onto the screen and arrange them to make your basic monster. To resize a shape, select it and drag handles.

Step 3: Weld Shapes Make sure your shapes touch or overlap. Then place your cursor and drag around all the shapes to select them. Choose the Weld button in the left toolbar to weld your shapes.

Tip: Be sure to drag far enough outside the shapes to select them all before welding.
Step 4: Rearrange If you want to rearrange your monster parts, you can Unweld. Select your monster and click the Weld button. This time, since your monster is already welded, it unwelds. Rearrange the shapes and then drag around to select them all and Weld again.
Tip: Make a mistake? Use the red Undo and green Redo buttons on the left above the Trash can.
Step 5: Save Go to the File button on the top toolbar and choose Save. Select “My Online Files” (or another location if desired), give your file a name, and click Save.

Tip: If you save your FabMaker Studio file to My Google Drive or My Computer, it can only be opened from within the FabMaker Studio software.
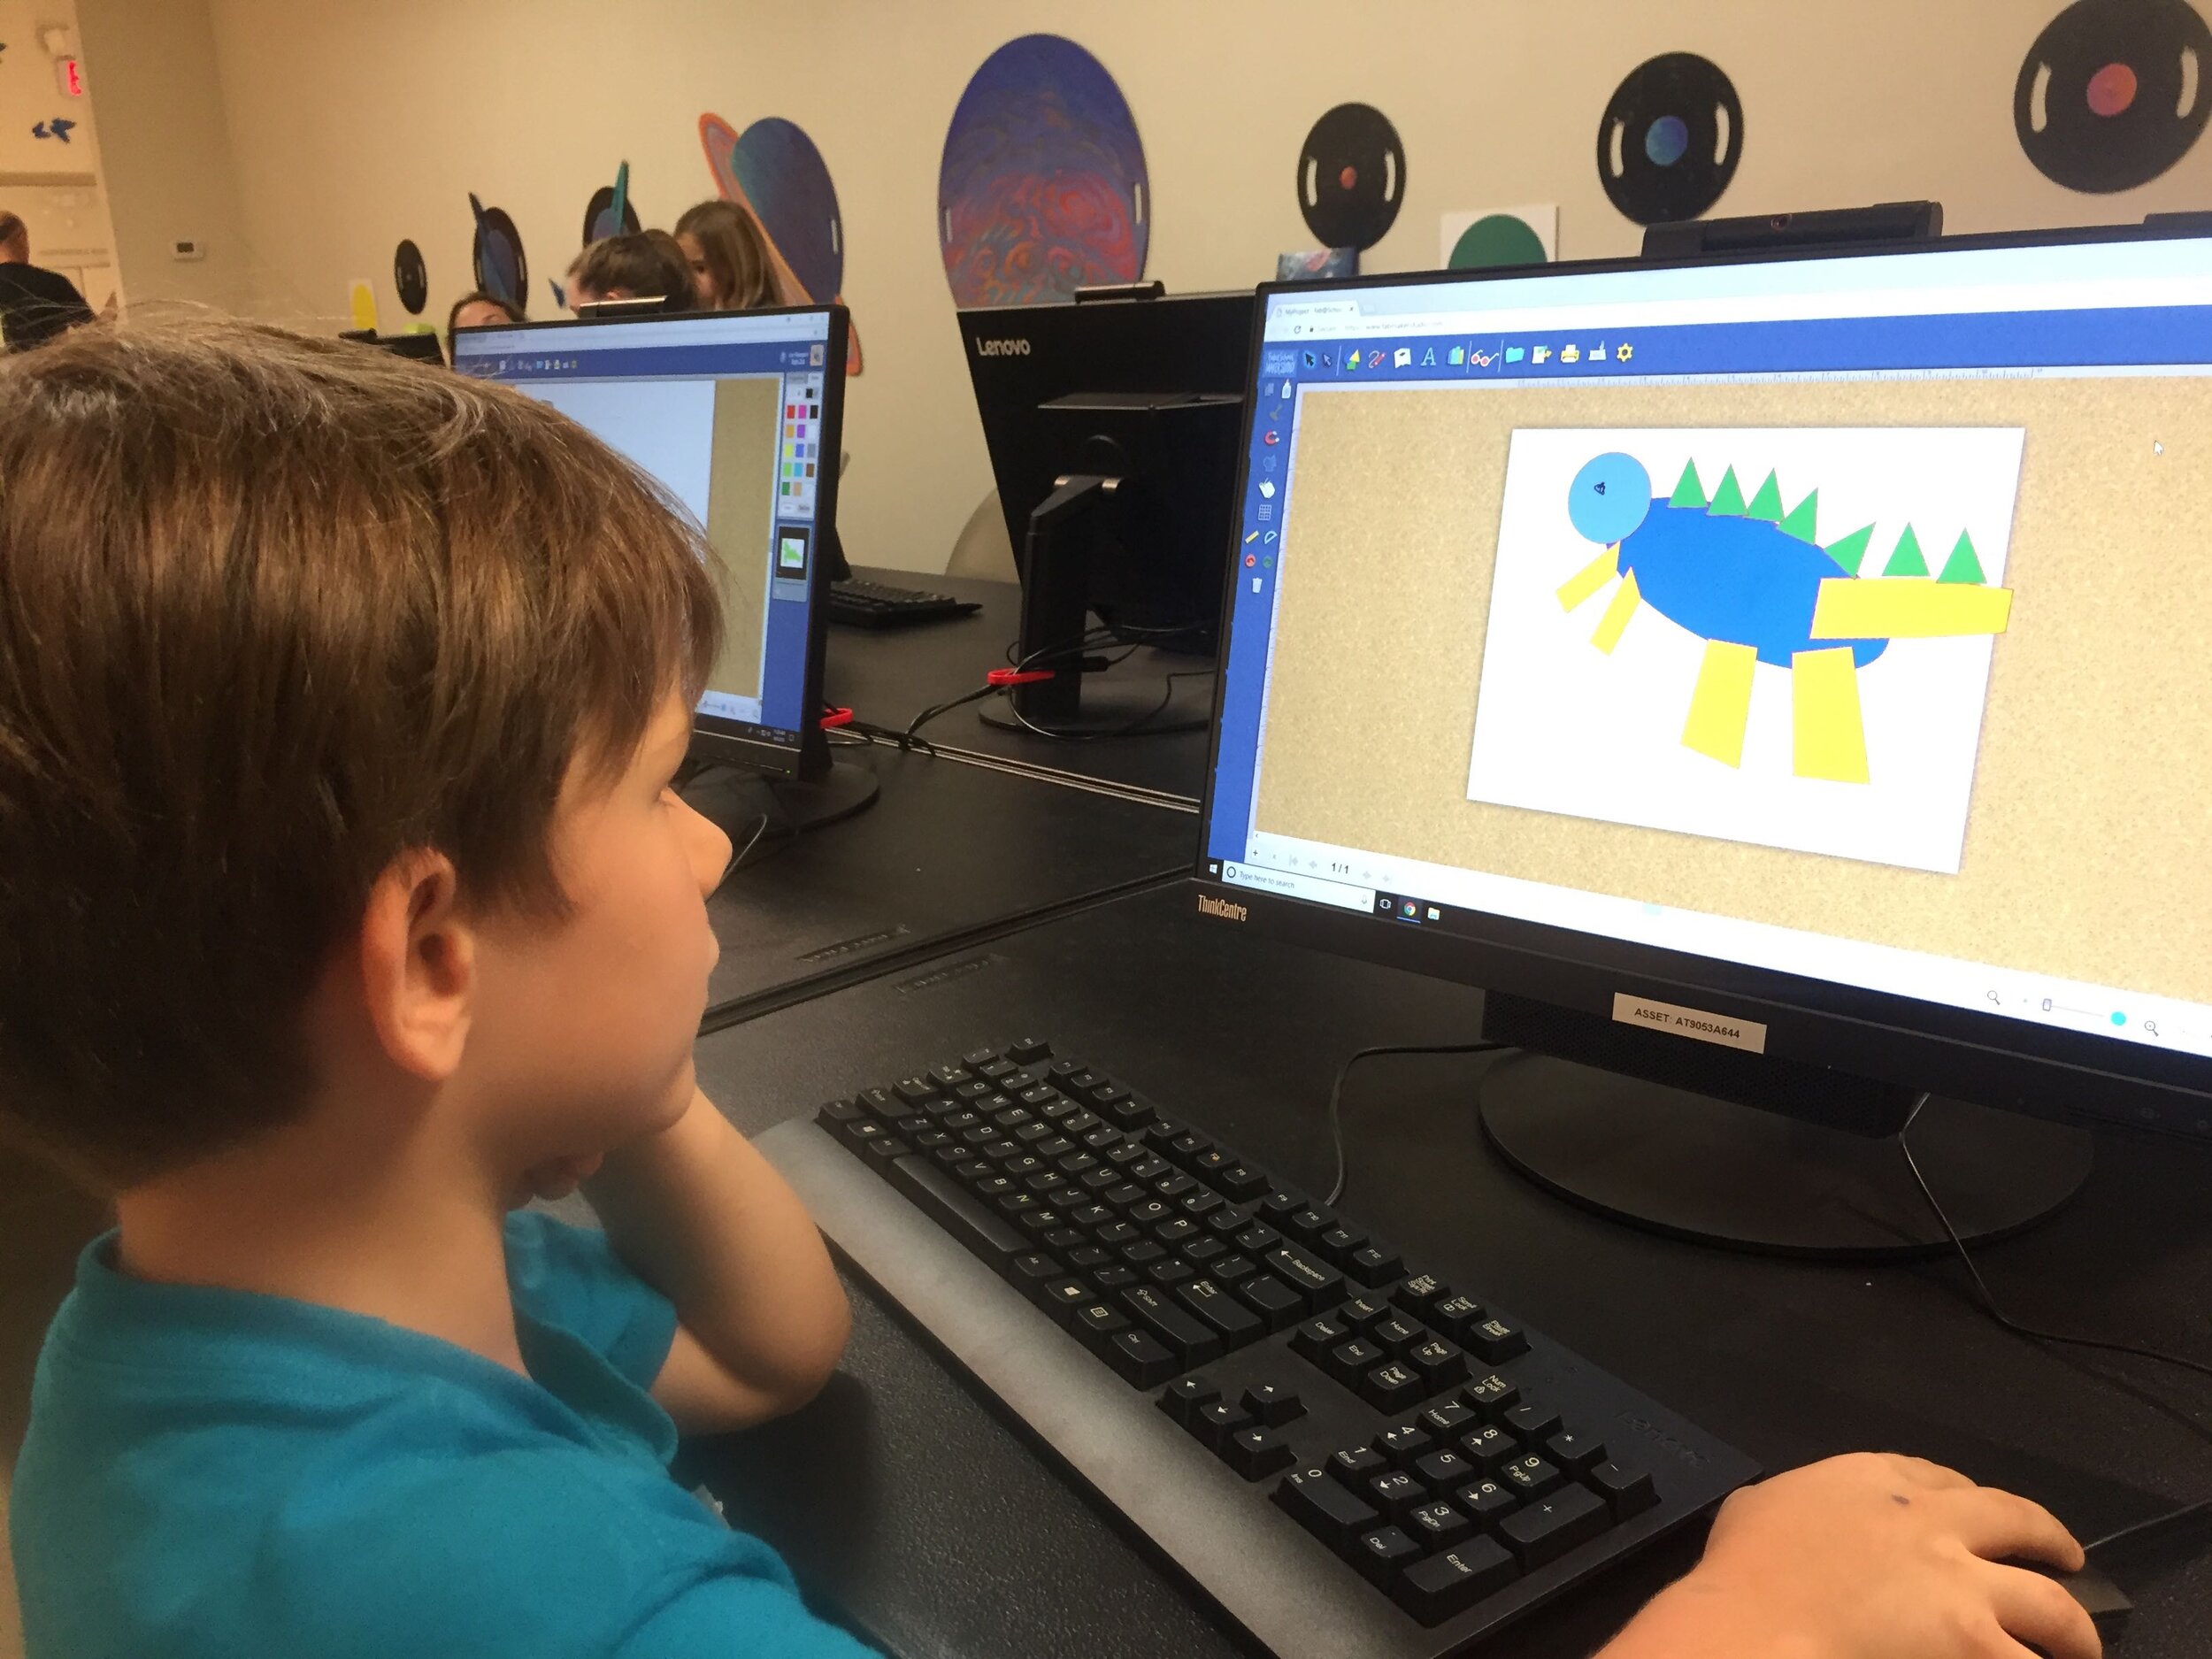
Morph Your Monster
Watch this video then follow the steps below.
Step 1: Turn on Edit points With your monster file open, choose the gray Edit Points cursor in the top left corner of your design. The edit points that anchor your design will appear.

Step 2: Drag Edit points Drag edit points to morph your mystery monster.
Step 3: Add new Edit points Click anywhere on the outline to add a new edit point, and then drag the new edit point to reshape. Edit points can be tricky -- sometimes it helps to zoom in. Play around. You can always Undo and Redo.

Step 4: Check your design Choose the standard cursor (black arrow) again to see your morphed monster.

Tip: If you Unweld after using Edit points, you’ll go back to your original shapes and lose all your morphing! Remember you can quickly Undo changes.
Step 5: Save Go to the File button on the top toolbar and choose Save or Save As.
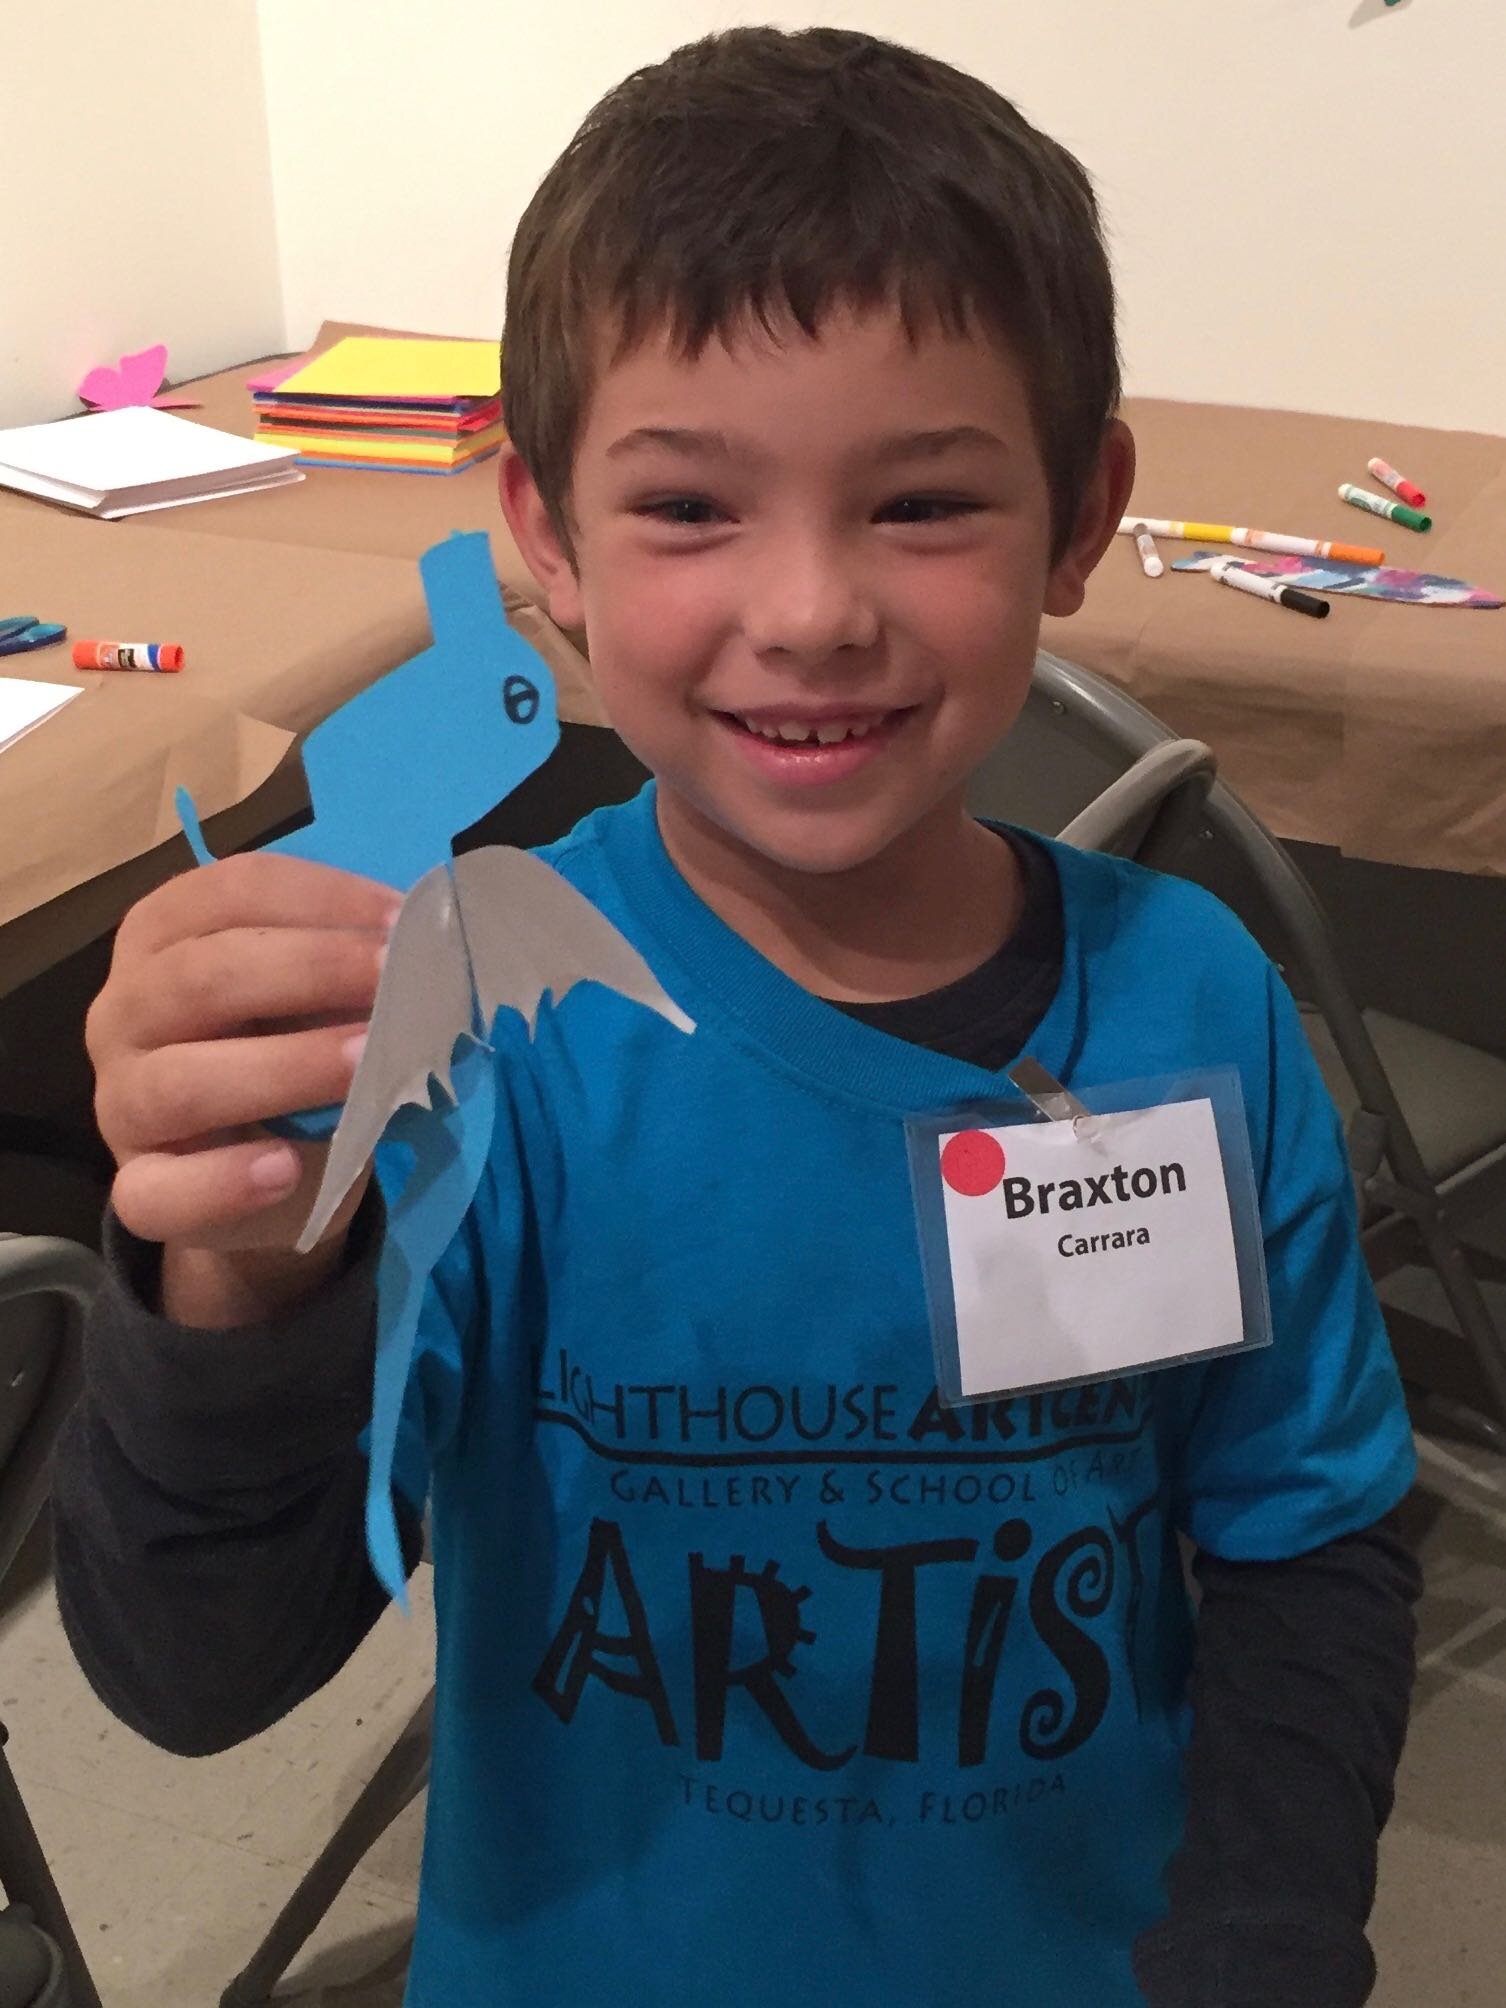
Make Your Monster 3D
Watch this video then follow the steps below.
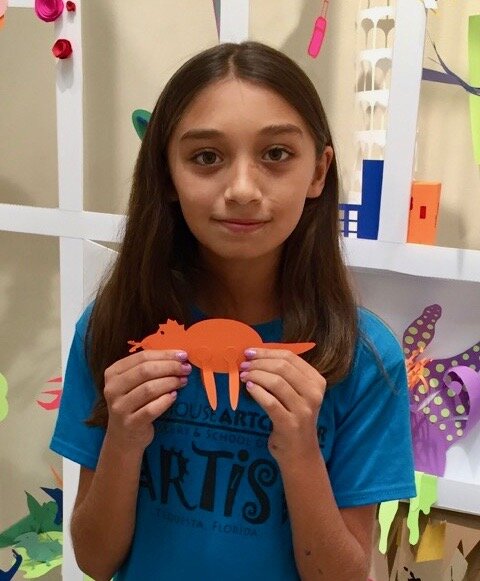
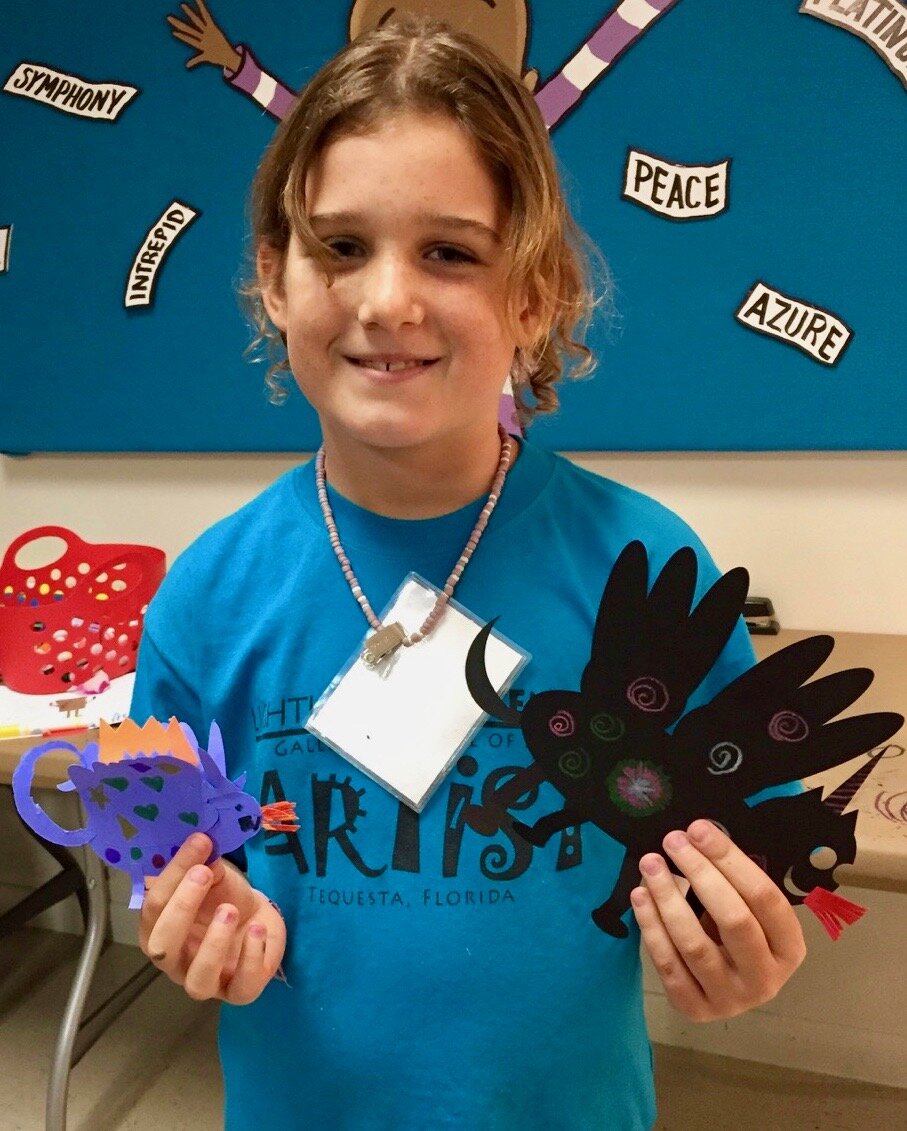
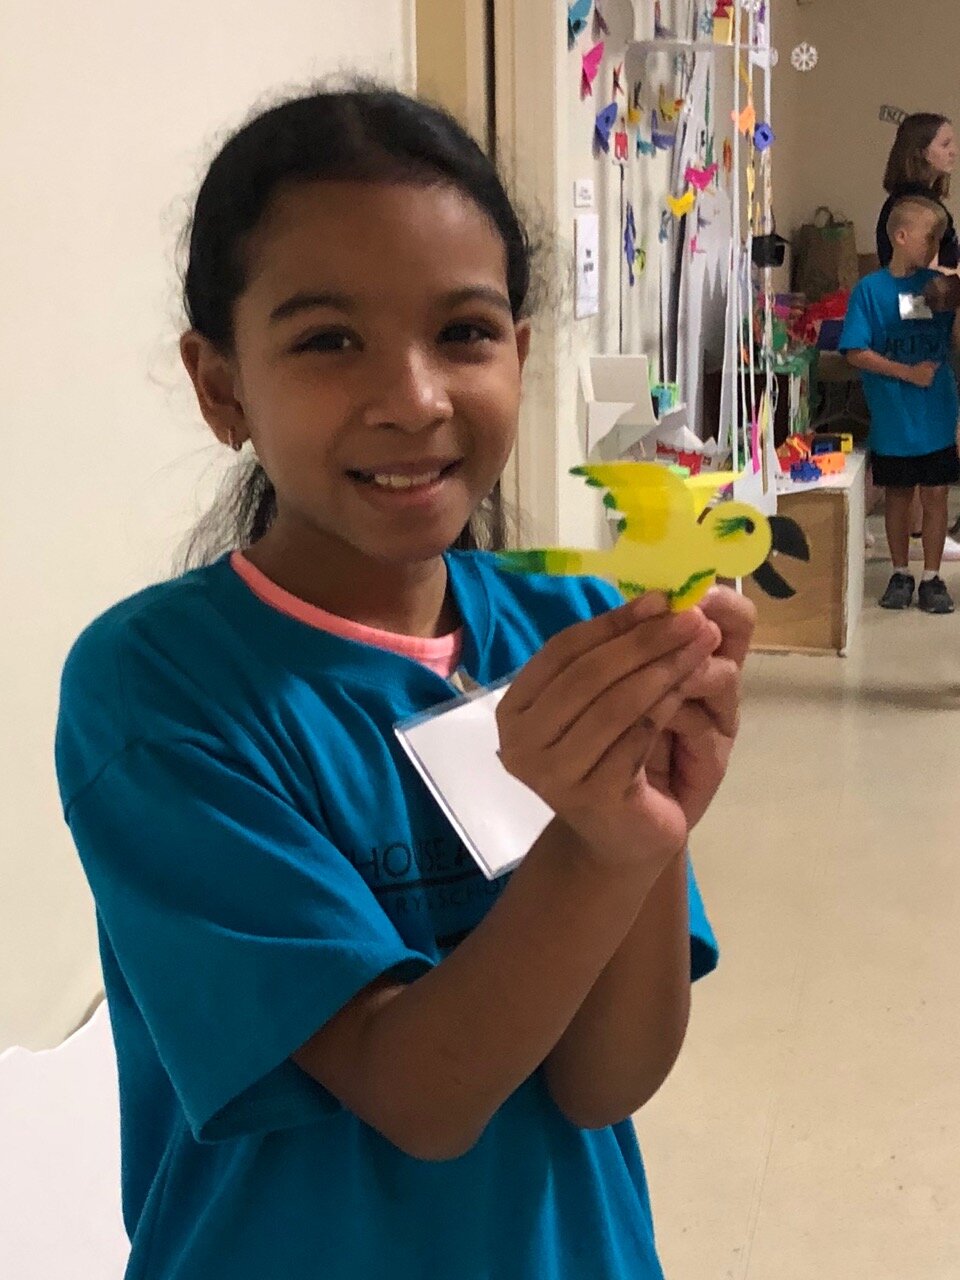
Step 1: Make a new body part Design wings, ears, legs, bigger tail or other parts to cut separately and attach to your monster. Check the photos for ideas. You can use the following tools.
A. Shapes Tool: Choose a shape and use the handles to resize and reshape it. If you want, combine two or more shapes, weld them, and the choose Edit Points to morph.
B. Lines Tool: Choose the Lines tool and then choose Straight Lines, Curved Lines, or Brush. To use Straight Lines or Curved Lines, click to place each point. Double-click to place the final point. To close a shape, place your final point at or near the beginning point. For more detail on the Lines tool, see the FabMaker Studio Lines tutorial.
Step 2: Save Go to the File button on the top toolbar and choose Save or Save As.
Step 3: Print, cut and construct
To cut by hand: Click the Print button at the top. If you want to color by hand or use color paper, select “Print Cut & Fold Lines” and “Remove Color Fill” on the Print Preview page. Then select Save to PDF and print.
To cut with a Silhouette: If you want to color by hand or use color paper, you can send directly to the cutter. Click the Fabricate button at the top and follow instructions. Tip: Shapes have automatic cut lines, but objects created with the Lines tool do not. To define the outlines of these objects as cut lines, see the “Cut Fold Tab” tutorial or the FabMaker Studio User Guide for details.

What To Do With a Mystery Monster?
Write about your mystery monster. How big is it? How does it move? Where does it live? What does it eat? Does it have any enemies?
Tell a story about your mystery monster.
Now that you’ve honed your design skills, create a herd or flock or an entire habitat complete with flora and fauna.
Share your mystery monster. Post a PDF or picture of your monster. For more share options, see the FabMaker Studio User Guide.
For more information, contact us at info@fablevisionlearning.com. We invite you to join the conversation on Facebook the FabMaker Teacher Group.

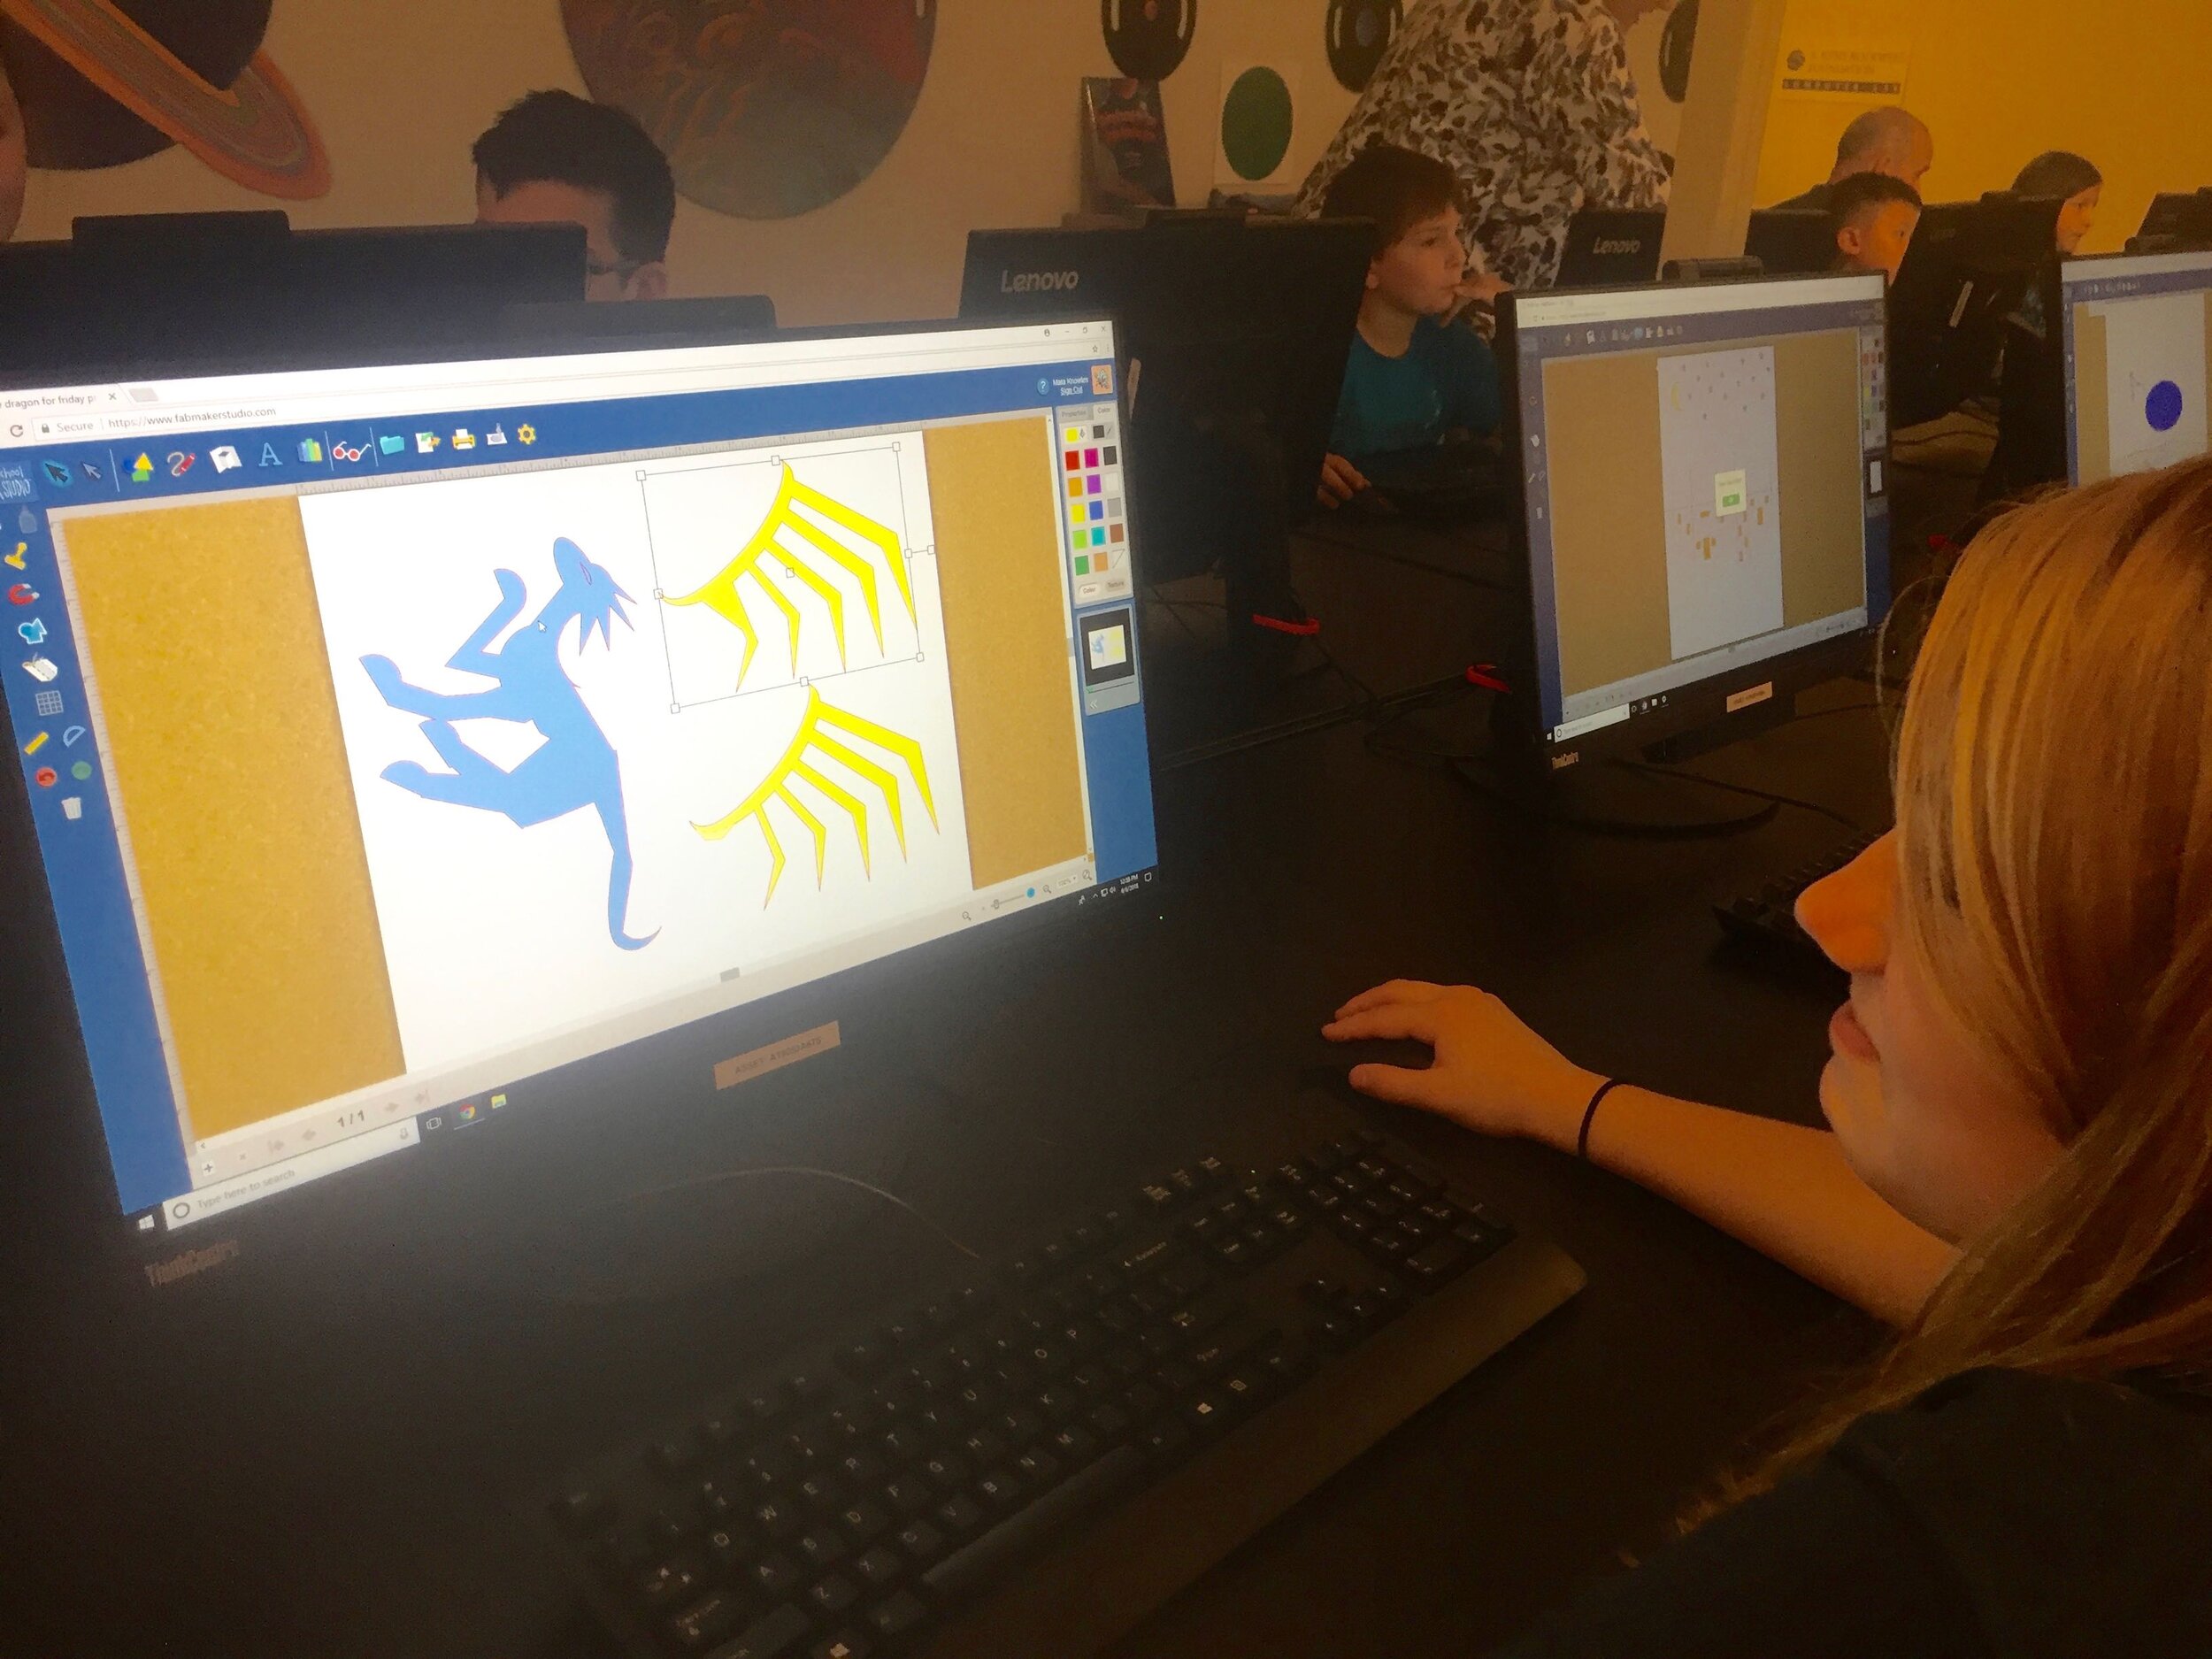
FabMaker Pop-ups: Math in the Palm of Your Hand!
The following blog post is by Peggy Healy Stearns, Lead Software Designer, FabMaker Studio.
Pop-ups are surprising and fun – and a great way to explore shapes, angles, triangles, parallel lines, symmetry and other math concepts. They also provide great opportunities for story telling and descriptive or other expository writing.
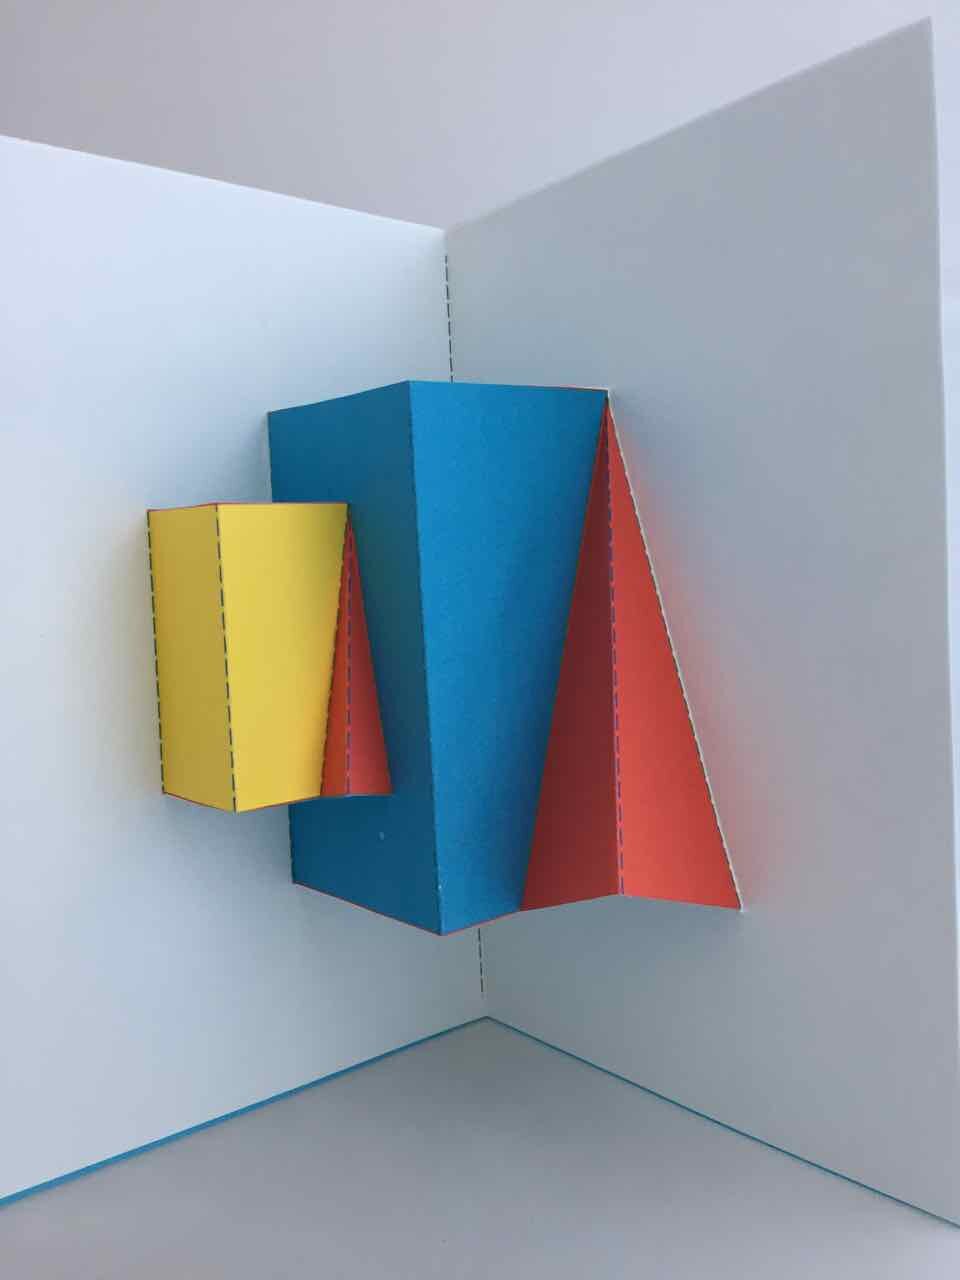
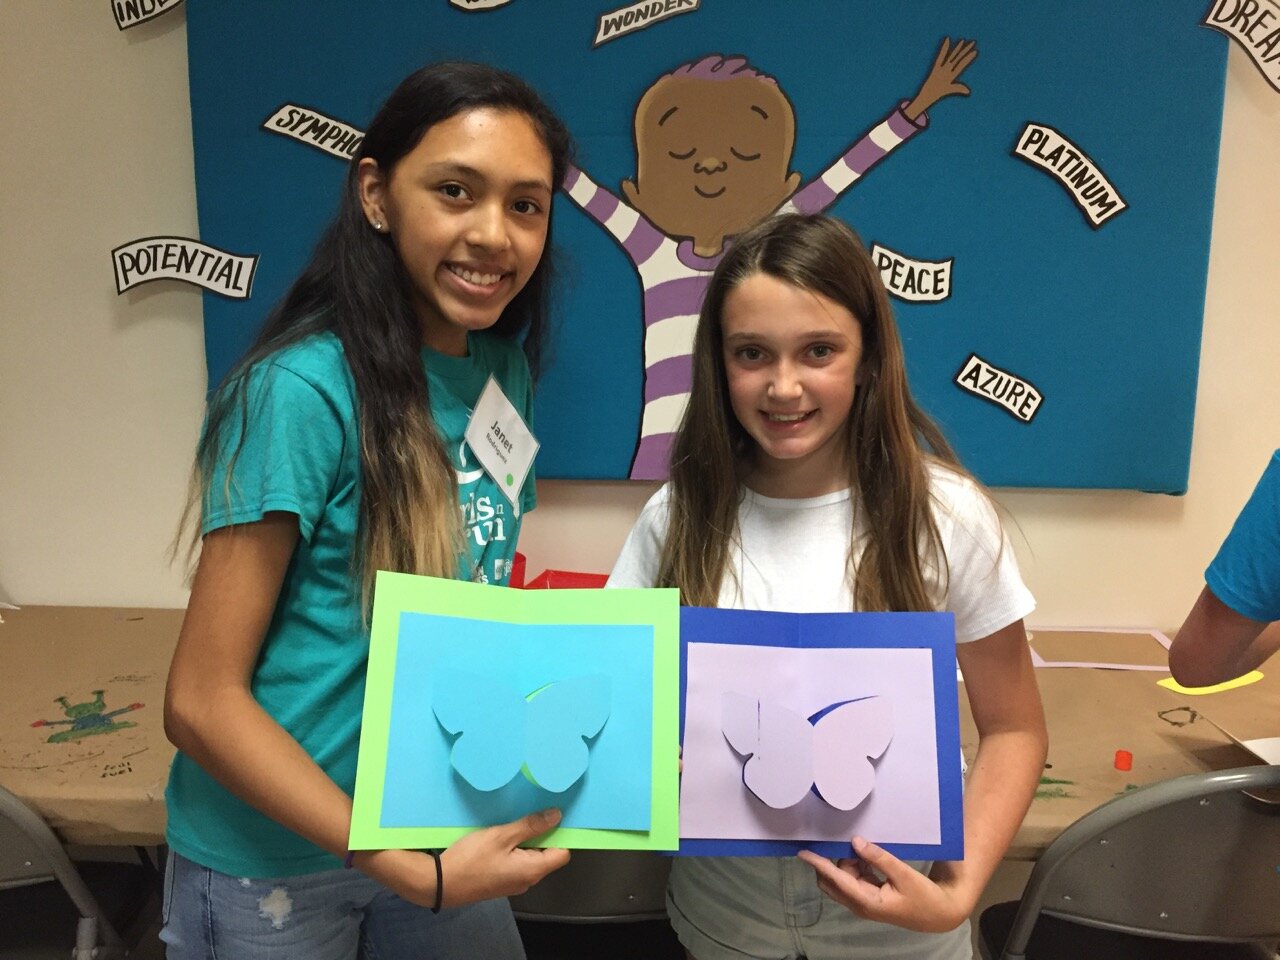
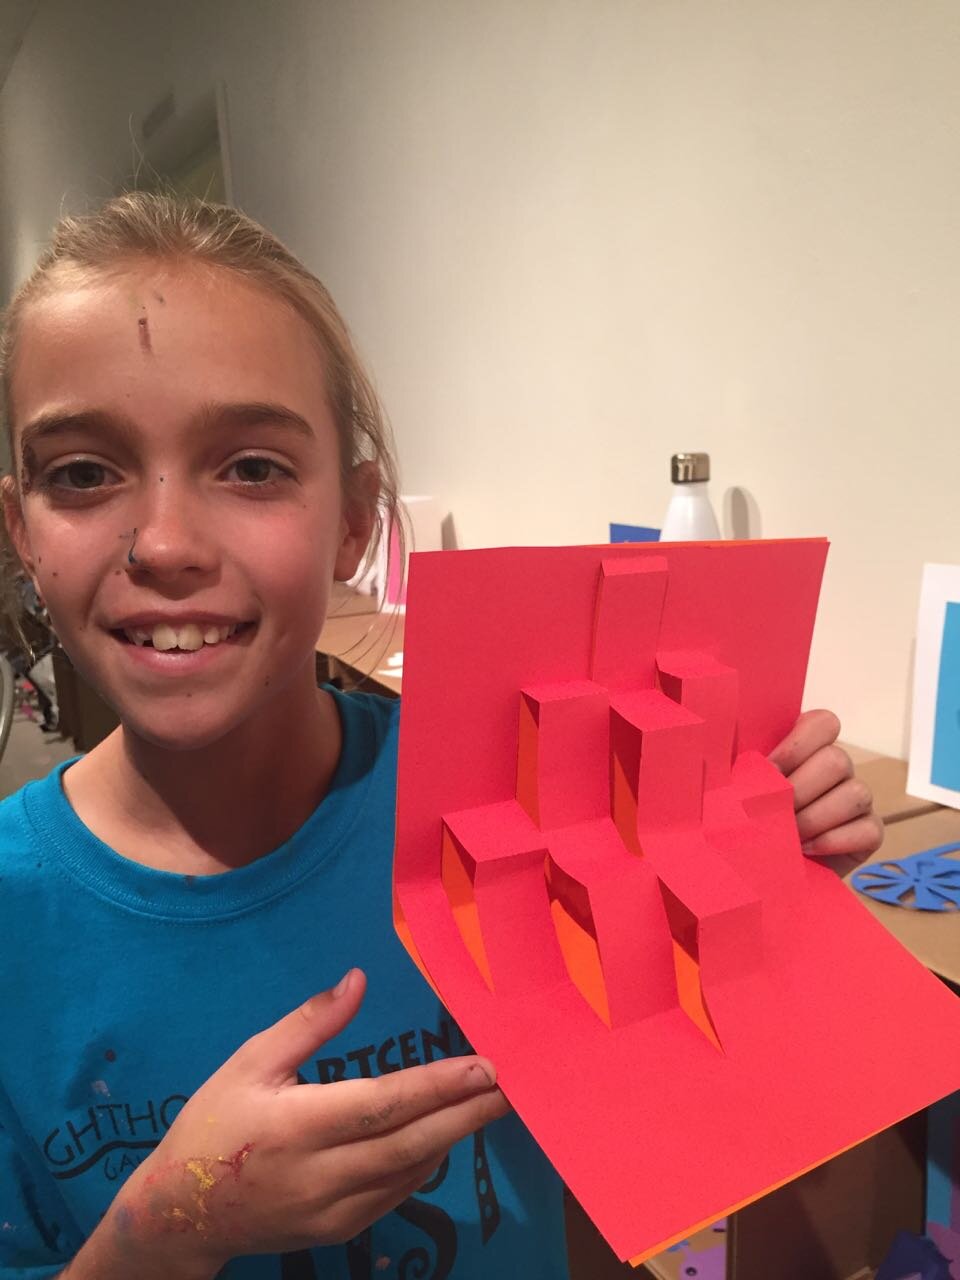
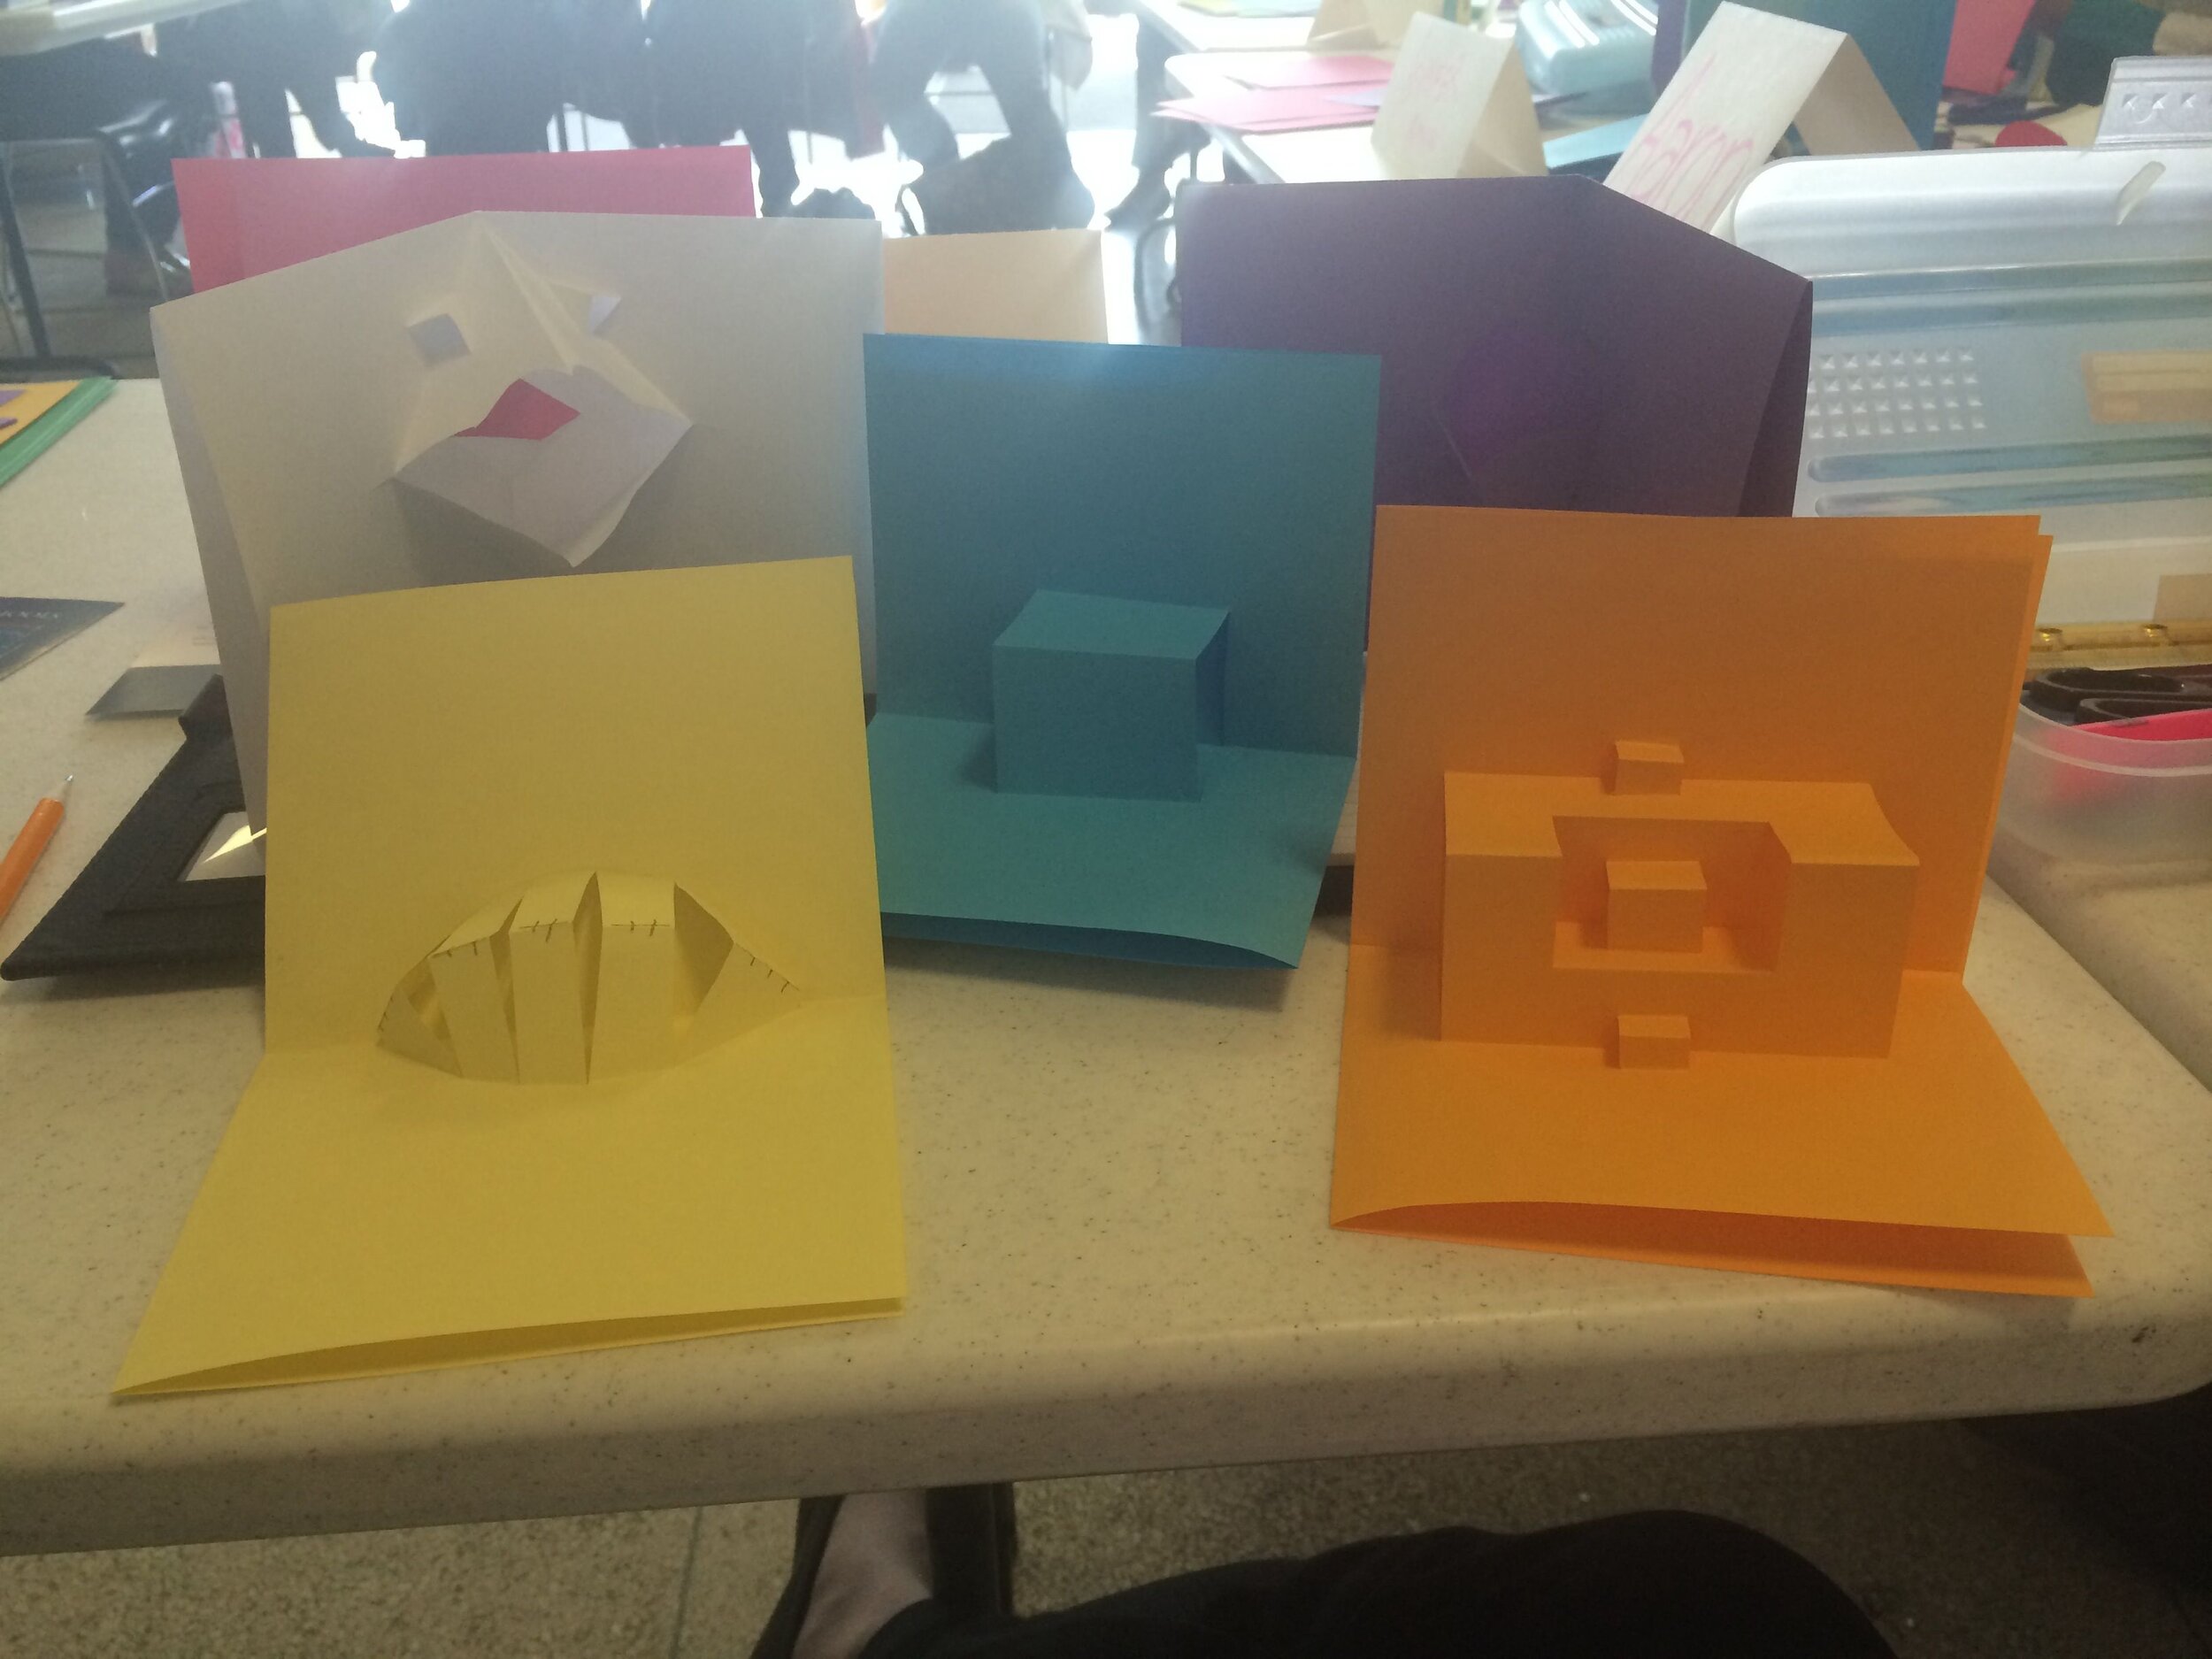
With FabMaker Studio, you can play with these cool constructions onscreen in both 2D and 3D view and then fabricate and explore them in the palm of your hands.
Watch this short video then follow the steps below.
Step 1: Open a Ready-Made Click here to go to FabMaker Studio. Sign in and go to Ready-Made Projects. Choose the tab for Pop-Ups. Wait for the projects to load and scroll down to select and open the Tree Pop Up.

Step 2: Explore When your file opens in the Edit screen, note the different shape pop-ups and the red cut and green fold lines. Go to 3D View in the lower right and click the Larger button (double arrow) to expand the 3D view. Drag the green slider to see the box open and close. Place your cursor in the black area and drag to change the view angle.

Step 3: Print Click the Print button at the top. On the Print Preview page, select Print Cut & Fold Lines. If you colored your pop-up, you may want to select Remove Color Fill. Then select Save to PDF and print your pop-up on standard printer paper or cardstock.
For more details on how to to use scissors to finish your project click here.

Step 4: Construct Fold your printed pop-up along the center fold with the print side out. Cut along the three red cut lines. Then fold the three pop-up elements to the side along the green lines. Open your page and pop out the elements. If you want, color your pop-up and mount it on another piece of paper or card stock.
Watch the following video with quick tips for customizing a pop-up, then move on to Step 5.
Step 5: Customize. Go back to FabMaker Studio and modify the Tree Pop-up or another readymade pop-up to design your own original creation.
Add color
Move elements
Resize elements
Add new elements
If you want to save your customized pop-up, select the File button at the top and choose Save. In the dialog, choose a location to save to, give your file a name, and select Save.
Step 6: Design. Ready to design your own pop-up from scratch? Here’s one more video to set you on your way!
Play around, have fun, and discover how learning and play come together with FabMaker Studio! FabMaker Studio is the first digital fabrication software tool developed specifically for use in the classroom. It is an easy-to-use, web-based program that invites students to experience STEM and STEAM learning in an engaging, personally meaningful way.
For more information, contact us at info@fablevisionlearning.com. We invite you to join the conversation on Facebook the FabMaker Teacher Group.

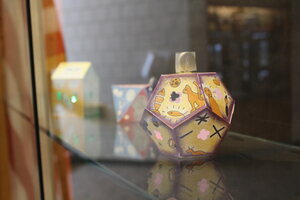
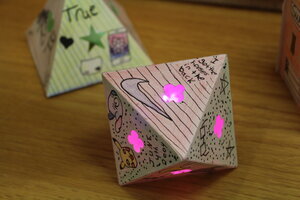
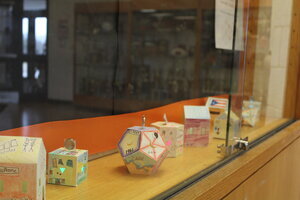
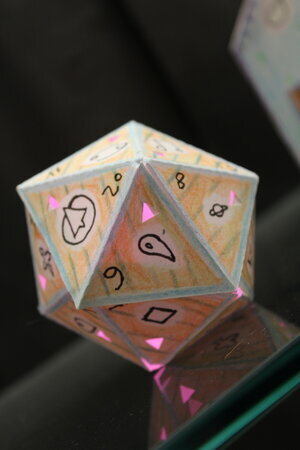
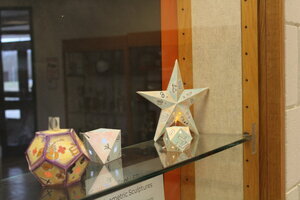
FabMaker Spotlight: Combining 3D forms with Warm/Cool Colors

By creating 3D shapes in FabMaker Studio that also supported an LED light and battery, students at Farmington High School in New Hampshire explored design while creating a 3D self portrait.
Shannon McCracken shared about the process:
“I wanted to ‘up the level’ a little so I also had students plan a hole for an LED and a battery to be attached to it, so the forms would glow from the inside. Most students picked up the Fab Maker program and Silhouette hardware very easily. Once they mastered it I had them show someone else and so on and so forth. The students had a good time and I made most of them create their own shapes, from scratch, so they had to practice how things bent and twisted before going onto the FabMaker.”
Is your classroom a FabClassroom? We would love to highlight your school! To be featured in an upcoming post, send an email to andrea@reynoldstlc.org. You can also tweet your photos with the hashtag #FabMakerStudio! For more posts featuring FabMaker Studio, click here.