FabMaker Project Idea: Package What You Love

The following blog post is by Peggy Healy Stearns, Lead Software Designer, FabMaker Studio.
During Peter H. Reynolds Facebook Live reading of I Am Love, he shared a box designed to package “unconditional love.”
Is there something, real or imaginary, that you’d like to package and share with others? Follow these steps to design and construct your own boxes in FabMaker Studio
QuickStart Video #1 – Ready-Made Box
Watch this video, then follow the steps below.
How to create your custom FabMaker Box!
Step 1: Open a Ready-Made. Click here to go to FabMaker Studio. Sign in and go to Ready-Made Projects: 3D Stuff. Wait for the projects to load and open the Slit Top Box.
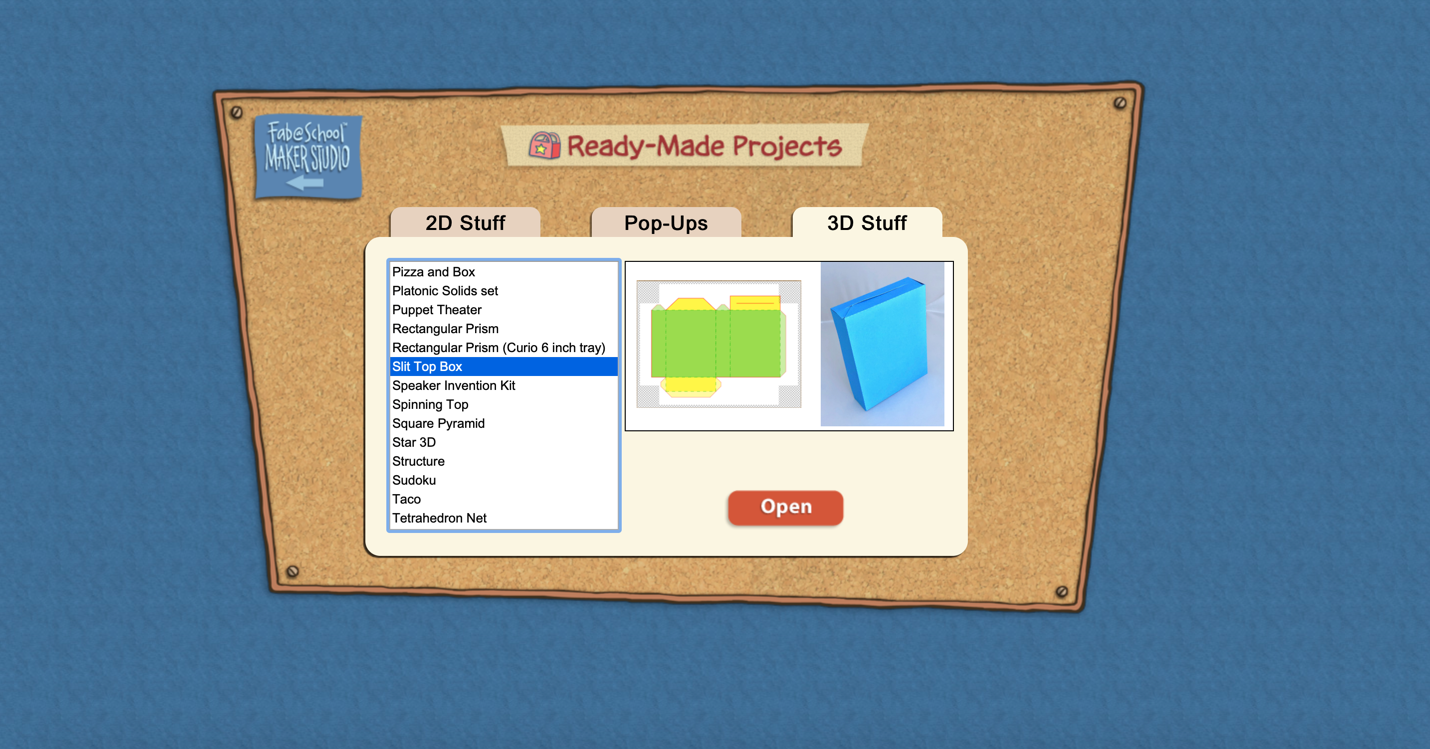
Step 2: Explore. When your file opens in the Edit screen, note the red cut lines and green fold lines. Go to 3D View in the lower right and click the larger button (double arrow) to expand the 3D view. Drag the green slider to see the box open and close. Place your cursor in the black area and drag to change the view angle.

Step 3: Print. Click the Print icon at the top. On the Print Preview page, select “Print Cut & Fold Lines” and “Remove Color Fill.” Then select Save to PDF and print your pattern.

Step 4: Construct. Use scissors to cut (or a Silhouette if you have one) to cut your pattern, then fold your box, but don’t glue it together yet. Identify the front, back, sides, top and bottom. Decide what you’d like to package and color your design. When you’re done, construct your box. Give your packaged treasure to someone or save it for inspiration.
Step 5: Design. Explore other package designs from FabMaker Studio’s Ready-Made 3D Stuff. Then use the following video as a guide to design your own box from scratch!