FableVision Learning Spotlight Blog
Categories
- Animation-ish 42
- Books 21
- Civics! 2
- Classroom Spotlight 17
- Conferences and Events 20
- Creative Educator 3
- Creativity 25
- Distance Learning 13
- Dot Day 22
- FabClassroom 28
- FabFriday 19
- FabMaker Studio 66
- FabMaker Studio Classroom 13
- FableFive 7
- FableVision Games 3
- Free Educator Resources 36
- HUTCH 1
- Home Activities 5
- In the Classroom 34
- In the News 11
- International Dot Day 23
- Ish 1
- Library 1
- Mapping the World by Heart 7
- Paul Reynolds 10
- Peter H. Reynolds 54
- Professional Development 9
- STEM/STEAM 20
- Storybook Academy 2
- Teacher Spotlight 14
- The Dot 17
- The North Star 2
- Words and Their Stories 1
- Zoombinis 3

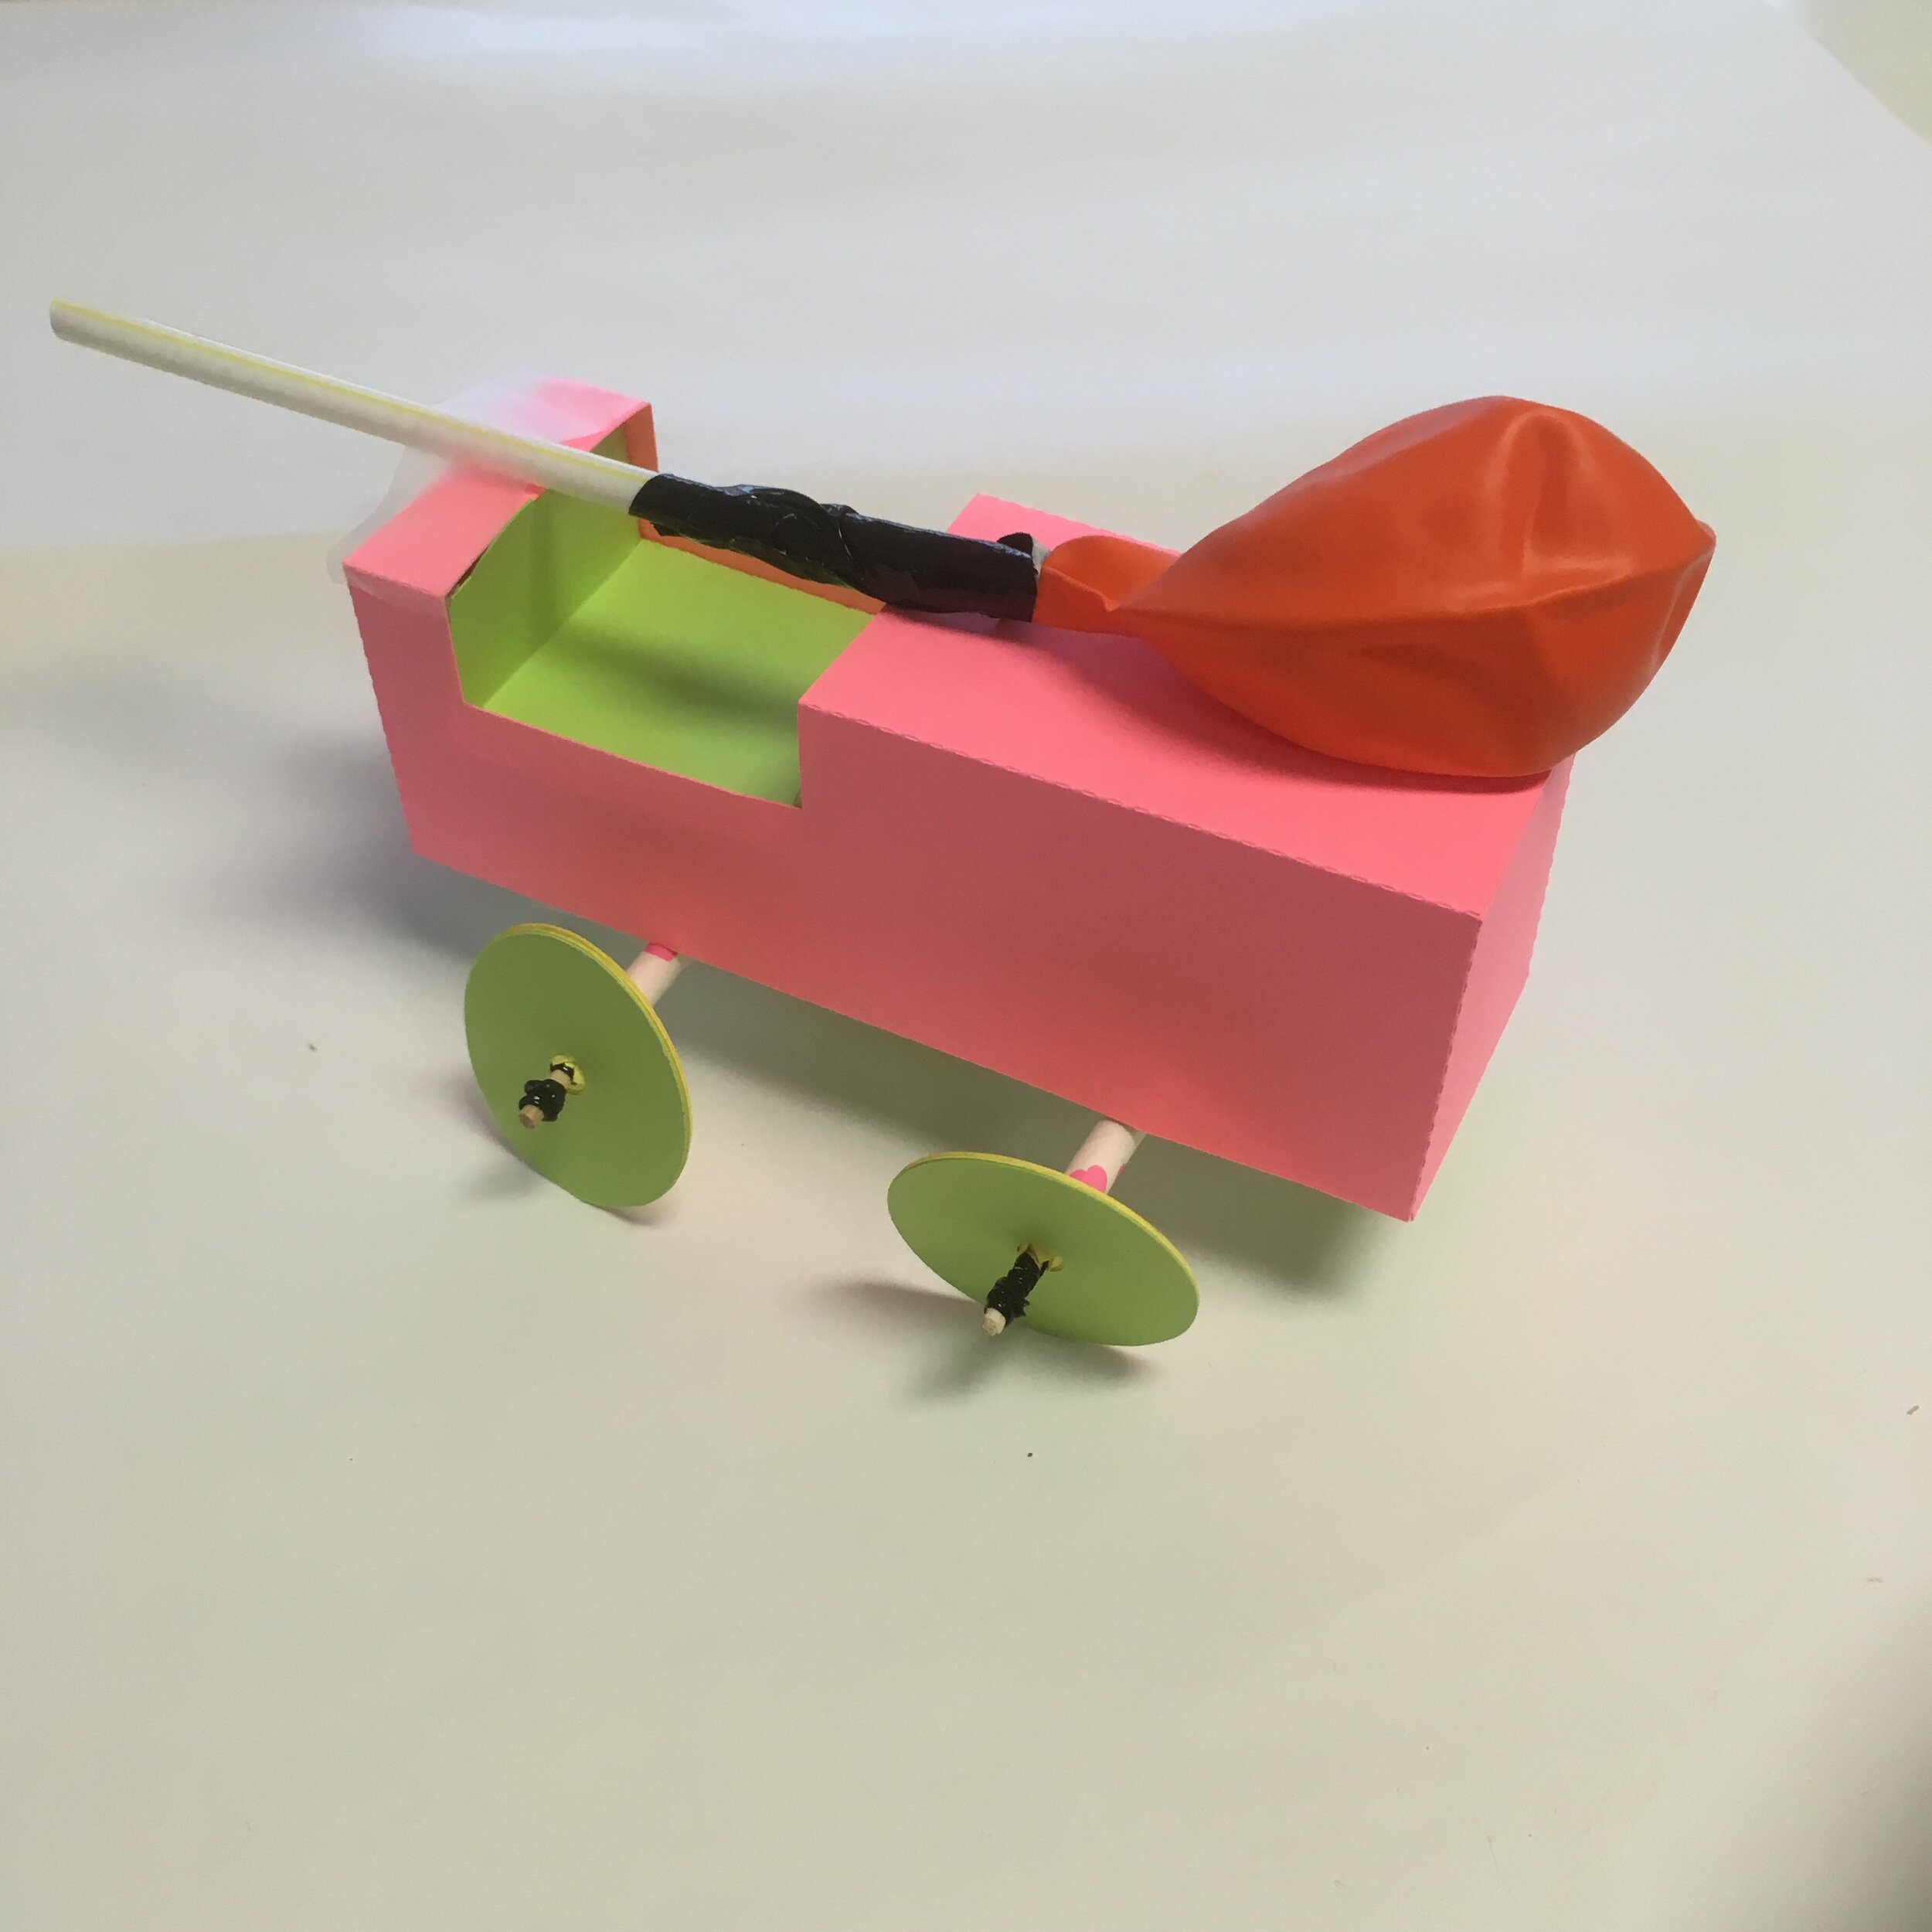
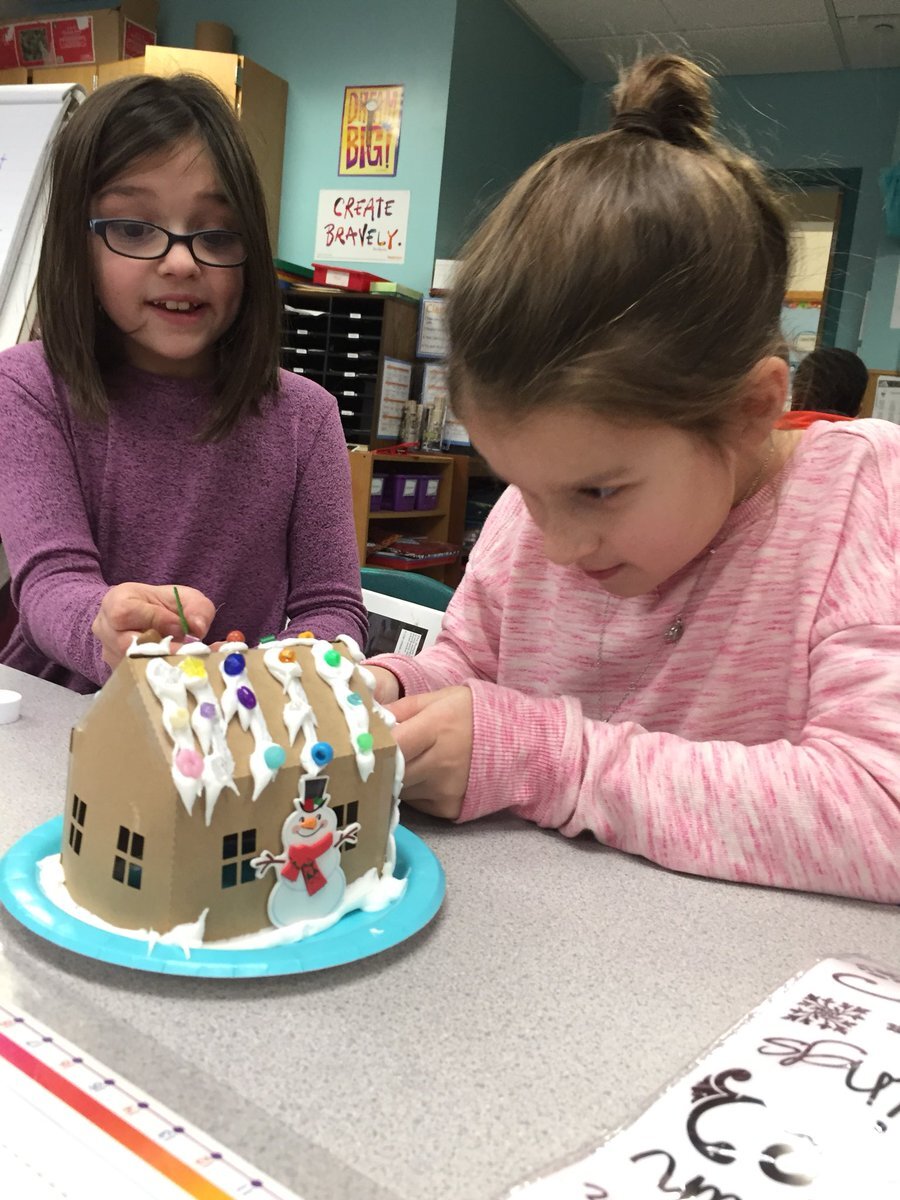
FabMaker Project Idea: Package What You Love

The following blog post is by Peggy Healy Stearns, Lead Software Designer, FabMaker Studio.
During Peter H. Reynolds Facebook Live reading of I Am Love, he shared a box designed to package “unconditional love.”
Is there something, real or imaginary, that you’d like to package and share with others? Follow these steps to design and construct your own boxes in FabMaker Studio
QuickStart Video #1 – Ready-Made Box
Watch this video, then follow the steps below.
How to create your custom FabMaker Box!
Step 1: Open a Ready-Made. Click here to go to FabMaker Studio. Sign in and go to Ready-Made Projects: 3D Stuff. Wait for the projects to load and open the Slit Top Box.
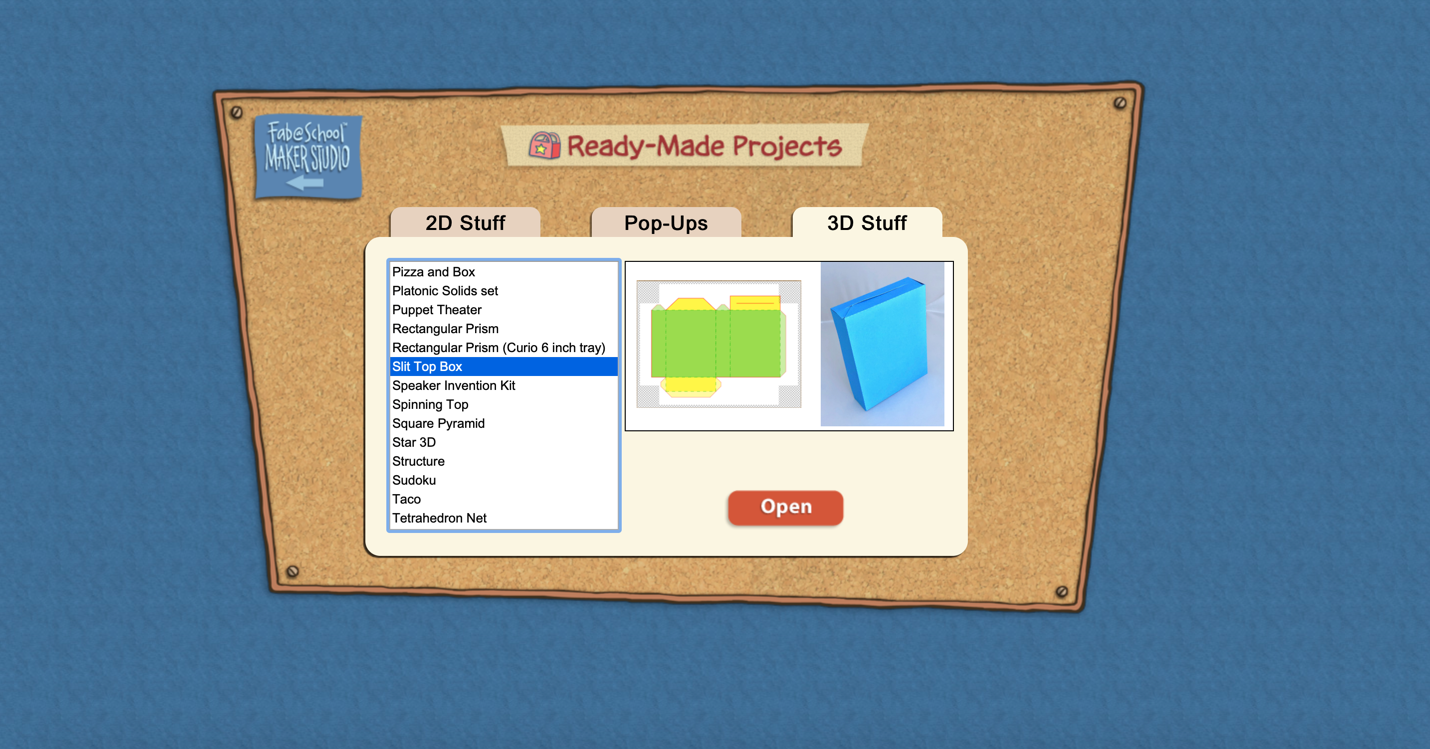
Step 2: Explore. When your file opens in the Edit screen, note the red cut lines and green fold lines. Go to 3D View in the lower right and click the larger button (double arrow) to expand the 3D view. Drag the green slider to see the box open and close. Place your cursor in the black area and drag to change the view angle.

Step 3: Print. Click the Print icon at the top. On the Print Preview page, select “Print Cut & Fold Lines” and “Remove Color Fill.” Then select Save to PDF and print your pattern.

Step 4: Construct. Use scissors to cut (or a Silhouette if you have one) to cut your pattern, then fold your box, but don’t glue it together yet. Identify the front, back, sides, top and bottom. Decide what you’d like to package and color your design. When you’re done, construct your box. Give your packaged treasure to someone or save it for inspiration.
Step 5: Design. Explore other package designs from FabMaker Studio’s Ready-Made 3D Stuff. Then use the following video as a guide to design your own box from scratch!

Using FabMaker Studio with Distance Learning
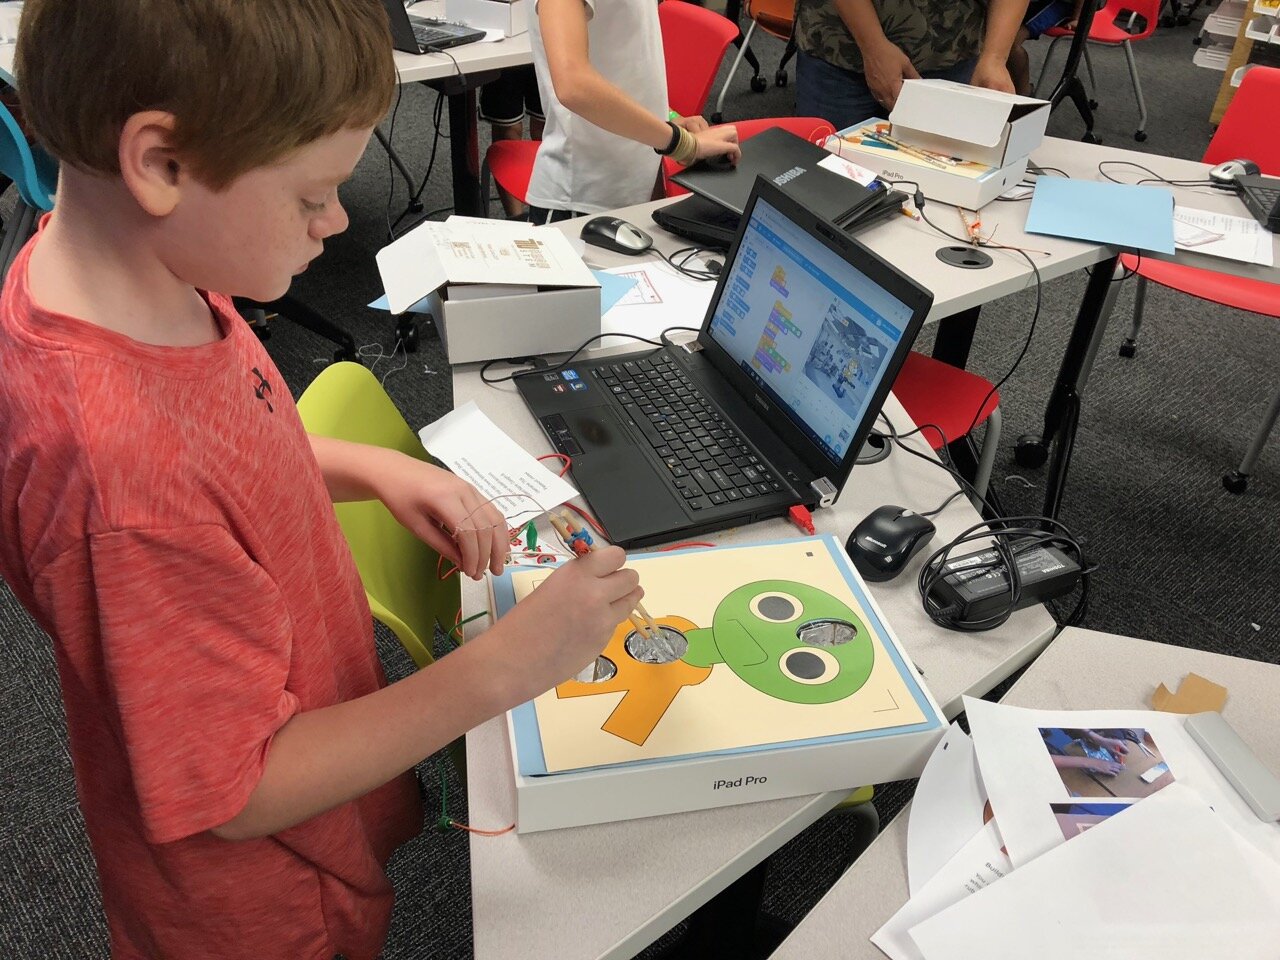
How many squares create a cube? This prompt sparks a variety of answers depending on the age. First graders usually answer four and often, we hear the number 12. With FabMaker (Fab@School) Studio, students can use shapes to digitally create 2D nets and with the 3D viewer tool immediately see how the finished project will fold. And this is just the beginning.
FabMaker Studio, our digital design and fabrication tool, opens the door to authentic learning and assessment. And as a web-based tool, FabMaker Studio can easily be folded into distance learning as they explore the Engineering Design Process. To encourage your students to think through their designs and document the process, we’ve created a handy project journal.
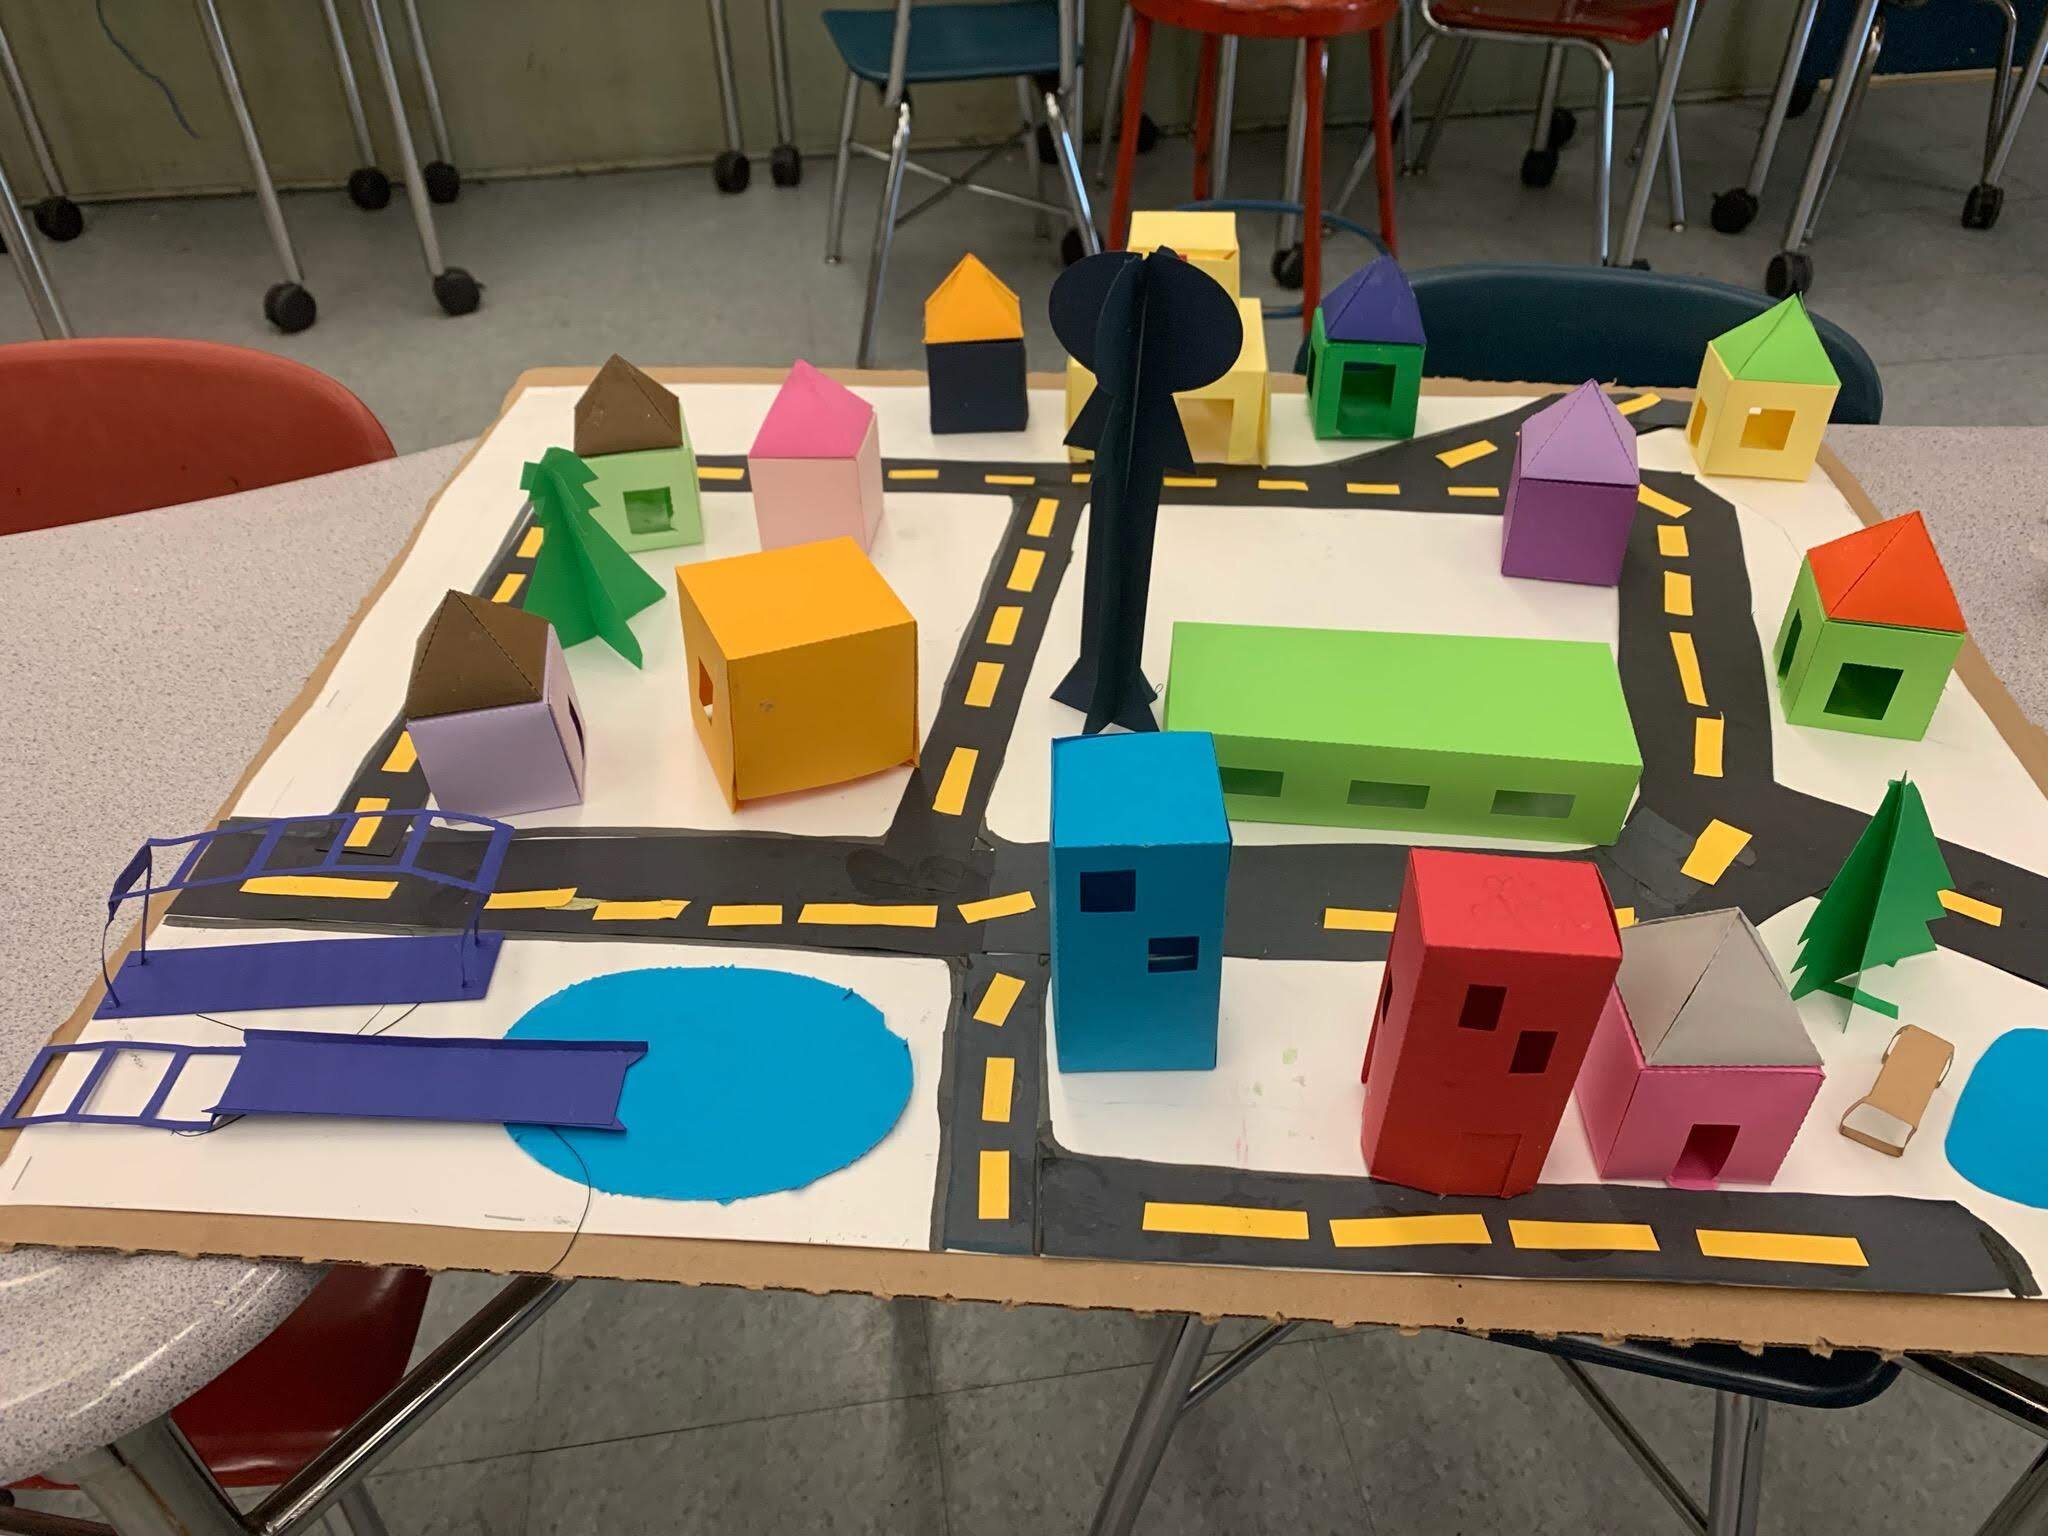
STEM content: Through FabMaker Studio, students can learn about constructing geometric shapes (activity here) and use the built-in measurement tools to engineer a scale model of a city or to exploring force and structure (go-cart activity).
Building first through technology then with actual materials is a hands-on way to gain skills in all the STEM fields.
Paper Prototyping: Prototyping is a valuable part of the creative process. Utilizing affordable and easily accessible materials, FabMaker Studio can help students make tangible objects to represent their ideas in order to test out their understanding. For details on how to use scissors to complete a project click here.
Spatial Reasoning: When designing in FabMaker Studio, students must think about how the final product they’re imagining would look when unfolded. Students have to envision where the paper must be cut and folded to create the end goal. Developing their spatial reasoning in this way is valuable for many applications and future careers.
FabMaker Tips: There are three lines in FabMaker Studio - perforated fold lines (green), cut lines (red), and black lines (don’t cut). For tips on how these lines function download our FabMaker Tool Tip sheet.
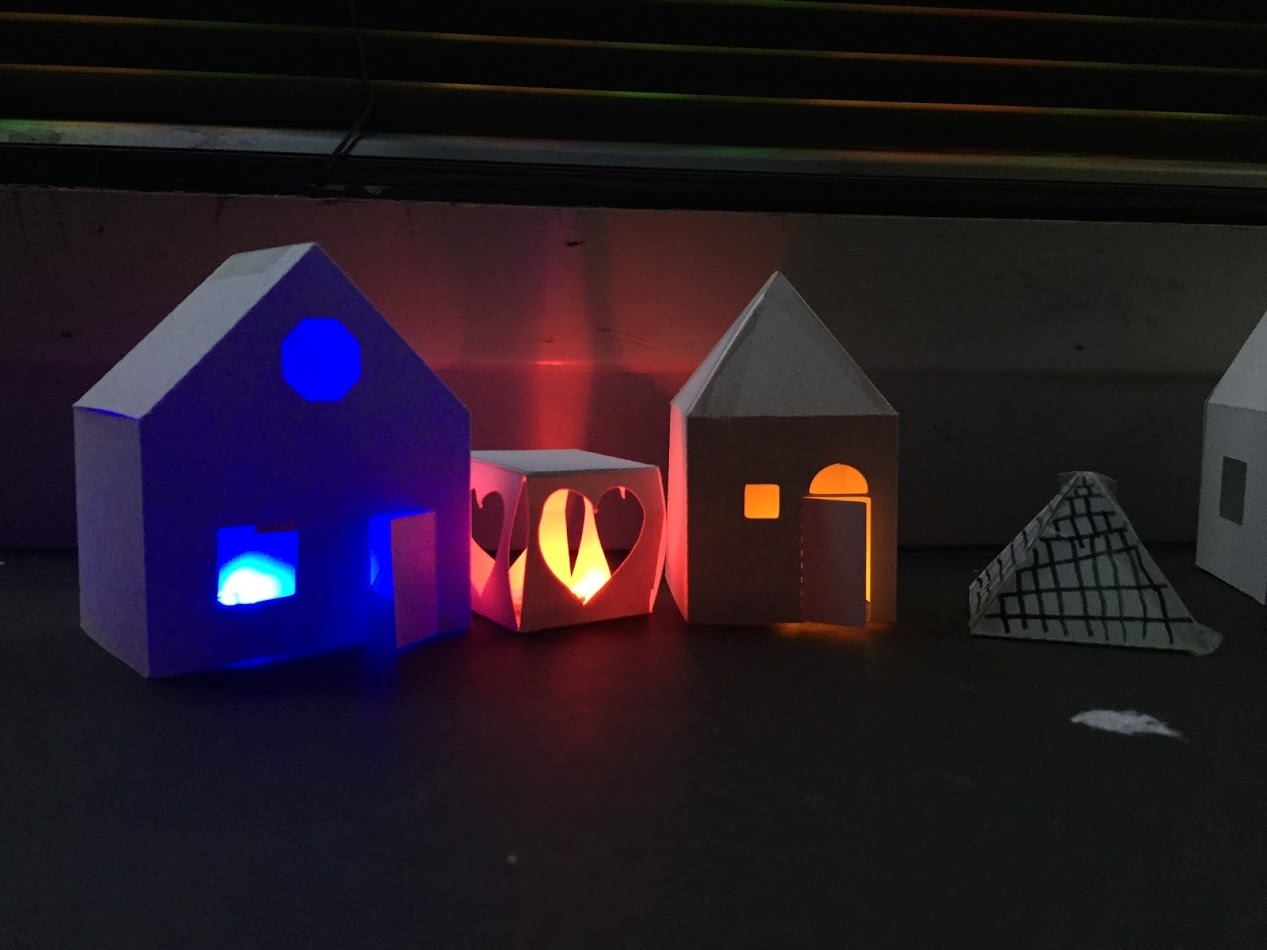
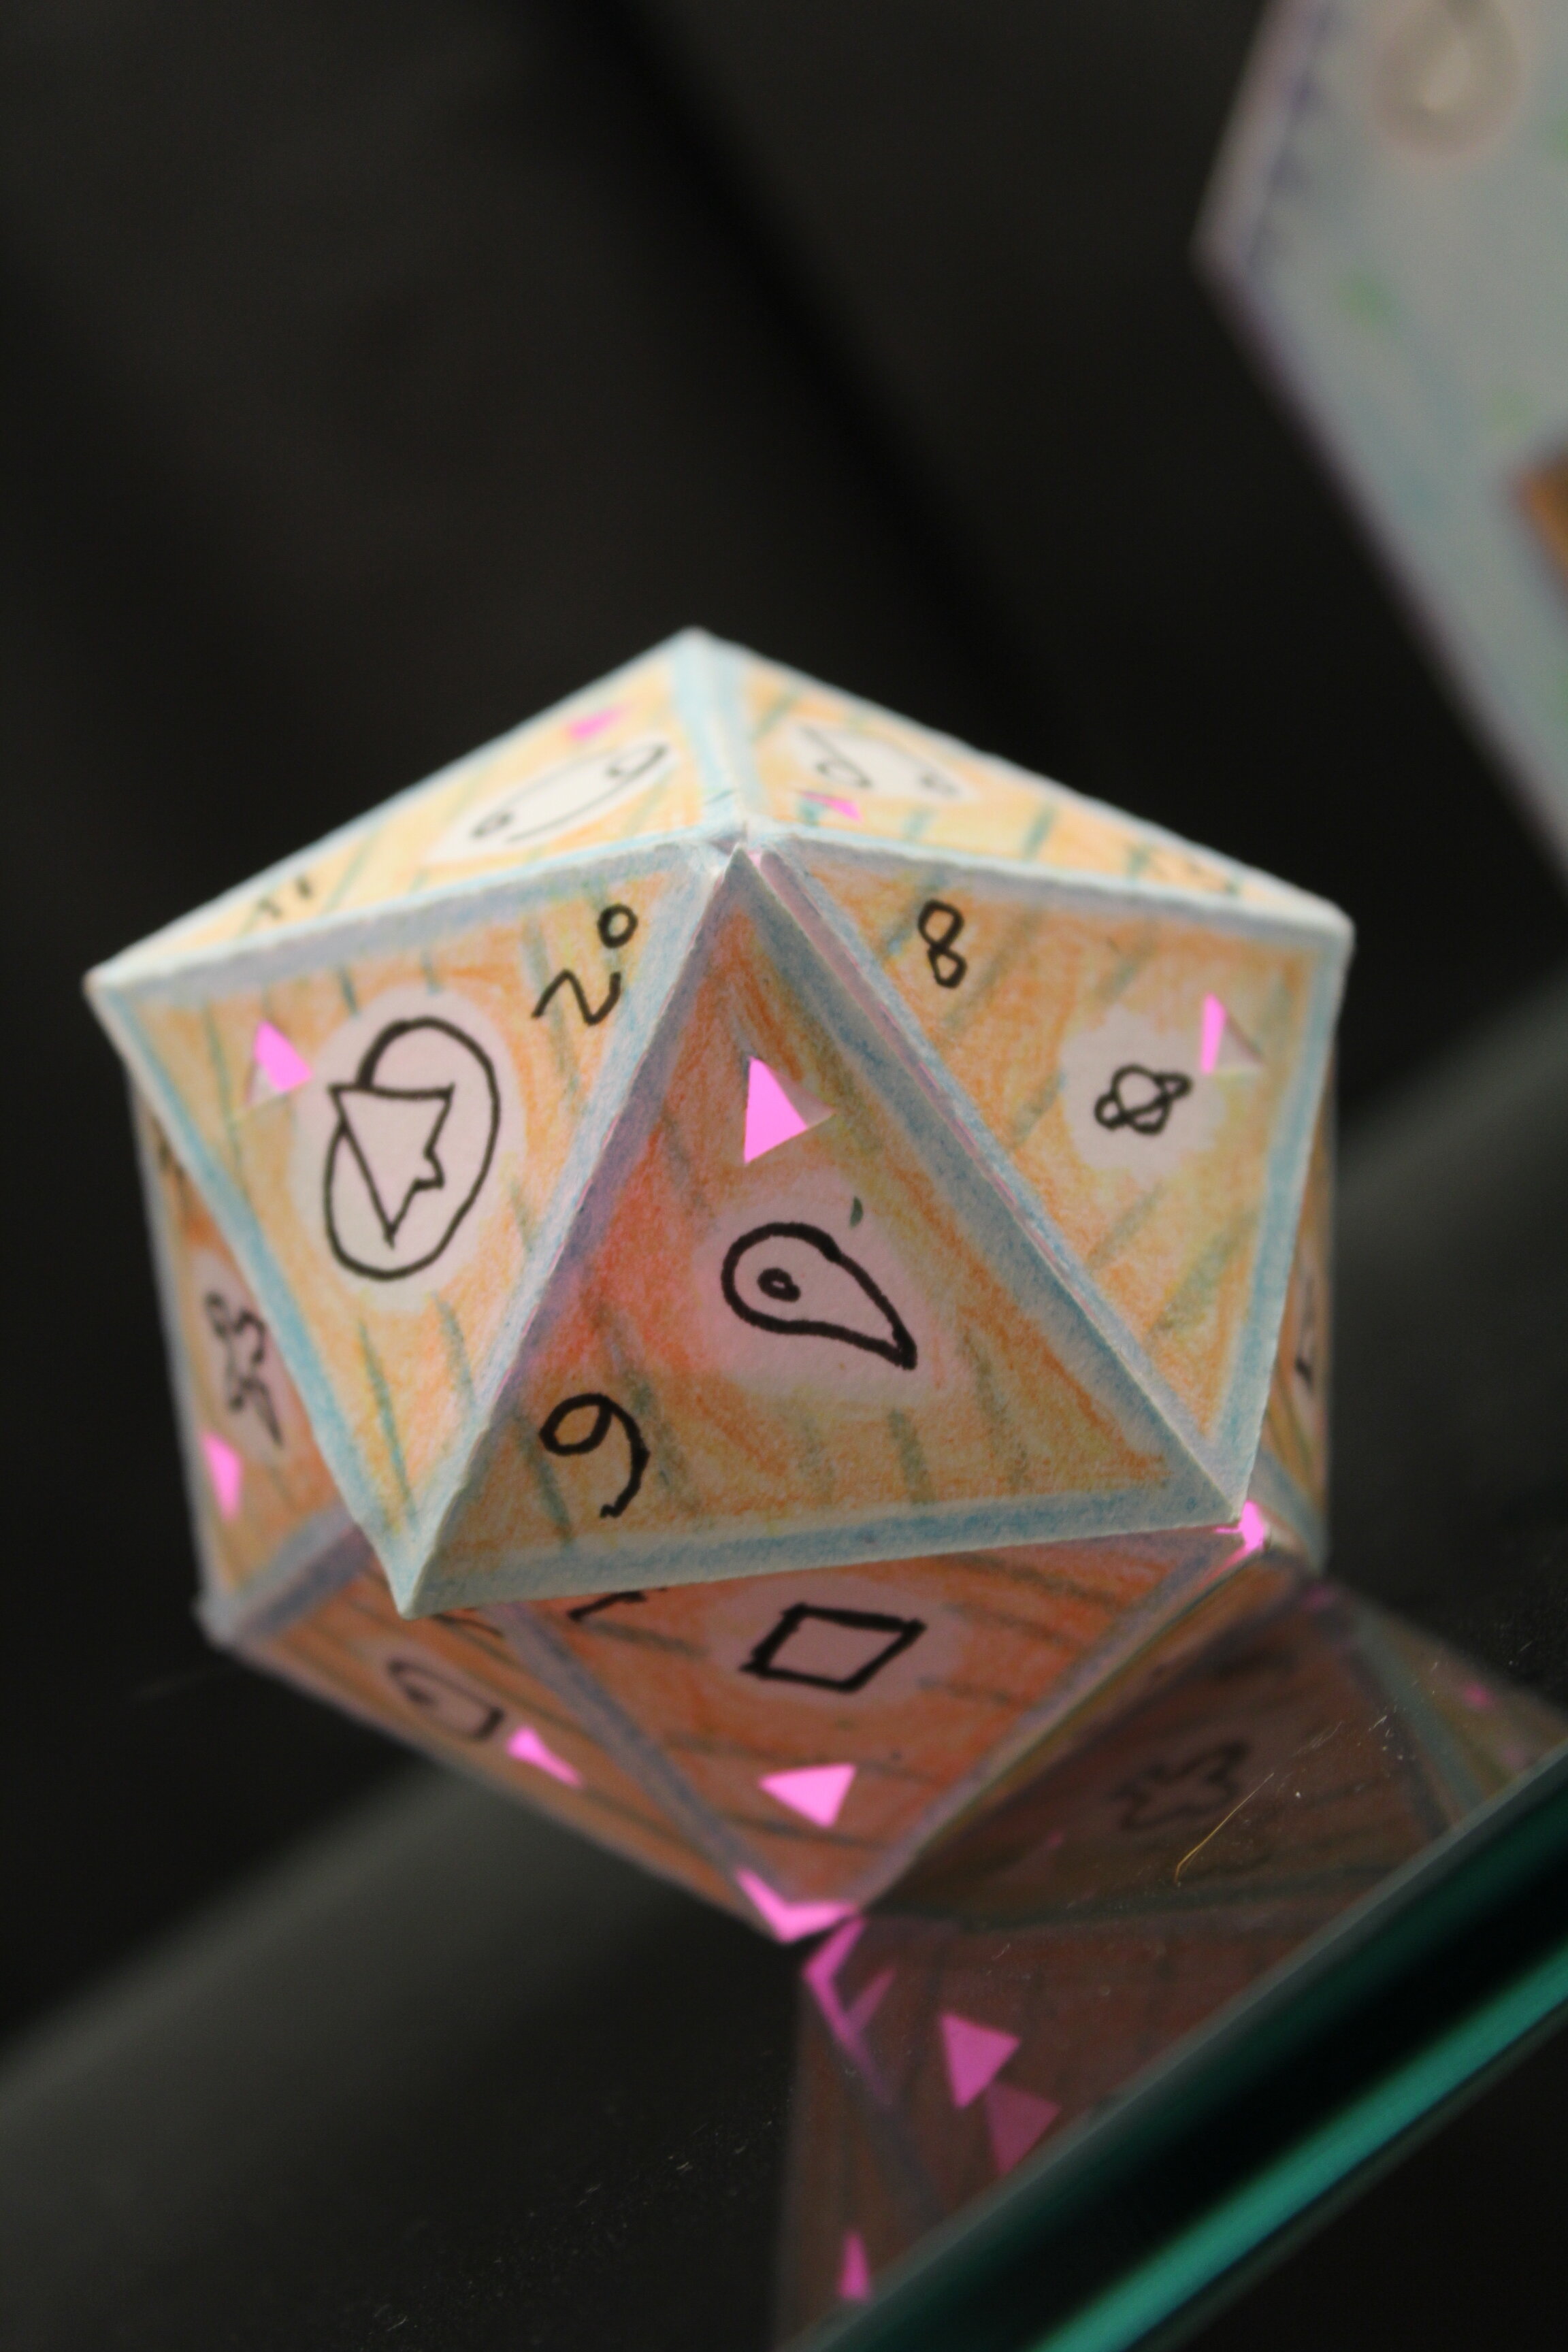
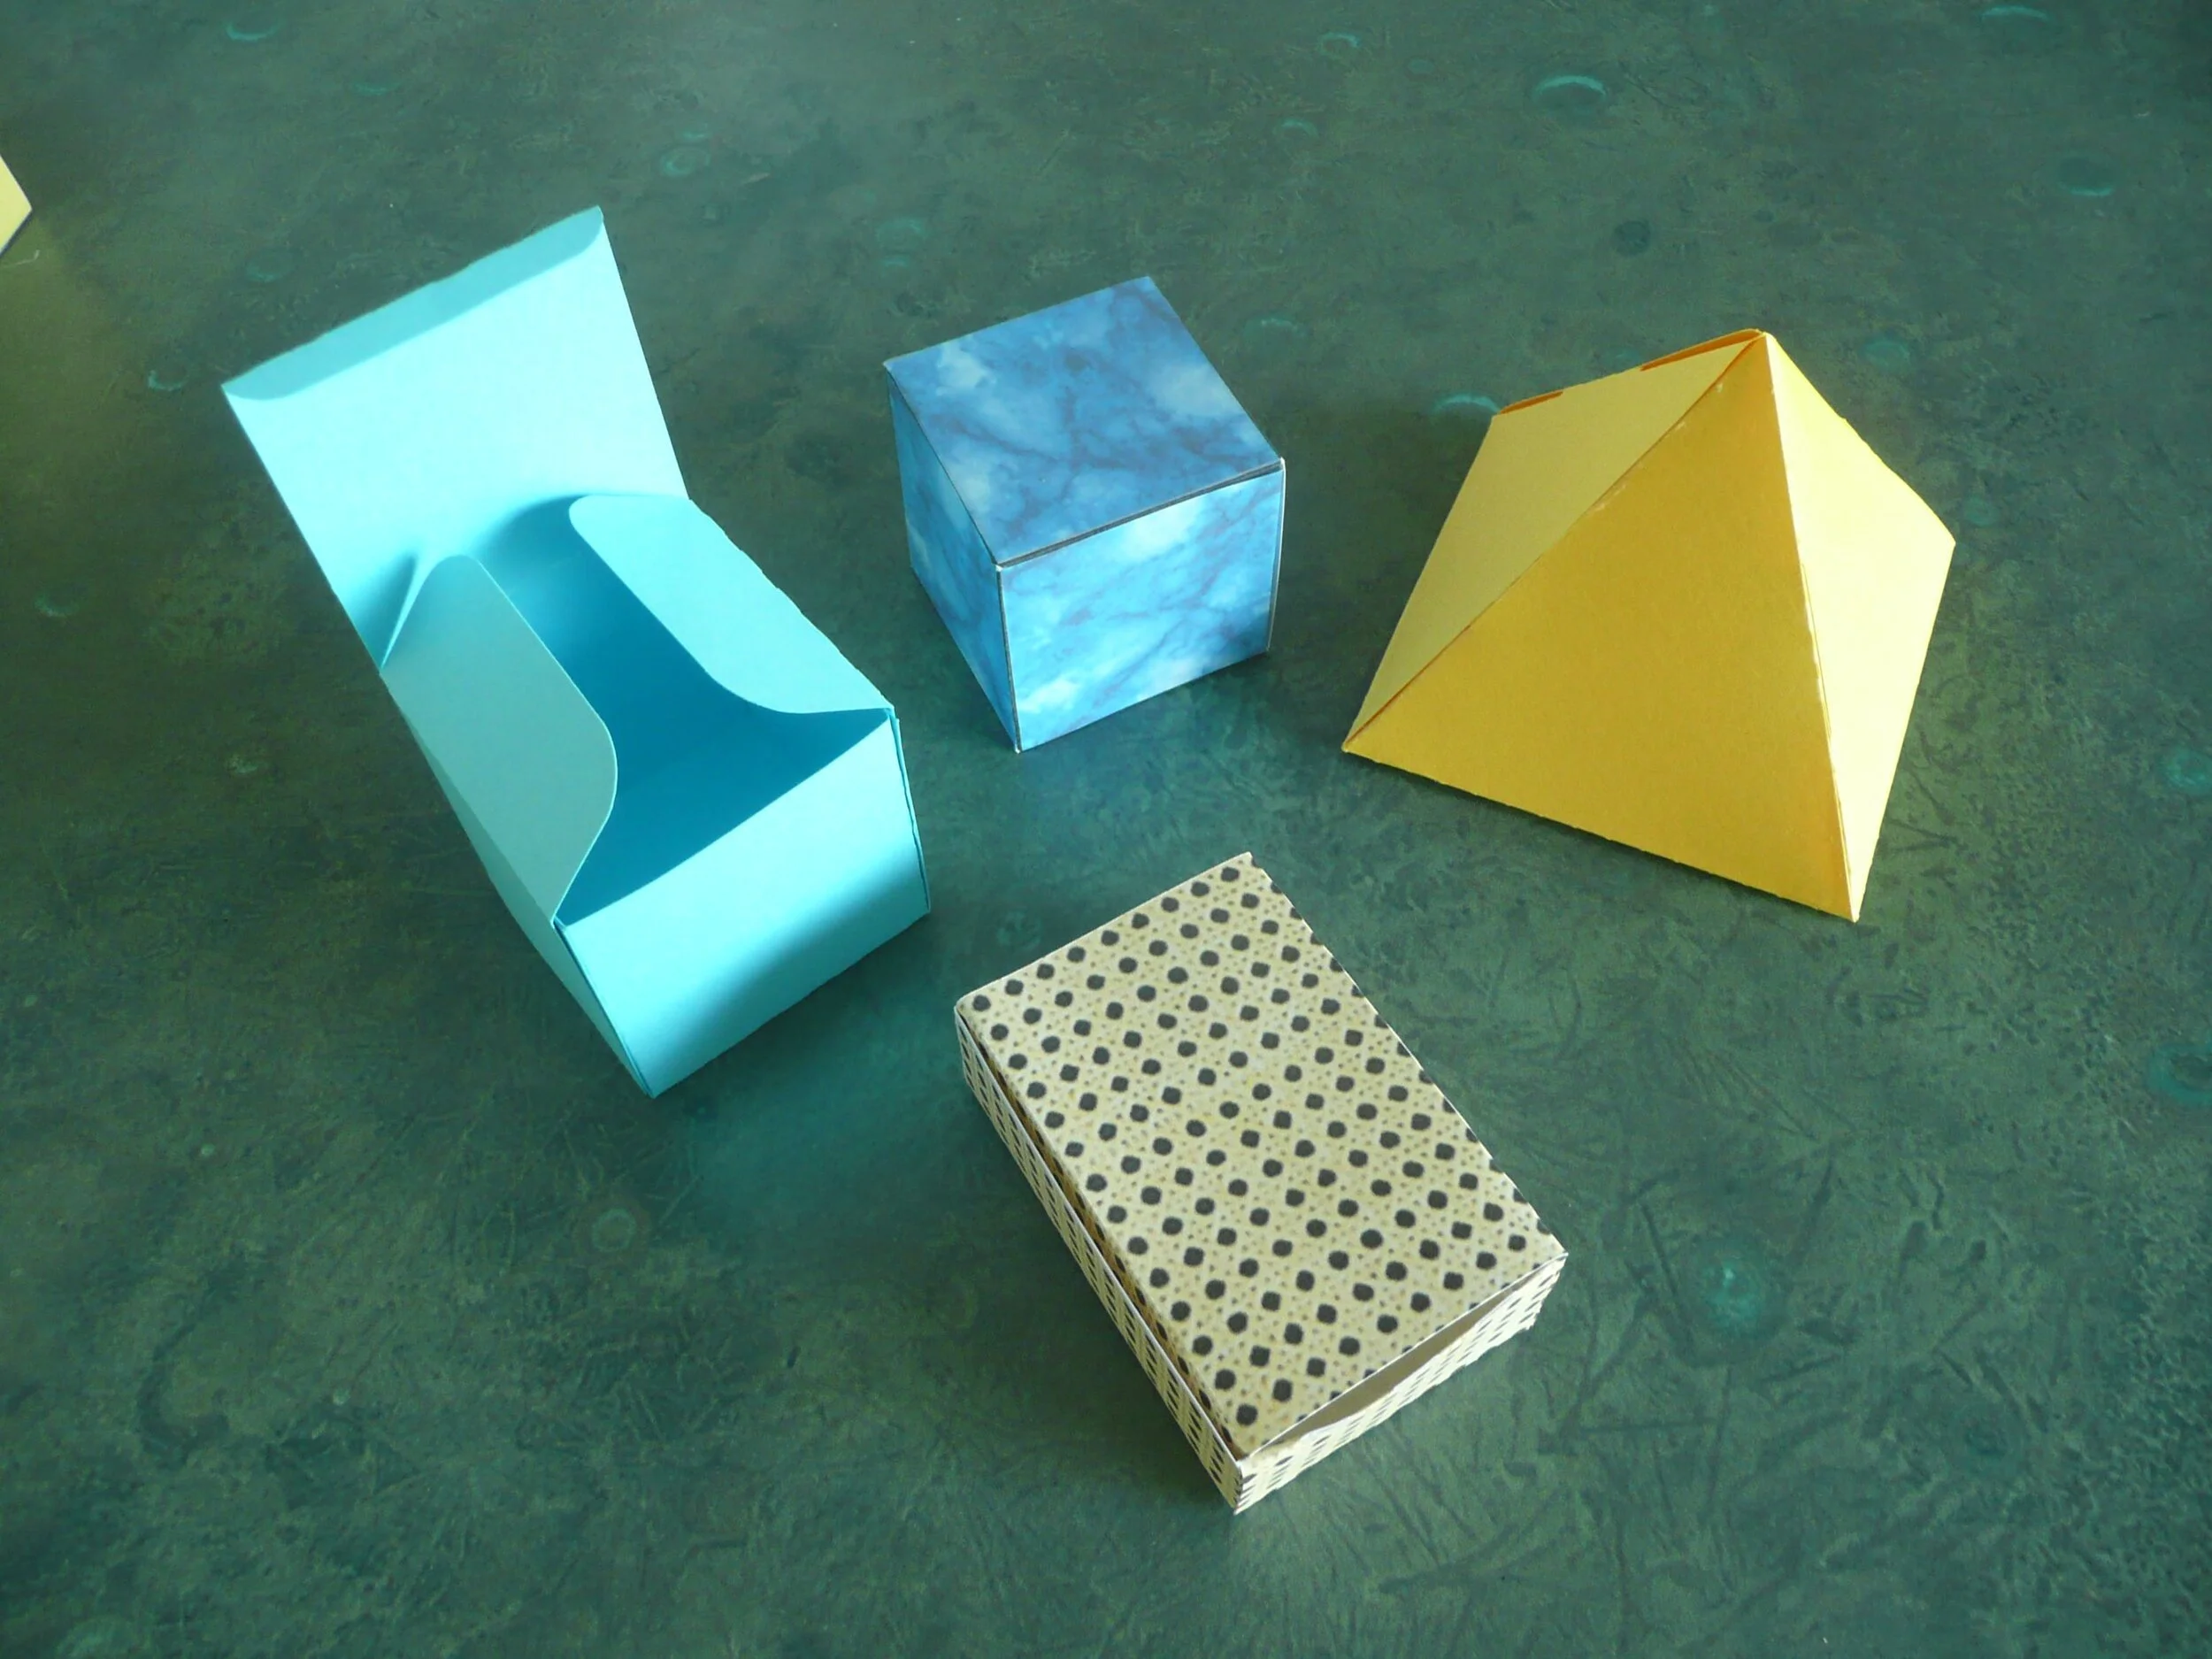
Design and Creativity: Students get to build objects starting with their imagination and then bringing them into reality. There are multiple possible ways to build the same object when you are talking about paper fabrication, so students’ design and creativity skills really get to shine. For ideas on how to get started with FabMaker Studio, check out these Spotlight Blogs and examples on the Reynolds Center site.
Perseverance and Resilience: Fabricating with just paper and tape/glue provides a low-stakes environment for taking risks and making mistakes. Students learn to try again and again and to think of mistakes as pieces of information to learn from. Perseverance and resilience are all part of the process.

Vocabulary-Building Game for Distance Learning
As you formulate your plans for distance learning, you might want to consider vocabulary building as part of a well-rounded remote curriculum.
However, it can be a challenge to teach vocabulary to students remotely. How can you make your lessons both effective and engaging?
One resource for your distance-learning toolkit can be Words and Their Stories - a fun, game-based online vocabulary-building program that teaches (you guessed it!) the fascinating stories behind words.
Etymology is Great Storytelling!
Etymology can be thought of as the history of words. Where and when, you might consider, did a word originate? Who created it, and why? What other words are related?
You’ll find that, much like people, words have surprising stories to tell…
Berserk: “Now here's a weird word! In Old Icelandic, the words ber serk meant ‘bear shirt.’ This was a reference to the fact that Norse warriors wore shirts made of bear hides, and if one of these warriors fought with extraordinary violence and fury, he was called a berserker.”
Peculiar: From the “Latin pecu, meaning ‘cattle.’ Like many other societies in the ancient world, the early Romans measured their wealth in cattle. Thus, peculium came to mean ‘private property; property in cattle,’ followed by peculiarus, which meant ‘of one's own property.’ So, when peculiarus became the English peculiar around 1450, it no longer referred to cattle or property, but to something specific to ‘one's own’ self.”
Yoke: From “the Old English geoc, meaning ‘oppression.’ In ancient times, a yoke was an arch that conquering Roman soldiers made with their spears and forced their enemies to walk under, a clear sign of Roman control.”
These are three examples of the kinds of “stories” that can be found in the Words and Their Stories program.
The platform then leads the students through quizzes, context clues, and analogies — each offering a different type of critical thinking.
Unlike plain memorization, this kind of game-based interaction with words makes the definitions really stick!
Working Remotely, and Working Well
Teachers can arrange for students to log-in to the Words and Their Stories program on their laptops or home computers.
From home, students will play the game, learn new words, quiz themselves, and have a lot of fun!
Teachers will be able to:
Track student's improvement and see scores for each level of the program.
Filter words by level of difficulty and/or theme, which makes lesson creation simple.
Add their own words to the program and create custom word lists.
Vocabulary Opens Doors
A strong vocabulary is arguably the cornerstone of your students’ communicative development. It allows them to better understand what they read, and also empowers them to express their thoughts with greater fluency, precision, and skill.
This can build confidence that will last a lifetime!
To bring Words and Their Stories to your grade 5-12 “remote classroom,”
please contact us at info@fablevisionlearning.com.

Use Animation-ish with Distance Learning
Animation is a fun, visual way to represent knowledge, concepts, ideas, and feelings. Here are some ways to use Animation-ish with distance learning.
Assessment: In Animation-ish, encourage your students animate a concept you have taught: the life cycle of an animal, a math word problem, a vocabulary word definition, one of the rights from the Constitution, or the problem from a story. Animation requires us to “highlight the essence” of what we are trying to represent - a creativity skill. Using animation is a way to allow for student creativity while also finding out whether they understand a concept.
Animation-ish Tip: Select the “SHARE” button to export an animation as an .mp4, .mov, .mpg, and as an image sequence (.png). These files can be uploaded to a virtual classroom or emailed to a teacher.
Communication skills: Animation is one way to tell a story. Students can work on storytelling skills and conveying a message through a visual medium. This practices communication and the creativity skill “visualize it richly.” Bring thoughts to life through animation!

Executive Function: Practice planning, developing, and implementing an idea through Animation-ish. Animation starts with a storyboard where students plan out their ideas. Then they move to creating the animation. Playback allows them to find and fix mistakes in an iterative process of development.
Animation-ish Tip: Click on the Animation Storyboarding Kit to download a PDF of the activities, including a storyboarding template.
Art: Animation is a form of art and expression. Students can express their feelings and develop artistic skills related to animation, including techniques for drawing for movement.
Animation-ish Tip: Students can save their animations in progress to their Project Vault to work on later.
Build Confidence: The features in Animation-ish are leveled so that the youngest students can feel confident and competent in animation. Watching the most simple of drawings come to life engages student imagination and shows them that they can make awesome things to share with the world.
Share your ideas? How do you plan to use Animation-ish with distance learning? Share your tips and tricks in the comments below.