FableVision Learning Spotlight Blog
Categories
- Animation-ish 42
- Books 21
- Civics! 2
- Classroom Spotlight 17
- Conferences and Events 20
- Creative Educator 3
- Creativity 25
- Distance Learning 13
- Dot Day 22
- FabClassroom 28
- FabFriday 19
- FabMaker Studio 66
- FabMaker Studio Classroom 13
- FableFive 7
- FableVision Games 3
- Free Educator Resources 36
- HUTCH 1
- Home Activities 5
- In the Classroom 34
- In the News 11
- International Dot Day 23
- Ish 1
- Library 1
- Mapping the World by Heart 7
- Paul Reynolds 10
- Peter H. Reynolds 54
- Professional Development 9
- STEM/STEAM 20
- Storybook Academy 2
- Teacher Spotlight 14
- The Dot 17
- The North Star 2
- Words and Their Stories 1
- Zoombinis 3
Mapping the World By Heart Classroom Spotlight: Robin Clements

If you were to map Robin Clements teaching career, it would start and end with 8th grade. Currently an 8th grade teacher at St. Bernard’s School in New York, Clements is a “long-time admirer and even acolyte” of Mapping the World by Heart creator, David Smith. At every school, he has used the geography curriculum, Mapping the World by Heart, in his classroom to teach a number of different lessons besides just the borders of countries.
Clements said he caught the “mapping” bug in the early 1980s when he was headmaster at the Hillbrook School in California.
“(I) got the 6th grade teacher on board (and) she took Dave’s program pretty much as packaged for 6th grade history and geography, stretching it out over a whole year, with many activities of her invention to go with each phase,” he explained. They drew Africa as they were reading African folktales from different countries; their study of Asia was part map drawing, part culinary, and so forth. The kids loved it. At the end of the year, they drew the whole world in one mighty day, colored and decorated their maps and took them home to proud parents. It became a staple of our curriculum, a hallmark of our school.”
Moving across the country to the St. Bernard School in New York, Clements he got the green-light to do a seriously modified form of the map for 8th grade history and adapted Mapping the World by Heart to fit the curriculum.
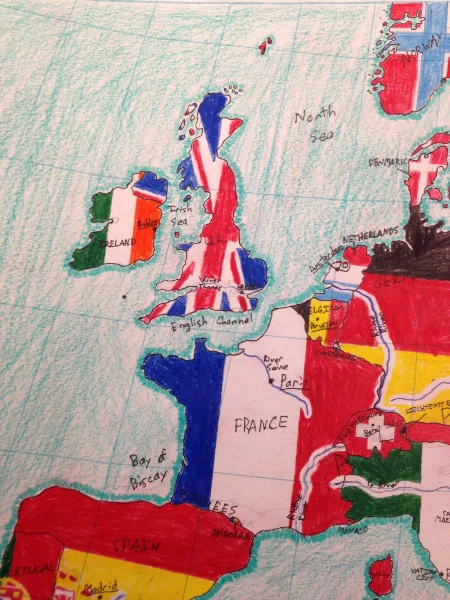
“As the existing curriculum was medieval Europe, I found a conical projection of Europe that by chance included the Mideast, Northern Africa, and the countries of the Caucasus. The map was made into a desk-sized blank by a New York architect (who said getting the latitude right was one of the hardest things she had ever done), and I took the result to a printer, who did a thousand copies on cheap paper and fifty on heavy stock,” he shared. “We are still at it. Boys take about five weeks to learn the whole thing, starting with the water, then populating the blank spots with countries, capitals, mountains, and rivers. The guys get four class periods on successive days to draw and ink it. It took me about 10 years to figure out how to teach it and how to grade it, but I can now do it pretty easily.

You will see that it is not Dave’s pure idea at all, but it’s working well, most of the boys love the break from reading and essay writing, and there are often big surprises—the verbal genius who struggles with spatial relationships, the verbal problem who suddenly blossoms. It’s a different part of the brain. All in all, it’s been a success and I now have almost twenty years of victims to tell me how useful or un-useful it was. The consensus is quite useful in high school, and there are a couple of touching success stories.”
We recently connected with Robin Clements to share a bit about his work with Mapping the World by Heart in the classroom.
Can you share a bit about your career and you current position at St. Bernard's School?
I’ve been teaching just about forever—elementary school, college, high school—and was headmaster of a country day school in California for 21 years. I began with 8th grade as an apprentice at Hawken School in Cleveland in 1965 and it looks as if I’m going to end with 8th grade at St. Bernard’s School in New York. I’m a homeroom teacher with 20 boys and a couple of classes of medieval history, a couple of classes of Latin and a 7th grade geography class, plus all the homeroom stuff.
What is the role of geography in the classroom?

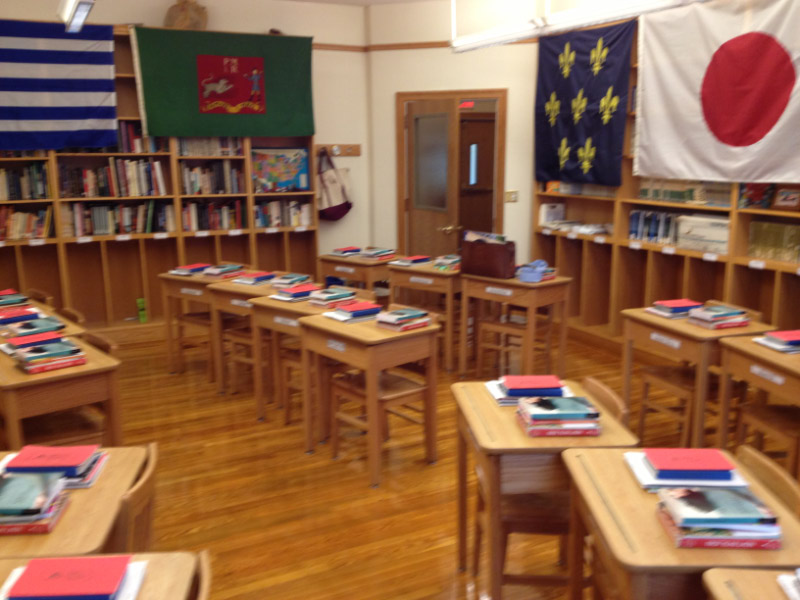
Heavens. It comes into every discussion if you give it time. I’ve got old-fashioned roller maps in a nest of four above the blackboard and I’m constantly changing them and reaching for one or another. In homeroom, we come to the Korematsu case—down comes the map so we can look at Hawaii, since the events started just after Pearl Harbor with a crash landing on Ni’ihau. Then on to the Bay Area, and finally Western Utah, where Korematsu spent most of the war. Pointing to spots on a map is so, well, old-fashioned, and yet I think it helps the boys remember the flow of the story.
We also have a good Internet connection, and there are endless uses. About how many people are there in Iowa? I have no idea, but Dr. Internet serves up the answer in a flash. One of the boys just wheels his chair around and looks things up. Google Earth is endlessly useful. Drawing the border between Jordan and Iraq raises the question of that little hiccup in the middle of a very straight line. Put it up on the board and let’s zoom in. Oh, look—it’s an airport, and the national boundary moves to keep it in Iraq. Geography ought to be as much part of elementary education as spelling or times tables.
What has been one aha teaching moment with Mapping the World by Heart?

You don’t mean things like “Hungary looks like a chicken,” do you? (And Ireland like a koala bear, and Switzerland astonishingly like a praying Muslim.) How about this: why does the western border of Armenia bend to the east? What is it avoiding? As you draw it, let’s talk about the history of Turkey and Armenia, a murderous hostility that finally deprived Armenia of its national symbol, Mt. Ararat. The whole story is something I knew only hazily before I began to teach the course, but it really pops out as you draw that line, and talk about the post-World War I war between Armenia and Turkey. Boys who draw this line are likely to tuck the story away, I believe.
Are you or someone you know using FableVision Learning’s creative tools for the classroom. We would love to feature them on our blog. If you'd like to nominate someone for the FableVision Creative Educator Spotlight, click here and complete your submission electronically or send us an email at info@fablevisionlearning.com

Dedham is home to one FAB Library!
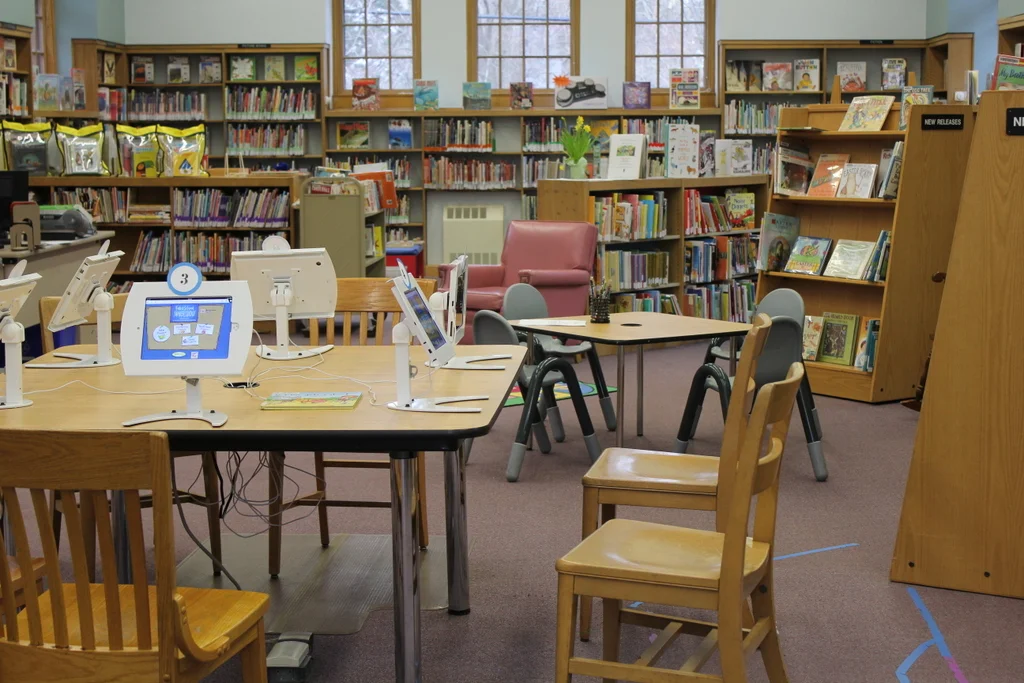
Huddled around a computer, kids excitedly watched as their ideas became digital designs. On Friday, March 24, kids of all ages joined a Fab@School Maker Studio workshop a the Dedham Public Library and got hands-on with digital design and fabrication. From dog masks to personalized boxes, these children learned the design process in the library makerspace by means of 3D and 2D printing.

Dedham Library Innovation Team (DLIT), the award-winning library advocacy group dedicated to creating modern libraries in Dedham, MA, generously donated a Fab@School Maker license to the library. This donation allows residents to work with the digital fabrication program in the library’s makerspace, or check out the technology to use at home. FableVision Learning is happy to help with DLIT’s initiative to provide more people access to amazing, innovative technology and lessons that can be of use to children outside of the classroom.

Friday was the introduction of this new product at the library, and the FableVision Learning team join the celebration by letting children try it out. During the workshop, kids of all ages, altered ready-made projects and tried their hand at fabricating their own.
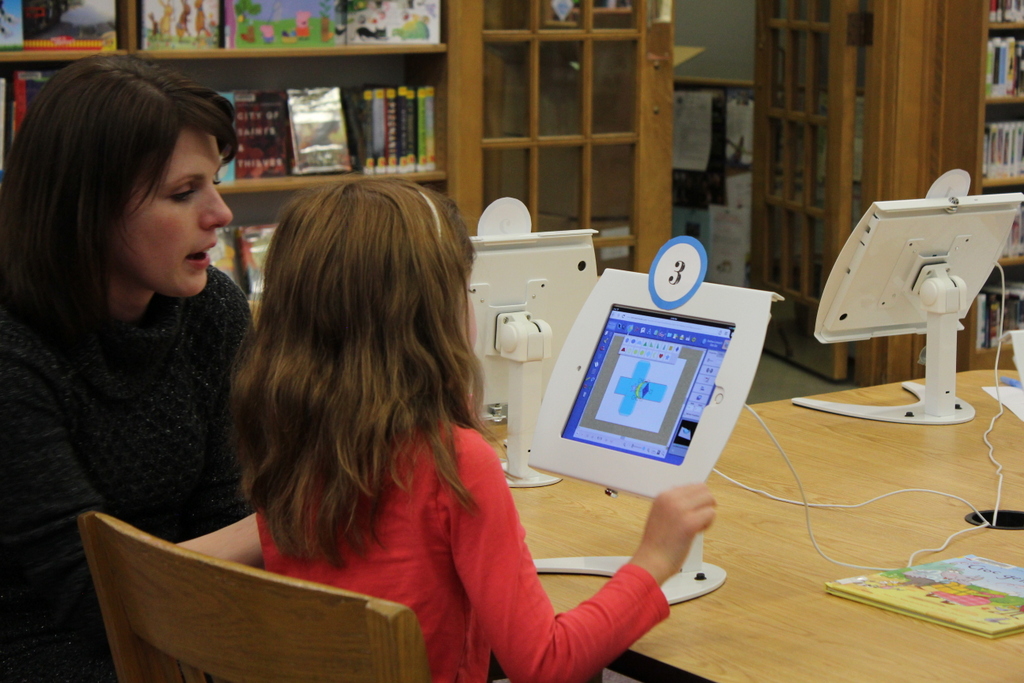

Fab@School Maker Studio particularly made an impression on one little girl, Eliza, who was eager to create her own ninja mask. But there wasn’t a pre-made mask! This didn’t stop Eliza; she went right over to the computers and started mapping out a new design - all on her own. And, not surprisingly, at the end of the workshop, she walked away with her mask. This story shows that this creative generation of kids don’t have to stick to the guidelines of already designed layouts - they can venture out and create their own unique designs as well. That is truly the beauty of Fab@School Maker Studio!
Local? Try it out at the Dedham Public Library today. Want to bring Fab@School to your public library or makerspace? Send an email to the team at info@fablevisionlearning.com or give us a call 800-828-0017.
Resources & Reviews: "Happy Dreamer" At Your Local Bookstore Today!

FableVision founder and New York Times best-selling author/illustrator, Peter H. Reynolds, believes in self-expression and staying true to oneself. In his newly released book, Happy Dreamer, - out today - Peter celebrates what it means to be a dreamer.
“I wrote Happy Dreamer for kids (and grown up kids) like me,” he said in a recent blog post. “This really is my story. A peek inside my mind to share how my brain works in its own wild and wonderful way… I wanted to send out a hopeful message that kids who are diagnosed with ADD or ADHD that they have a gift, not a label. That their minds are very special. That they are "delightful dreamers." Their brains are capable of being flexible, generous, nimble, and inventive. Their kind of thinking is to be understood, nurtured, accommodated and CELEBRATED!
As the book hits the shelves of your independent bookstore, we’ve collected a few resources and reviews for you to check out:


- Book Trailer from Scholastic: Happy Dreamer by Peter H. Reynolds -
**Are you interested in becoming a Happy Dreamer? Hop on over to The Blue Bunny Toys & Books in Dedham Square or check out your local bookstores. HAPPY DREAMING!
Teacher Spotlight: Anne Turner, Kindergarten Teacher at North Tama County Community School

Every day is a new adventure for Anne Turner. As a kindergarten teacher at North Tama County Community School in Traer, Iowa, she encourages hands-on, active participation in her classroom with STEM (Science, Technology, Engineering, and Math) at the center of her lessons.
“I love creating new things, whether it’s new STEM centers at school, books with my students, or crafts at home,” she says. “Every day is a new adventure!”
Her love for creating new things sparked an innovative nature that she uses while teaching her kindergartens. Whether it’s producing books, developing STEM centers, or making arts and crafts, she says that hands-on, experiential learning is the way to go.
For the Teacher Spotlight, Anne, a FableVision Learning Ambassador, recently shared her favorite things about being a teacher, how she applies Stationery Studio in the classroom, and how she and her students had a blast on International Dot Day 2016!

Tell us about your classroom; what is a typical day like?
My kindergarten classroom is full of fun! A typical day starts with morning meetings and welcomes. We then get the opportunity to explore different STEM centers. We do many book read-alouds throughout the whole day and this will start a new learning adventure! We focus on literacy and math throughout the day as well, connecting everything together and creating hands on fun… In the afternoons, we focus on Daily 5 and guided reading centers that encourage our independence as young readers and writers!
Daily 5 are centers we rotate through that help us learn on a more individualized level. Each child rotates through guided reading (individual work with Mrs. Turner), read to self or to someone else, listen to reading, work on words, and work on writing. These centers can include activities from our STEM investigation, or working on our leveled readers and things we struggle with. The kids go at their own pace and include their own interests!
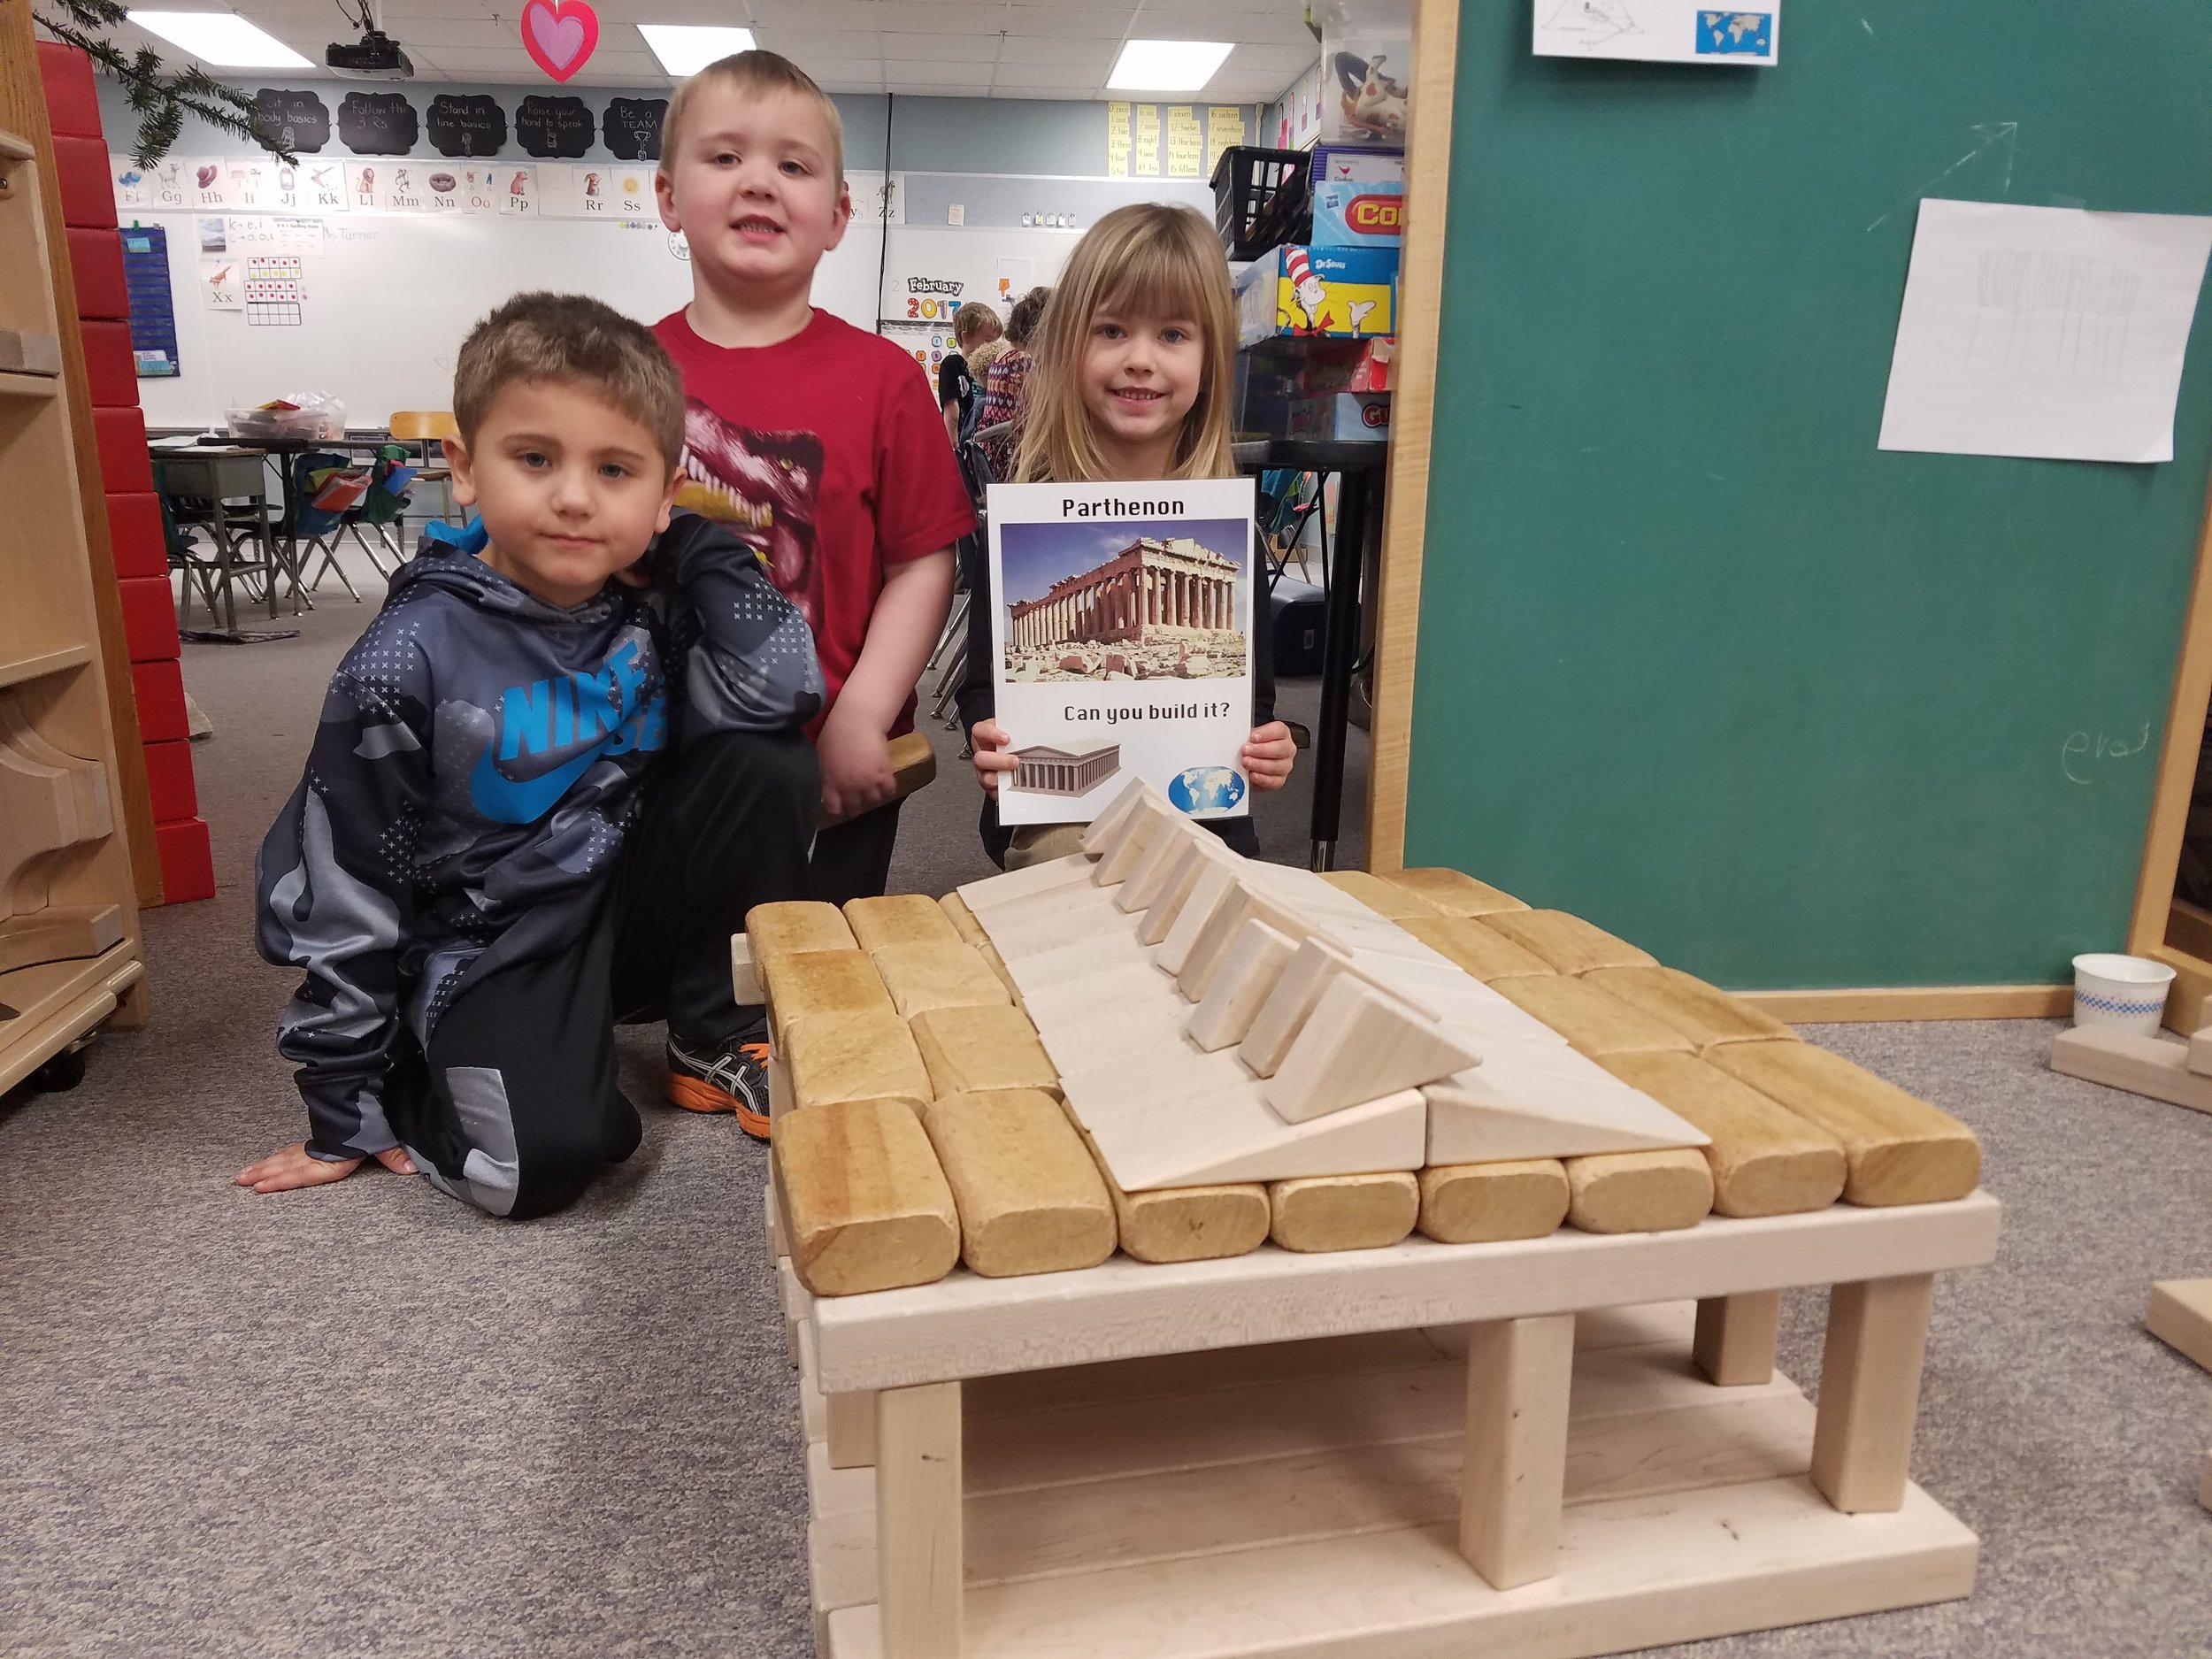
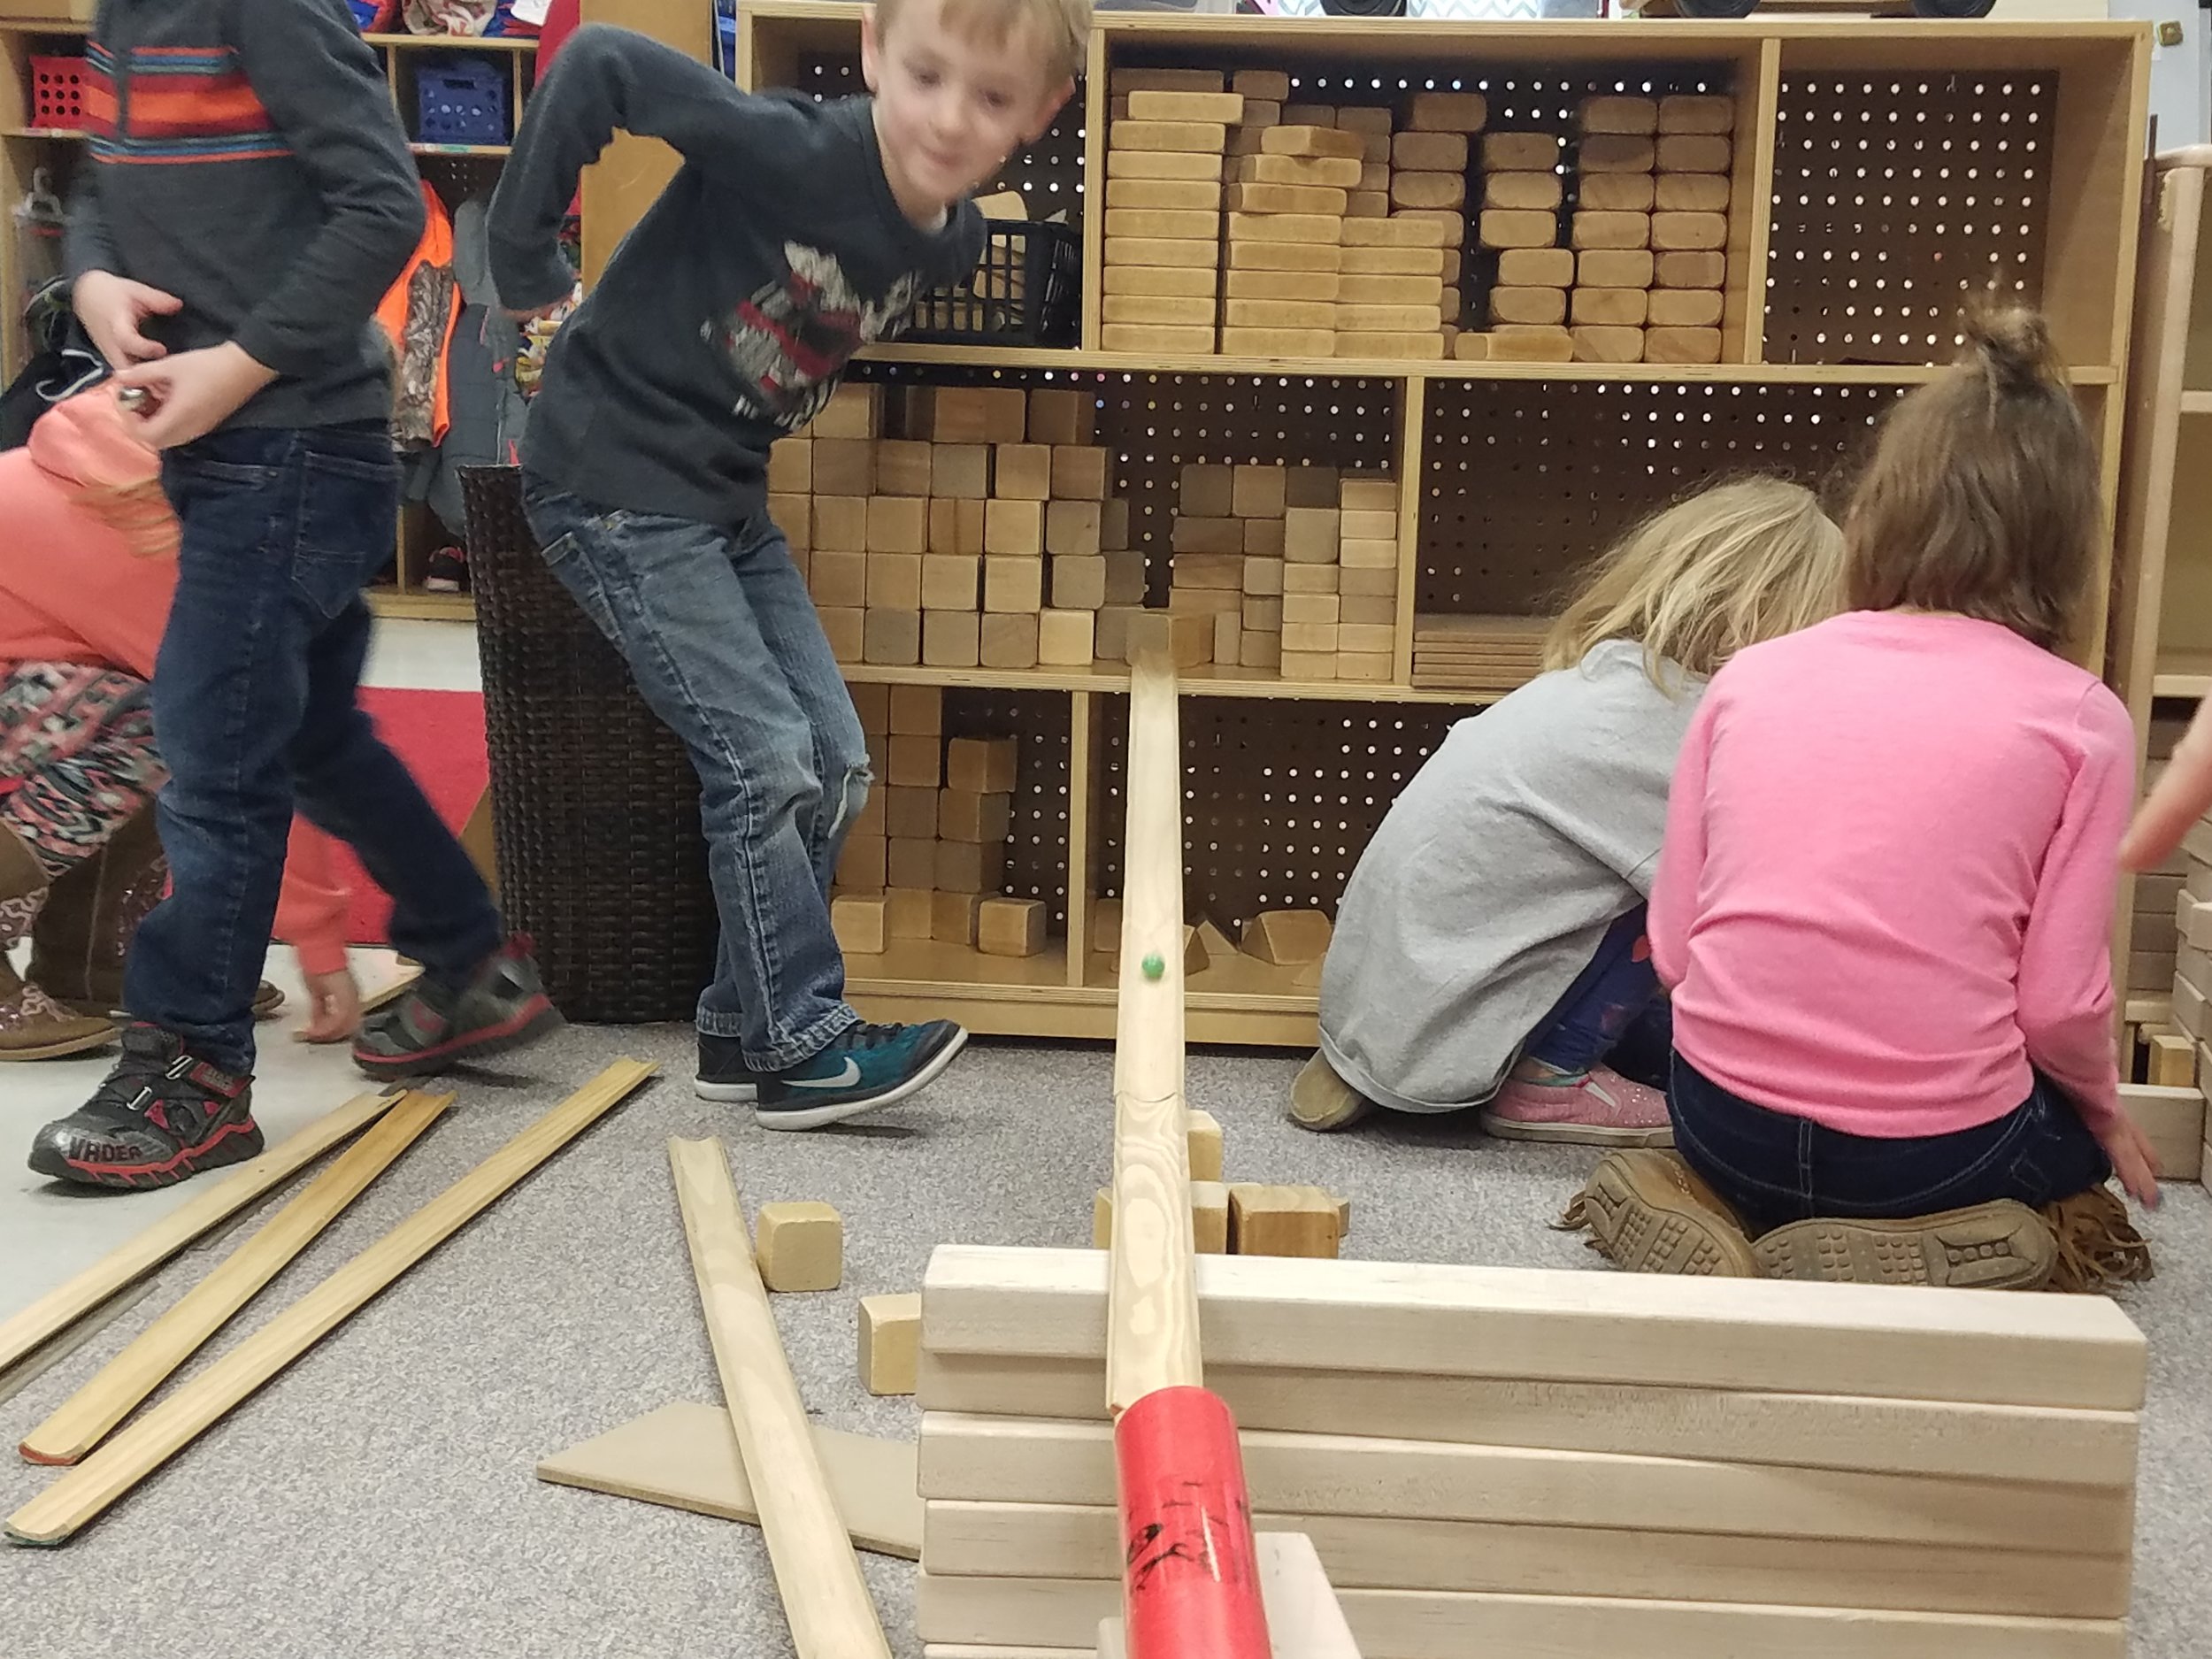
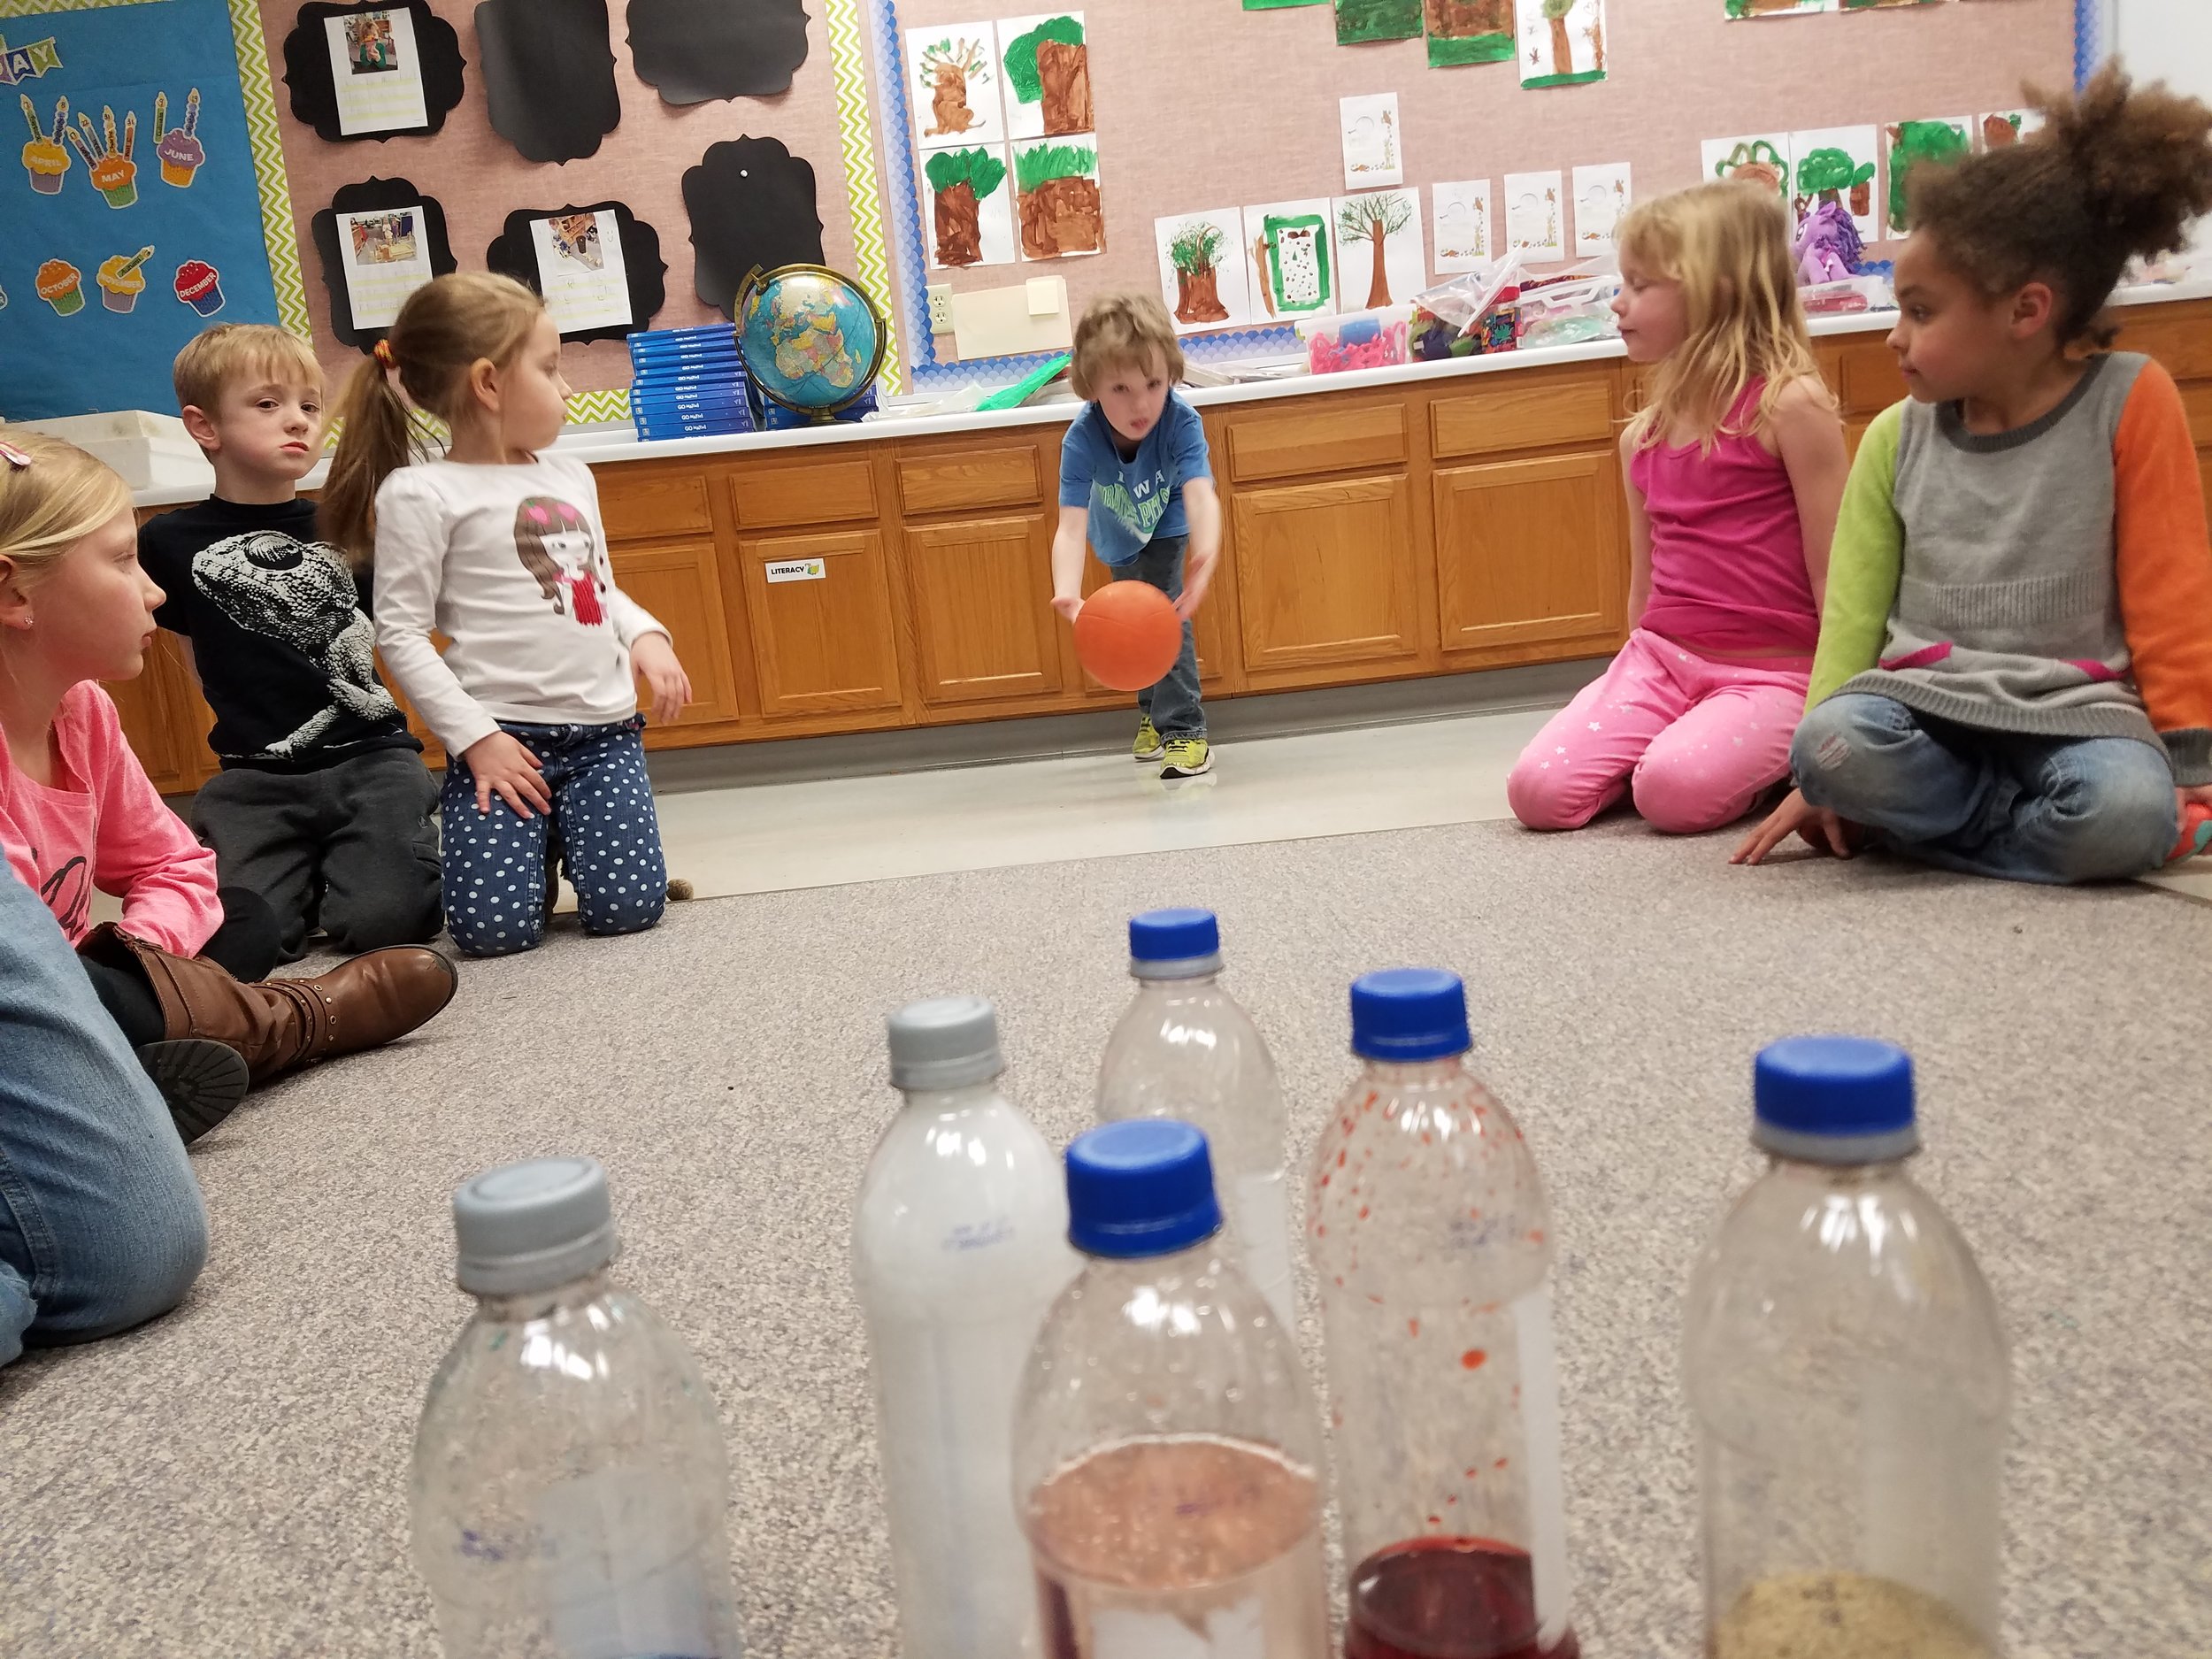

What is a STEM center?
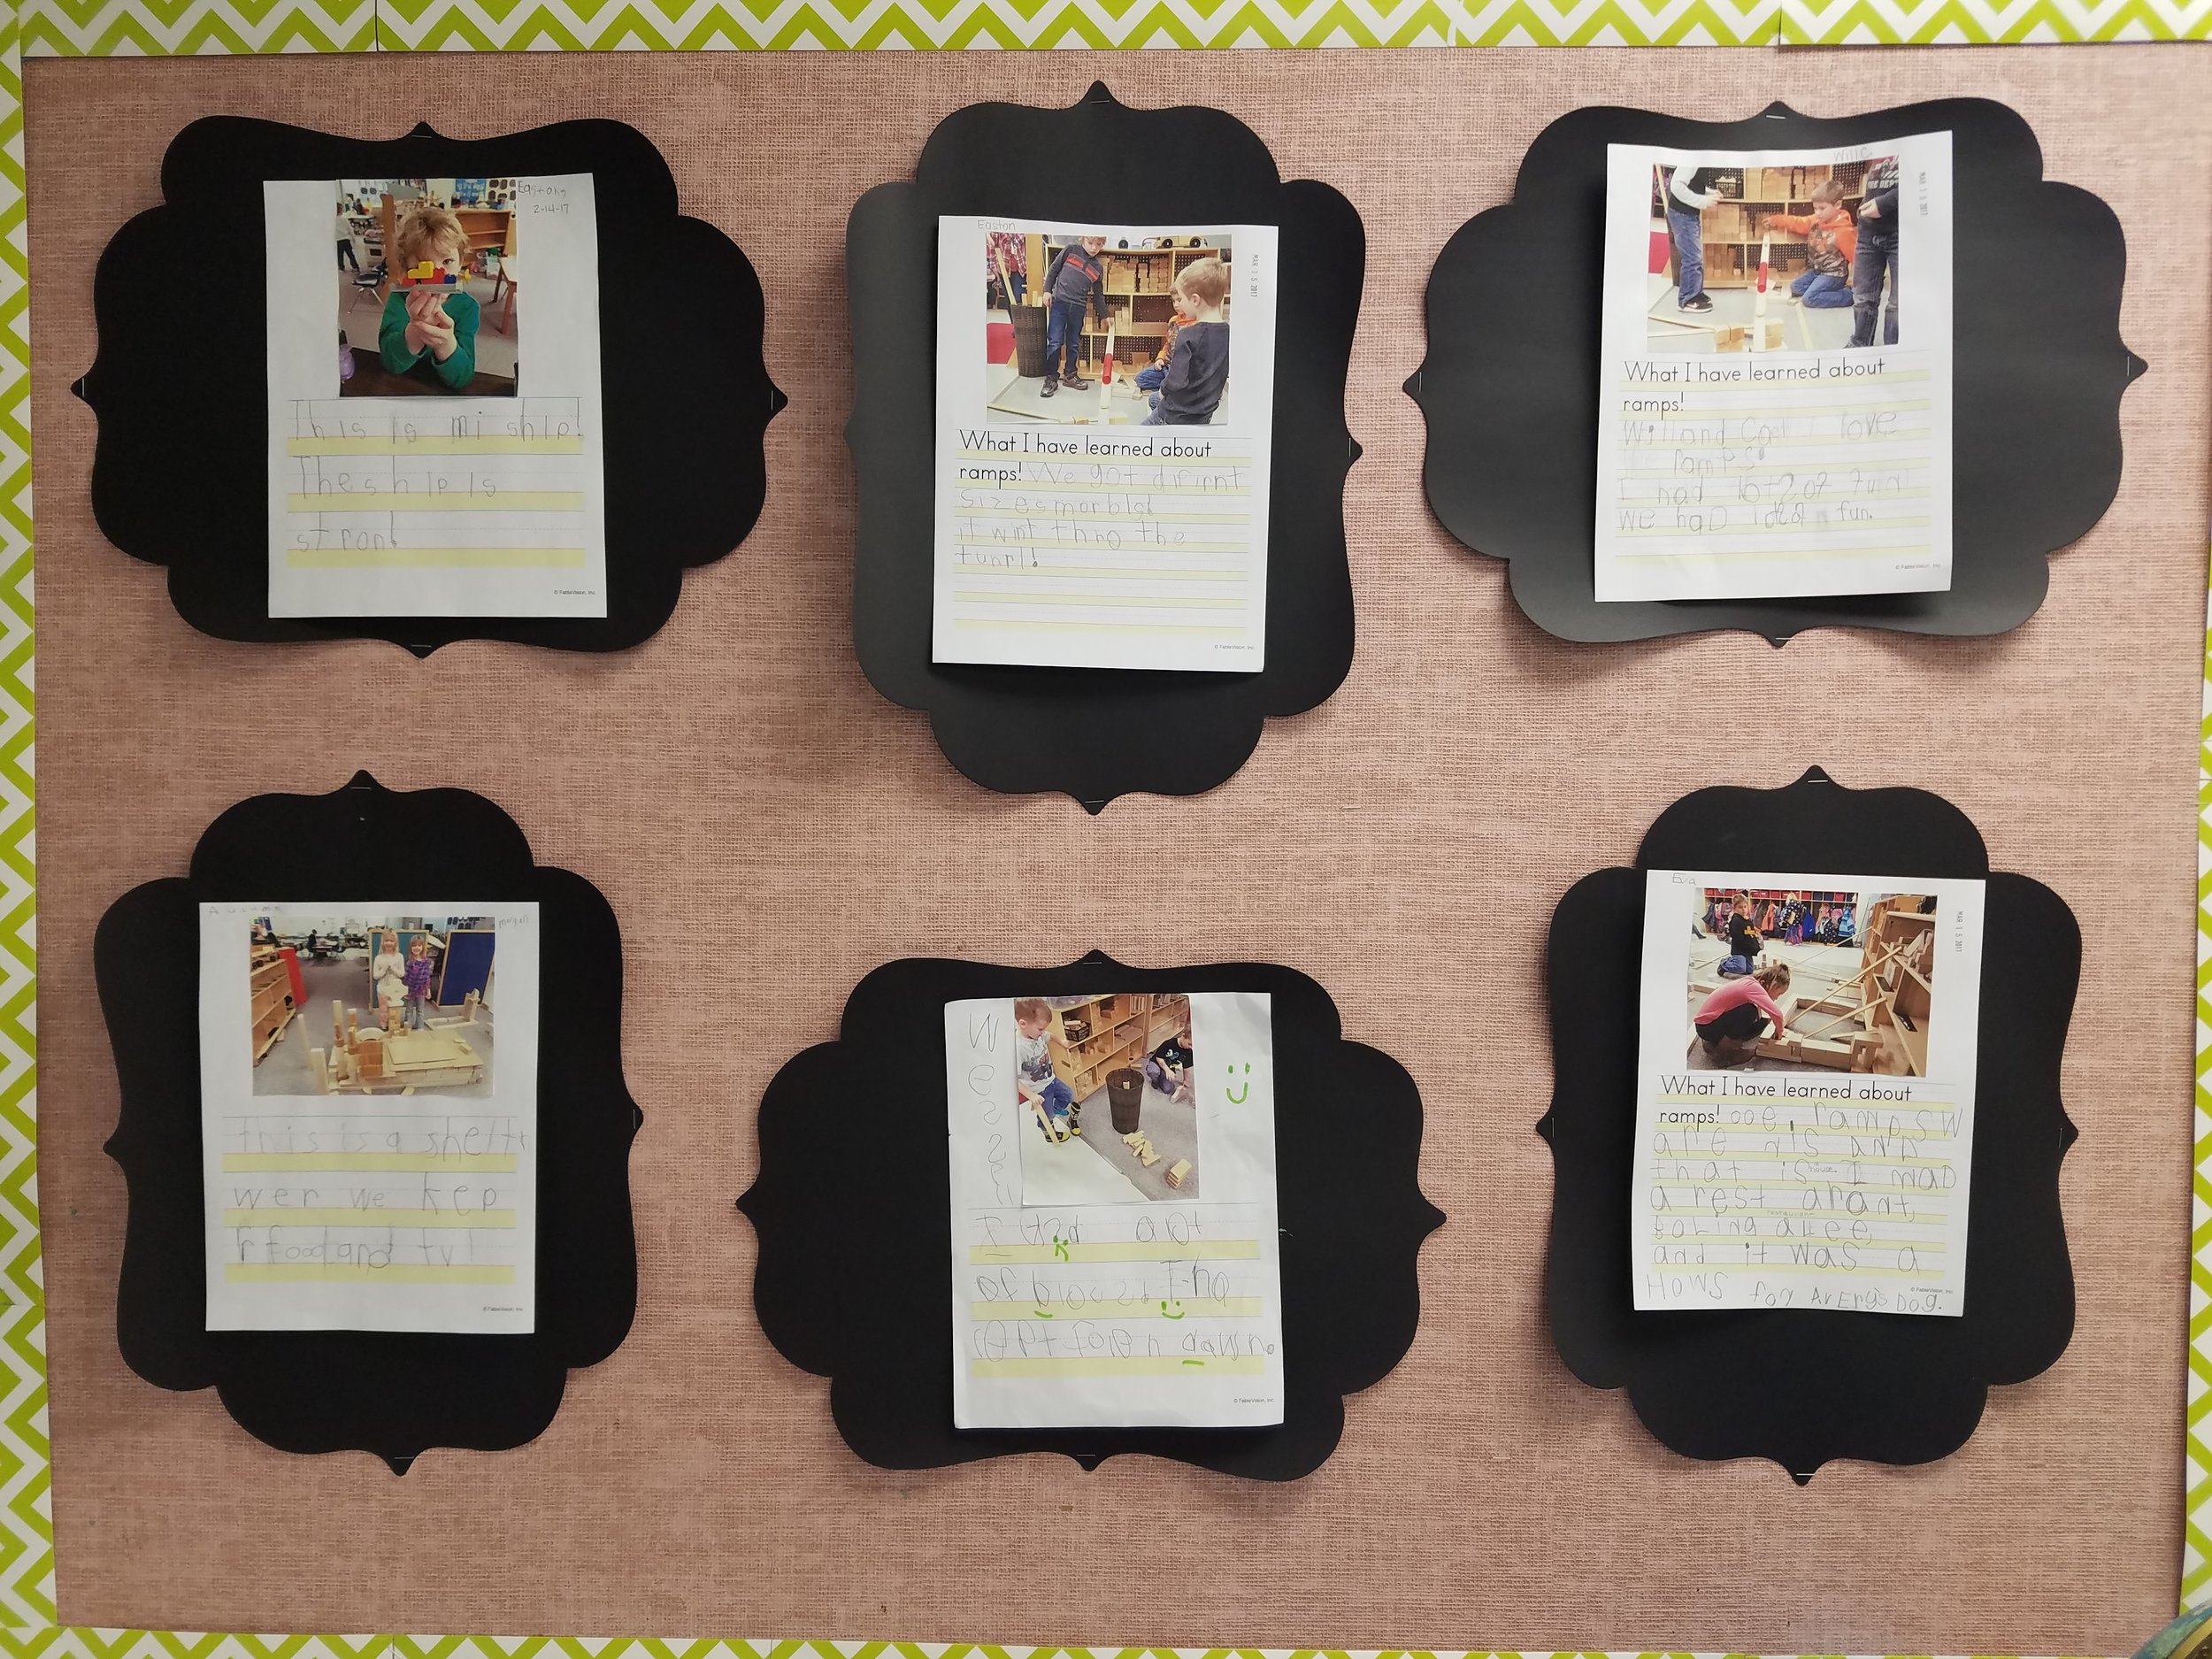
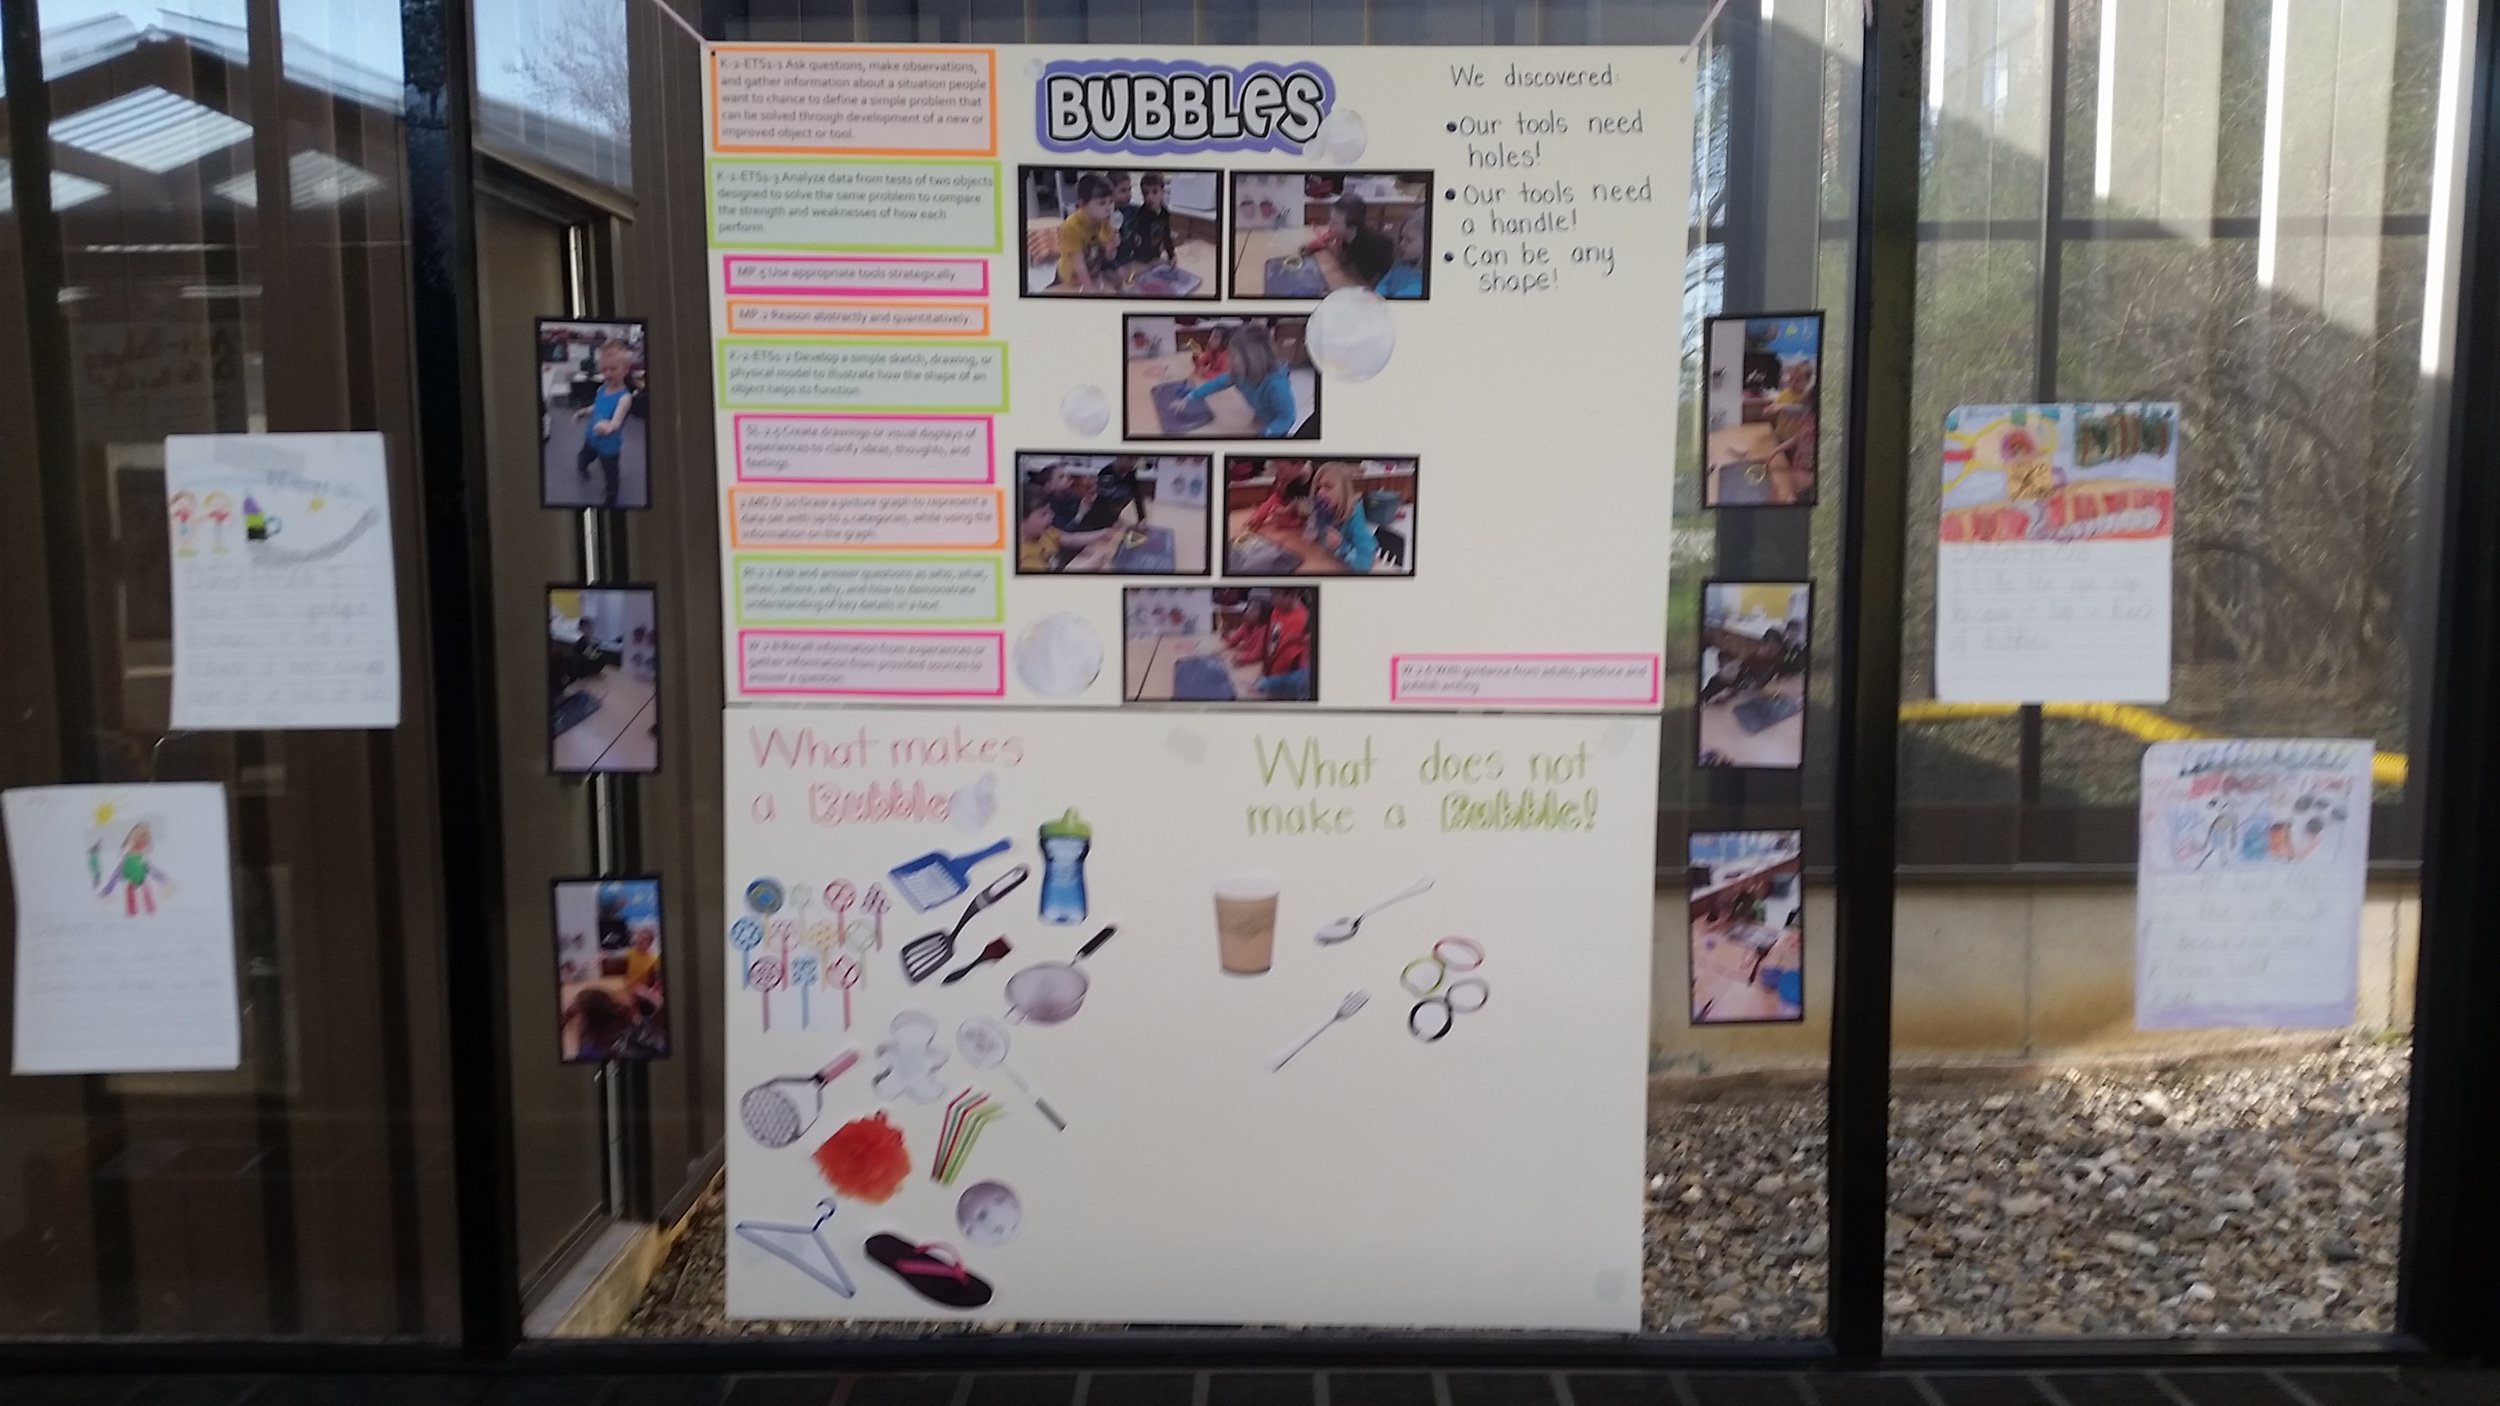
These centers are a great way to connect everything you learn in school together and spiral kids’ learning. We don’t have just science or reading time anymore. Let’s say we are meeting the standard ‘analyze data to determine if a design solution works as intended to change the speed or direction of an object with a push or a pull.’ We would, in our STEM investigation, build ramps and use different types of balls to conduct tests. We would also meet our reading standards by looking at different types of texts to support this and by dictating opinion pieces based off of the pictures we take of each others ramps. They become pretty big writing projects. So, STEM, to us in our room, is mixing all of our learning together to truly understand!
I hear you have some snazzy uses for Stationery Studio, can you share a few?
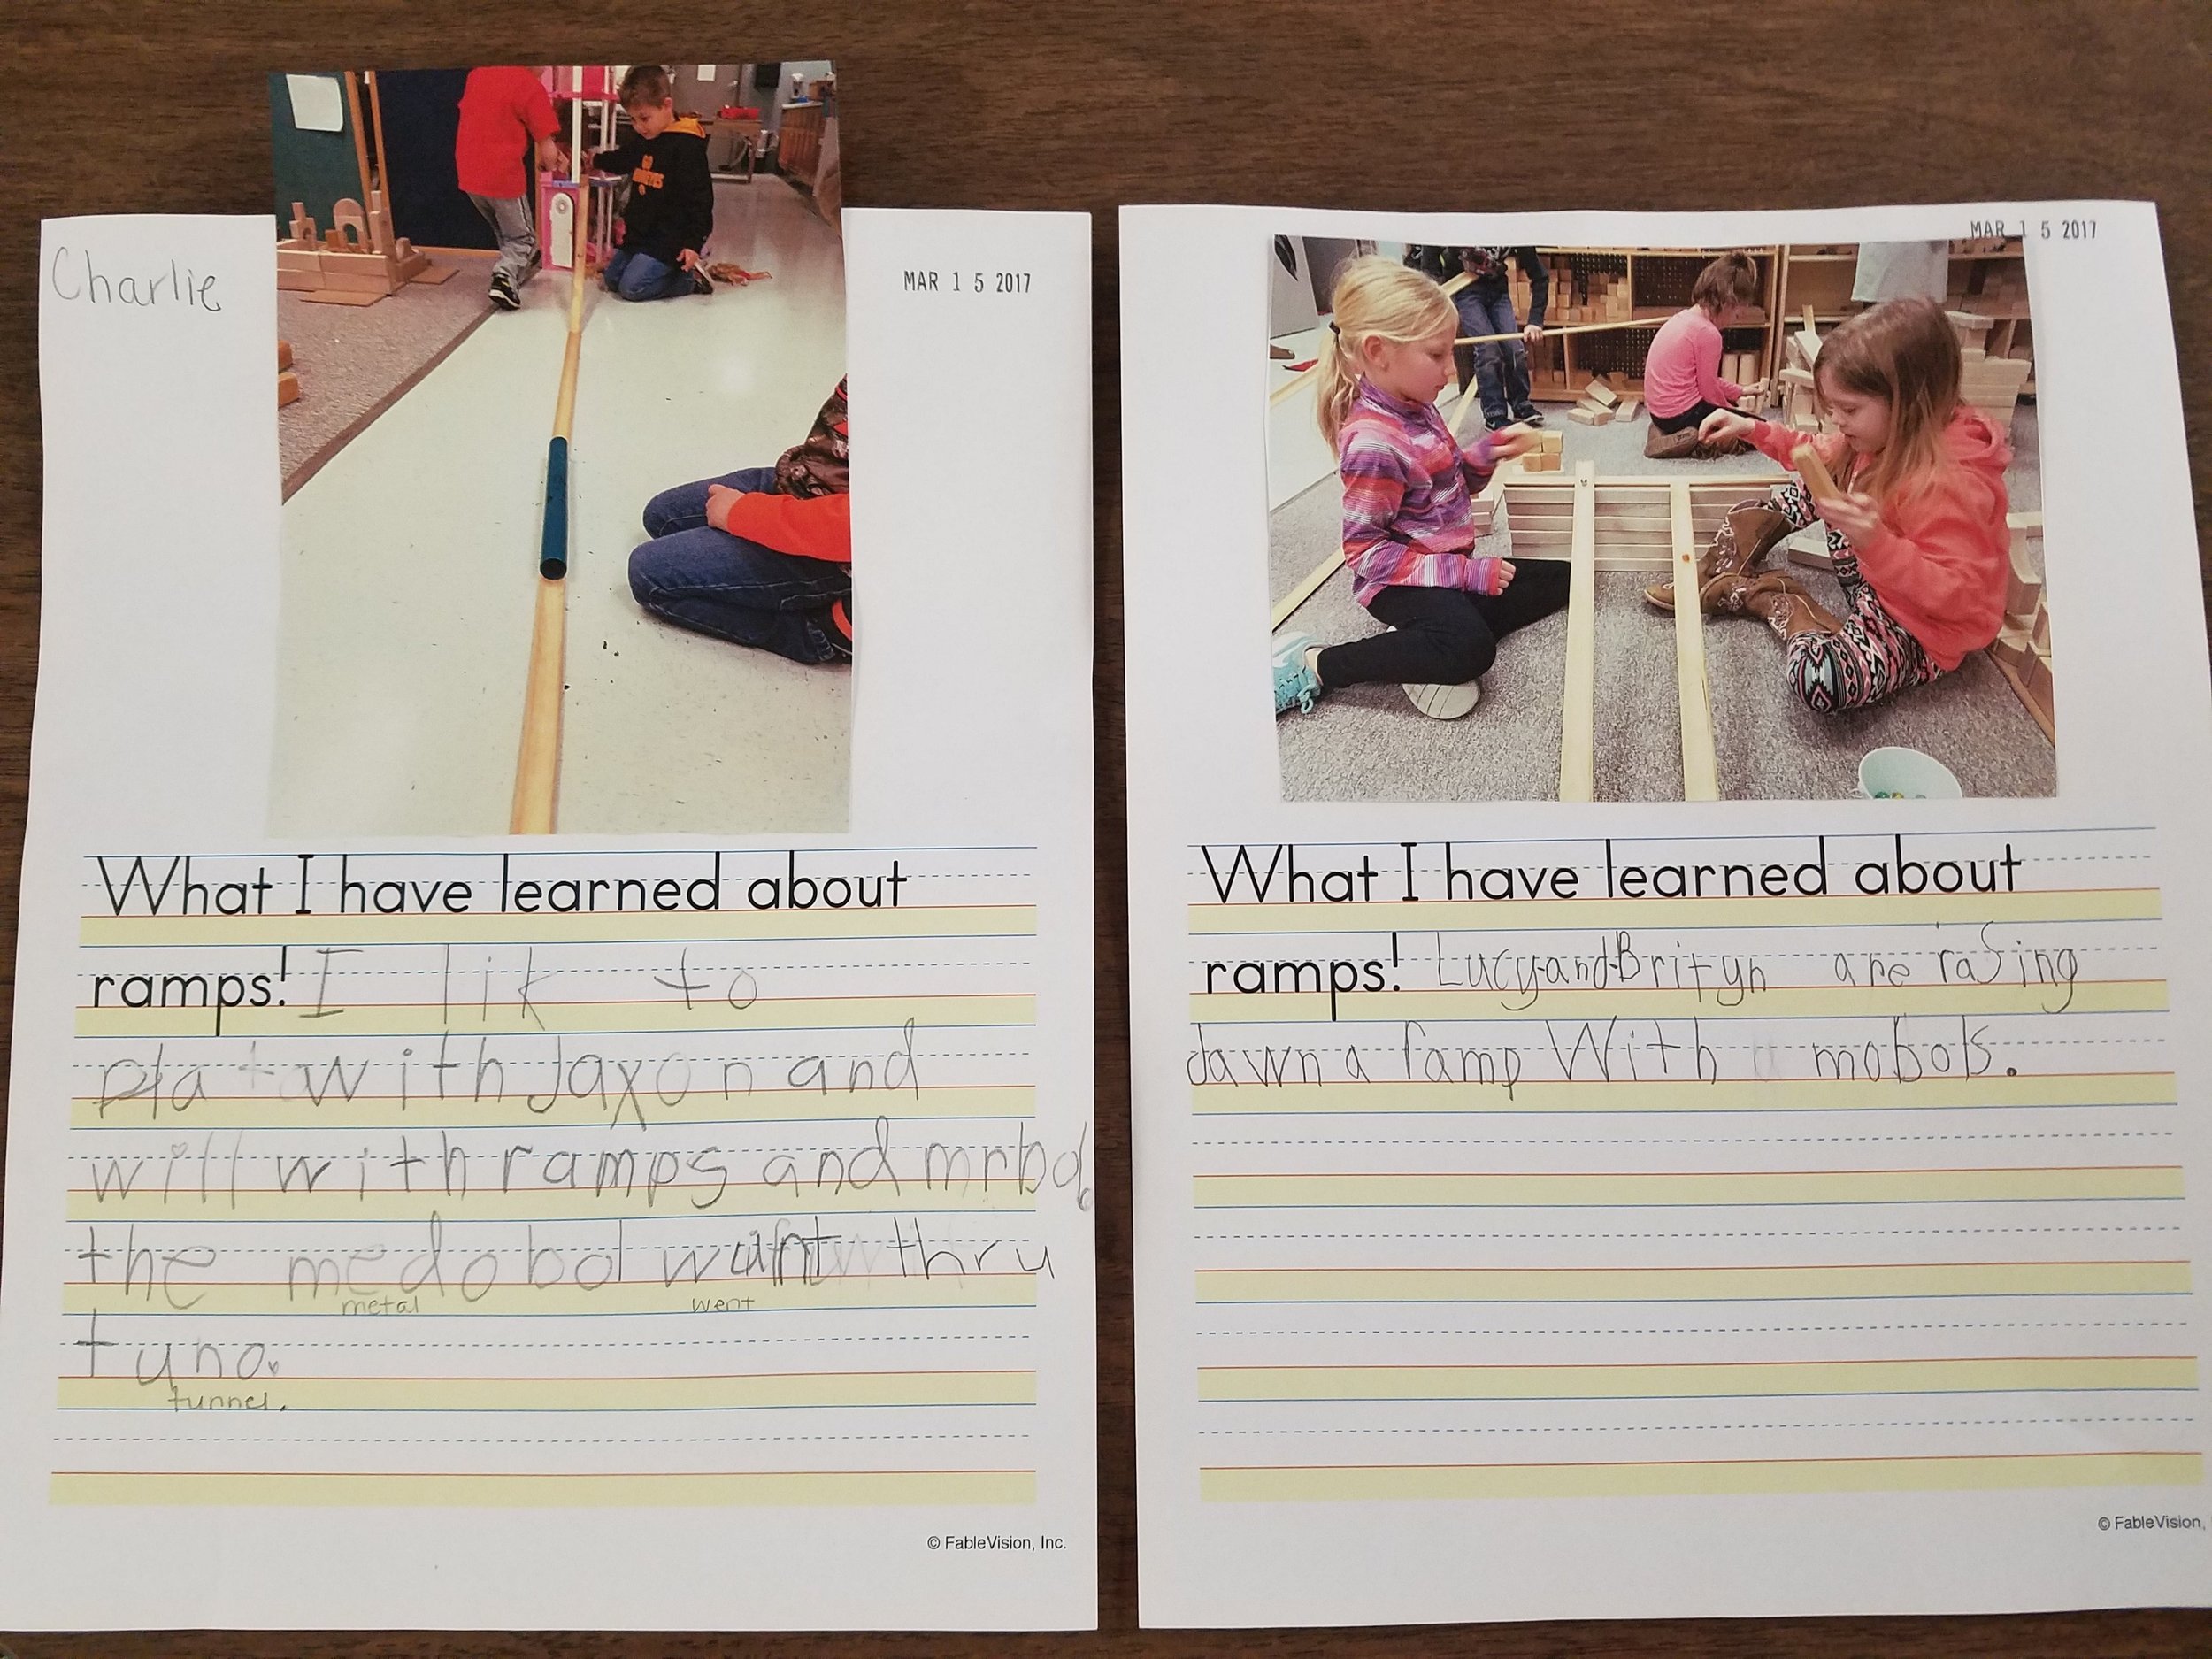
We use Stationery Studio almost daily! I use the software to create different styles of writing pages to encourage the kids to write and help them get new ideas. I also insert images that connect to a book we've read to help use continue to write about our findings. It is greatly beneficial to my students because they have writing lines (head line, belt line, and foot line) that help guide them to write legibly. With the fun pictures and borders, they are much more encouraged to write. When the kids take a picture of their creation or investigation, and we print it and glue it on the Stationery Studio paper, they feel great ownership!
Dot Day 2016 was huge at your school this year, can you share how your students got ready for the day?
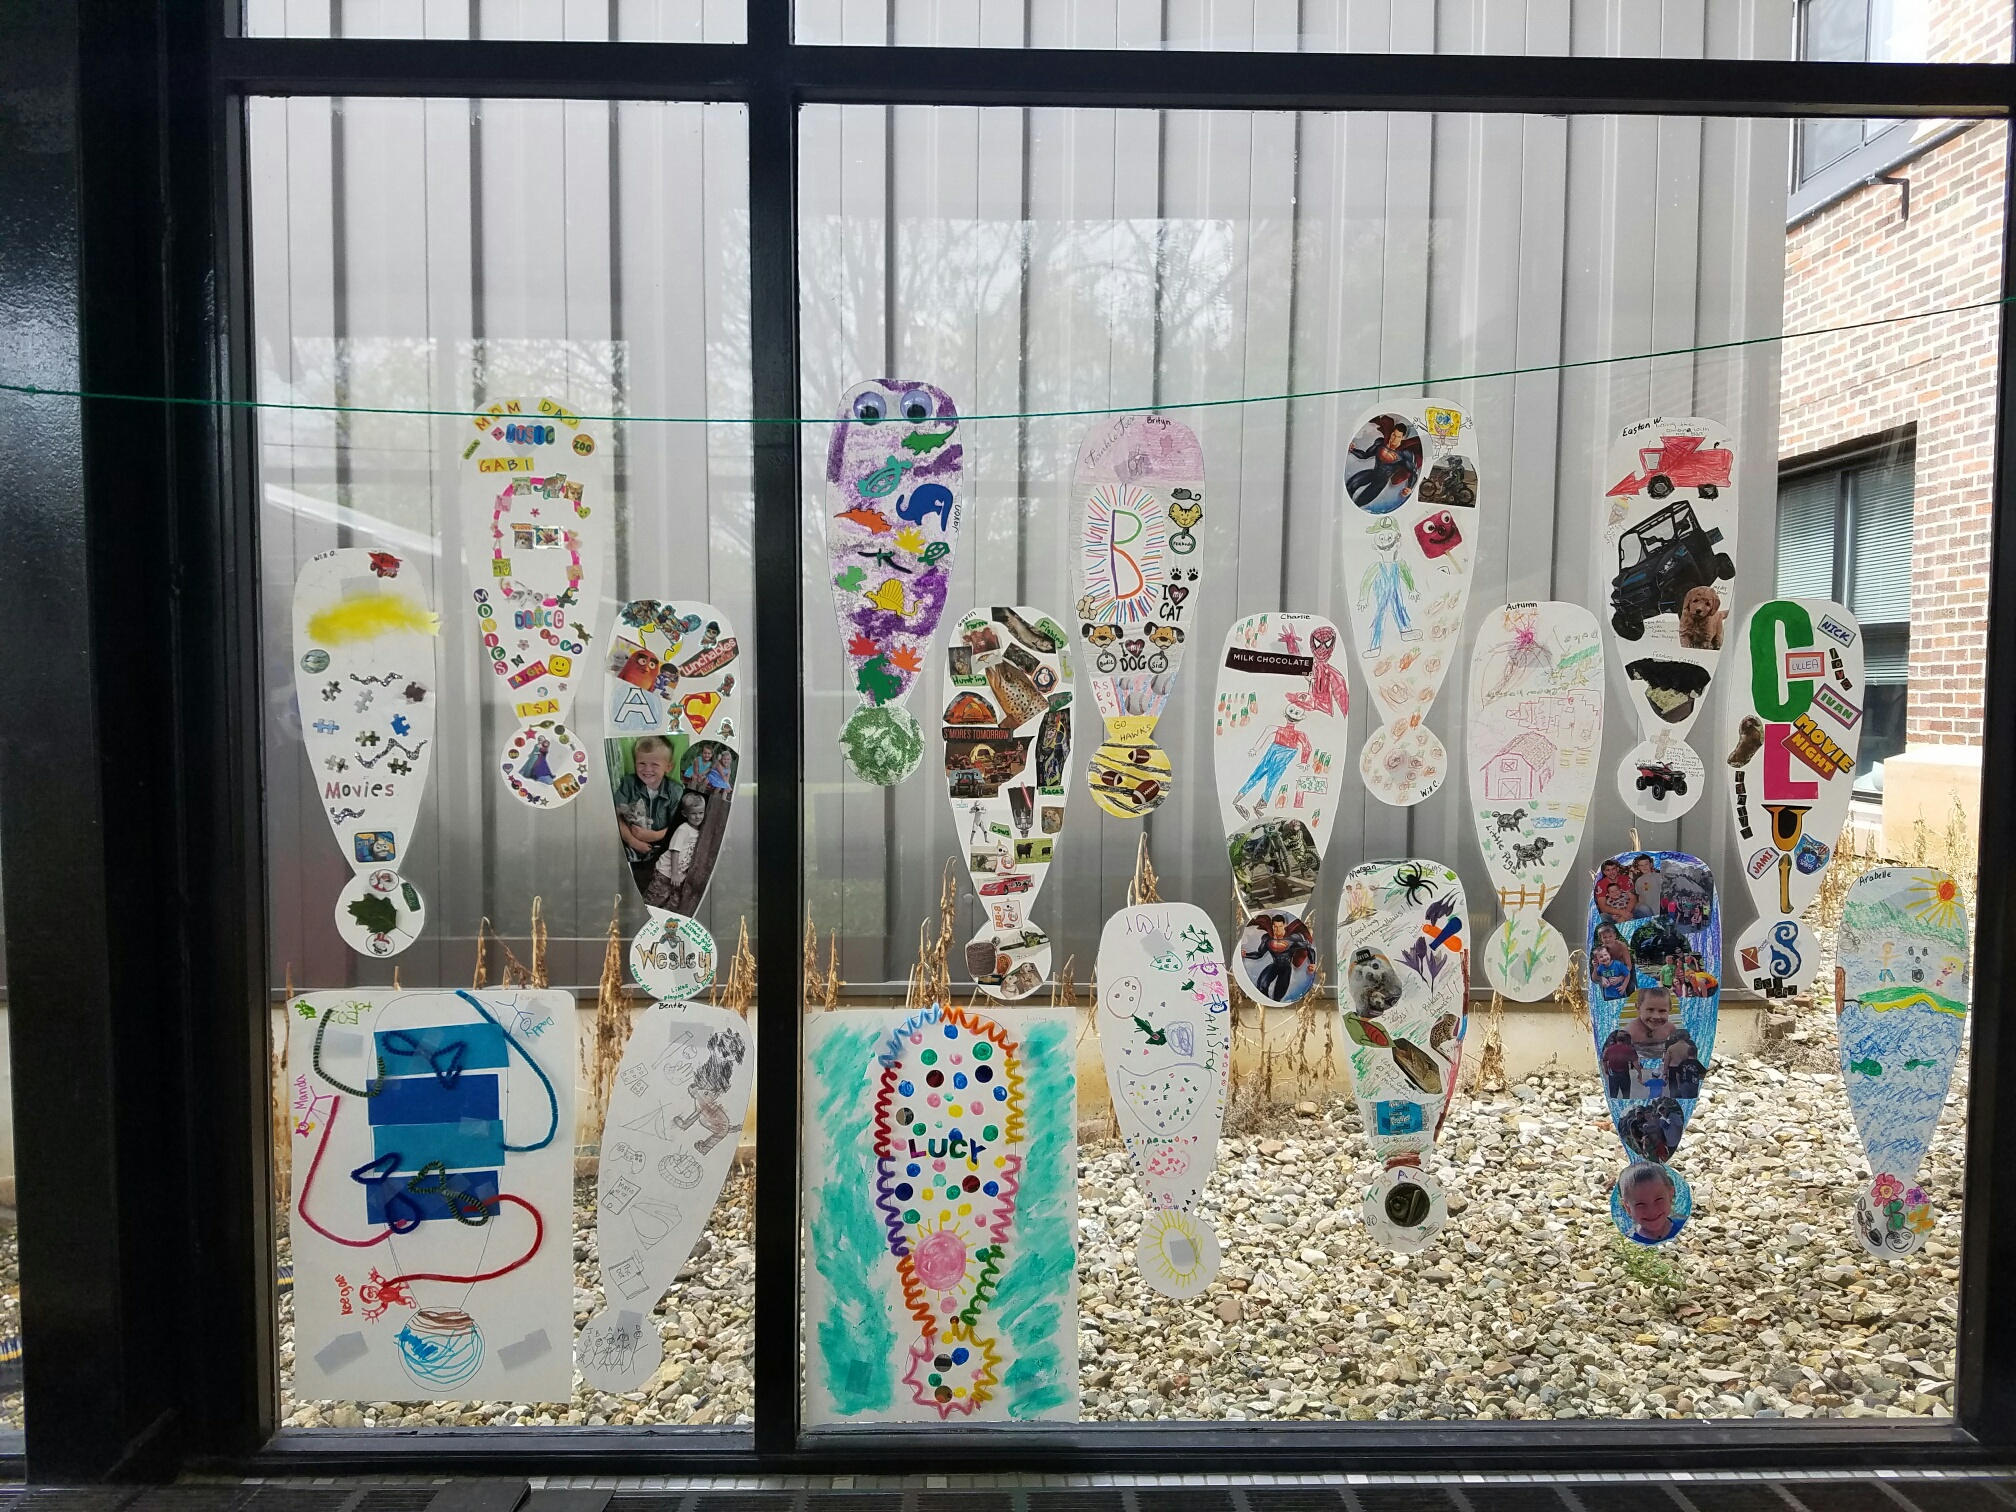
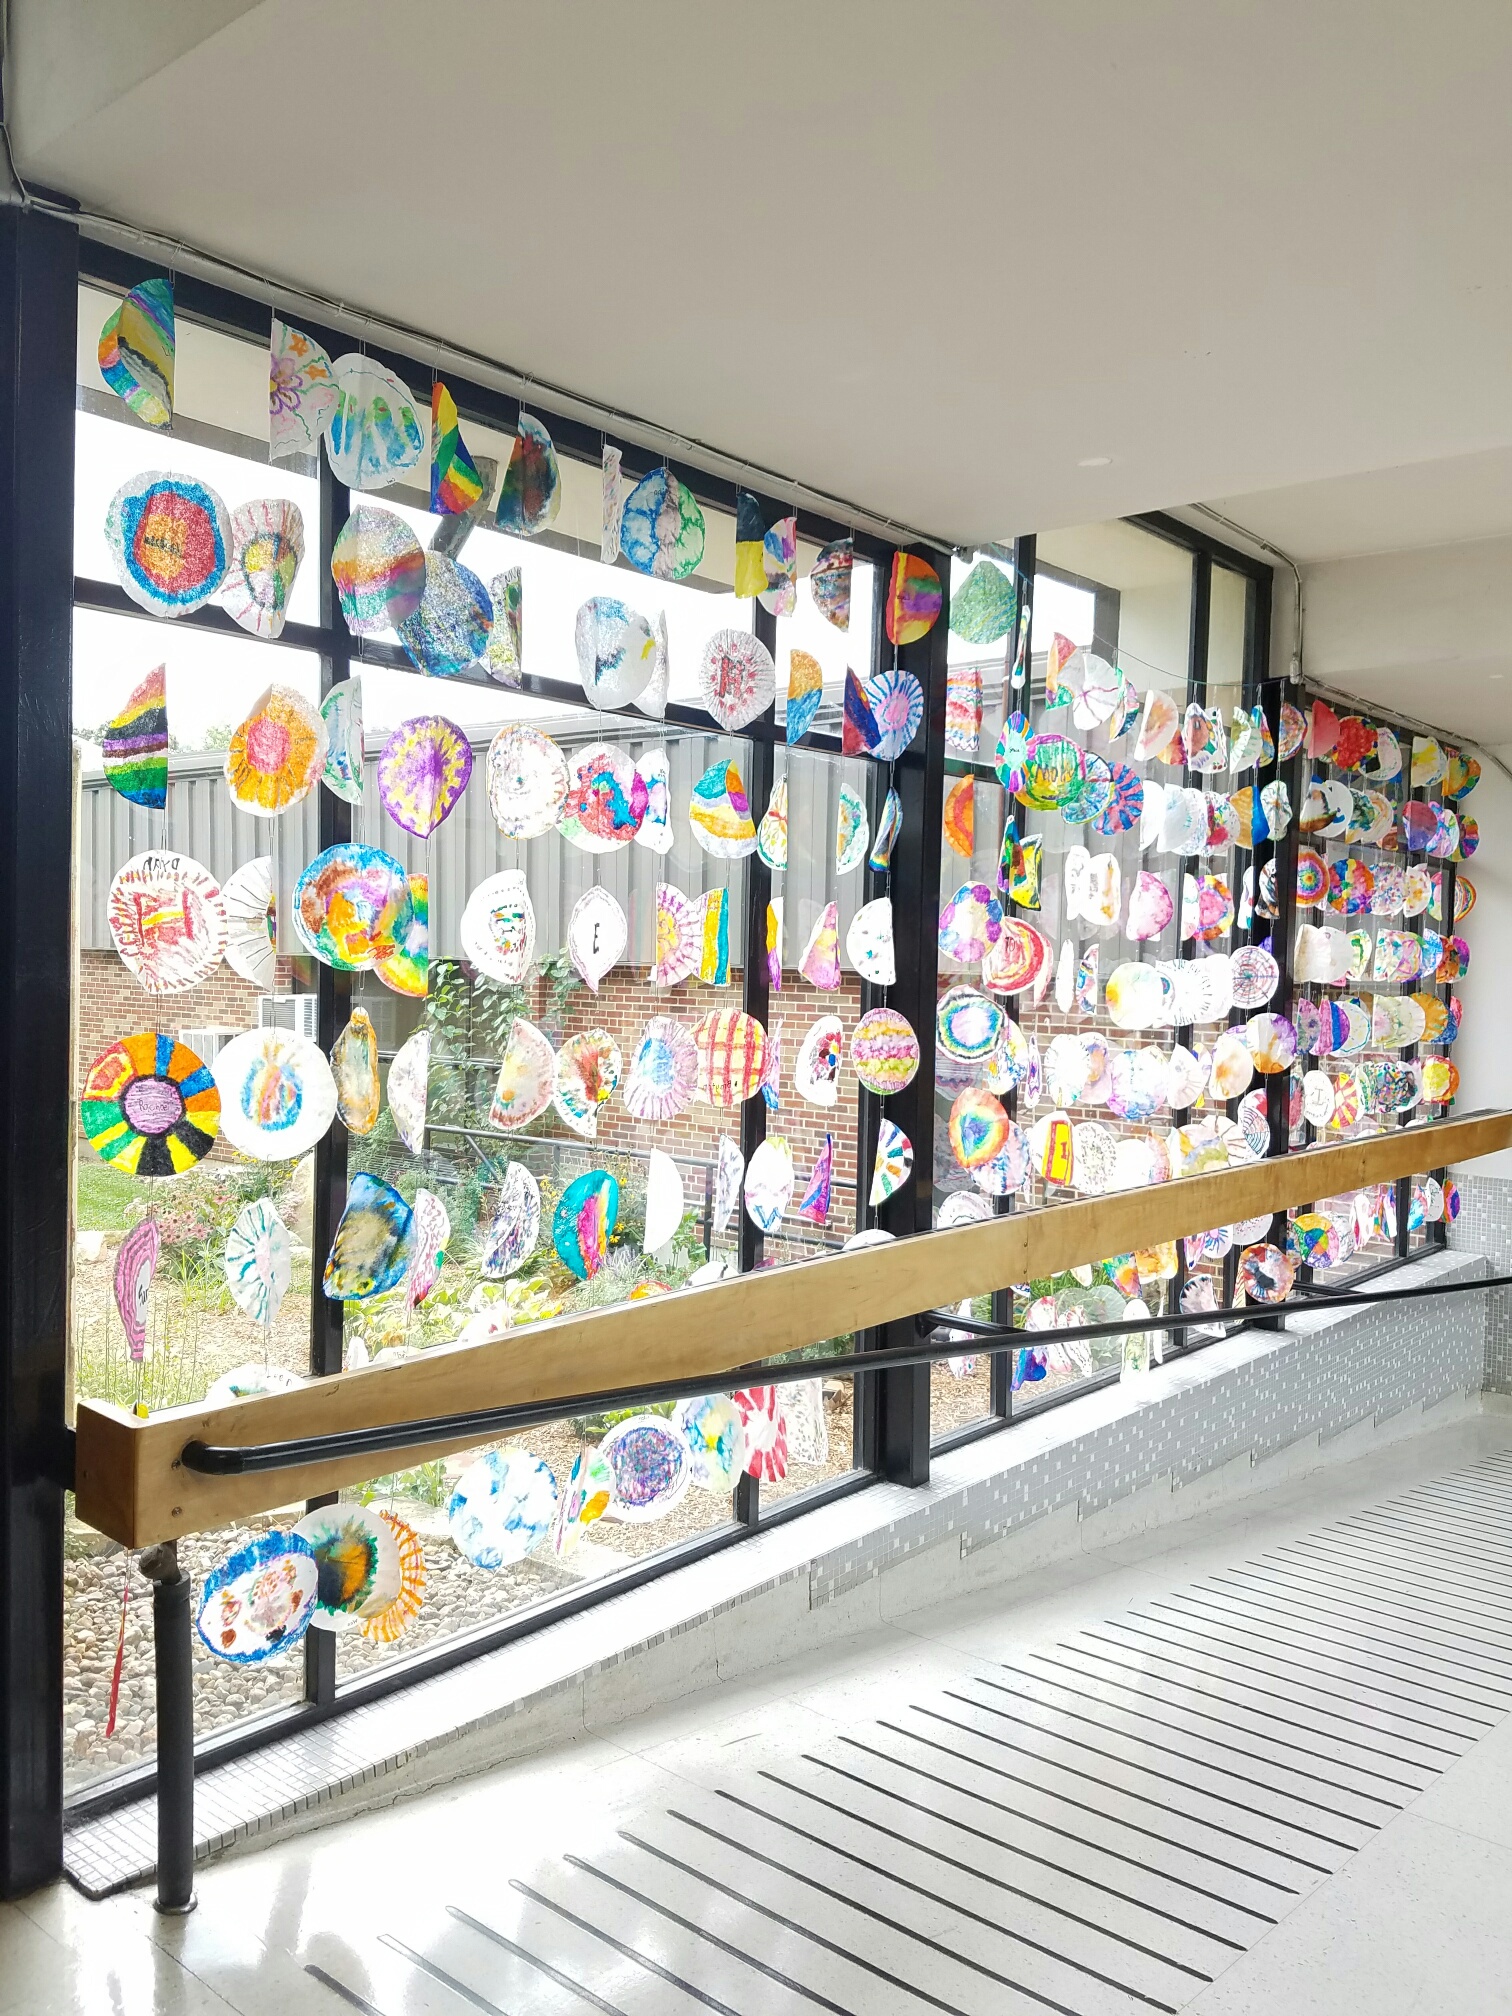
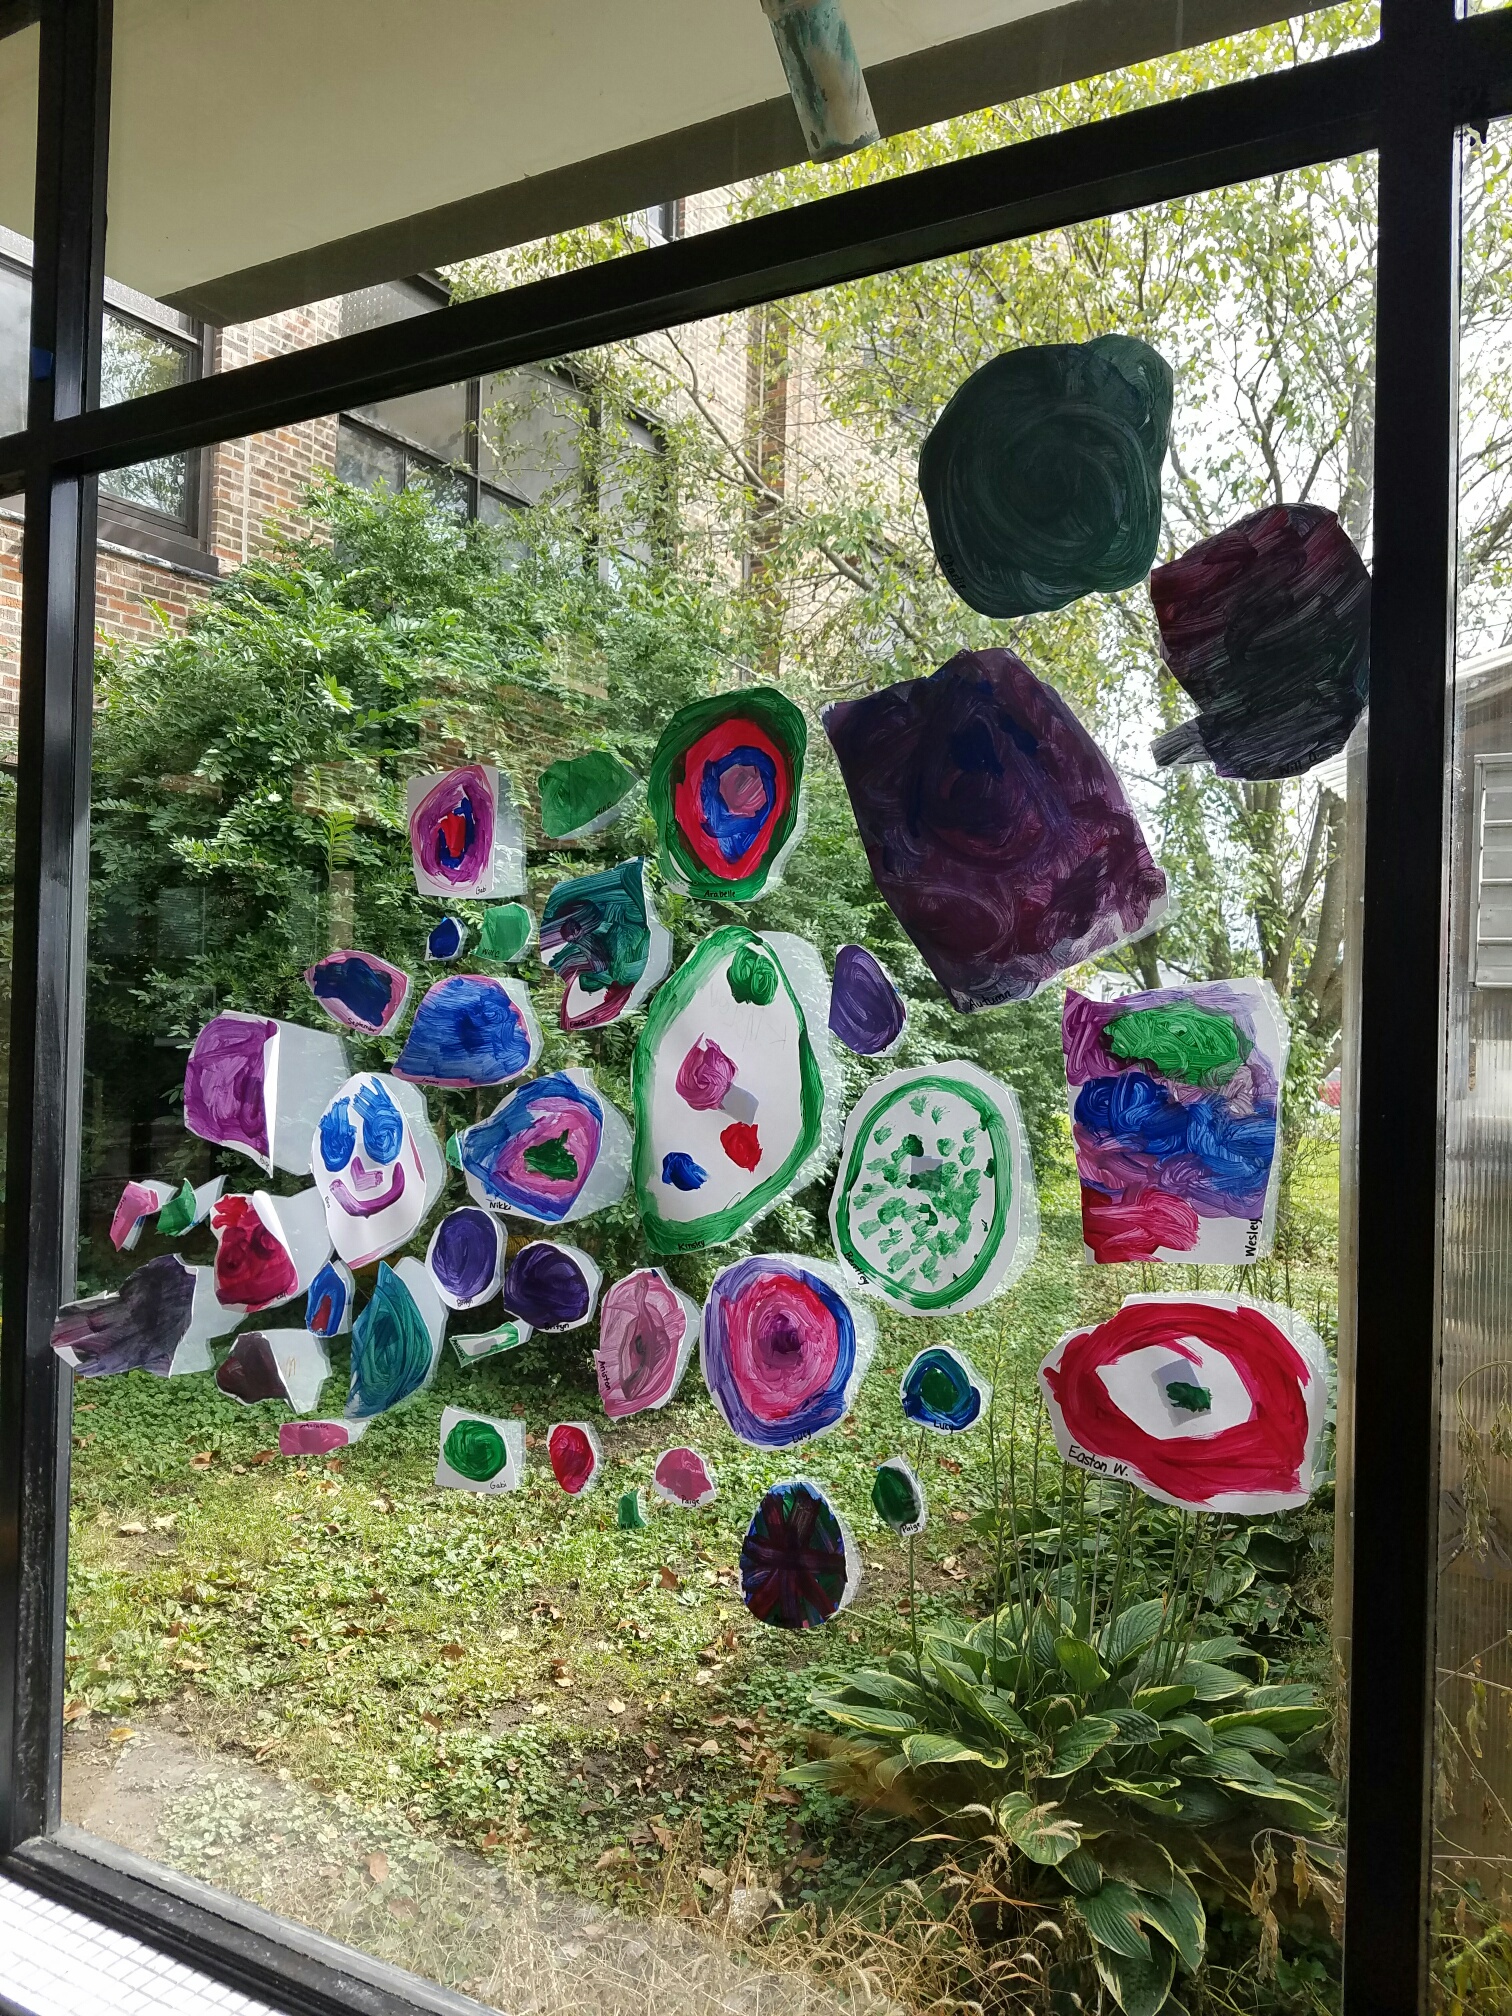
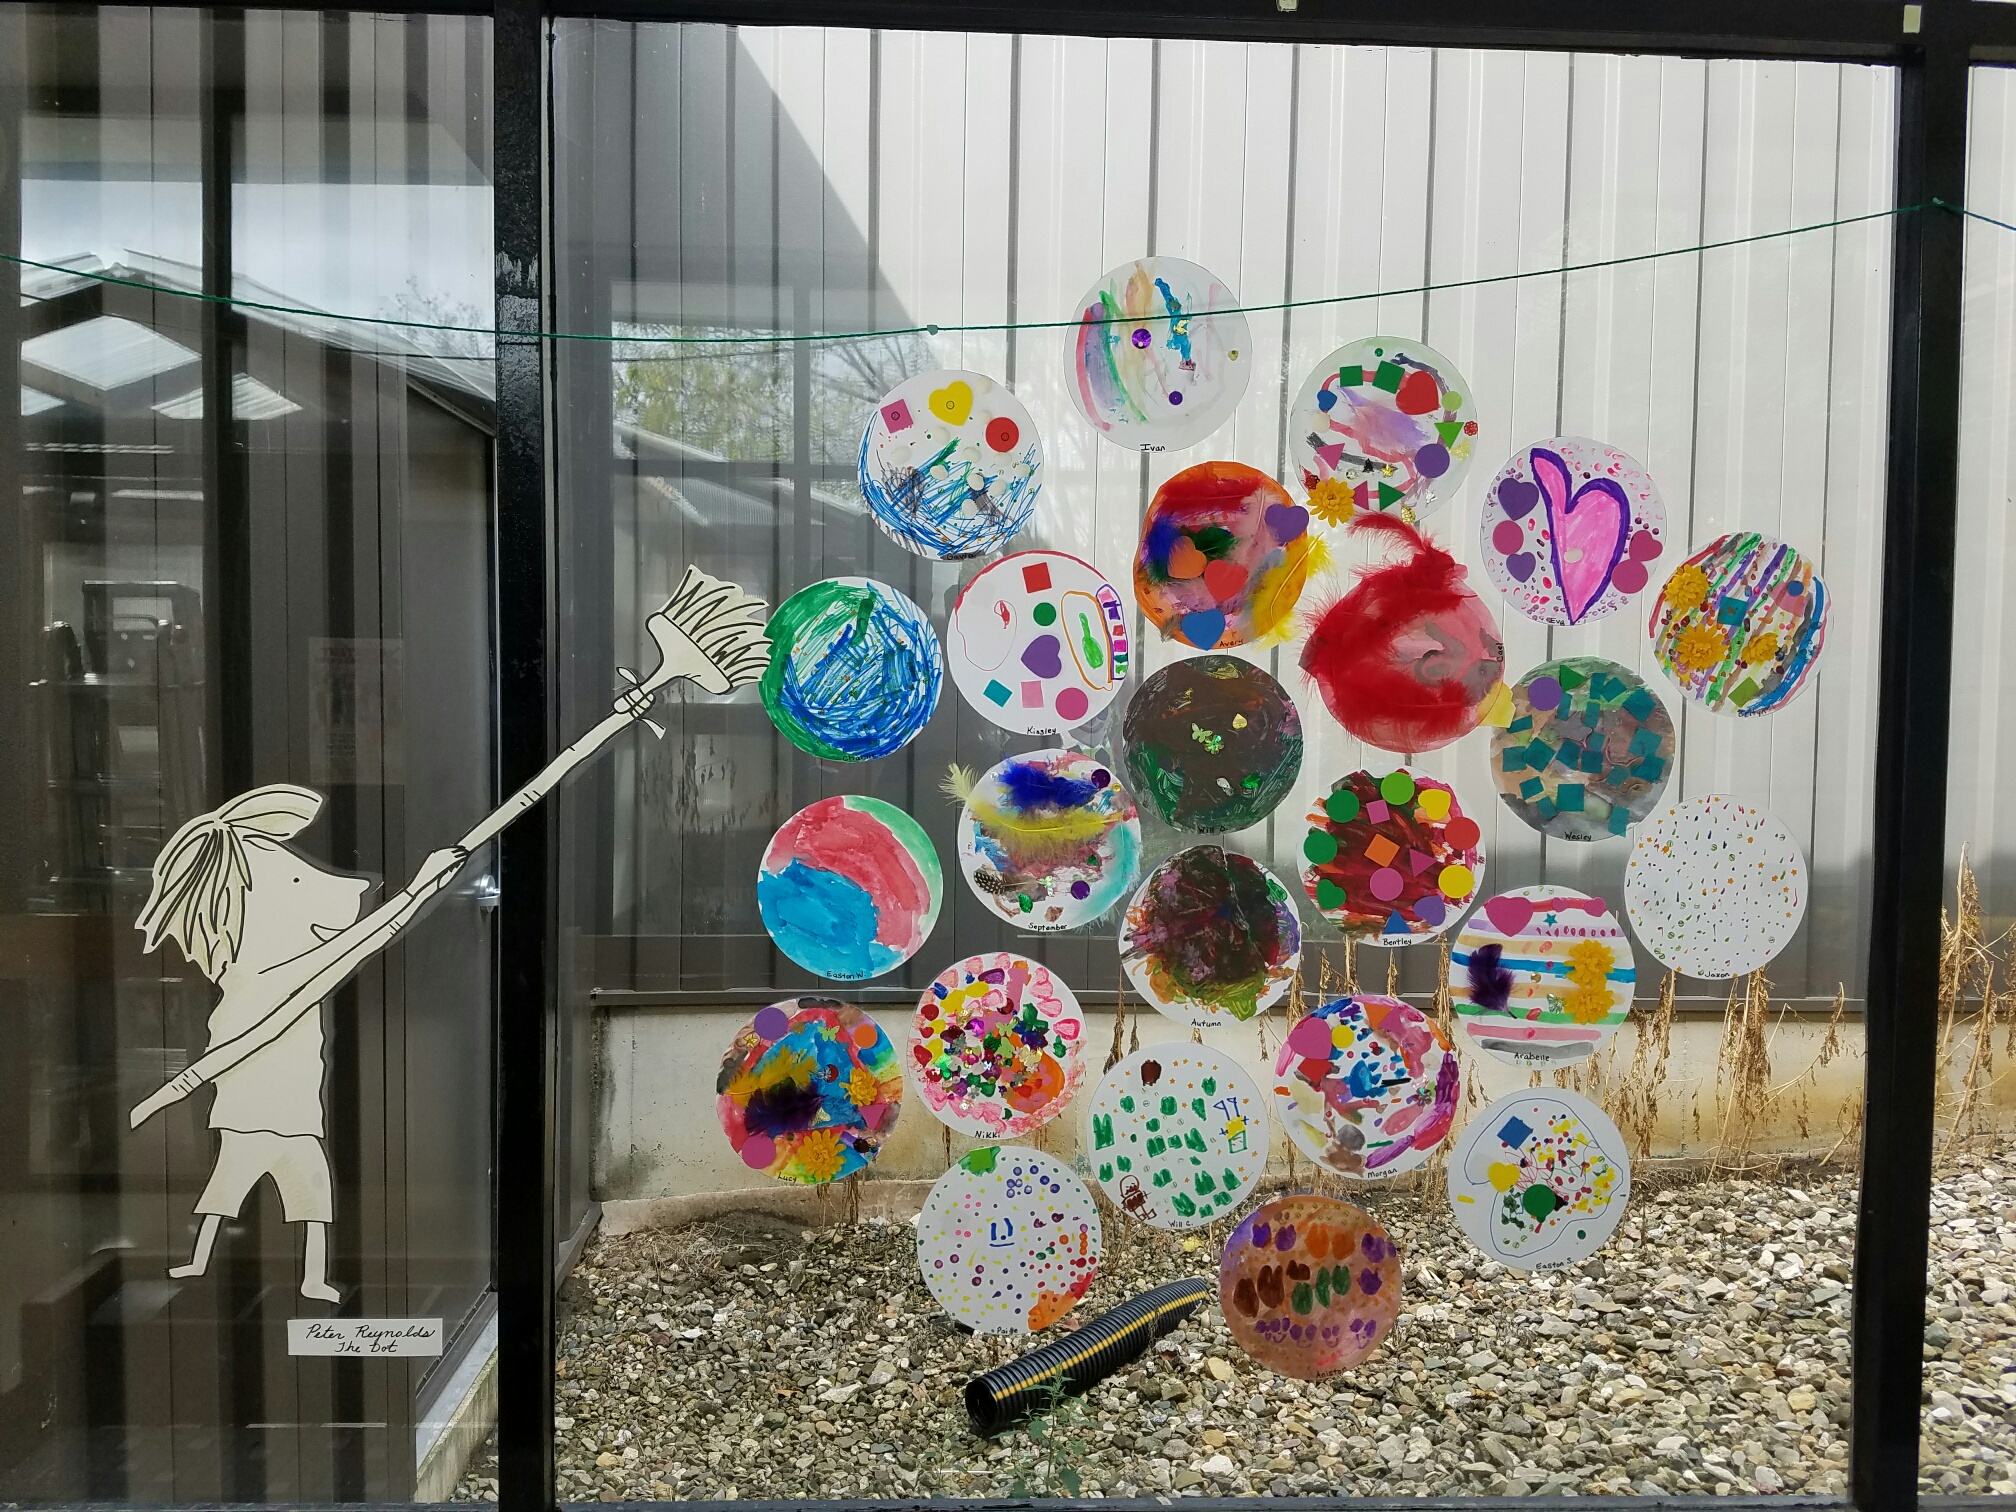
My students love International Dot Day! This celebration is new to them and we may have read The Dot about 20 times! Our students started learning about how special they are and how we are all unique. We brought in families to see how each family dynamic is unique. We also learned about mixing paint colors to make our own dot and tried to cut out a circle. We had fun decorating dots to fill our halls! As a whole elementary school, each student got to decorate coffee filters and hang them in our hallways to fill the windows. It was so beautiful! Our class also explored all of Peter H. Reynolds’ books, one being The Water Princess. We helped raise $50 for Ryan’s Well as we found it shocking that people in our world struggled for water every day.
What was your favorite 2016 International Dot Day moment?
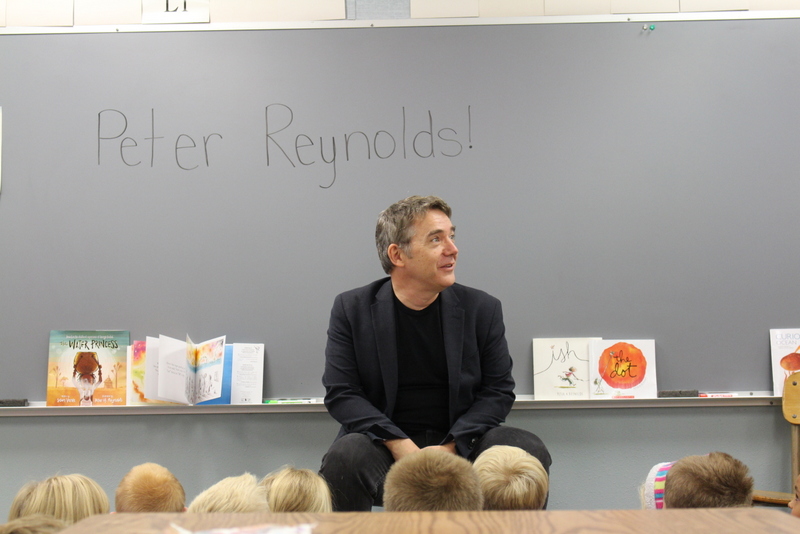
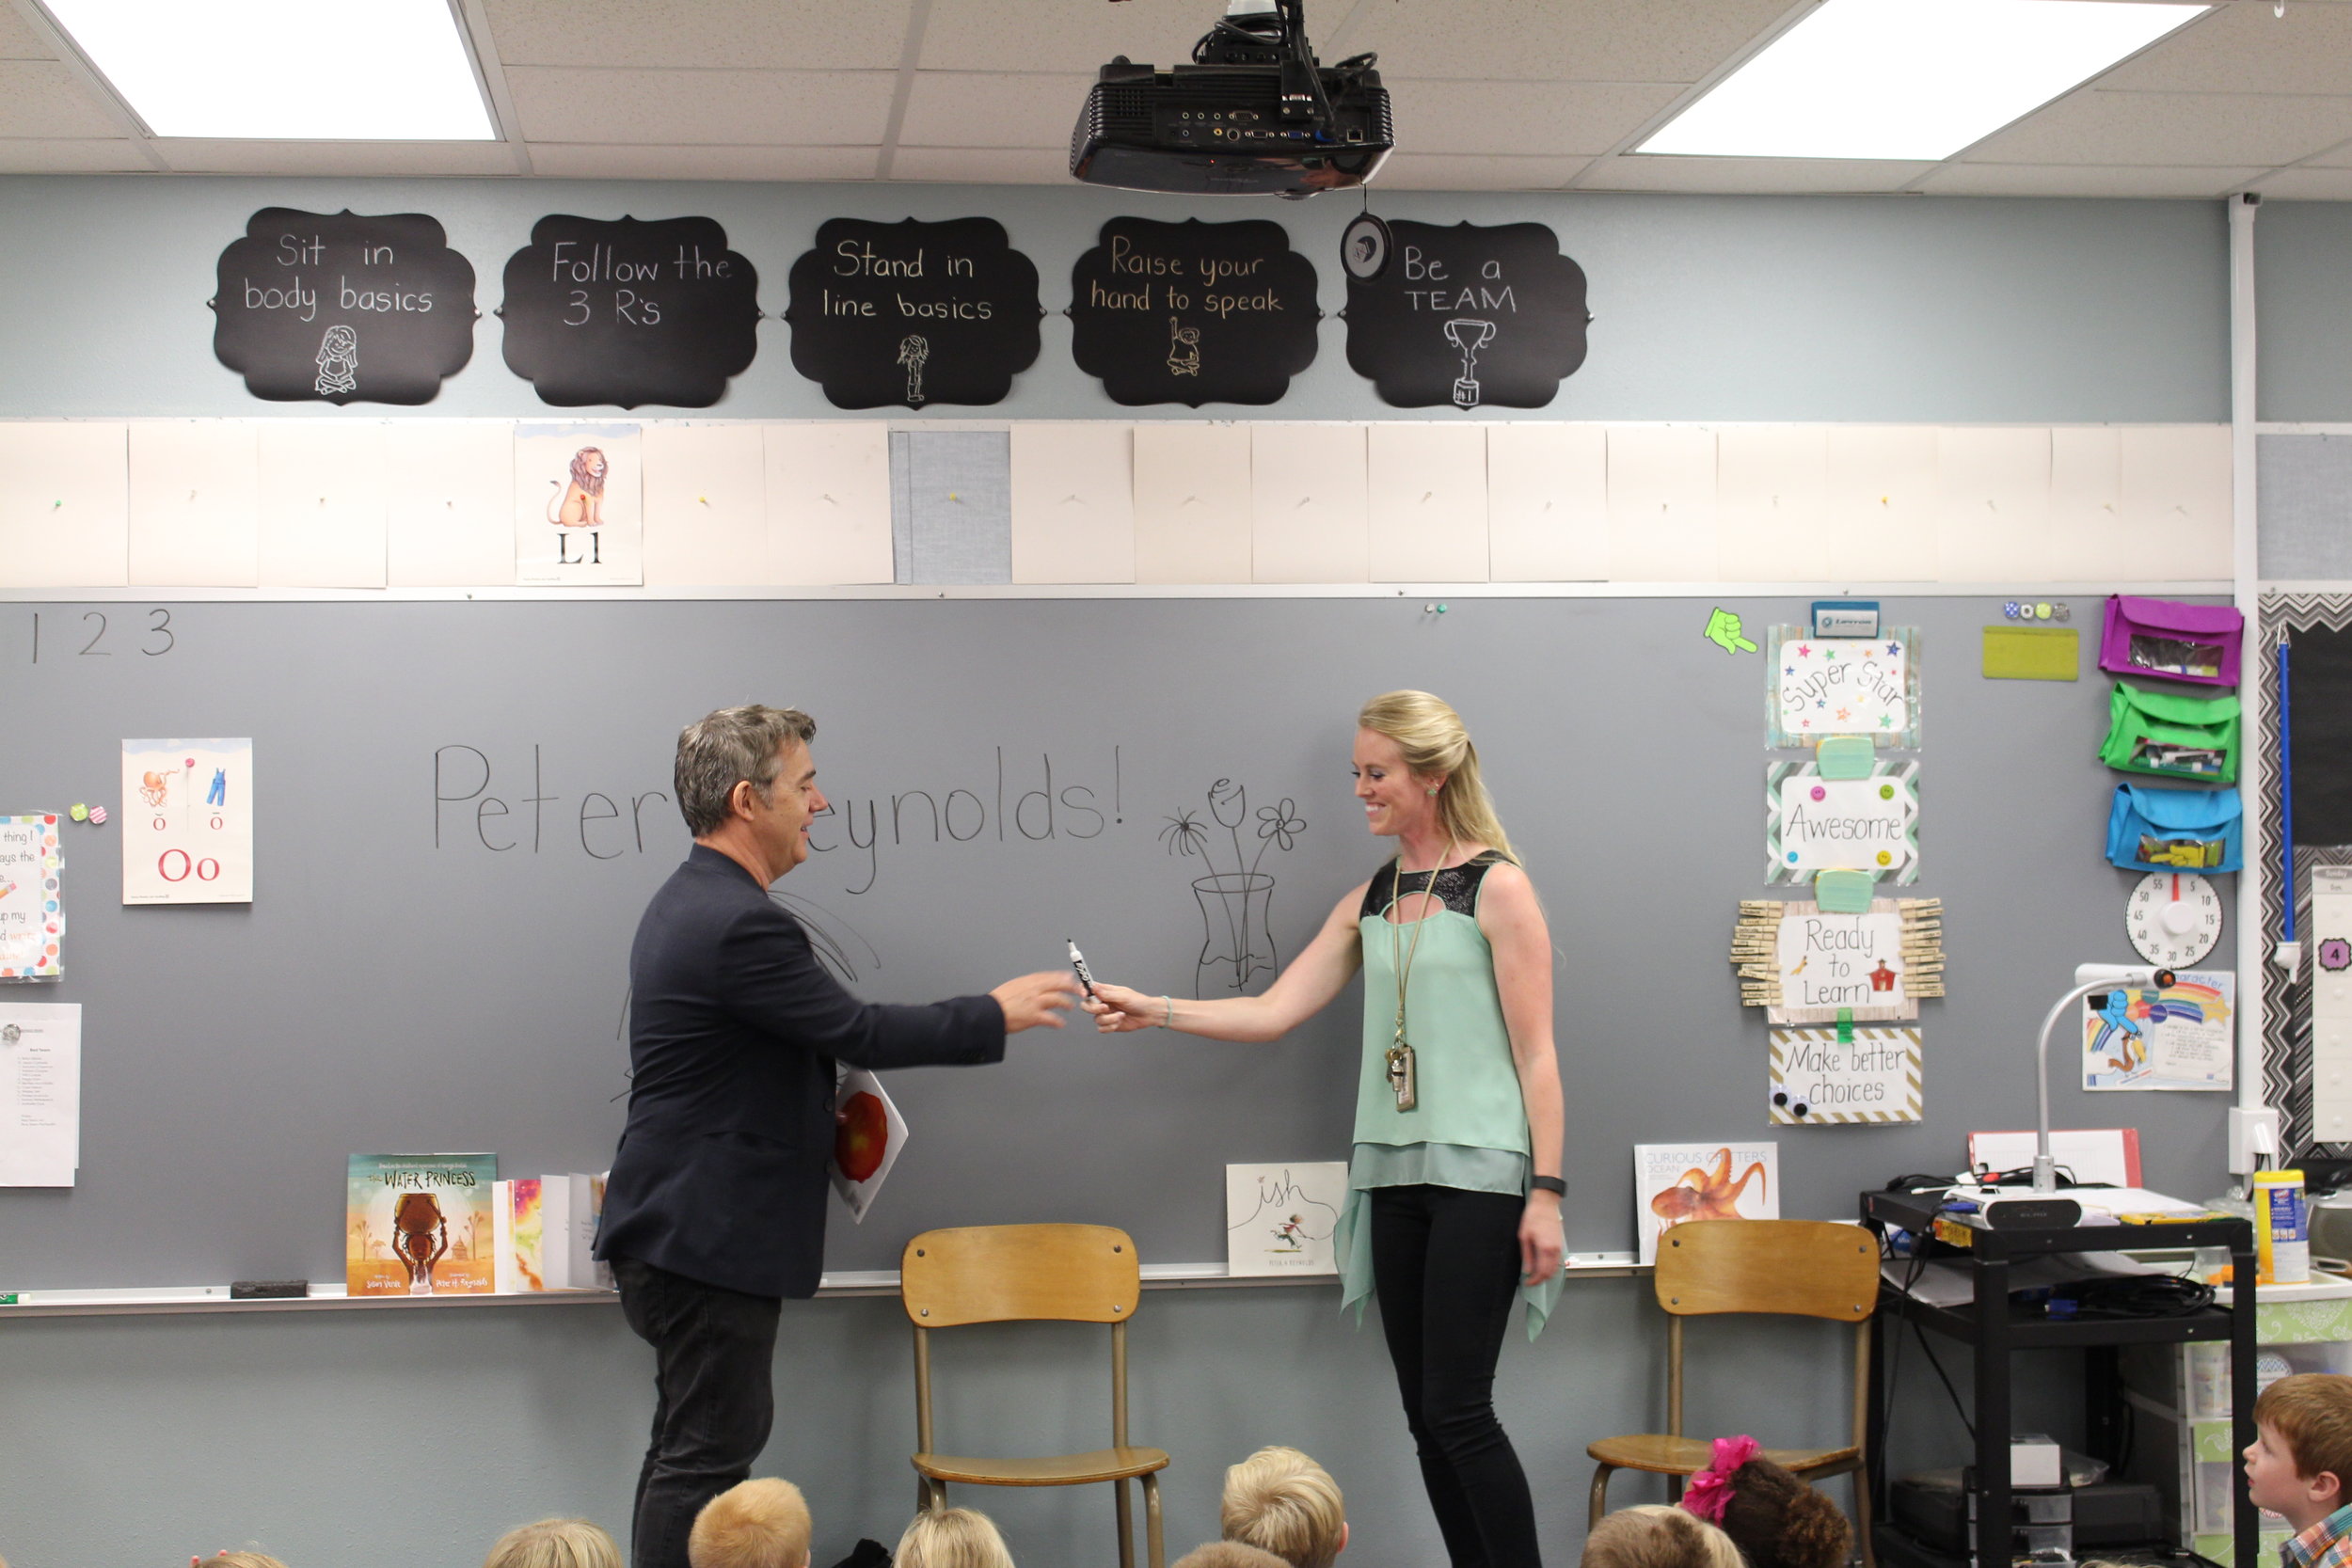
My favorite International Dot Day moment this year was getting Peter H. Reynolds into our classroom to talk to my students. Their faces were glowing! We talked about typical “kindergarten” things, like frogs and other random things. Mr. Reynolds drew us a new idea for a book called “Toad the Artist” because the students got stuck on talking about frogs and toads. We are currently working on creating this book! Peter H. Reynolds inspired a lot of people that day at North Tama.
What has been your favorite moment as a teacher?
My favorite moment as a teacher is working with the kids. I love our Daily 5 centers because I get time to work with the kids on learning individual skills, making books, and writing letters that the kids want to create. We have also extended chapter books and had lots of fun together doing that!
You are new to the league of FableVision Ambassadors. What are you looking forward to?
I am always looking to learn! I am anxious to explore everything and to use what I learn with my kindergarten students. Always up for new things!
Are YOU – or someone you know - activating any of FableVision’s books, media, and/or software to approach learning in more creative, engaging ways? If you'd like to nominate someone for the FableVision Creative Educator Spotlight, click here and complete your submission electronically.

FABClassroom Spotlight: Arrowwood Elementary

From the library to the classroom, Arrowwood Elementary is a FABschool. Earlier this year the neighborhood school in Douglas County, CO added Fab@School Maker Studio, a digital design and fabrication program, to its STEAM curriculum. Recently, Dana Palmer shared a bit about how students are using the tool and the plans for the future.
As a STEM/STEAM teacher can you share a bit about the importance of introducing STEAM concepts in elementary school?
I was the "tech lab teacher" for the first 8 years of my career - straight tech lab activities devoid of creativity did not help students develop a deeper understanding of concepts. I found students cutting and pasting information from the internet directly into PowerPoint and calling it "technology integration.” They were unable to explain concepts in their own words; they were unable to relate concepts to their lives or other applications. With the hands-on creative approach of STEAM that I use, students are highly engaged and have a much deeper understanding of concepts.

How are the students at Arrowwood Elementary School using Fab@School Maker Studio?
We are at the starting stages - our older students are creating manipulatives for younger students. We reworked an old lesson that used straws and pipe cleaners to make 3D prisms with Fab@School Maker Studio prisms created by students.
For our older students, they are learning to be creative and do for others-creating something another student will use to learn has been really exciting for them, and the younger students are receiving top quality manipulatives made by school mates.
What has been the “aha” moment?
When I looked at last year’s "prisms" compared to this year’s it is evident that they are accurate- having accurate prisms allowed students to better understand planes, vertices, etc...
They got the "correct" answer quicker and were able to understand the correlation between sides, vertices, etc..


What is next?
Looking to create a fabrication center in our library - great software - easy to get started with and reasonable equipment prices will make this a reality much quicker than I thought possible.
Is your classroom a FabClassroom? We would love to feature your school! To be featured in an upcoming post, send an email to info@fablevisionlearning.com. You can also tweet your photos with the hashtag #FabMakerStudio! For more posts featuring Fab@School Maker Studio, click here.
Peek Inside the Mind of Peter H. Reynolds with his Latest Book Happy Dreamer!

The following post was written by New York Times bestselling author/illustrator and FableVision founder, Peter H. Reynolds. His new book Happy Dreamer will be released on March 28, 2017. You can pre-order the book through the Blue Bunny bookstore, here.

My book, Happy Dreamer was originally called Amazing, Delightful, Happy Dreamer. And yes, the initials do spell: ADHD.
The first spark of the book ideas were inspired while attending a learning difference conference at Harvard University where successful CEOs shared their challenging learning journeys in school, making it clear that their achievements were made because of their brains, not in spite of them. It was pointed out by the panel host that this group had all described attributes of ADHD as children. Those attributes sounded very familiar to me.
I thought for a moment, "I wish ADHD sounded like something you'd WANT to have!"
I took a pencil and wrote...
Amazing...
Delightful...
Happy...
Dreamer.
I went home and wrote a poem by the same name and that poem ultimately became this book.
HAPPY DREAMER
I wrote Happy Dreamer for kids (and grown up kids) like me. This really is my story. A peek inside my mind to share how my brain works in its own wild and wonderful way.
It wasn't always easy having a brain like mine though. While I was never officially diagnosed with ADHD (it was a term that would not be used widely until a decade after I was in elementary school) I do believe that as a child I had experienced many of its symptoms.
I wanted to send out a hopeful message that kids who are diagnosed with ADD or ADHD that they have a gift, not a label. That their minds are very special. That they are "delightful dreamers." Their brains are capable of being flexible, generous, nimble, and inventive. Their kind of thinking is to be understood, nurtured, accommodated and CELEBRATED!
Growing up, I was dreamer. A day dreamer. Night dreamer. I had a super-charged imagination which kept my brain very, very busy. SO many ideas which was probably the impetus for me grabbing a pencil and starting to capture these thoughts and images on paper with words and art. Outside of school, it really wasn't a problem. I grew up in a big family. Seven people roaming the house doing chores, hobbies, but at night we would gather together at the dinner table to share stories. It was a busy, noisy house and I loved it that way. All the energy and buzz. In school, however, it was a different story. I found it a bit of a shock to stay put in one chair for most of the day. Learning to focus on the lessons were sometimes a big challenge for me. I was not encouraged to capture any of my racing thoughts on paper. I was in fact, discouraged from doing it.
"All eyes up front."
"Mr. Reynolds, do not draw in my class. You can do that after school."
"This is math class. Not art class. Put that away."
I was an agreeable, friendly kid eager to please, so I did my best to comply and control my buzzy-brain. It was not always easy. Every so often, I found a teacher or an activity that tapped into that special brain of mine and WHOAH! Like my 7th grade math teacher who asked me if I could teach math by using art, story and animation. It was magic. I was in my element. It was an AMAZING feeling. Happy. Delighted. My Dreamer brain was engaged—and I was ME.
I hope this book speaks to you, your family and friends. May it reassure you that good things are ahead for all us dreamers.
And in fact, I do believe that if we are to solve some of the planet's biggest problems—we can't keep trying the same solutions. We must invite inventive, flexible minds to the table. World problem solving aside—if this book encourages my readers to simply be happy with themselves, then I'll sleep—and dream— better at night.
PHR
In the Boston area? Join us for Happy Dreamer book release party at the Blue Bunny Books & Toys, on Saturday, April 1, 11-1 p.m, located at 577 High St, Dedham, MA 02026. For more information, click here.

For inspiration on how to bring Happy Dreamer into your classroom, check out the Happy Dreamer Classroom Kit.

Geometric Storytelling Dice with FabMaker Studio

“Storytelling is the most powerful way to put ideas into the world today.”
It’s rare that any story will emerge fully-formed. Ideas usually come bit by bit and often rely on inspiration and spontaneity to develop. Physical objects can help tactile and kinesthetic thinkers manage their ideas. Let’s jump into FabMaker Studio to create story dice that enhance the creative brainstorming process.
Step 1: Building the Cube
Let’s get started by constructing a cube net in FabMaker Studio. Not sure how to begin? Check out the Cube Net Step-by-Step Project for an introduction to creating 3D cubes. For more tips on creating a cube in FabMaker Studio check out this video.
Step 2: Adding Story Elements
Now that we have the basic cube net laid out, let’s add storytelling elements to each face of the cube with the Text Tool and Library Images.
Place text onto your cube by opening the Text Tool on the top toolbar and then clicking on the page to create text boxes to type in. Add clip art by opening the Library on the top toolbar and selecting art to place onto the page.
Tip: Turn off the Magnetize tool so the text boxes and images do not snap automatically to the edge of the squares.
Step 3: Design Glue Tabs for Assembly
Your students can choose to either tape the edges of the cube together, or add tabs for glue. The Cut Fold Tab tool is perfect for adding tabs. When working in the classroom, students will often ask me where they should put their tabs. My favorite response is “everywhere!” For this cube, students can put tabs on every edge and then tear away the ones they don’t need when they are assembling.
There is also another solution inside the program - the 3D Viewer! Encourage your students to use the 3D Viewer to help visualize how the cube will fold and which edges will touch each other. You will want one tab for each pair of touching edges. Here are two possible tab layouts - there are a lot more out there to find!
For information on the how the Cut Fold Tab tool works, check out the Cut Fold Tab Tutorial Video.
Step 4: More Cubes!
Now that your students have constructed their first cube, let’s duplicate the design onto another page to make more.
With the Select Arrow, click and drag a box around the entire cube to select it and then click Copy. Create a new page with the Add Page button on the bottom toolbar and, on the new page, click Paste to place another cube.
Invite your students to add actions, nouns, and transitions to their new cubes. The story possibilities are endless!
Step 5: Print, Fabricate, and Assemble
When your students are ready to “roll” with their design, follow the Fabrication Quick Start Guide to create the physical paper cube.
Hot off the press, it’s time to assemble the dice and roll out a new story!
"We thought it was over when the Dinosaurs stole the Statue of Liberty... BUT THEN-"

Do More! Experiment with other geometric shapes and game design

You can experiment with the other dice forms shown above by looking in the FabMaker Studio Pre-Made Projects library, under the tab “3D Stuff” (see right).
The project is called “Dice Set.”
The small, decorative elements on the side of the dice were also made in FabMaker Studio - created with the Shapes tool, and scaled-down to a miniature size.
You can combine them in multiples to make a standard, number-roll dice.

You can also design your own, themed game with your custom dice, and use this Design-your-own game board printable! (Shown bottom right.)
Constructing 3D shapes is a moderate challenge, but it is always possible to apply these ideas to a simpler design. You can try making 2D story cards instead of 3D shapes, or try designing a moving object like a spinner wheel for an extra twist.
Classmates can work together and combine their creations for an extra boost of inspiration, and teachers can fit these games into their existing curricula!
How are you using Fab@Maker Studio? We'd love to share YOUR tips and ideas! Send your photos to info@fablevisionlearning.com, or post them and tag us, @FableLearn, using the hashtag #FabMakerStudio for a chance to have them featured on our blog!
FableFive: William Levin, Creative Consultant with FableVision Learning

From the studio to the classroom, William Levin loves animation. As a creative consultant with FableVision Learning, William brings his wealth of experience to the students in New York City’s District 75 as he guides them through making their stories move in Animation-ish. For this month’s FableFive we connected with William to share a bit about his work with D75 and beyond.
1) You have quite a resume; can you share a bit about your work in media? Maybe a fun story?
Over the years, I’ve found myself creating animated shorts for some interesting clients, with diverse audiences ranging from Sesame Street to The New York Times. I love developing characters and telling stories, which is a challenge to accomplish within the few minutes my cartoons usually lasts.
A few years ago, as a big fan of the Battlestar Galactica reboot series on the SyFy Channel, I contacted prolific series composer Bear McCreary to ask if I could interview him for a new cartoon pilot I was pitching called "He Shoots, He Scores."
Surprisingly, not only did McCreary respond to my inquiry and agree to participate, but he generously composed an original score for the cartoon! Soon after, McCreary won a Primetime Emmy. Coincidence?
2) What is the role of animation in the classroom?

Animation can be used as a versatile tool in the classroom. Besides artistic expression, animation also helps students understand movement (physics), calculate timing (mathematics), tell a story (language and vocabulary), work as a team and develop computer skills. In some cases, animation can be therapeutic, especially for students who have difficulty with traditional educational methods.
3) Rumor has it you’ve been working with students in D75 and the Microsoft Store, can you share a bit about this partnership and what you’ve been doing?

Since 2013, I have had the privilege of visiting D75 schools to teach special education teachers and students how to animate with computers. This year, FableVision Learning was fortunate to partner with Microsoft to bring the program to their flagship 5th Avenue Microsoft Store in the heart of midtown Manhattan. Twice a month, up to 24 students are bussed in from schools in NYC for a morning of learning FableVision’s Animation-ish software. The store provides the students with fantastic Surface Pro 4 tablets and digital styluses, and I present on a ceiling-to-floor display in the private third floor workshop venue. All the while, we are surrounded by cool sci-fi decor that creates an atmosphere of being onboard a spaceship. Virtual reality demo stations and glowing computer panels provide an inspiring backdrop for creative learning!
4) What has been one “aha” moment this year working with students and Animation-ish?

Many teachers have warned me about particular students—or entire classrooms—apologizing in advance for the disruption they are sure to cause during our animation class. In the four years I’ve been working with D75, not once has there ever been an issue of misbehaving students. In fact, many times those students about whom I received the strongest warnings turn out to be the most talented and ambitious artists. I’ve learned that if you put a new creative tool in the hands of a child, you will always be pleasantly surprised with the results.
5) Can you give some tips/advice for aspiring animators?
My most fulfilling work has always resulted from reaching out directly to someone and asking if they’d like an animation. If I send an email to 50 people, I might hear back from 5. And of those 5, one will take me up on the offer to produce an animation. Repeat this process as many times as it takes to make a living.

Make Your Valentines Move with Animation-ish
It’s Valentine’s day, And it’s really quite ify;
I think I’ll start playing with Animation-ish-y!


Valentine’s Day is all about being creative so let’s make something with Animation-ish!
FableVision Learning’s Animation-ish is easy to use software that turns anyone into an animator in minutes! For teachers there’s a bonus, it can also be used in teaching and learning as a creative way for students to show what they know and can do in relation to content. Even making a simple Valentine encourages students to brainstorm, communicate, and Create Bravely!
Here’s a few quick ideas on how your students can animate a Valentine to show they care!
- Create an animation of cupid delivering a Valentine
- Write and animate a clever pun
- Draw a simple heart.
All of this can be done with the paintbrush for making fine lines, or the bucket to put a splash of color in the art.
Ready? Set? GO ANIMATE!
Share your ideas with us! We want to see your creativity move. Tweet at @FableLearn using the #animationish #valentine

Fab Lab Tulsa Pilots Early Elementary School Program Featuring Fab@School Maker Studio
The following blog post was written by the team at Fab Lab Tulsa about their Digital Fabrication pilot with early elementary school students.
At Fab Lab Tulsa, we’re used to working with digital design and fabrication tools. In fact, we consider ourselves to be experts at it, with over five years of experience teaching youth programs that target 5th through 9th graders. We’ve had some experience with younger students but we’ve wanted to find some way to get early learners engaged in the design process. After a ton of research we were able to locate the Fab@School Maker Studio platformer. We were super excited to pilot Fab@School Maker Studio to see if it could be used to expand our existing programs to students in the 1st to 3rd grades.

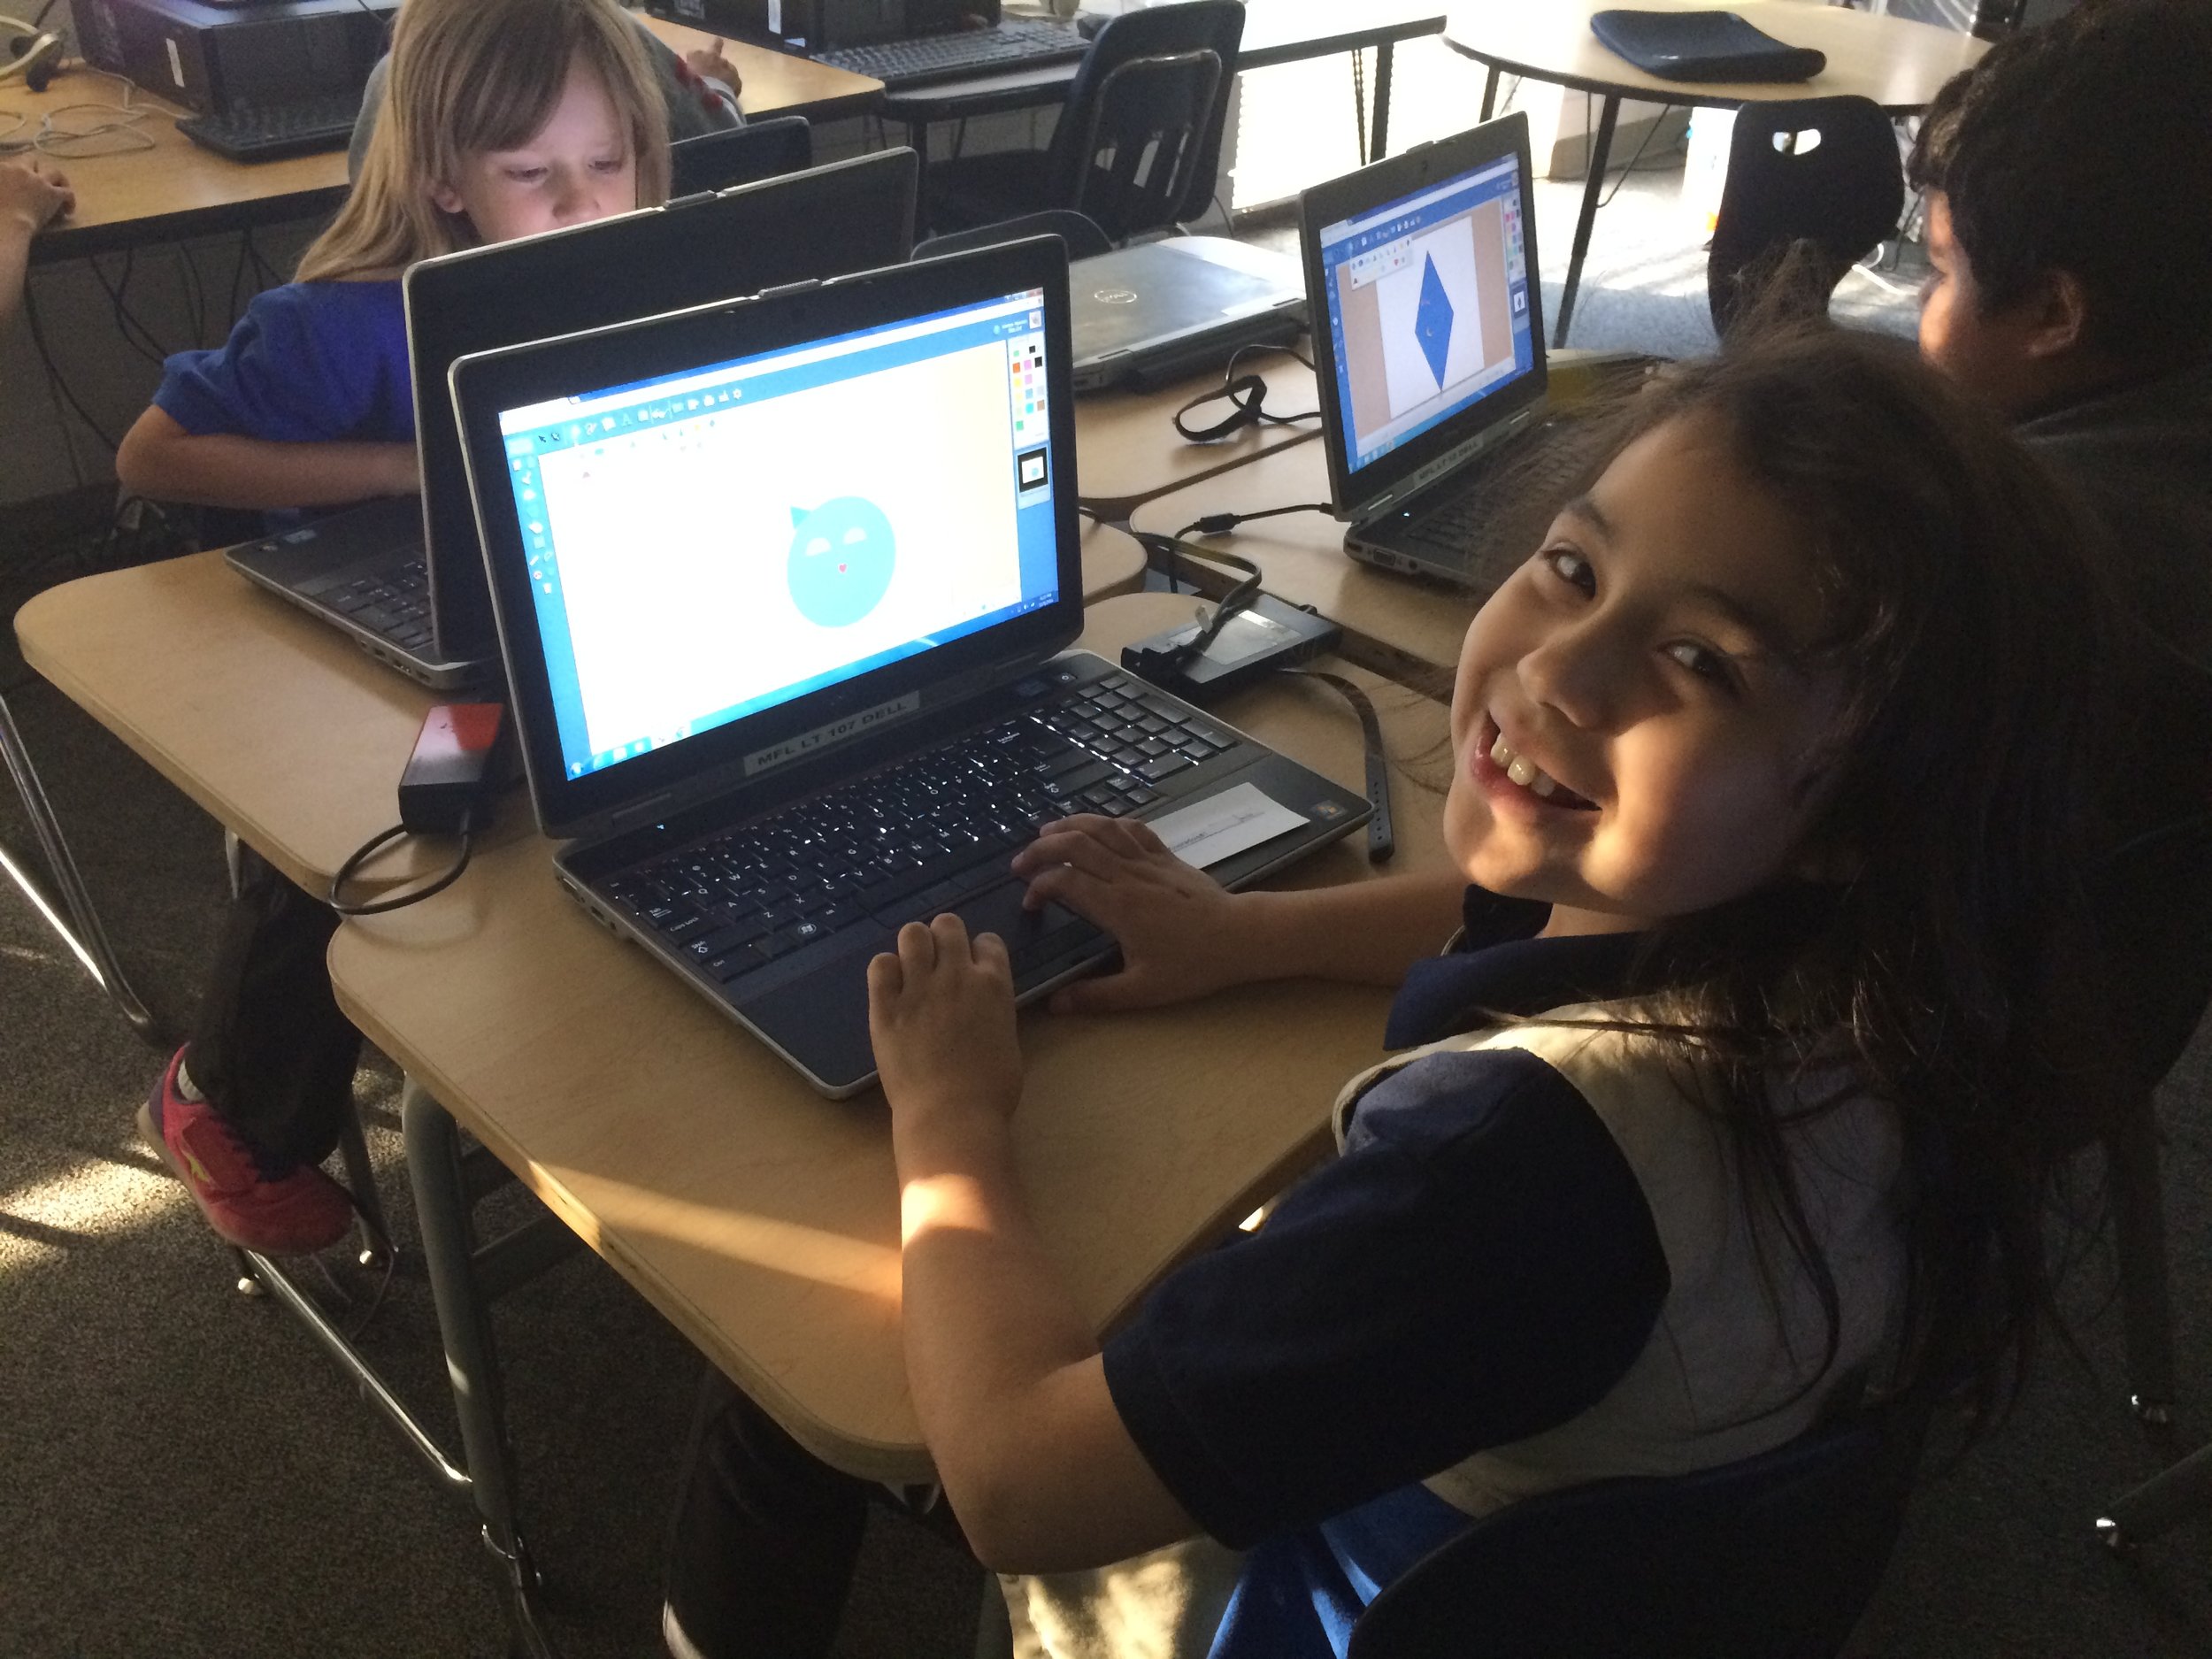
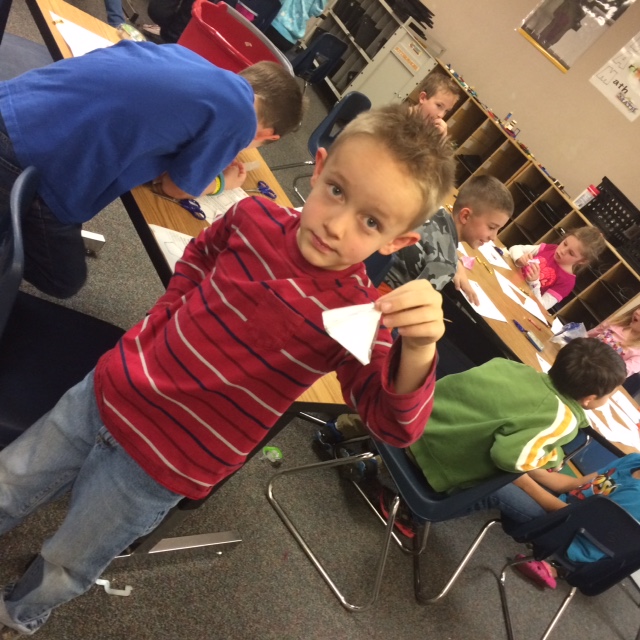
In November 2016, we spent two weeks teaching 72 young students in the afterschool program at Kendall-Whittier Elementary School. In keeping with our existing education program philosophy, the curriculum included digital fabrication using Fab@School Maker Studio and Silhouette Portrait paper cutters. We focused on teaching elements of the design process as defined in the Next Generation Science Standards, and we encouraged students to apply the skills they learned in a project-based assignment. Our objective was to evaluate both the software and cutters, as well as test the feasibility and value of introducing digital fabrication concepts and skills at an earlier age.

Each student received approximately 4 hours of instruction over multiple sessions. The 1st grade students focused on 2D design. They were introduced to the topic of design and shapes by reading and discussing the book “The Wing of a Flea” by Ed Emberley. This led to instruction on how to design basic 2D shapes and combine those shapes into more complex structures. Students used the cutters to create their physical model.
The older students began with the 2D design but quickly moved to designing 3D shapes. They were able to use the cutter to render their 3D design and then glue it when necessary. Some older students tried their hand at more advance design concepts like pop-ups, a design principle that’s tough but easier to handle when using the friendly interface of Fab@School Maker Studio.


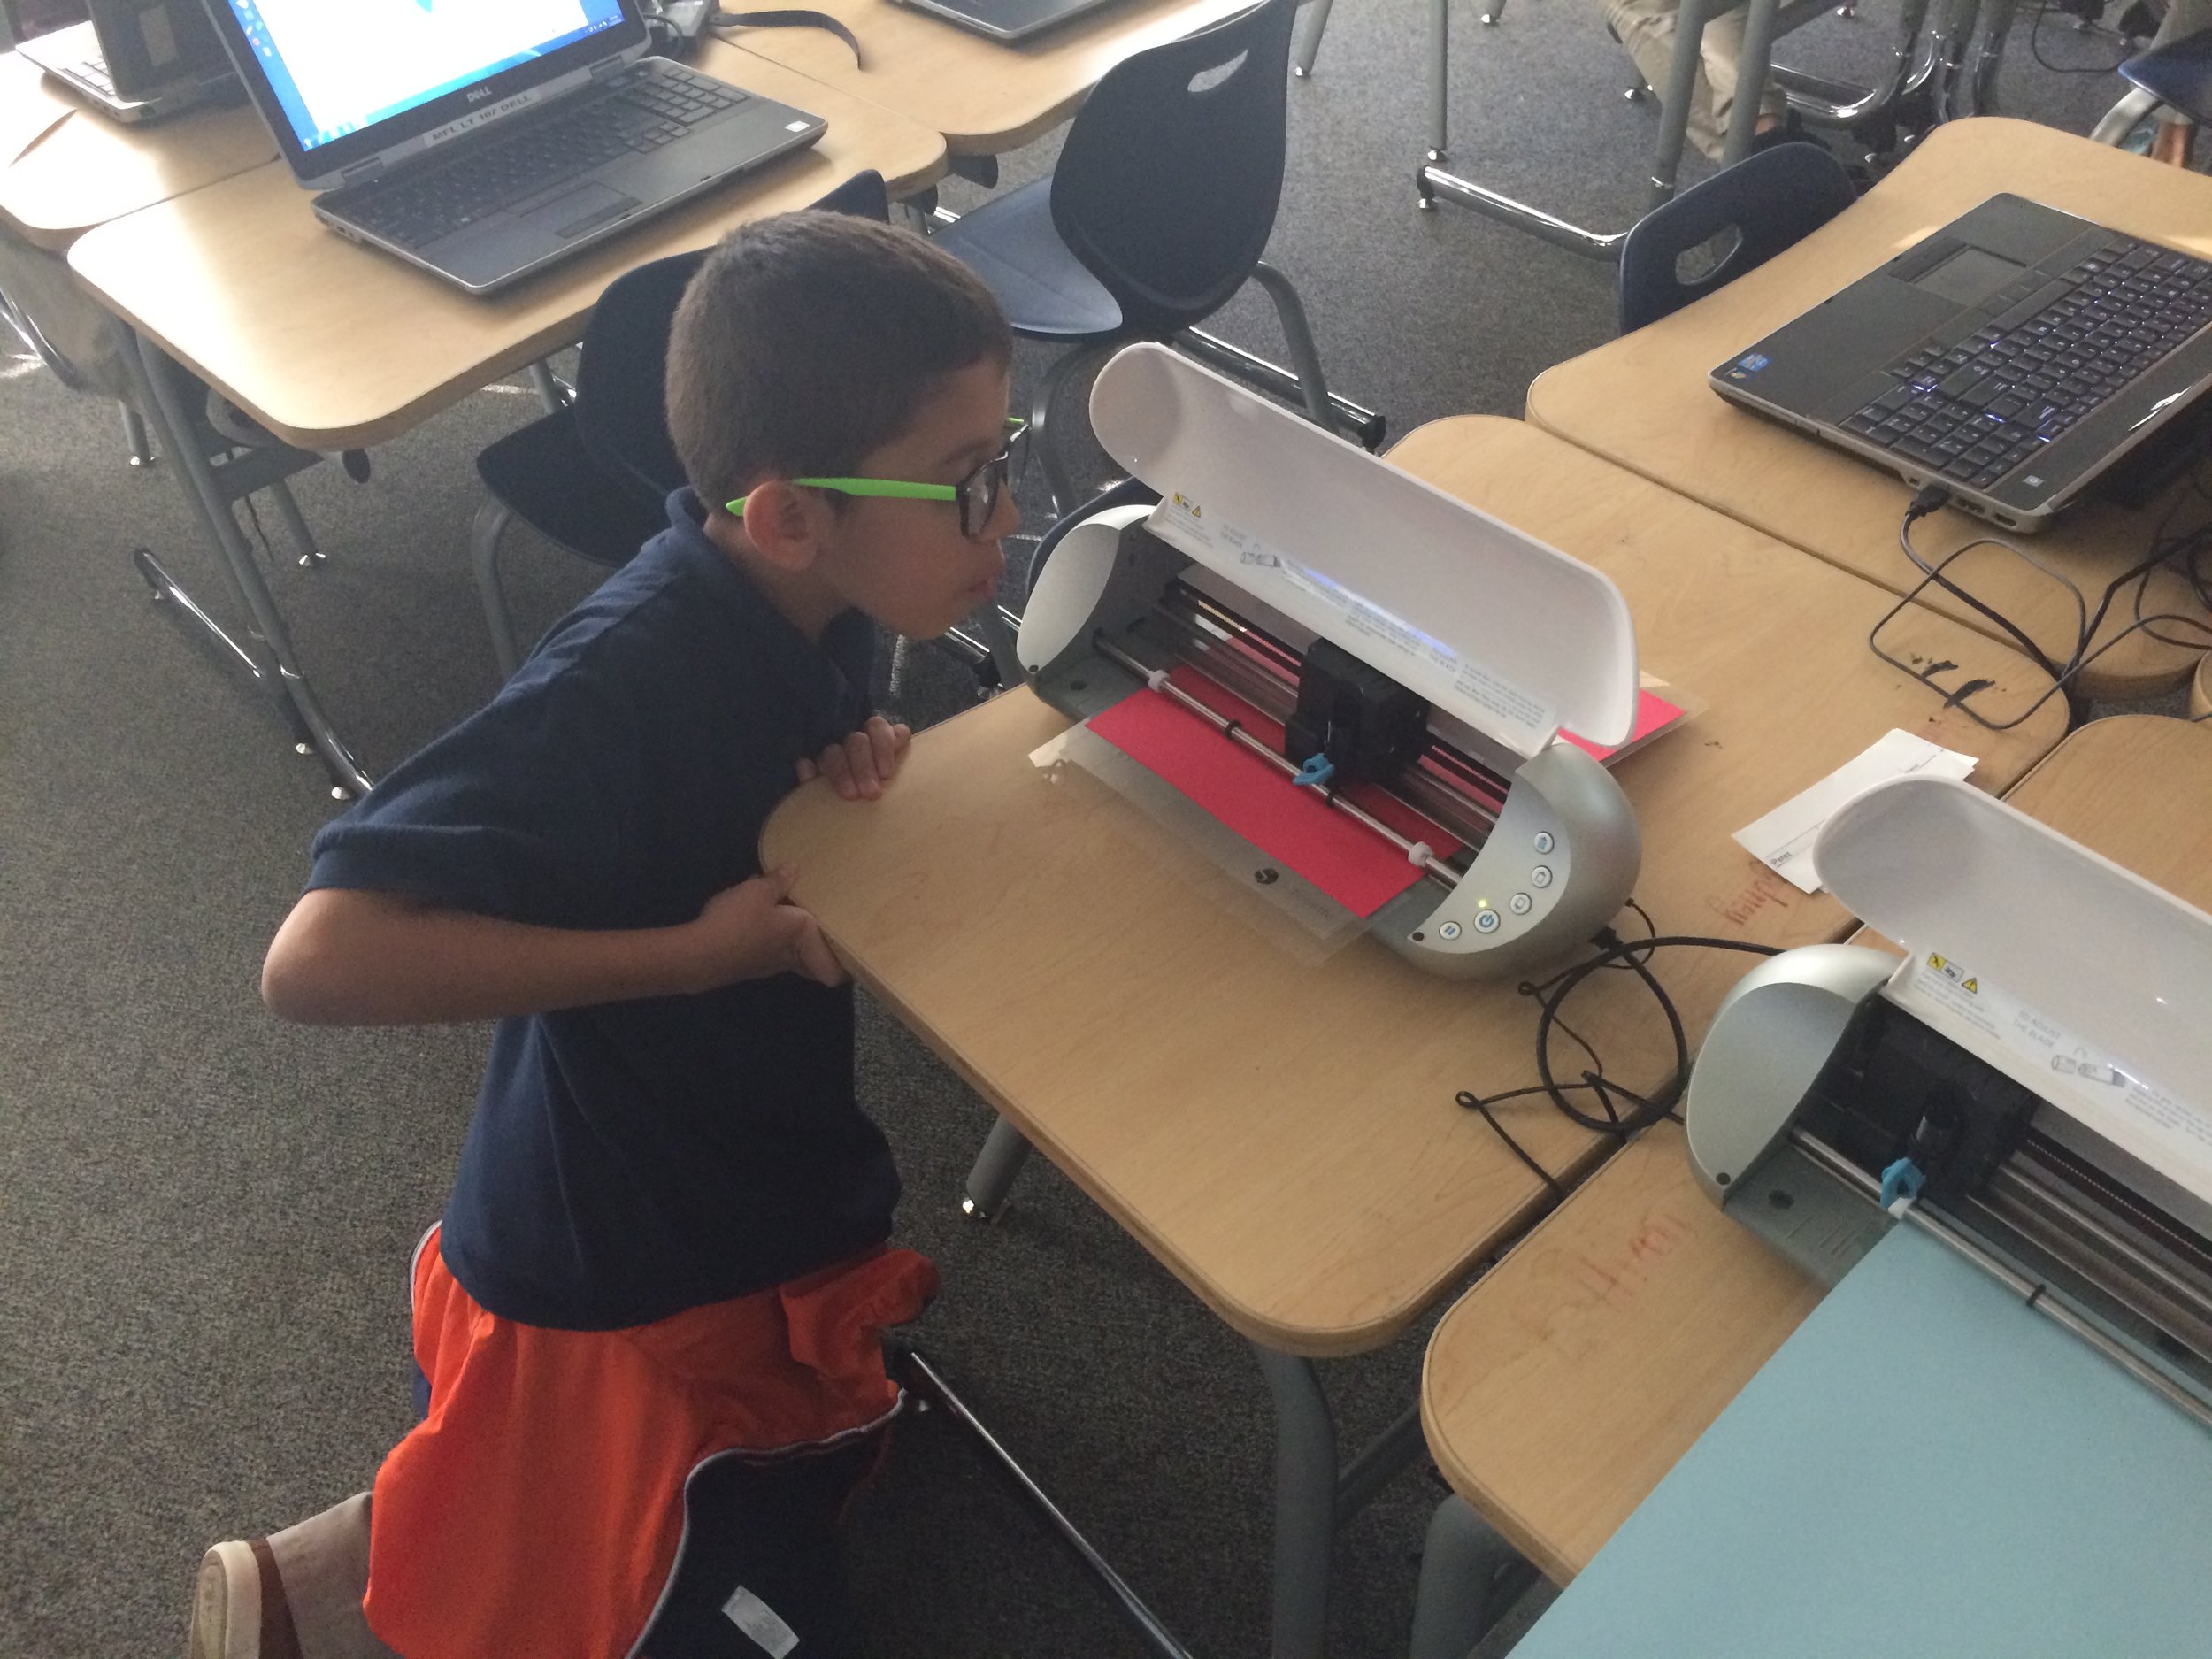
In short, we were very happy and excited about the results of the pilot. While there is still considerable room for improvement in the lesson plans and teacher instruction, designing with the Maker Studio software was a simple and straightforward concept to learn for all three grade levels. In addition, the cutters proved faster and more efficient than was expected.
We had been concerned that students would lack the developmental milestones needed to be successful in design and fabrication. We were overjoyed when this did not show up in the trial. All students were successful in producing and cutting their 2D and 3D files and we would expect those skills to continue to improve as the students gained more experience.
Best of all, student engagement was very high and we observed a high level of student interest and growing self-confidence. We’re excited about the implications this base of knowledge will have in future grades, when we ask them to use more complex CNC equipment for larger projects.
How is your classroom using Fab@School Maker Studio? We'd love to share YOUR tips and ideas! For more FabFriday posts, click here. Try out some or all of these techniques in the Winter Design Challenge! Share your photos with us, Tweet them with the hashtag #FabMakerStudio for a chance to have them featured on the next FabFriday!

FabFriday: Engineer Your Sweet Valentine's Day Cards!

It’s that time of year again, the holiday to show others how much you care about them with the timeless gifts of cards… and candy!
Using their creative problem-solving skills - and the engineering design process - your students can invent and design engineered Valentine’s Day cards that hold different kinds of candy. This Fab@School Maker Studio activity encourages students to identify challenges and create models and prototypes to refine their ideas. And, of course there is candy!
The first step in the design process is to define the challenge. Here’s my challenge: Design two different kinds of card that incorporates candy of two different shapes. The first card will hold a lollipop by the stick, and the second to fold open to show a chocolate candy. With these challenges in mind, I can now collect the data.
There are times where I like to measure everything and use numbers to guide my design process, and other times where I’d rather just play around with no limitations. For this project, I am using a ruler because I want to know the size of the candy before determining how it will be “held” on the card.
The stick on my lollipop is 2 inches long, and the chocolate heart is 1 ⅜ inches wide and tall.
Using these measurements I will brainstorm my solution. My favorite way is to doodle with paper and scissors, making quick and simple tests for all sorts of ideas. This way, I can get a lot of simple ideas out quickly, and get a rough idea of what I am going to then design with the Fab@School Maker Studio design tool.
My first card will have two holes that I can poke the lollipop stick though. Based off my measurements, I know that the holes must be less than 2 inches apart so that the stick can fit through both of them to lock it in place. I cut out a simple paper rectangle with scissors and made two slits roughly one inch apart. I can then stick the lollipop into the slits to test my design. Looks like it works!
The second card is a lot of fun. I wanted a folding design with the chocolate inside, but the card couldn’t close completely because the chocolate candy was too thick. I solved this challenge by cutting a hole through the top half of the card, so the candy is visible when the card is both open and closed!
If your student’s don’t like their draft? That’s okay! They’ll learn something new with each prototype they make, so encourage them to have fun and create! When a student is ready, jump on over to Fab@School Maker Studio to create a digitally fabricated version.
Now it is time for the development work! Using the math tools found within Fab@School Maker Studio, I am able to accurately plan for scale, length, and size.
For the lollipop card, I’m starting with a 4 by 6 inch rectangle, which was created with the Shape Tool. I then place two circles for the holes that the stick will poke through. They are not positioned the exact same as my prototype, but I am placing the holes less than 2 inches apart, so it’s okay! I can now decorate the rest of my card with Library images and the Text tool. Done!
The folding card is created with two congruent rectangles that have been snapped together with the Magnetize Tool so that they create a fold in the middle. I then place a heart shape with the Shape Tool and size it so that the 1 ⅜ inch wide chocolate can fit through when the card is folded. Once the design has been decorated, it’s ready to print and fabricate!
This activity is a fun way for your students to experience the engineering design process - more specifically working with prototypes. Encourage your students to share their engineering solutions with the rest of the class! What kinds of cards can you and your students create? Tweet your photos at @FableLearn using the hashtag #FabMakerStudio.
But wait, there's more! This Fab@School Maker Studio activity is aligned to the Next Generation Science Standards. This activity reinforces the standards K-2-ETS1-1, K-2-ETS1-2, and 3-5 ETS1-1, highlighting the process of defining and designing for challenges, and refining ideas through drafts, models, and prototypes.
How is your classroom using Fab@School Maker Studio? We'd love to share YOUR tips and ideas! For more FabFriday posts, click here. Send your photos to info@FableVisionLearning.com or Tweet them with the hashtag #FabMakerStudio for a chance to have them featured on the next FabFriday!

FabFriday: From Snow Forts to Bees, First Graders Design with Fab@School Maker Studio

Welcome to FabFriday, a blog series that highlights Fab@School Maker Studio in the classroom. For this week's FabFriday we meet Karen Wolff's first grade class at the Boyden School in Walpole, Ma. This post first appeared on Mrs. Wolff's blog, The Wolff Den.

What a fun week we had building a snow fort! The idea started by exploring with Fab@School Maker Studio software on our Chromebooks. We experimented with different shapes and connected them. From there, we learned how to make 3-D solids. We were going to create a snow village with our solids, but instead decided to build a snow fort! We started by creating cubes with the Fab@School Maker Studio, but found that they were too small to build with. We even tried gluing magnets in the cubes to make they stick together, but in the end decided on choosing another solid – rectangular prisms. We went back to the Chromebooks and figured out how to create them and then built our snow fort!


We also created snowflakes to use with the Bee-Bots.

Speaking of bees, we read a story about Honey Bees this week. We learned about the long “u” sound and the two sounds “y” can make at the end of a word. For example, in the word “sunny,” the “y” sound like an “e," but in the word, “fly,” the “y” sounds like an “i.” We also talked about the life cycle of honey bees. We diagramed the bee life cycle using Kid Pix and learned about the anatomy of a bee by creating them with the Fab@School Maker Studio.


In math, we are working with fact families. We learned that all fact families have three numbers. We can make two addition sentences and two subtraction sentences with the same three numbers.
In social studies we’ve been learning about oceans and continents. We know there are different kinds of land, like plains and mountains and different types of water, like rivers and lakes. We also talked about natural resources like water and wood.
How is your classroom using Fab@School Maker Studio? We'd love to share YOUR tips and ideas! For more FabFriday posts, click here. Send your photos to info@FableVisionLearning.com for a chance to have them featured on the next FabFriday!