FableVision Learning Spotlight Blog
Categories
- Animation-ish 42
- Books 21
- Civics! 2
- Classroom Spotlight 17
- Conferences and Events 20
- Creative Educator 3
- Creativity 25
- Distance Learning 13
- Dot Day 22
- FabClassroom 28
- FabFriday 19
- FabMaker Studio 66
- FabMaker Studio Classroom 13
- FableFive 7
- FableVision Games 3
- Free Educator Resources 36
- HUTCH 1
- Home Activities 5
- In the Classroom 34
- In the News 11
- International Dot Day 23
- Ish 1
- Library 1
- Mapping the World by Heart 7
- Paul Reynolds 10
- Peter H. Reynolds 54
- Professional Development 9
- STEM/STEAM 20
- Storybook Academy 2
- Teacher Spotlight 14
- The Dot 17
- The North Star 2
- Words and Their Stories 1
- Zoombinis 3
FableFive: William Levin, Creative Consultant with FableVision Learning

From the studio to the classroom, William Levin loves animation. As a creative consultant with FableVision Learning, William brings his wealth of experience to the students in New York City’s District 75 as he guides them through making their stories move in Animation-ish. For this month’s FableFive we connected with William to share a bit about his work with D75 and beyond.
1) You have quite a resume; can you share a bit about your work in media? Maybe a fun story?
Over the years, I’ve found myself creating animated shorts for some interesting clients, with diverse audiences ranging from Sesame Street to The New York Times. I love developing characters and telling stories, which is a challenge to accomplish within the few minutes my cartoons usually lasts.
A few years ago, as a big fan of the Battlestar Galactica reboot series on the SyFy Channel, I contacted prolific series composer Bear McCreary to ask if I could interview him for a new cartoon pilot I was pitching called "He Shoots, He Scores."
Surprisingly, not only did McCreary respond to my inquiry and agree to participate, but he generously composed an original score for the cartoon! Soon after, McCreary won a Primetime Emmy. Coincidence?
2) What is the role of animation in the classroom?

Animation can be used as a versatile tool in the classroom. Besides artistic expression, animation also helps students understand movement (physics), calculate timing (mathematics), tell a story (language and vocabulary), work as a team and develop computer skills. In some cases, animation can be therapeutic, especially for students who have difficulty with traditional educational methods.
3) Rumor has it you’ve been working with students in D75 and the Microsoft Store, can you share a bit about this partnership and what you’ve been doing?

Since 2013, I have had the privilege of visiting D75 schools to teach special education teachers and students how to animate with computers. This year, FableVision Learning was fortunate to partner with Microsoft to bring the program to their flagship 5th Avenue Microsoft Store in the heart of midtown Manhattan. Twice a month, up to 24 students are bussed in from schools in NYC for a morning of learning FableVision’s Animation-ish software. The store provides the students with fantastic Surface Pro 4 tablets and digital styluses, and I present on a ceiling-to-floor display in the private third floor workshop venue. All the while, we are surrounded by cool sci-fi decor that creates an atmosphere of being onboard a spaceship. Virtual reality demo stations and glowing computer panels provide an inspiring backdrop for creative learning!
4) What has been one “aha” moment this year working with students and Animation-ish?

Many teachers have warned me about particular students—or entire classrooms—apologizing in advance for the disruption they are sure to cause during our animation class. In the four years I’ve been working with D75, not once has there ever been an issue of misbehaving students. In fact, many times those students about whom I received the strongest warnings turn out to be the most talented and ambitious artists. I’ve learned that if you put a new creative tool in the hands of a child, you will always be pleasantly surprised with the results.
5) Can you give some tips/advice for aspiring animators?
My most fulfilling work has always resulted from reaching out directly to someone and asking if they’d like an animation. If I send an email to 50 people, I might hear back from 5. And of those 5, one will take me up on the offer to produce an animation. Repeat this process as many times as it takes to make a living.

Make Your Valentines Move with Animation-ish
It’s Valentine’s day, And it’s really quite ify;
I think I’ll start playing with Animation-ish-y!


Valentine’s Day is all about being creative so let’s make something with Animation-ish!
FableVision Learning’s Animation-ish is easy to use software that turns anyone into an animator in minutes! For teachers there’s a bonus, it can also be used in teaching and learning as a creative way for students to show what they know and can do in relation to content. Even making a simple Valentine encourages students to brainstorm, communicate, and Create Bravely!
Here’s a few quick ideas on how your students can animate a Valentine to show they care!
- Create an animation of cupid delivering a Valentine
- Write and animate a clever pun
- Draw a simple heart.
All of this can be done with the paintbrush for making fine lines, or the bucket to put a splash of color in the art.
Ready? Set? GO ANIMATE!
Share your ideas with us! We want to see your creativity move. Tweet at @FableLearn using the #animationish #valentine

Fab Lab Tulsa Pilots Early Elementary School Program Featuring Fab@School Maker Studio
The following blog post was written by the team at Fab Lab Tulsa about their Digital Fabrication pilot with early elementary school students.
At Fab Lab Tulsa, we’re used to working with digital design and fabrication tools. In fact, we consider ourselves to be experts at it, with over five years of experience teaching youth programs that target 5th through 9th graders. We’ve had some experience with younger students but we’ve wanted to find some way to get early learners engaged in the design process. After a ton of research we were able to locate the Fab@School Maker Studio platformer. We were super excited to pilot Fab@School Maker Studio to see if it could be used to expand our existing programs to students in the 1st to 3rd grades.

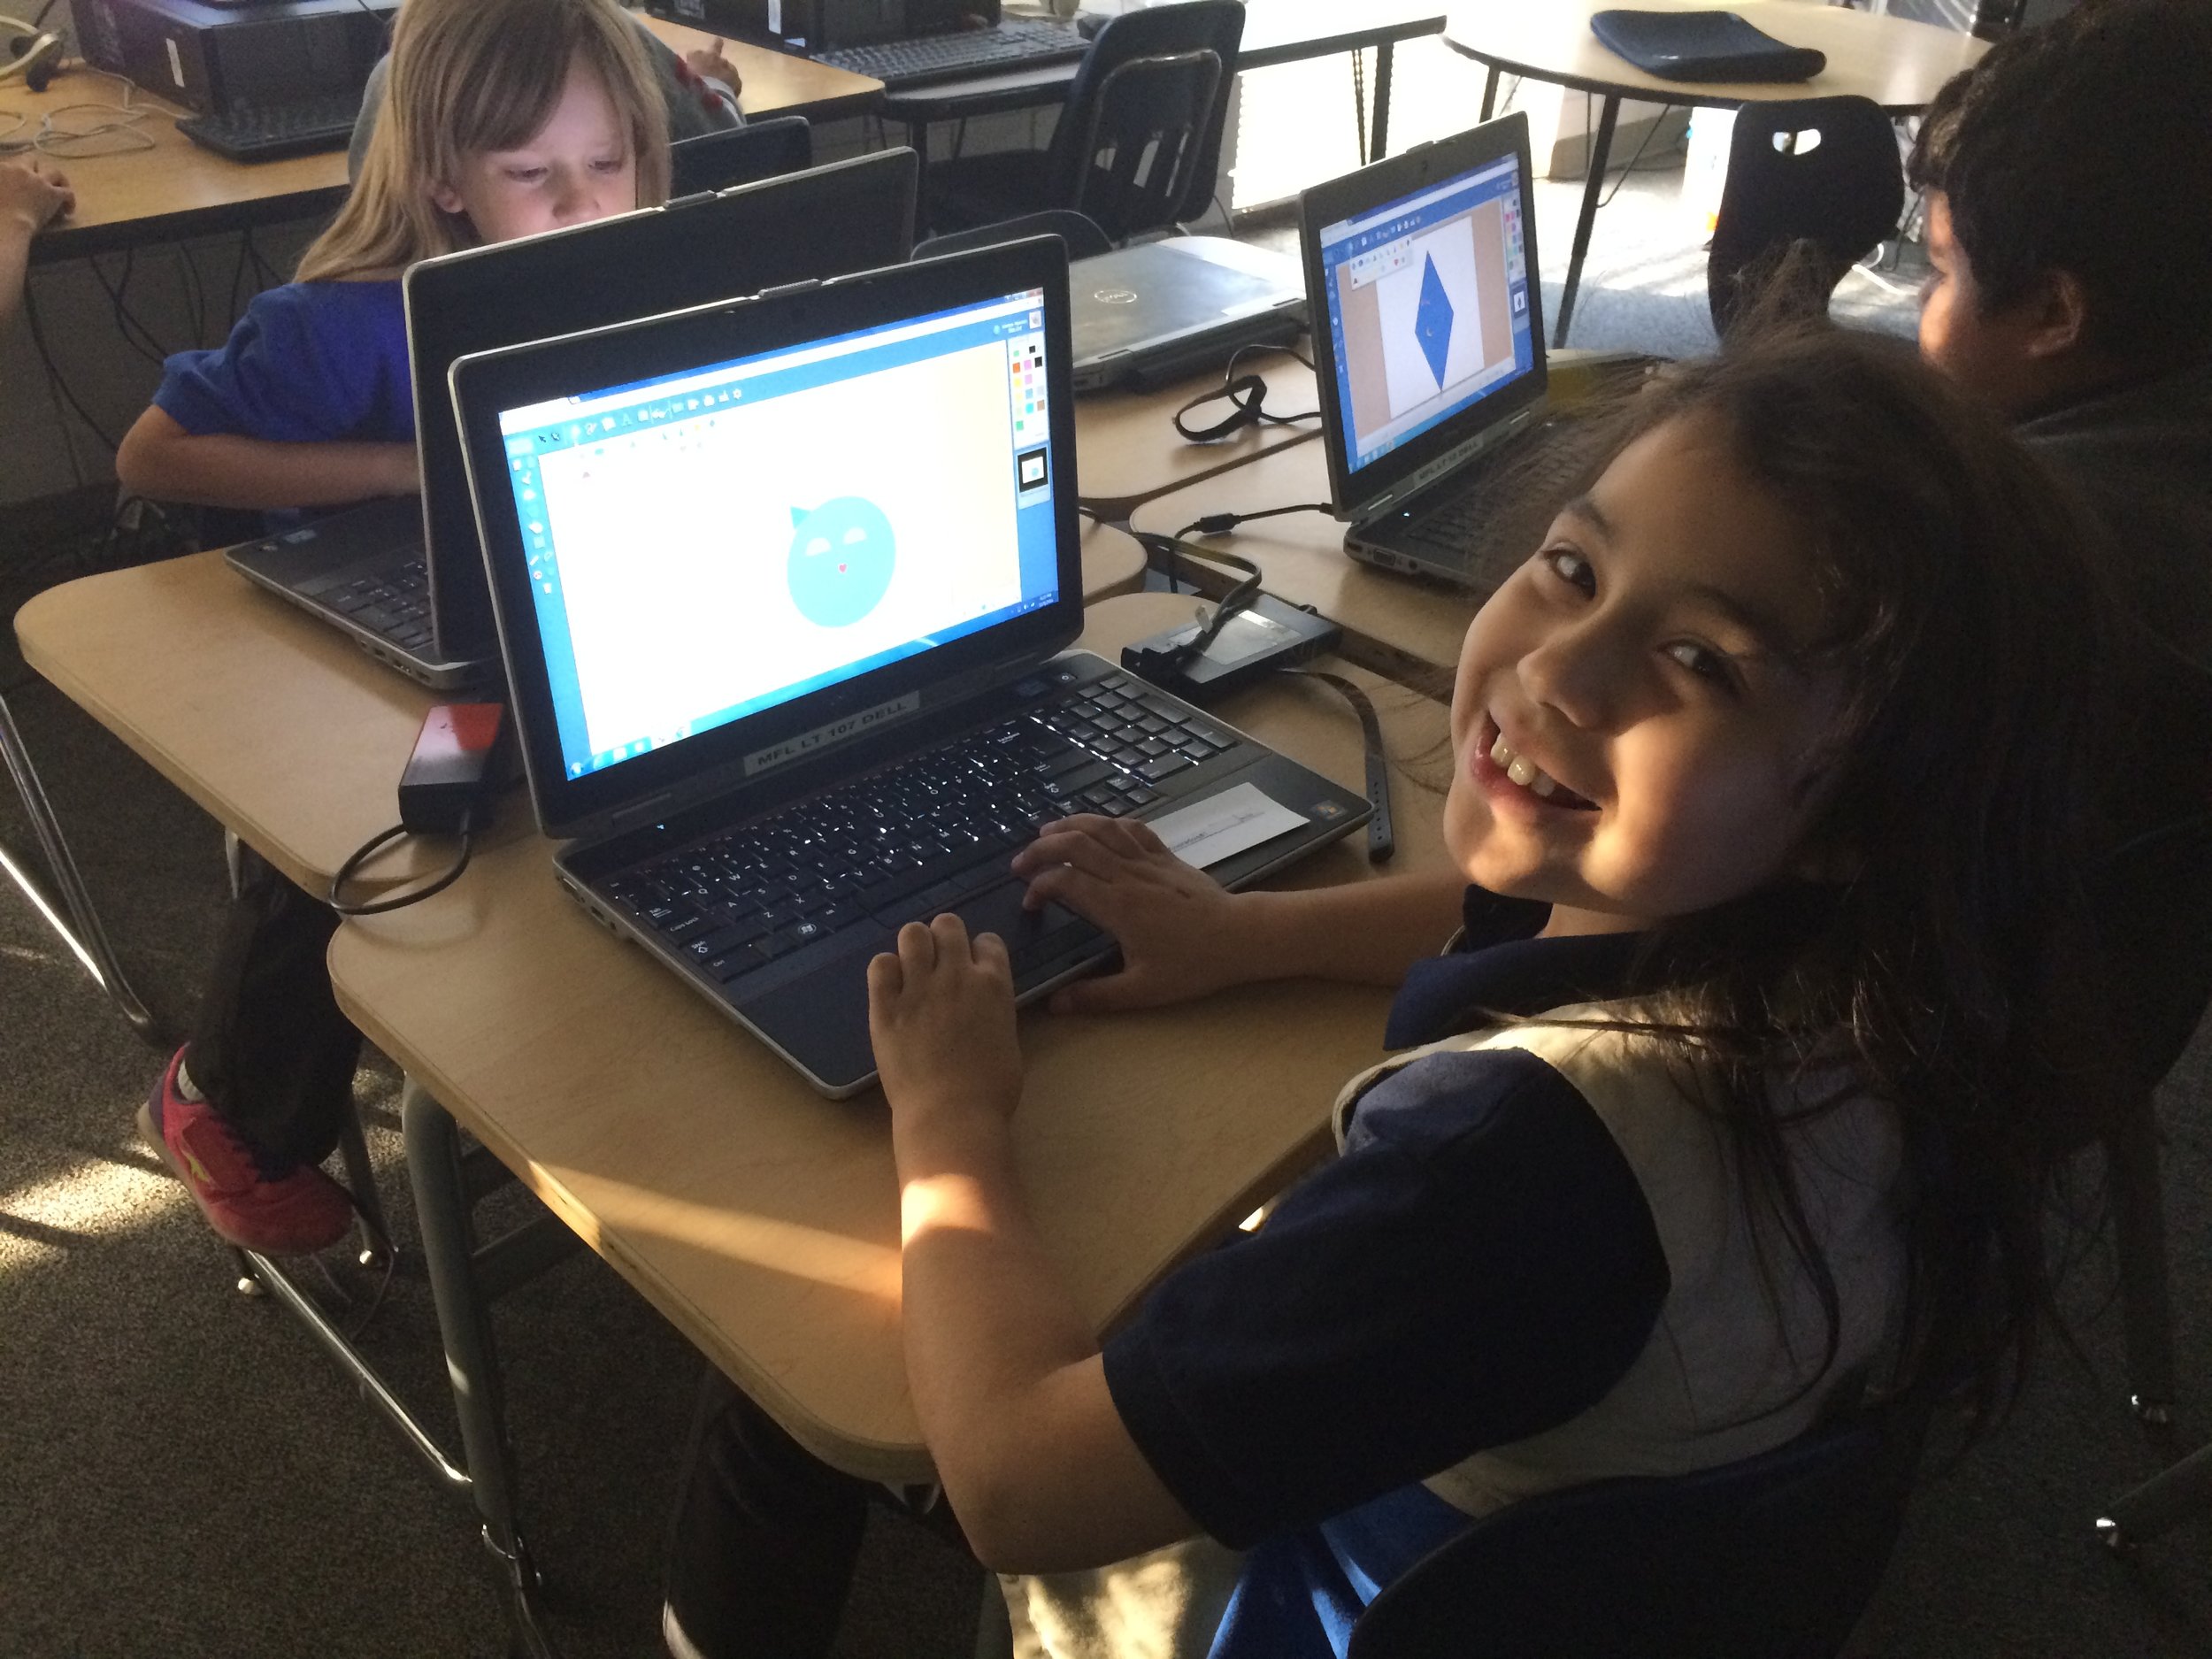
In November 2016, we spent two weeks teaching 72 young students in the afterschool program at Kendall-Whittier Elementary School. In keeping with our existing education program philosophy, the curriculum included digital fabrication using Fab@School Maker Studio and Silhouette Portrait paper cutters. We focused on teaching elements of the design process as defined in the Next Generation Science Standards, and we encouraged students to apply the skills they learned in a project-based assignment. Our objective was to evaluate both the software and cutters, as well as test the feasibility and value of introducing digital fabrication concepts and skills at an earlier age.

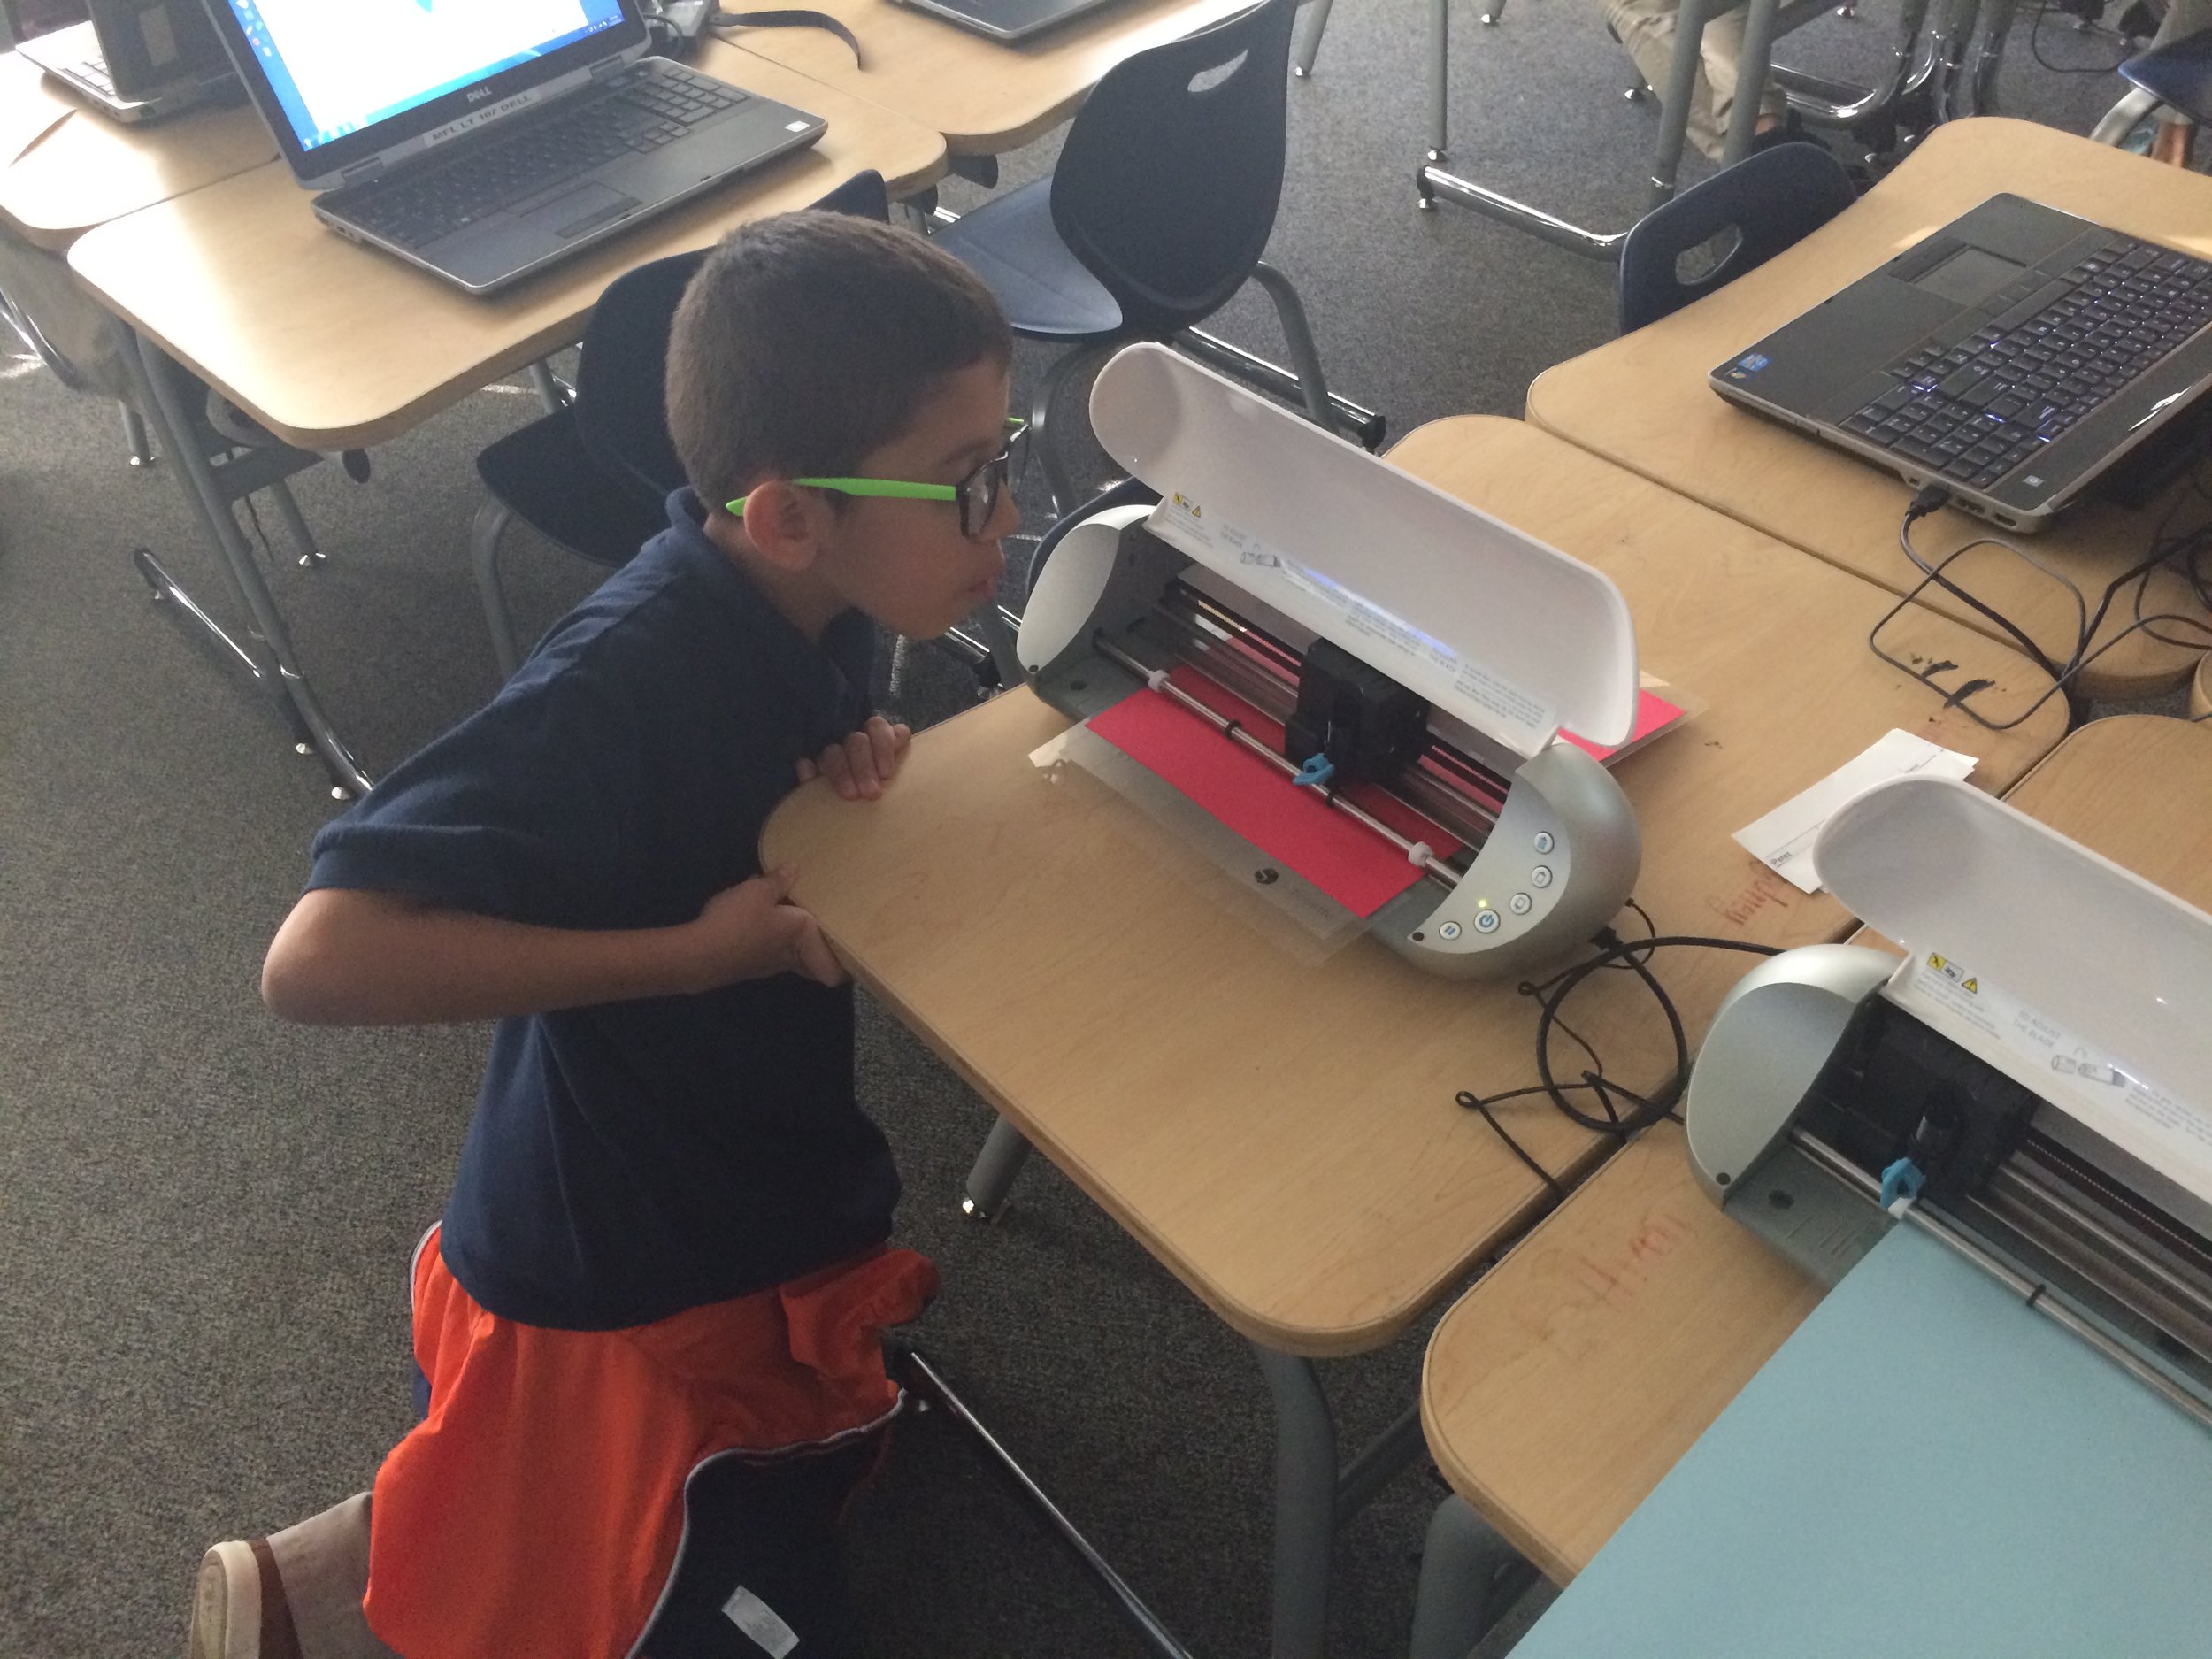
Each student received approximately 4 hours of instruction over multiple sessions. The 1st grade students focused on 2D design. They were introduced to the topic of design and shapes by reading and discussing the book “The Wing of a Flea” by Ed Emberley. This led to instruction on how to design basic 2D shapes and combine those shapes into more complex structures. Students used the cutters to create their physical model.
The older students began with the 2D design but quickly moved to designing 3D shapes. They were able to use the cutter to render their 3D design and then glue it when necessary. Some older students tried their hand at more advance design concepts like pop-ups, a design principle that’s tough but easier to handle when using the friendly interface of Fab@School Maker Studio.


In short, we were very happy and excited about the results of the pilot. While there is still considerable room for improvement in the lesson plans and teacher instruction, designing with the Maker Studio software was a simple and straightforward concept to learn for all three grade levels. In addition, the cutters proved faster and more efficient than was expected.
We had been concerned that students would lack the developmental milestones needed to be successful in design and fabrication. We were overjoyed when this did not show up in the trial. All students were successful in producing and cutting their 2D and 3D files and we would expect those skills to continue to improve as the students gained more experience.
Best of all, student engagement was very high and we observed a high level of student interest and growing self-confidence. We’re excited about the implications this base of knowledge will have in future grades, when we ask them to use more complex CNC equipment for larger projects.
How is your classroom using Fab@School Maker Studio? We'd love to share YOUR tips and ideas! For more FabFriday posts, click here. Try out some or all of these techniques in the Winter Design Challenge! Share your photos with us, Tweet them with the hashtag #FabMakerStudio for a chance to have them featured on the next FabFriday!

FabFriday: Engineer Your Sweet Valentine's Day Cards!

It’s that time of year again, the holiday to show others how much you care about them with the timeless gifts of cards… and candy!
Using their creative problem-solving skills - and the engineering design process - your students can invent and design engineered Valentine’s Day cards that hold different kinds of candy. This Fab@School Maker Studio activity encourages students to identify challenges and create models and prototypes to refine their ideas. And, of course there is candy!
The first step in the design process is to define the challenge. Here’s my challenge: Design two different kinds of card that incorporates candy of two different shapes. The first card will hold a lollipop by the stick, and the second to fold open to show a chocolate candy. With these challenges in mind, I can now collect the data.
There are times where I like to measure everything and use numbers to guide my design process, and other times where I’d rather just play around with no limitations. For this project, I am using a ruler because I want to know the size of the candy before determining how it will be “held” on the card.
The stick on my lollipop is 2 inches long, and the chocolate heart is 1 ⅜ inches wide and tall.
Using these measurements I will brainstorm my solution. My favorite way is to doodle with paper and scissors, making quick and simple tests for all sorts of ideas. This way, I can get a lot of simple ideas out quickly, and get a rough idea of what I am going to then design with the Fab@School Maker Studio design tool.
My first card will have two holes that I can poke the lollipop stick though. Based off my measurements, I know that the holes must be less than 2 inches apart so that the stick can fit through both of them to lock it in place. I cut out a simple paper rectangle with scissors and made two slits roughly one inch apart. I can then stick the lollipop into the slits to test my design. Looks like it works!
The second card is a lot of fun. I wanted a folding design with the chocolate inside, but the card couldn’t close completely because the chocolate candy was too thick. I solved this challenge by cutting a hole through the top half of the card, so the candy is visible when the card is both open and closed!
If your student’s don’t like their draft? That’s okay! They’ll learn something new with each prototype they make, so encourage them to have fun and create! When a student is ready, jump on over to Fab@School Maker Studio to create a digitally fabricated version.
Now it is time for the development work! Using the math tools found within Fab@School Maker Studio, I am able to accurately plan for scale, length, and size.
For the lollipop card, I’m starting with a 4 by 6 inch rectangle, which was created with the Shape Tool. I then place two circles for the holes that the stick will poke through. They are not positioned the exact same as my prototype, but I am placing the holes less than 2 inches apart, so it’s okay! I can now decorate the rest of my card with Library images and the Text tool. Done!
The folding card is created with two congruent rectangles that have been snapped together with the Magnetize Tool so that they create a fold in the middle. I then place a heart shape with the Shape Tool and size it so that the 1 ⅜ inch wide chocolate can fit through when the card is folded. Once the design has been decorated, it’s ready to print and fabricate!
This activity is a fun way for your students to experience the engineering design process - more specifically working with prototypes. Encourage your students to share their engineering solutions with the rest of the class! What kinds of cards can you and your students create? Tweet your photos at @FableLearn using the hashtag #FabMakerStudio.
But wait, there's more! This Fab@School Maker Studio activity is aligned to the Next Generation Science Standards. This activity reinforces the standards K-2-ETS1-1, K-2-ETS1-2, and 3-5 ETS1-1, highlighting the process of defining and designing for challenges, and refining ideas through drafts, models, and prototypes.
How is your classroom using Fab@School Maker Studio? We'd love to share YOUR tips and ideas! For more FabFriday posts, click here. Send your photos to info@FableVisionLearning.com or Tweet them with the hashtag #FabMakerStudio for a chance to have them featured on the next FabFriday!

FabFriday: From Snow Forts to Bees, First Graders Design with Fab@School Maker Studio

Welcome to FabFriday, a blog series that highlights Fab@School Maker Studio in the classroom. For this week's FabFriday we meet Karen Wolff's first grade class at the Boyden School in Walpole, Ma. This post first appeared on Mrs. Wolff's blog, The Wolff Den.

What a fun week we had building a snow fort! The idea started by exploring with Fab@School Maker Studio software on our Chromebooks. We experimented with different shapes and connected them. From there, we learned how to make 3-D solids. We were going to create a snow village with our solids, but instead decided to build a snow fort! We started by creating cubes with the Fab@School Maker Studio, but found that they were too small to build with. We even tried gluing magnets in the cubes to make they stick together, but in the end decided on choosing another solid – rectangular prisms. We went back to the Chromebooks and figured out how to create them and then built our snow fort!


We also created snowflakes to use with the Bee-Bots.

Speaking of bees, we read a story about Honey Bees this week. We learned about the long “u” sound and the two sounds “y” can make at the end of a word. For example, in the word “sunny,” the “y” sound like an “e," but in the word, “fly,” the “y” sounds like an “i.” We also talked about the life cycle of honey bees. We diagramed the bee life cycle using Kid Pix and learned about the anatomy of a bee by creating them with the Fab@School Maker Studio.


In math, we are working with fact families. We learned that all fact families have three numbers. We can make two addition sentences and two subtraction sentences with the same three numbers.
In social studies we’ve been learning about oceans and continents. We know there are different kinds of land, like plains and mountains and different types of water, like rivers and lakes. We also talked about natural resources like water and wood.
How is your classroom using Fab@School Maker Studio? We'd love to share YOUR tips and ideas! For more FabFriday posts, click here. Send your photos to info@FableVisionLearning.com for a chance to have them featured on the next FabFriday!

FabFriday: Engineering with Classroom Materials
Welcome to FabFriday, a blog series that highlights tips and tricks for using Fab@School Maker Studio. Fab@ School Maker Studio is a web-based digital fabrication software tool that creates a more accessible, comfortable onramp for teachers to introduce STEM learning to their students. Each week we'll be posting ideas about using different materials, design tips, and construction techniques to help you offer even more fab learning to your students.

Paperclip? Check!
Straw? Check!
Popsicle stick? Check!
Wondering about this week’s FabFriday checklist? Check!
In past FabFriday posts, we’ve explored different techniques such as working with shapes, adding color, and learning about different kinds of paper. While paper construction is versatile and surprisingly robust, with a little creativity it’s possible to engineer even more, like inventions that move, animate, and go places, by using materials found in your classroom!
Fasteners: Brads, Paper Clips, Staples, Binder Clips

There are all sorts of fasteners that come in handy when engineering Fab@School Maker Studio projects. Brads (brass paper fasteners) are great for linking pieces of paper through a shared hole, and you can even create rotating or hinging parts. Paper clips can be used to join edges of paper, add weight, and when bent can be used to create unique metal elements. Staples are another way to join together paper, especially in a design that requires a lot of strength.
I used paper clips when designing my trebuchet catapult, bending them around to create a release pin on the end of the throwing arm.

Engineering in Action
Fab@School Maker Studio was demonstrated at the 2016 National Technology Leadership Summit in Washington, DC during a Making & Storytelling workshop.

Participants were introduced to the linear motor invention kit developed and piloted in the Curry School of Education at the University of Virginia and in the Laboratory School for Advanced Manufacturing. Through this activity, workshop attendees used laser cut images - created in and exported through Fab@School- to construct a moving articulated figure that expanded upon the paper version.
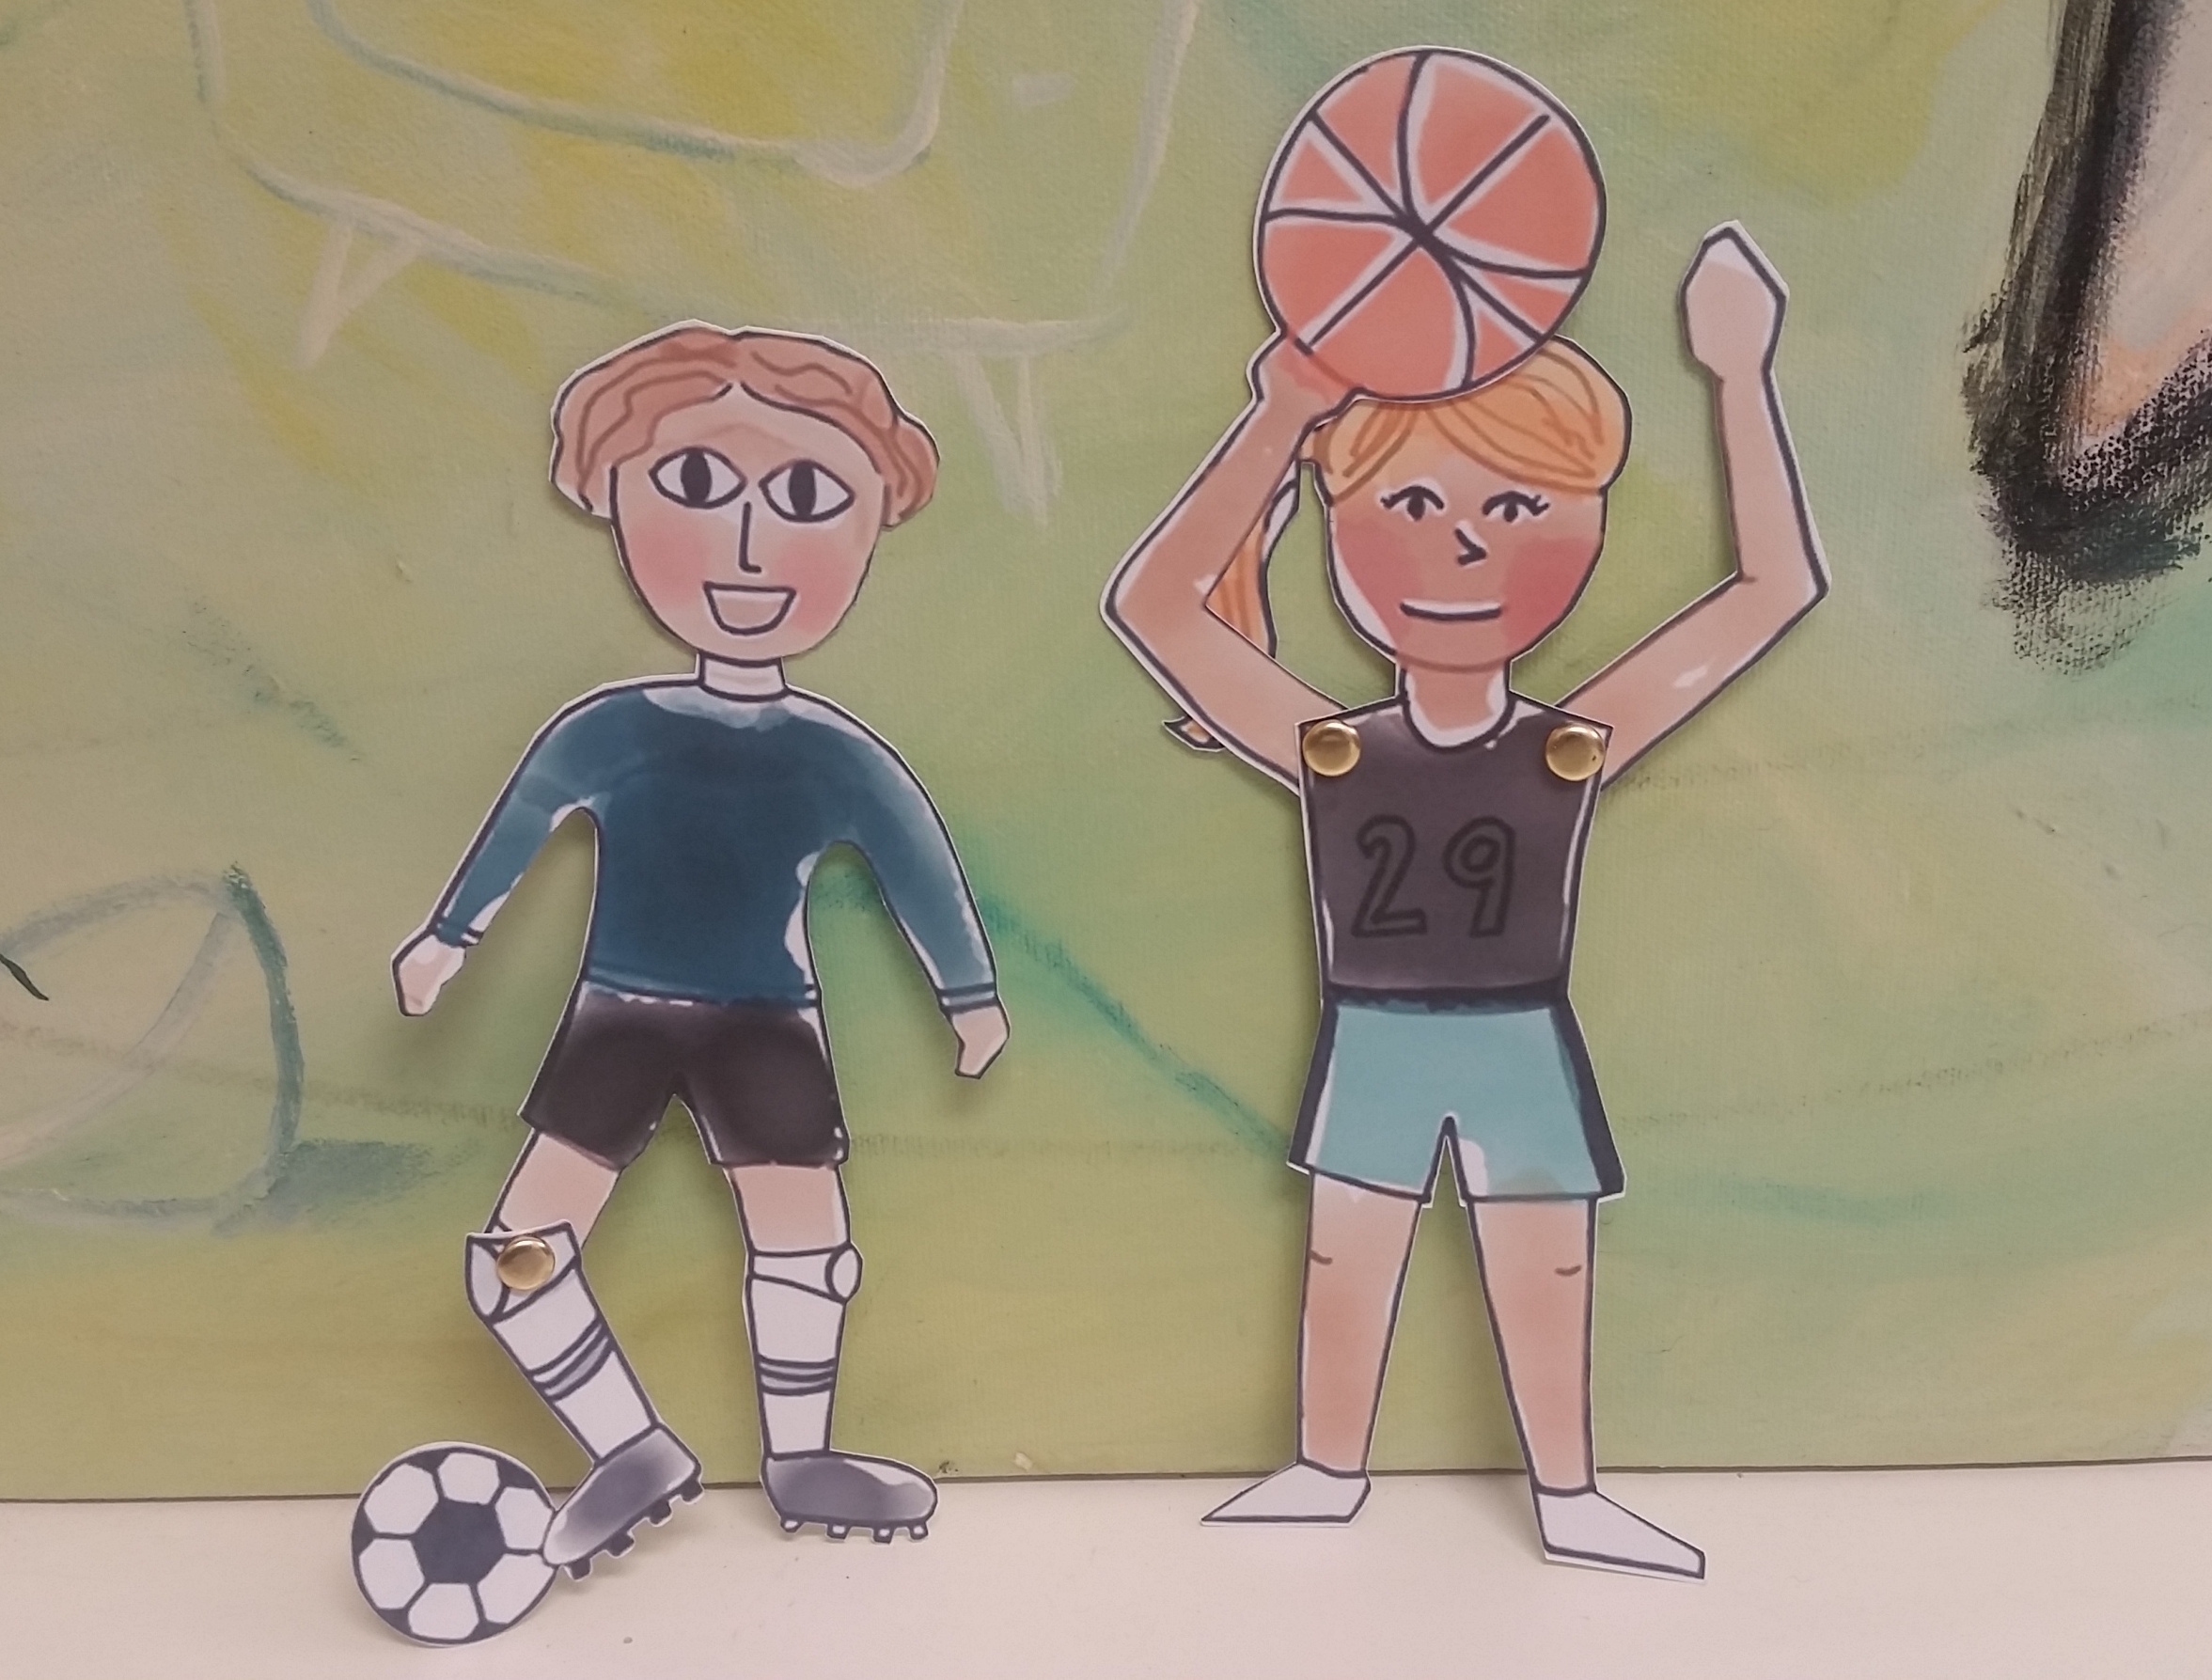
Give it a try! These paper figures use brads as joints so the soccer player can kick and the basketball player can move both her arms and make the shot! Hop into Fab@School Maker Studio and try this project with library images.
Supports: Paper/Plastic Straws, Popsicle Sticks, Splints, Dowels
If there is something that you want to build that is challenging to construct entirely out of paper, try and find materials that you can use to strengthen it. Popsicle sticks and wood splints can be used as ribs in between layers of paper to create thin and strong constructions, as well as for constructing frames to build off of.
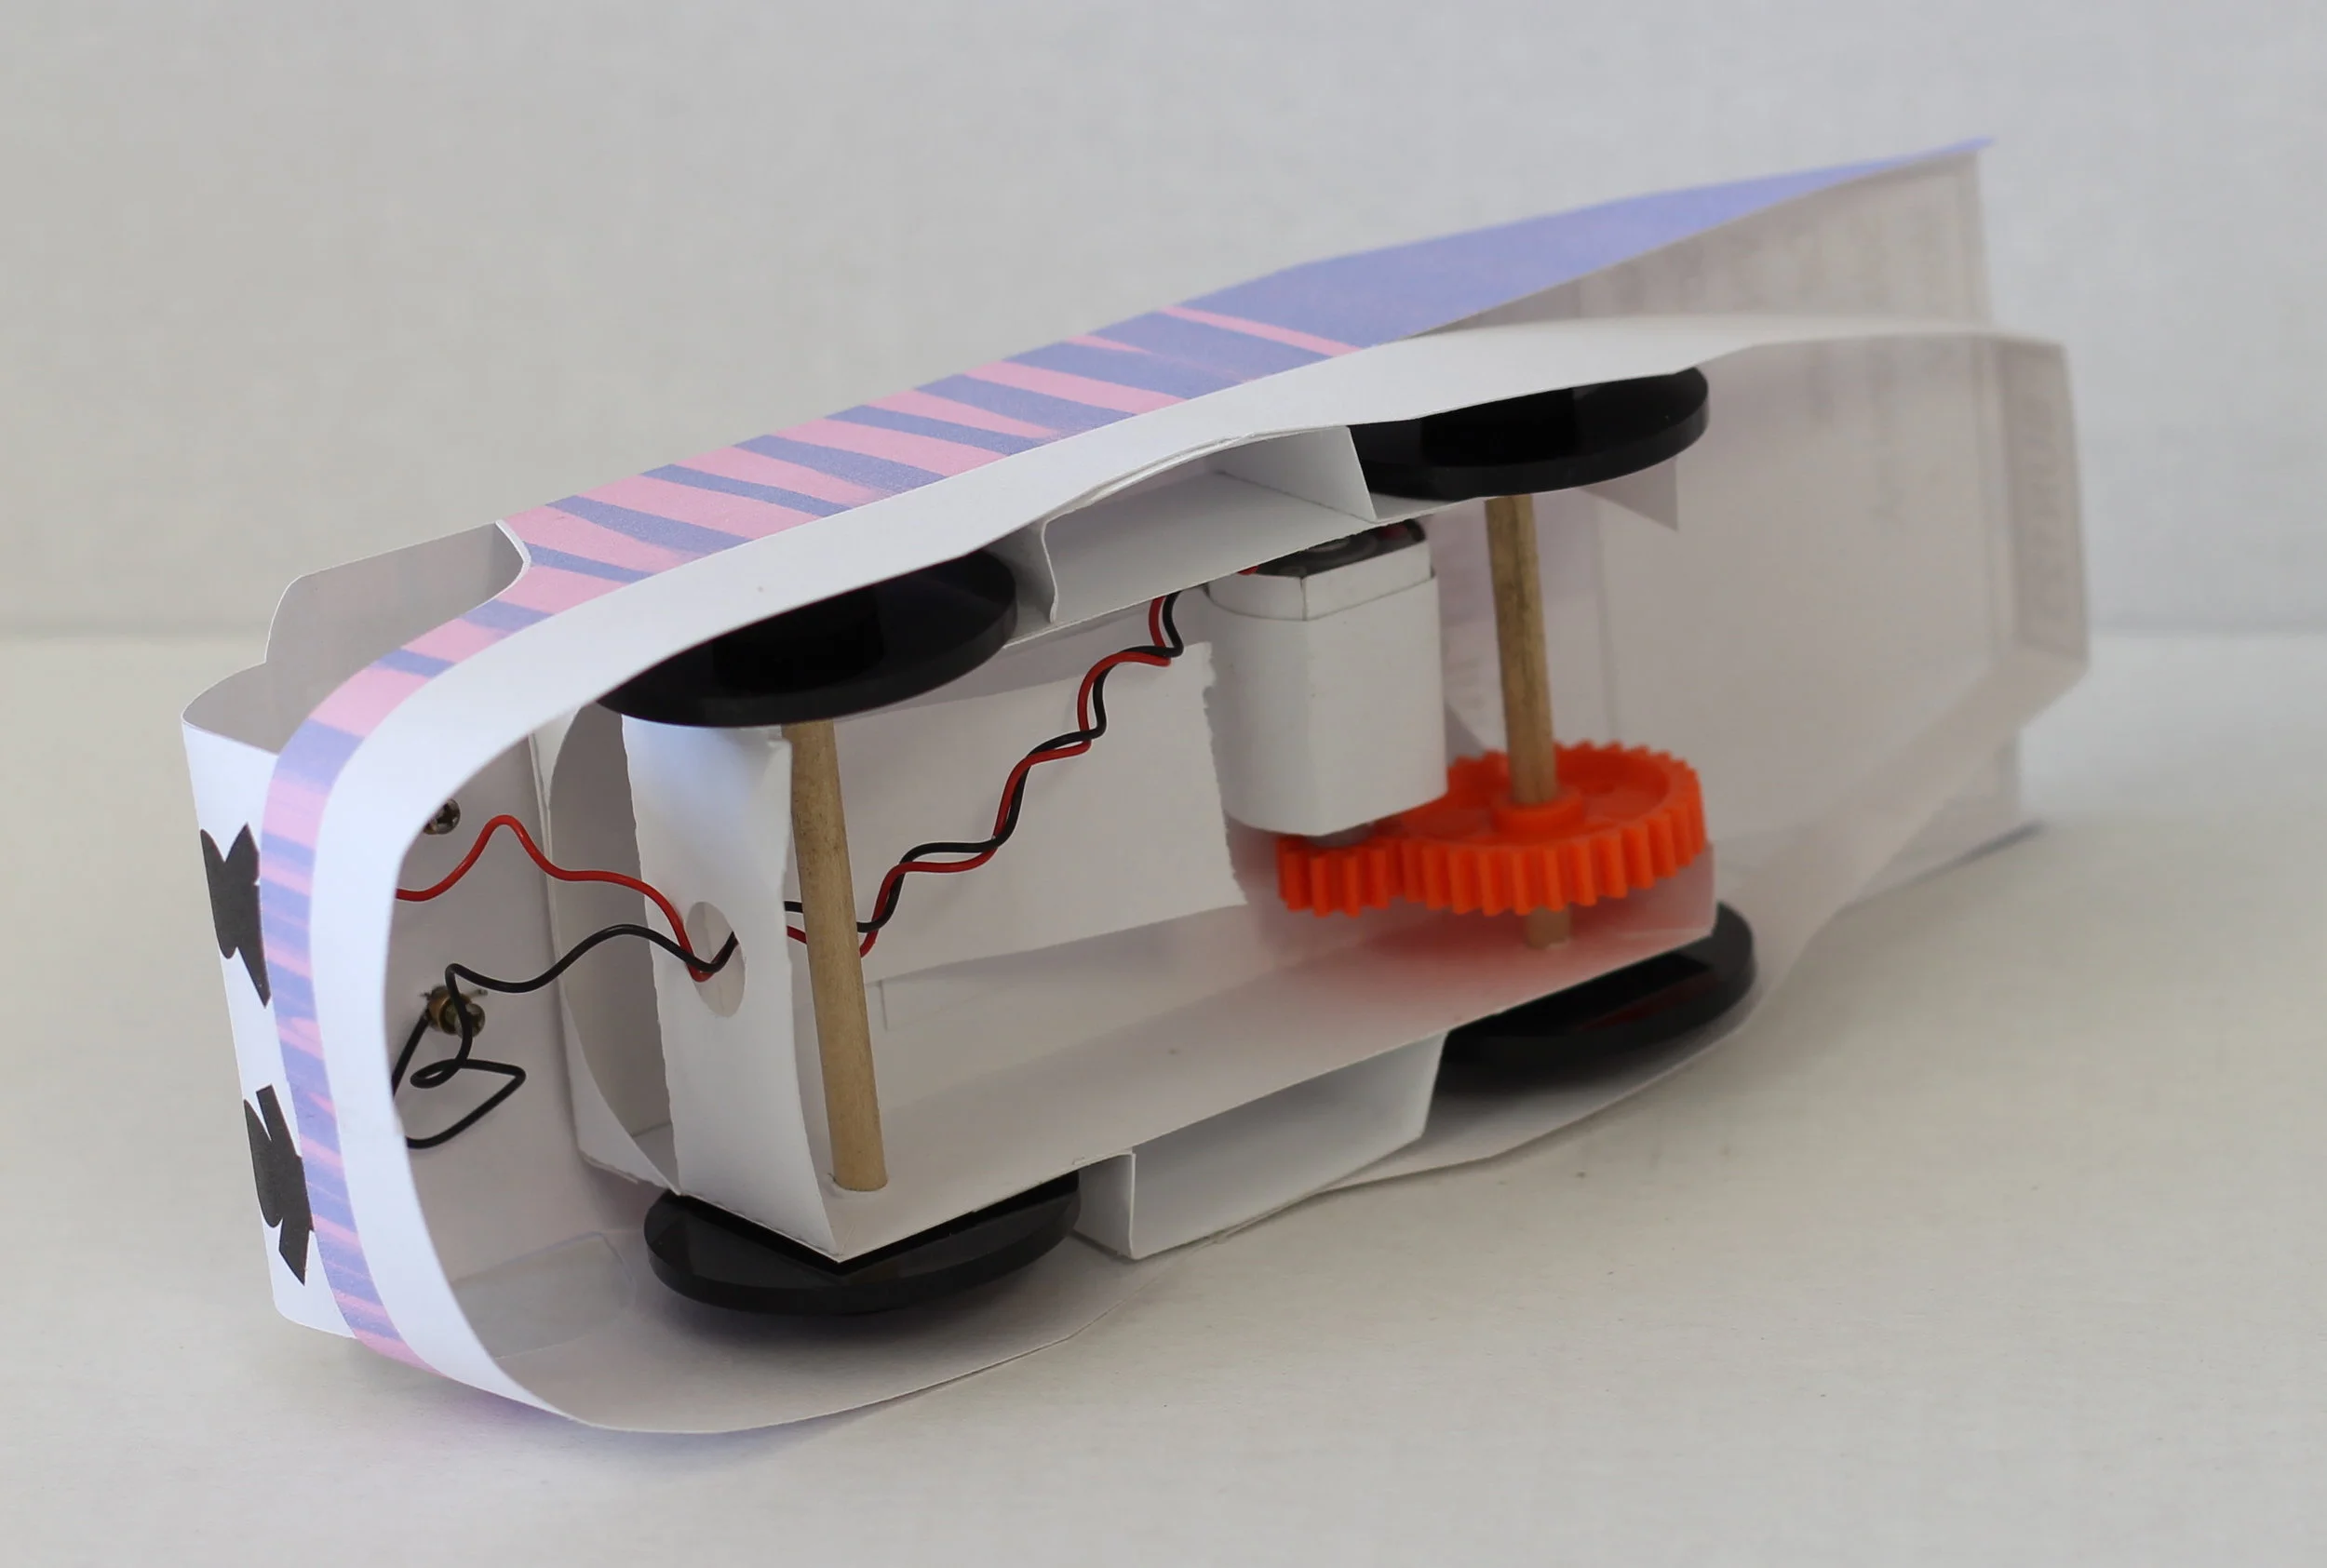
Straws and dowels are fantastic tubular supports that are light and strong. They also make great axles for wheels, gears, and lever fulcrums. Check out the dowels in the underbelly of this STEAM-Infused STELLA Solar car. This construction allows the wheels to freely rotate while remaining very strong.

Try combining all or some of these techniques together to fully utilize all of your resources! I used both paper straws and brads to construct this wind-powered pinwheel. What can you combine together with Fab@School Maker Studio?
Look around your classroom and see what ideas spring up from your surroundings! A designer’s environment is a constant inspiration, and finding new materials fuels the inventiveness of creativity.
In future posts, we'd love to share YOUR tips and ideas about how you’re using Fab@School Maker Studio. For more FabFriday posts, click here.
Send your photos to info@FableVisionLearning.com for a chance to have them featured on the next FabFriday!

FabClassroom: Young engineers at CU Science Discovery light up the holidays with Fab@School Maker Studio

At FableVision Learning we are so excited to hear how our creative classroom tools are being used. Stacey Forsyth, Ph.D., Director, CU Science Discovery, recently shared a bit about some young engineers who used Fab@School Maker Studio to design pop-up cards.
Over the holiday break, some creative young designers spent two days at CU Science Discovery in Boulder, Colorado, designing electrifying holiday cards.
First, the students used FableVision Learning’s Fab@School Maker Studio to design cards that could be cut and folded in specific ways.


Then by sending the designs to a Silhouette Cameo, a digital craft cutter, they were able to cut and perforate their designs.
After a few introductory activities to explore the basics of circuits, designers used copper tape and LEDs to light up their cards! For some tips on creating paper circuits, check out this tutorial from our friends at Spark Fun!


After designing, cutting, folding, and lighting the lights, students had a chance to add on any final touches using an assortment of colorful craft materials.


Their finished products were simply illuminating!


How are your student’s using Fab@School Maker Studio? We would love to hear from you. Send an email to the team at info@fablevisionlearning.com.

FabFriday: Explore More Construction Materials!

Welcome to FabFriday, a blog series that highlights tips and tricks for using Fab@School Maker Studio. Fab@ School Maker Studio is a web-based digital fabrication software tool that creates a more accessible, comfortable onramp for teachers to introduce STEM learning to their students. Each week we'll be posting ideas about using different materials, design tips, and construction techniques to help you offer even more fab learning to your students. In future posts, we'd love to share YOUR tips and ideas about how your'e using Fab@School Maker Studio. For more FabFriday posts, click here.

Fab@School Maker Studio provides engaging digital fabrication/desktop manufacturing tools where elementary and middle school students can make, test, and revise 2D designs, pop-ups, 3D objects, and working machines as they learn science, technology, engineering, and math concepts in a meaningful context. Fab@School Maker Studio uses paper for most activities, allowing for a fast-paced and low-cost design experience. However, not all papers are created equal! Just like how a painter can choose between a wide variety of oils, acrylics, and watercolors, a Fab@School engineer has many choices of building materials. Let’s explore how you can use these materials to their greatest advantage and design more complex constructions!

Copy Paper
This thin white paper is most commonly used in printers. While it is not strong enough for most Fab@School projects, it can be used for prototyping to experiment with your cut, fold, and tab lines before switching to a special sheet of colored or printed paper. Thin paper is also very helpful when making windmills, airplanes, or other projects where a lighter weight construction is needed.

Check out all of these activities, which have all been created from 65lb Cardstock.
65lb Cardstock
65lb cardstock comes in a wide variety of colors, and is a fantastic mix between structural rigidity and flexibility. It is perfect for 2D, Pop-Up, and 3D construction, as well as projects with simple moving parts. It comes in packs of individual or mixed colors, making it easy to bring a splash of color to your creation. I recommend using this material most often, as it is very diverse.

This trebuchet catapult was designed with 110lb cardstock to survive the forces of the counterweight and throwing arm!
110lb cardstock
For when 65llb cardstock doesn’t quite cut it, 110lb cardstock opens up the opportunity for stronger construction, more complicated designs, and longer lasting moving parts. While it does not come in as wide of a variety of colors, it makes up for it in strength. Combine it with 65lb cardstock to reinforce critical pieces of your design, or create an entire model with 110lb cardstock for extra durability.

Pattern and Special Paper
Even decorative papers provide a potential engineering decision! You can use patterned or colored paper to customize and differentiate different parts of your design, or to make your project look more realistic! I used metallic-colored cardstock to make these cars look like they have a shiny coat of paint, and vellum paper was used to create transparent windows!

Do More With Lamination
You can combine all of these different weights of paper to customize your projects! Try gluing entire layers of paper together to create a thicker construction, or combine 65lb and 110lb cardstock to create a structural base with colored cardstock layered on top.
You can also pinpoint sections of your design that need more rigidity and layer 110lb cardstock into just these areas. Check out this STEAM-Infused STORM electric motorcycle made using lamination techniques. 110lb cardstock was used to construct the base of the motorcycle body, and then a layer of colored 65lb cardstock was glued on top to simultaneously fortify and decorate the motorcycle.
Sometimes I choose which materials to use in order to achieve a certain goal, and other times I decide what I want to build based on available materials. Experiment with as many kinds of paper and cardstock as you can, in whichever order your creative mind flows!
How are you using different kinds of paper with your Fab@School creations? In future posts, we'd love to share YOUR tips and ideas about how your'e using Fab@School Maker Studio. Send your photos to info@FableVisionLearning.com to have them featured in an upcoming FabFriday! For more FabFriday posts, click here.
FableVision Celebrates Universal Children's Day at Bridgewater State University
In a packed auditorium, Paul and Peter H. Reynolds inspired roughly 200 third-graders from Brockton’s Huntington School to make their mark during Bridgewater State University Universal Children’s Day on Nov. 18, 2016.
Following Peter and Paul's presentation and reading of "The Dot," the FableVision Learning crew joined students on the lawn to create a giant dot.

To round out the creative celebration, the team stuck a pose for the Universal Children's Day mannequin challenge.
Learn more about Universal Children’s Day here.
Happy Thanksgiving from the FableVision Learning Team!


It was November 1621 when the newly arrived Pilgrims and the Wampanoag tribe came together
for a celebration of an autumn harvest feast. And so began the complicated story of modern America.

Click this poster for a downloadable version for your classroom!
The beginning of our shared story - penned by bringing together two very different communities at one proverbial table - was underpinned by the 5C’s - communication, collaboration, critical thinking, creativity, and compassion. How differently the future chapters of the American story may have played out if we’d stuck to that framework.
Moving forward, FableVision’s mission is to help steward the next generation of storytellers - here in the U.S. and around globe - to write stories that matter - stories that move. The creative educators we partner with every day know, as we do, that positive, purposeful stories can move the world to a better place.
And so, the FableVision team are giving thanks this week to all our kindred spirits - like you -
who are ready to create bravely with their students. Looking forward to your stories in the coming weeks, months, and years!
Thankful for YOU,
FableVision Learning Team
P.S. Click here to view a special Thanksgiving e-card created by William Levin, our on-the-ground FableVision trainer supporting NYC's District 75's Middle School After School Program. Students at District 75, the largest special needs district in the nation, are enjoying using FableVision's Animation-ish software to share their own #storiesthatmatter.

FabFriday: I’m Thankful For… Shapes!
Welcome to FabFriday, a blog series that highlights tips and tricks for using Fab@School Maker Studio. Through this series, we will focus on different materials, design tips, and construction techniques to make the most out of your paper engineering experience. For more FabFriday posts, click here.
Shapes comprise almost everything you can see! Just look around you, your classroom, or your entire town. Which shape do you see the most? Breaking down everyday items into their base shapes is a fun and eye-opening exercise. You can also imagine and build with shapes!
I love shapes - you could say I am thankful for shapes! So, this Thanksgiving I am celebrating by making a festive turkey out of shapes with Fab@School Maker Studio.
Let’s begin by making a circle with the Shape Tool for the body.

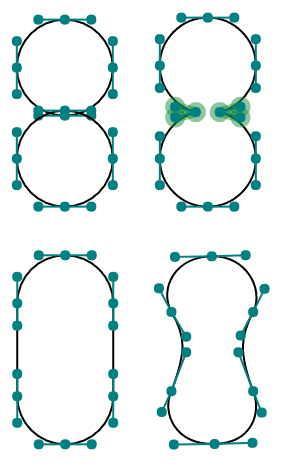
Next is the turkey’s neck, which I design by combining two circles with the Weld Tool and the Edit Points Tool.


Now I need to make the face! It’s a lot of fun to experiment with how to make different expressions with shapes. Here I use a triangle for the beak, two circles for the eyes, and an oval for the “snood” draped over the turkey’s beak.

Now what turkey is complete without their magnificent feathers? I’m going to make the feathers for my turkey by creating an oval and stretching one control point with the Edit Points Tool to make a long feather-like shape.


I layered all of my shapes together to see what my turkey is going to look like once it is fabricated and assembled. When I turn on the X-Ray Tool, I can see how the overlapping shapes cause all of the red cut lines to intersect. If I were to send this project to the Silhouette cutter like this, it would cut the paper into tiny pieces!

In order to send my turkey to a Silhouette cutter, I’ll have to separate the shapes onto pages that can be cut. I made a lot of copies of the face shapes so I don’t waste paper on such tiny parts. Try using only a few sheets of paper to make enough eyes, beaks, or other parts for your entire class!


I can now fabricate my shapes to create a Fab-tastic Thanksgiving turkey! I fastened the body and neck together with a brad so that my final model can move!


How are you using shapes in your Fab@School Maker Studio creations? Share how you used these tips! Send your photos and ideas to info@FableVisionLearning.com, for a chance to have them featured in an upcoming FabFriday!
FableFive: Leah Garofalo- combining arts and science with a musical flair

Leah Garofalo always approached high school projects with an ambitious sense of creativity. For a ninth grade biology assignment at Monticello High School, she wrote, performed and produced an original song about taxonomy. Years later, The FableVision Learning Team asked her some questions to discover more about the creative process that turned this complicated science topic into music.
1) Can you share a bit about yourself and your school?
At the time I was a tiny 13 year old coming from a middle school where I knew every student and every teacher, heading into the newest, shiniest high school in the county. I was a band geek and that would prove to be my in with new friends and multiple assignments throughout my high school career.
My song writing career didn’t follow me to college, although being a band geek did. I went on to major in mechanical engineering and currently work for a financial firm in Fairfax, Va.
2) What was the inspiration for the Taxonomy song?

Sister Ruby, soundmixer Joe, and Leah Garofalo when the Taxonomy song was being recorded.
I wish I could remember the exact circumstances, but I believe it was just a regular class project involving the topics at the time. Instead of doing a typical boring report or trifold science fair presentation, I decided to go all out and write a song. My dad was and still is a professor at UVA in the math-ed department. At that time I remember his main focus was (and again, really still is) creative teaching methods to get students more engaged. Coming up with intricate powerpoint presentations, games, and videos was always my go-to for class projects.
It was a no-brainer once we were given free rein on the assignment about a biology topic of our choice that it would be some sort of audio or visual presentation.
3) How did you craft the lyrics? I noticed you have a backup singer, can you share a bit about the collaboration?

Leah Garofalo and her sister/backup singer Ruby
I knew I would have to give some background information on the scientist as well as a rundown of the classification scheme, complete with an example. If I can recall correctly, "Yellow Submarine" was chosen pretty early on in the lyric writing process, not only because I was raised on classic rock, but because I said to myself, “Ok, this guy (Linnaeus) was born in the town of Uppsala” and immediately thought wow that’s just like “in the town where I was born.” And soon the rest of the song started flowing.
My backup singer is my little sister who was 7 at the time. Best collaborator ever.
4) What is next?
What came next, still in 9th grade, was a music video with my friend Cydney for our world history class. It was a 6 minute song comprised of "Ice Ice Baby" by Vanilla Ice followed by "Girls" by the Beastie Boys. Not only did we play and record the music, but we again rewrote the lyrics to both songs to give a brief history of the world. The video was us singing along to our recording and dancing in my dad’s office with my sister making a cameo in it as well.
In 12th grade, as a final project in calculus, some friends and I wrote a song called "Werewolves of Blundin" about our teacher to the tune of "Werewolves of London." He was nice enough to accept the work even though the amount of math included was really only for rhyming purposes.
A parody of the Warren Zevon song, Werewolves of London. This uses the famous UVA quarterback, Matt Brent Blundin as its protagonist. He is a werewolf in two ways, first, he thirsts for blood and he's a calculus teacher, second he is a two-sport athlete, basketball and football.
5) Tell us about you now? How did your creative upbringing influence your career path?
Unfortunately as a financial professional, I don’t have many opportunities to create songs or music videos anymore. However, I do think that by doing projects such as these and countless other intricate PowerPoints and interactive presentations has helped me become someone who thinks out of the box. I am able to approach problems and situations them in a much different manner than providing just traditional solutions. I certainly credit my upbringing and desire to be different to most of my successes.
Are you or someone you know, a student or educator making their mark in a creative way? Contact Andrea Calvin, andrea@fablevision.com, to be featured in a FableFive.