FableVision Learning Spotlight Blog
Categories
- Animation-ish 42
- Books 21
- Civics! 2
- Classroom Spotlight 17
- Conferences and Events 20
- Creative Educator 3
- Creativity 25
- Distance Learning 13
- Dot Day 22
- FabClassroom 28
- FabFriday 19
- FabMaker Studio 66
- FabMaker Studio Classroom 13
- FableFive 7
- FableVision Games 3
- Free Educator Resources 36
- HUTCH 1
- Home Activities 5
- In the Classroom 34
- In the News 11
- International Dot Day 23
- Ish 1
- Library 1
- Mapping the World by Heart 7
- Paul Reynolds 10
- Peter H. Reynolds 54
- Professional Development 9
- STEM/STEAM 20
- Storybook Academy 2
- Teacher Spotlight 14
- The Dot 17
- The North Star 2
- Words and Their Stories 1
- Zoombinis 3

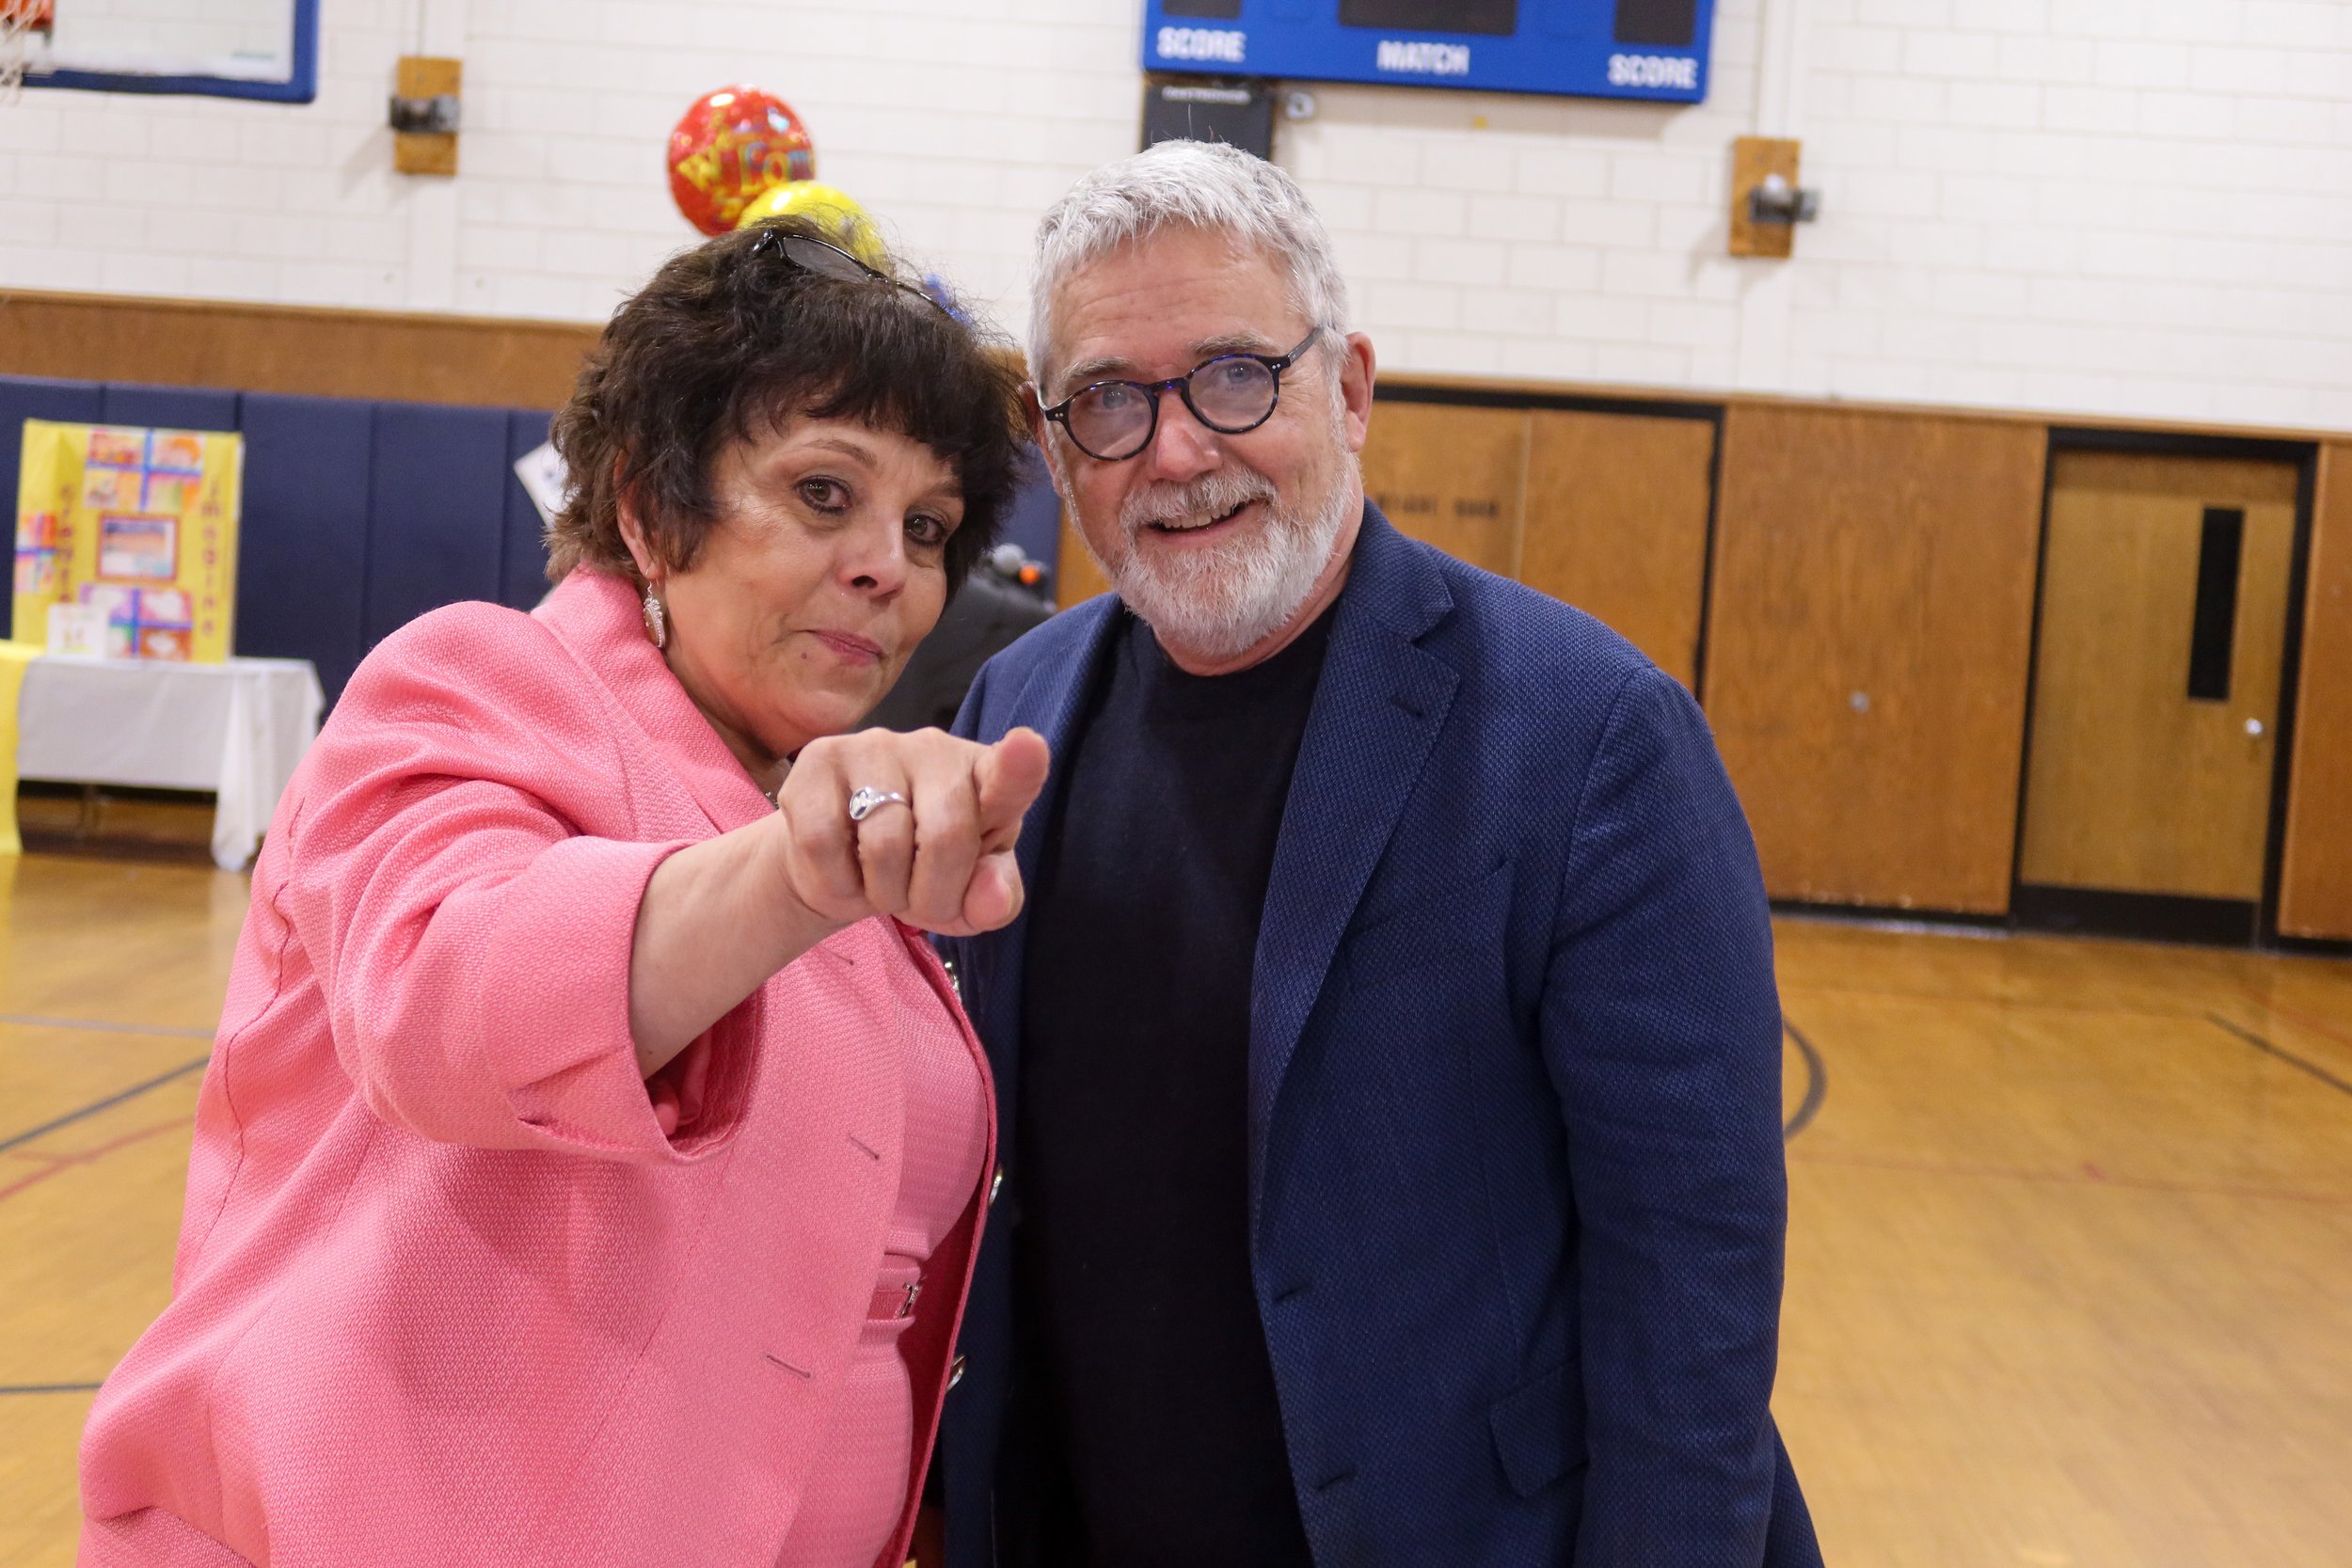
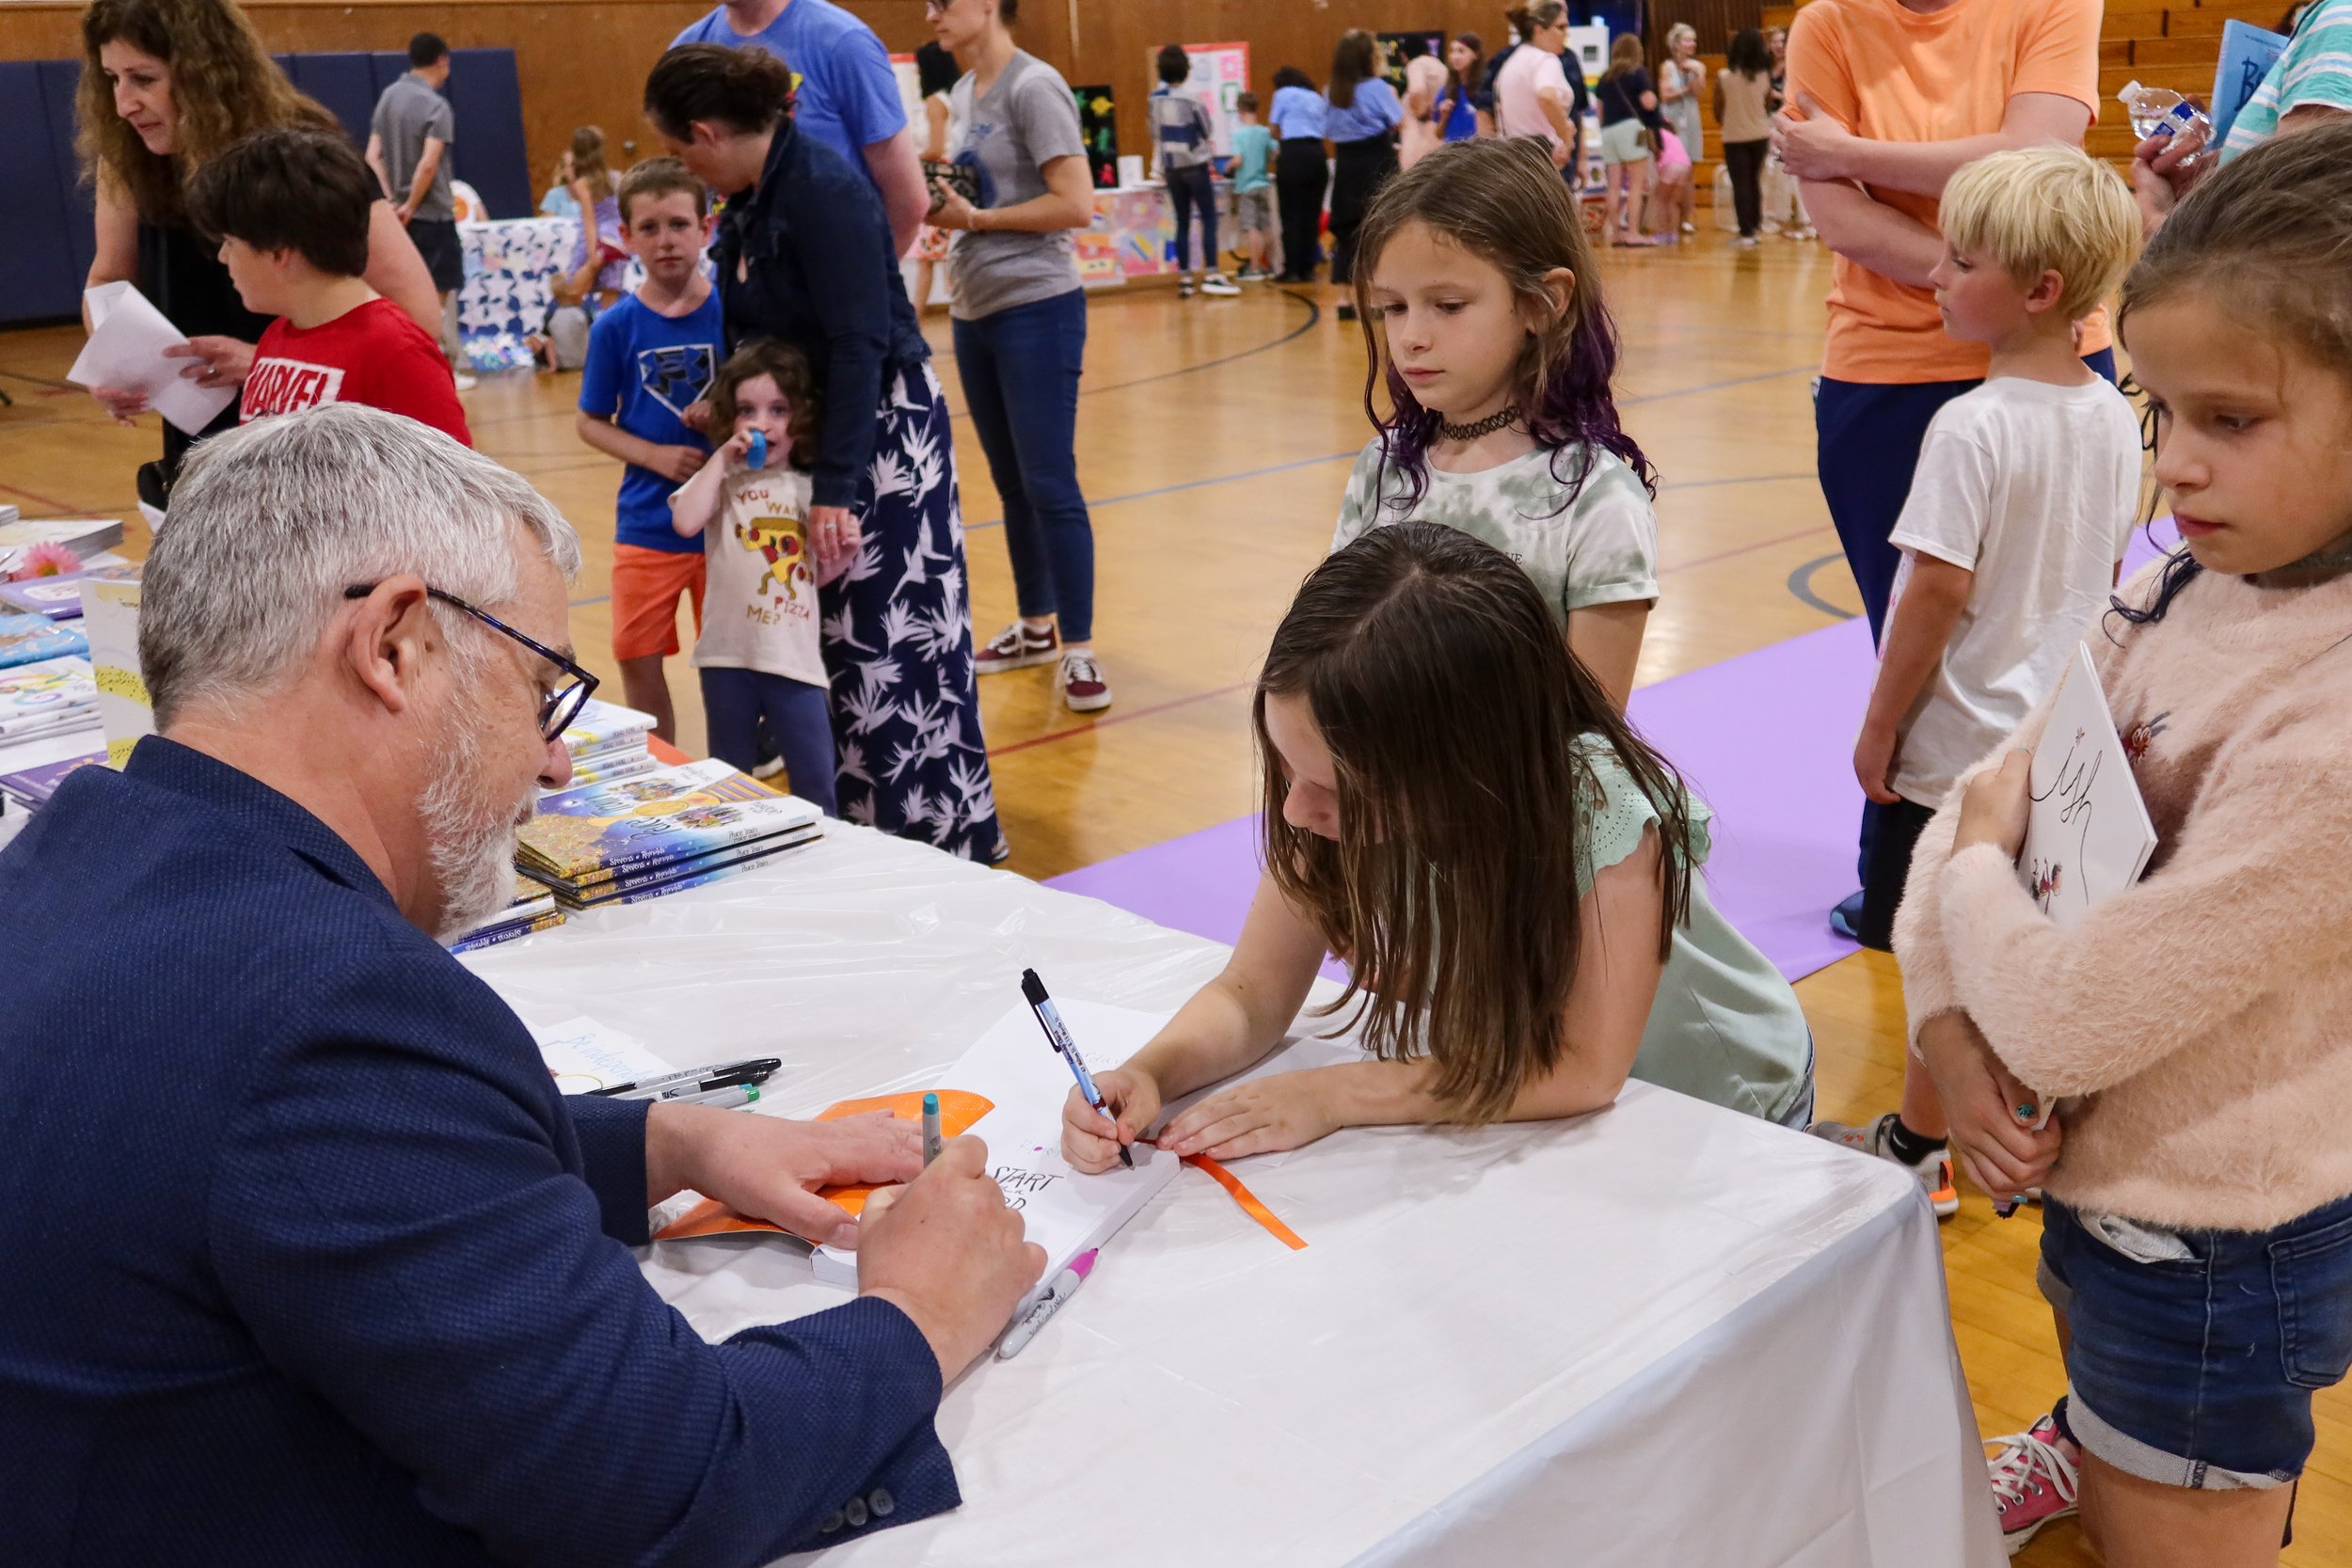
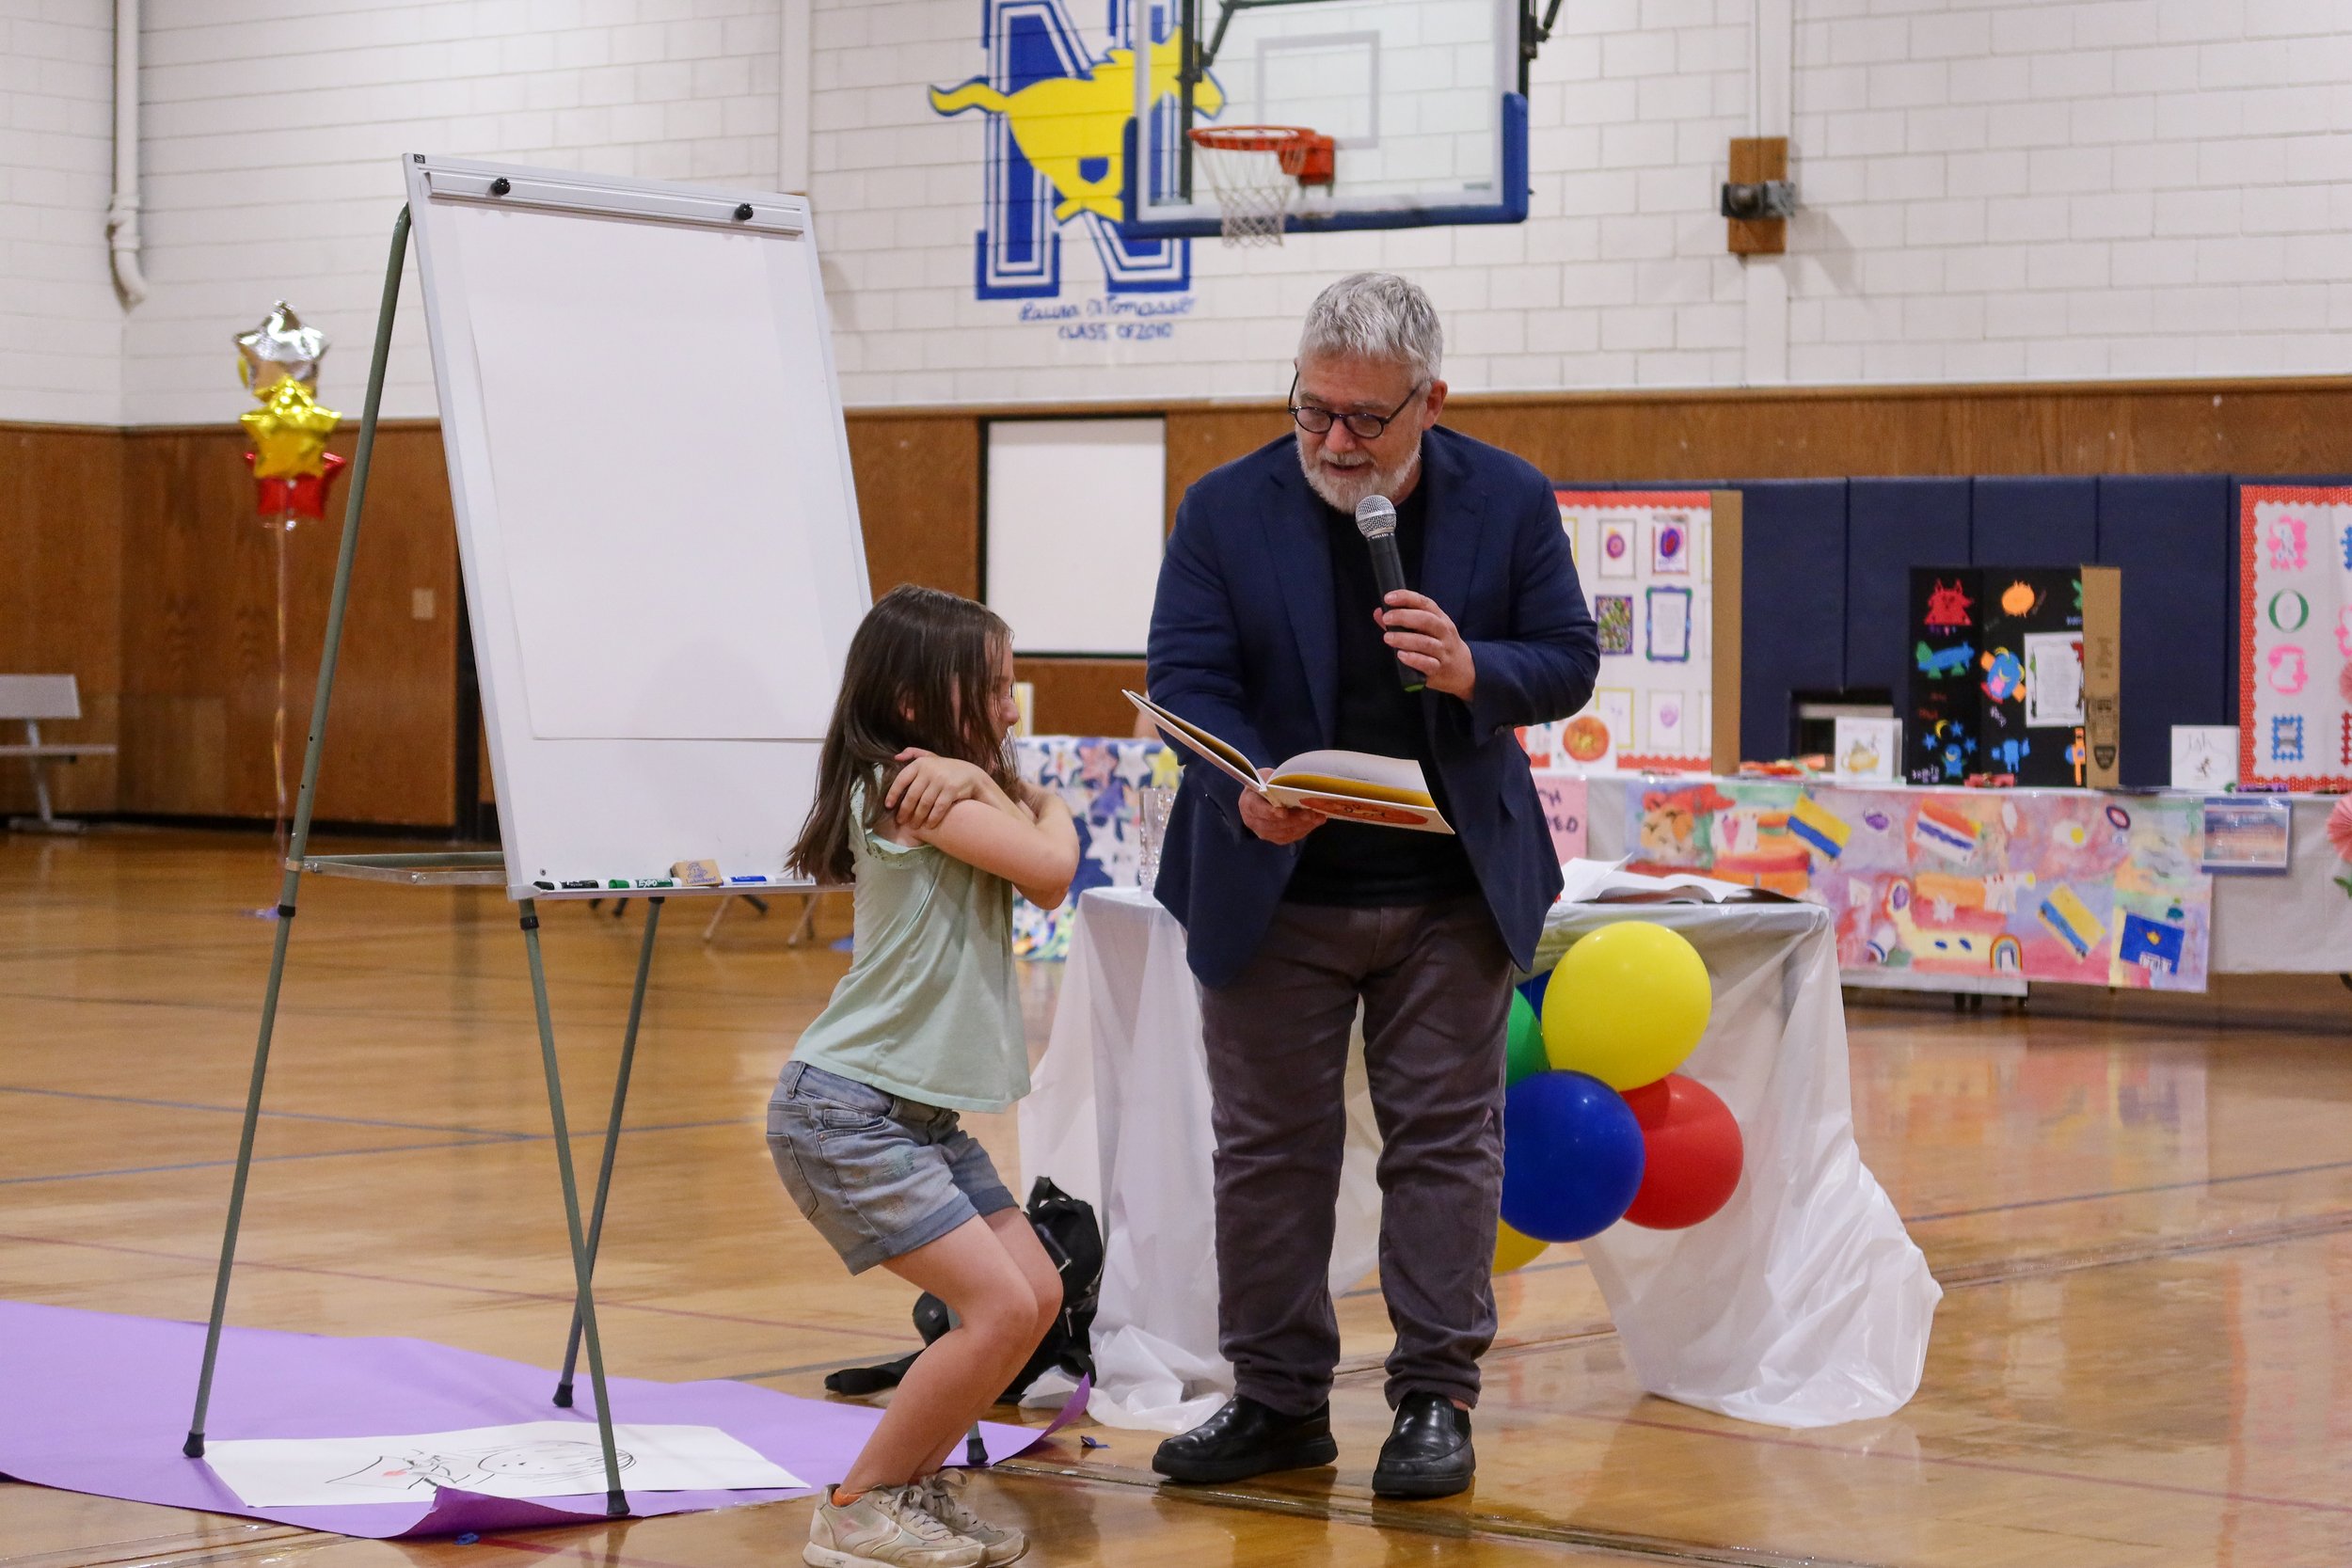
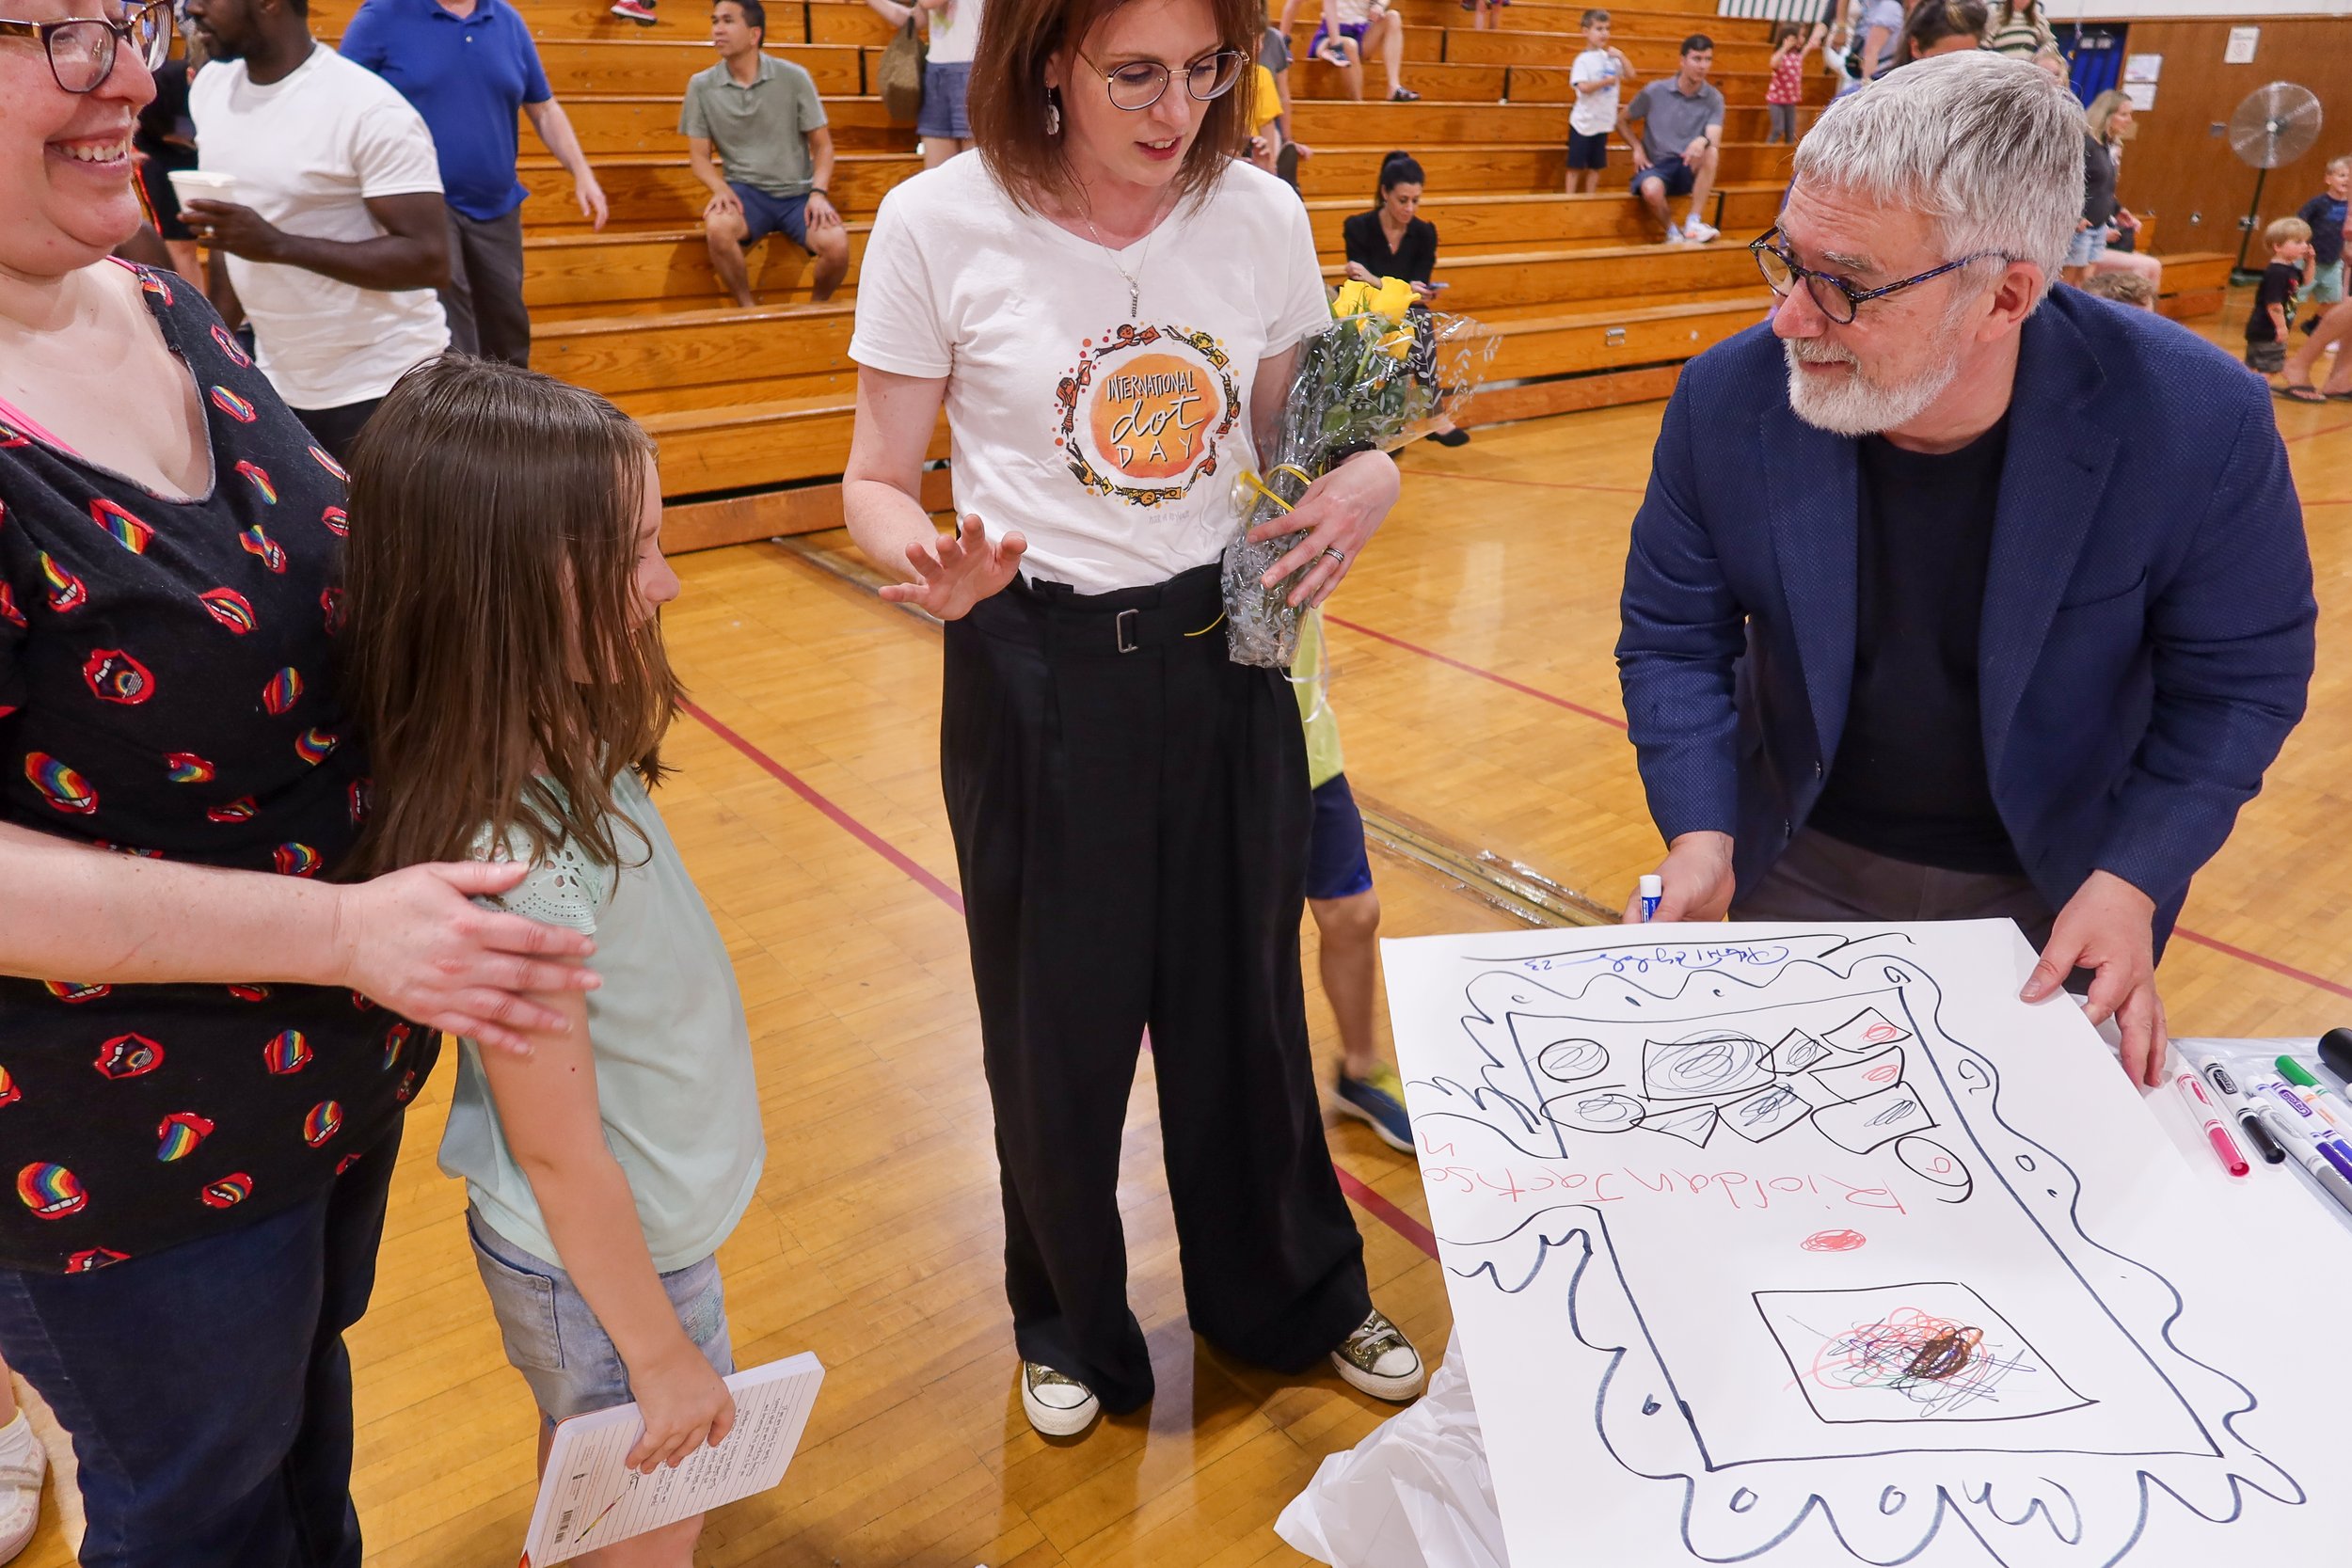
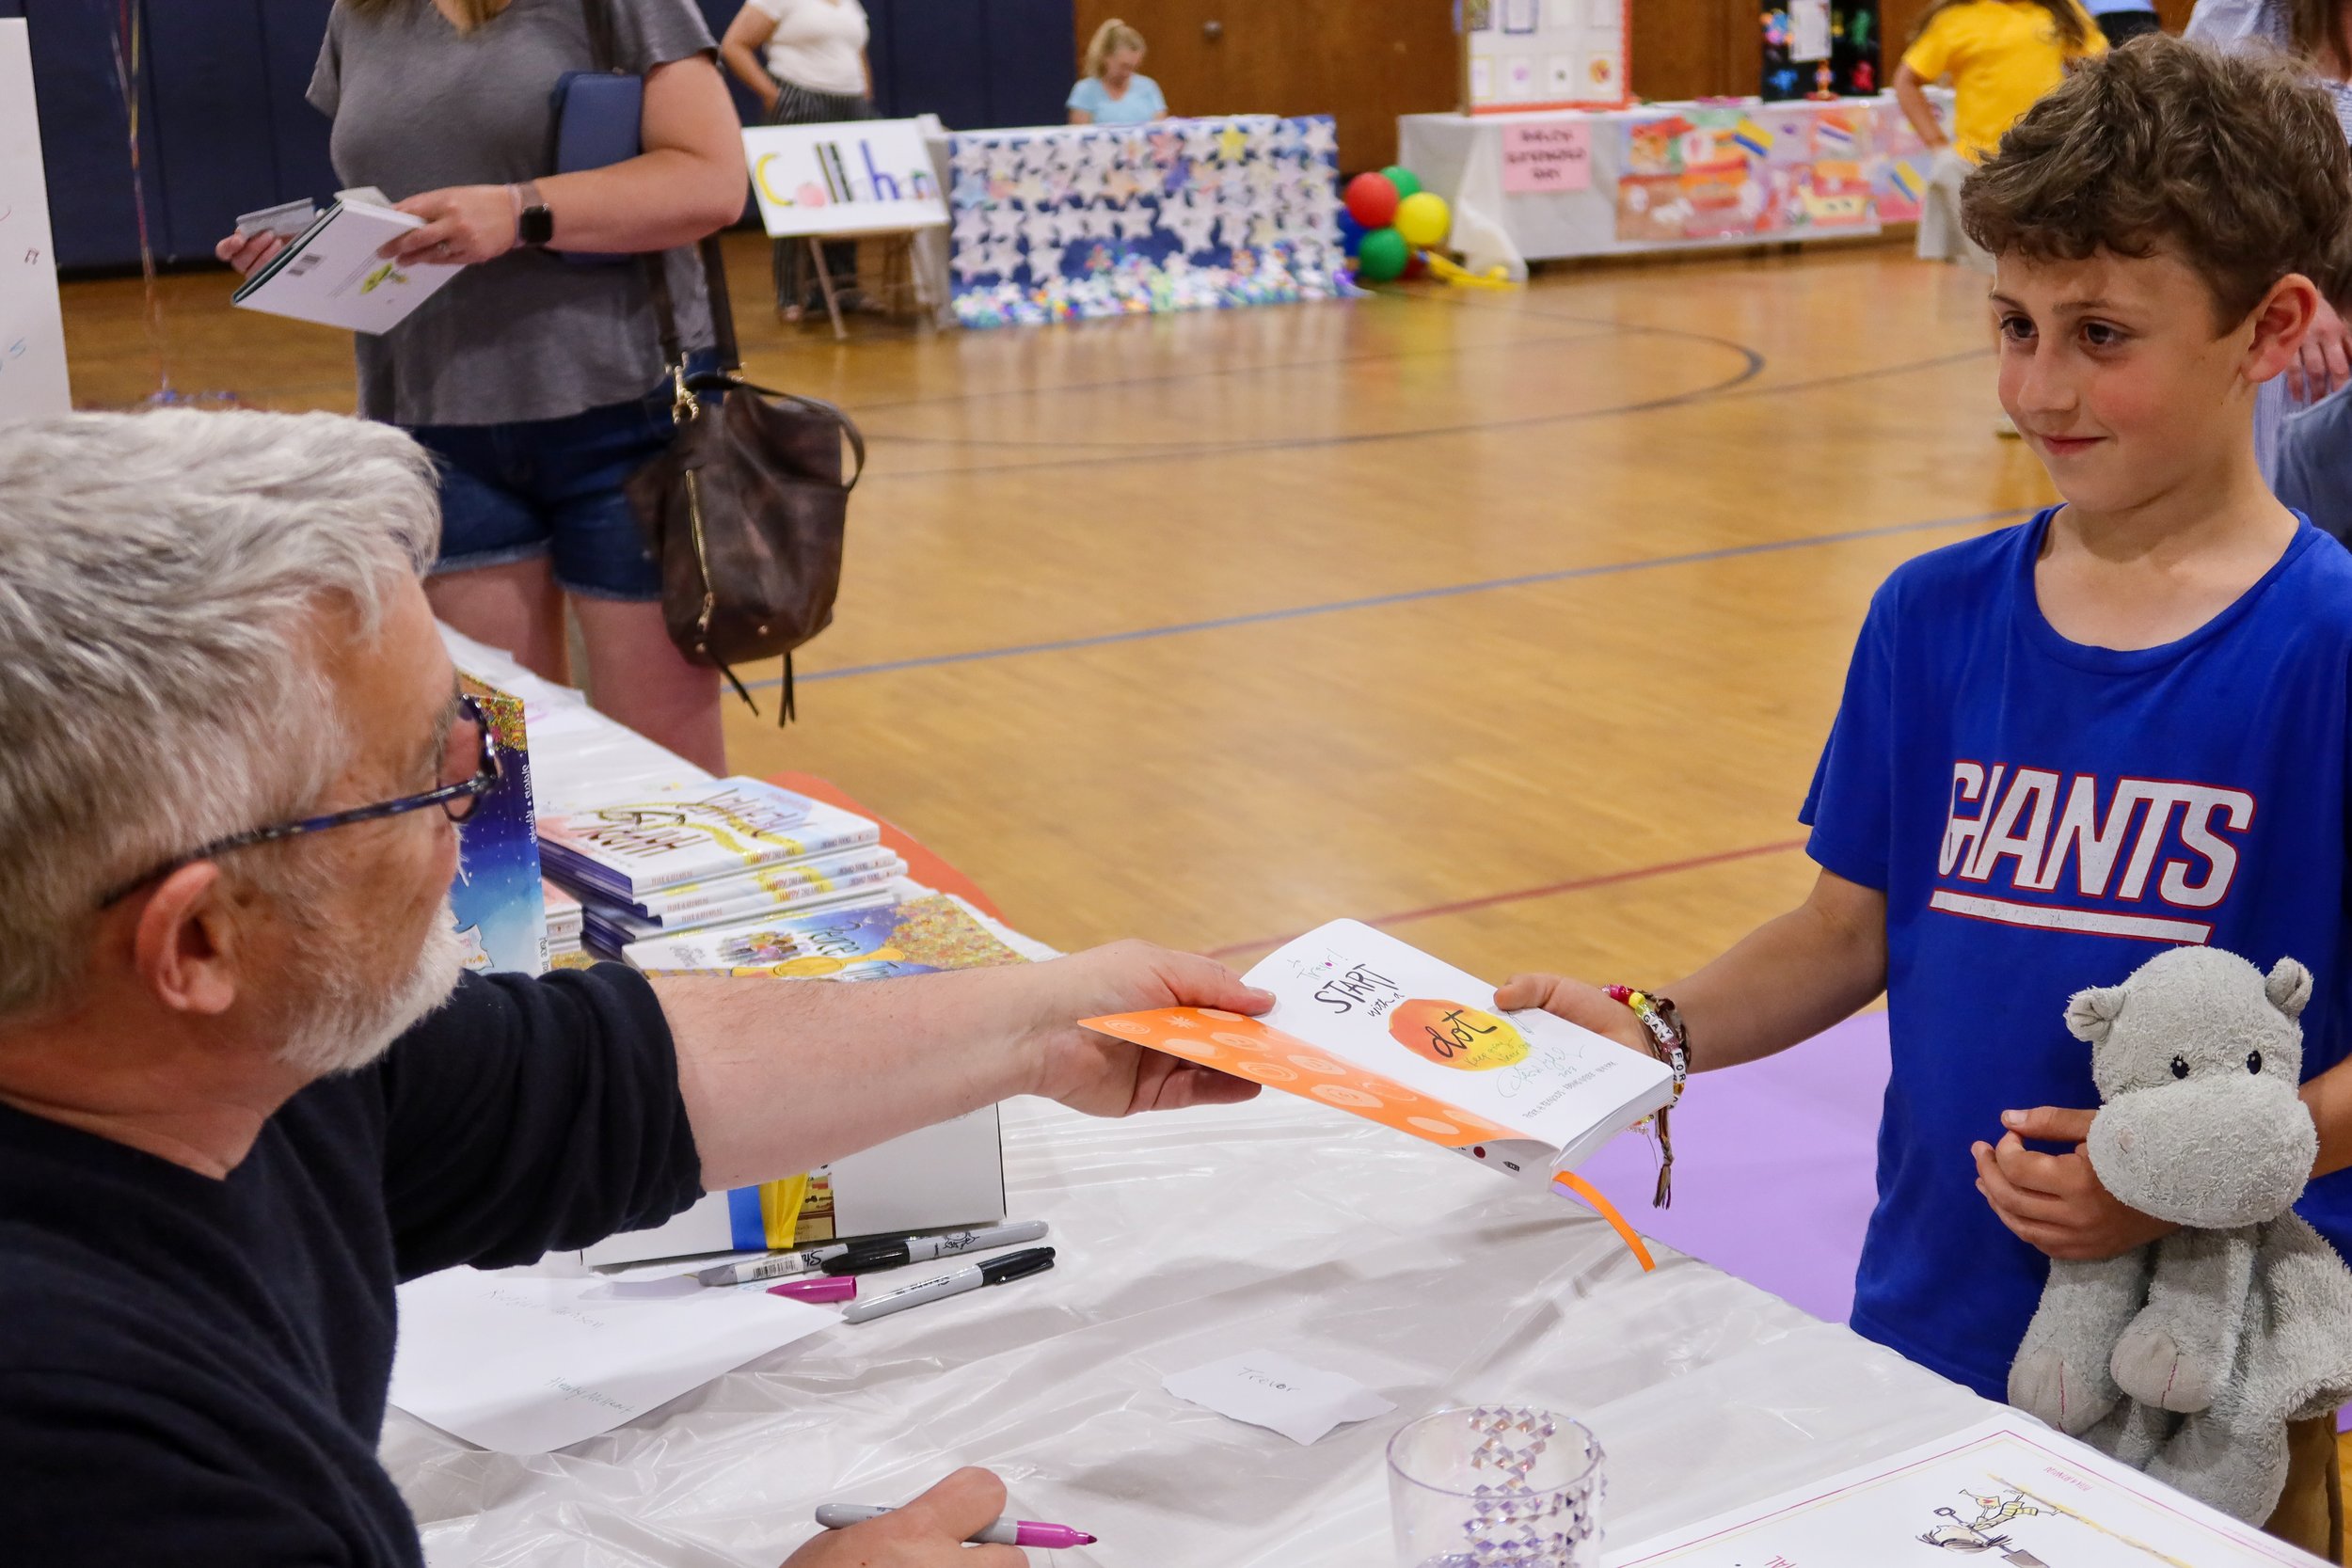
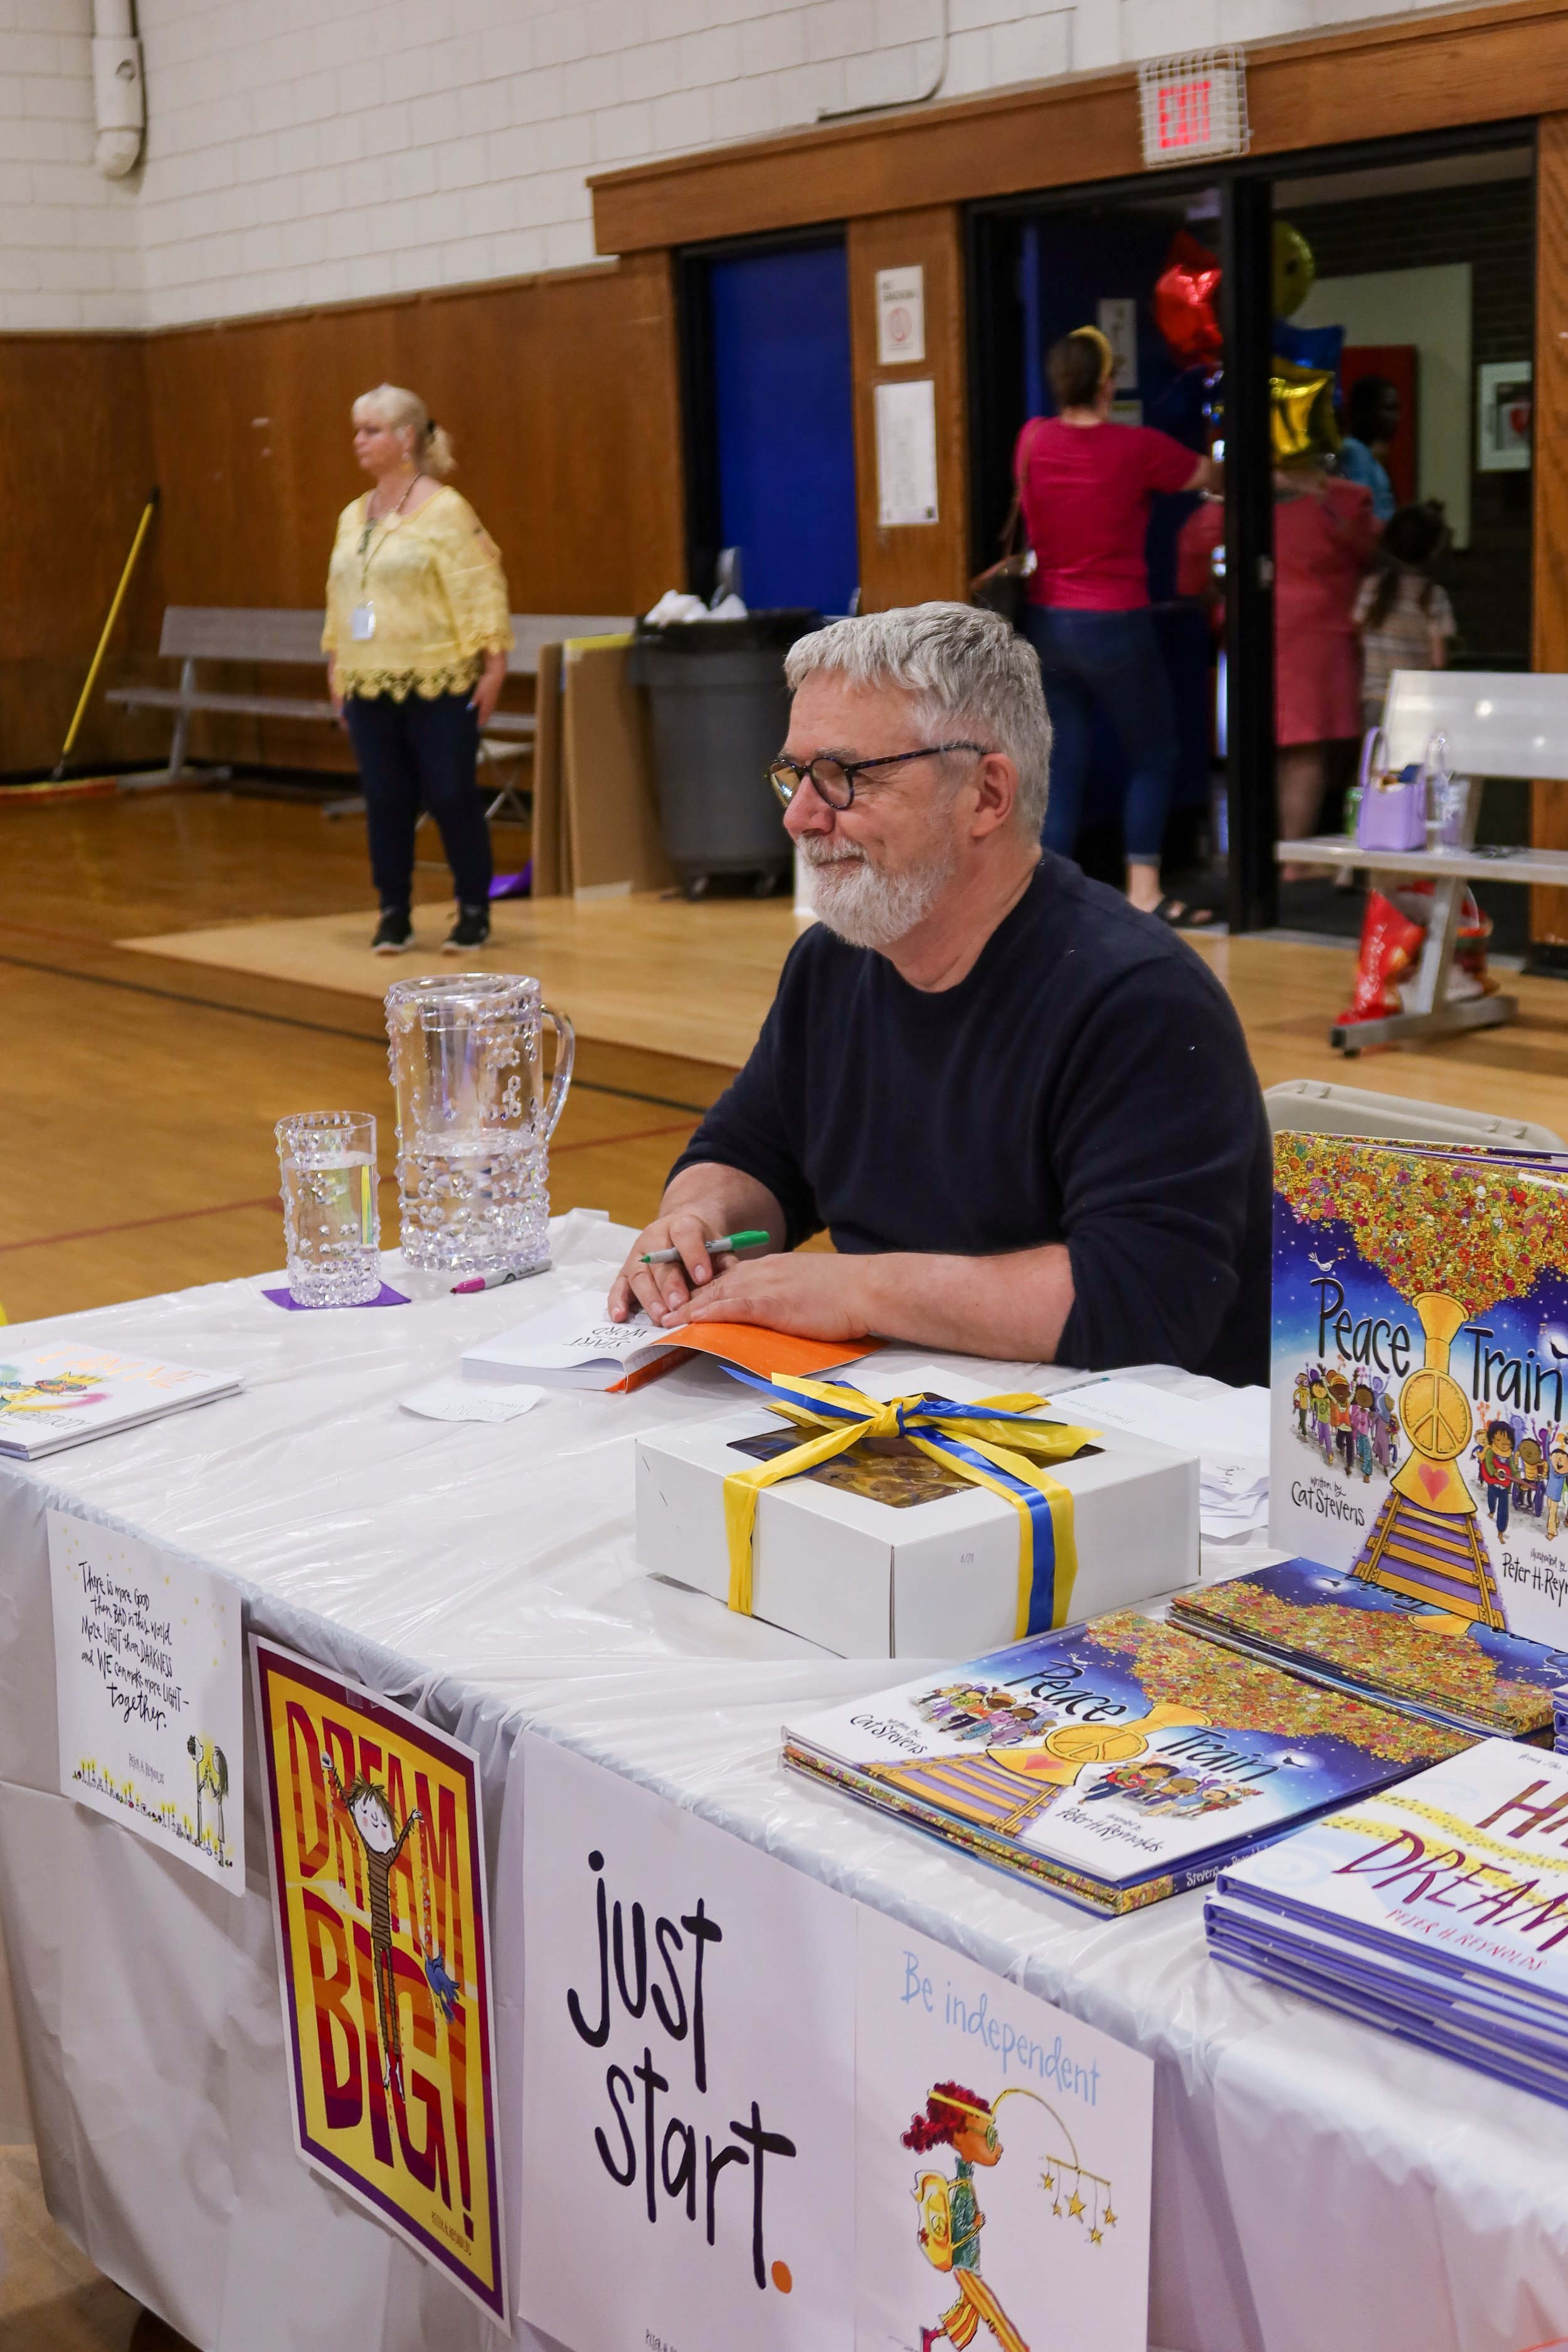
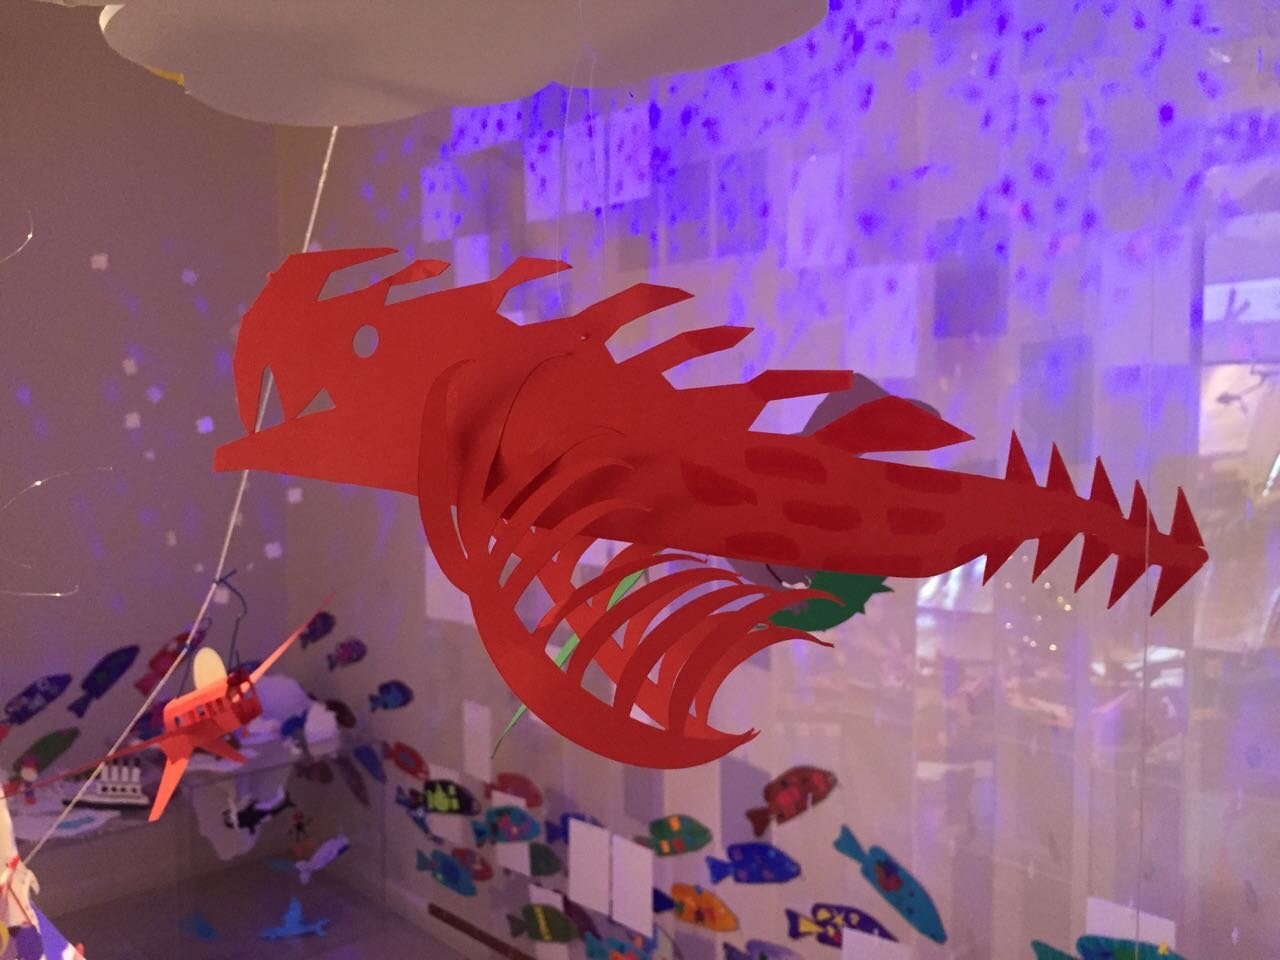
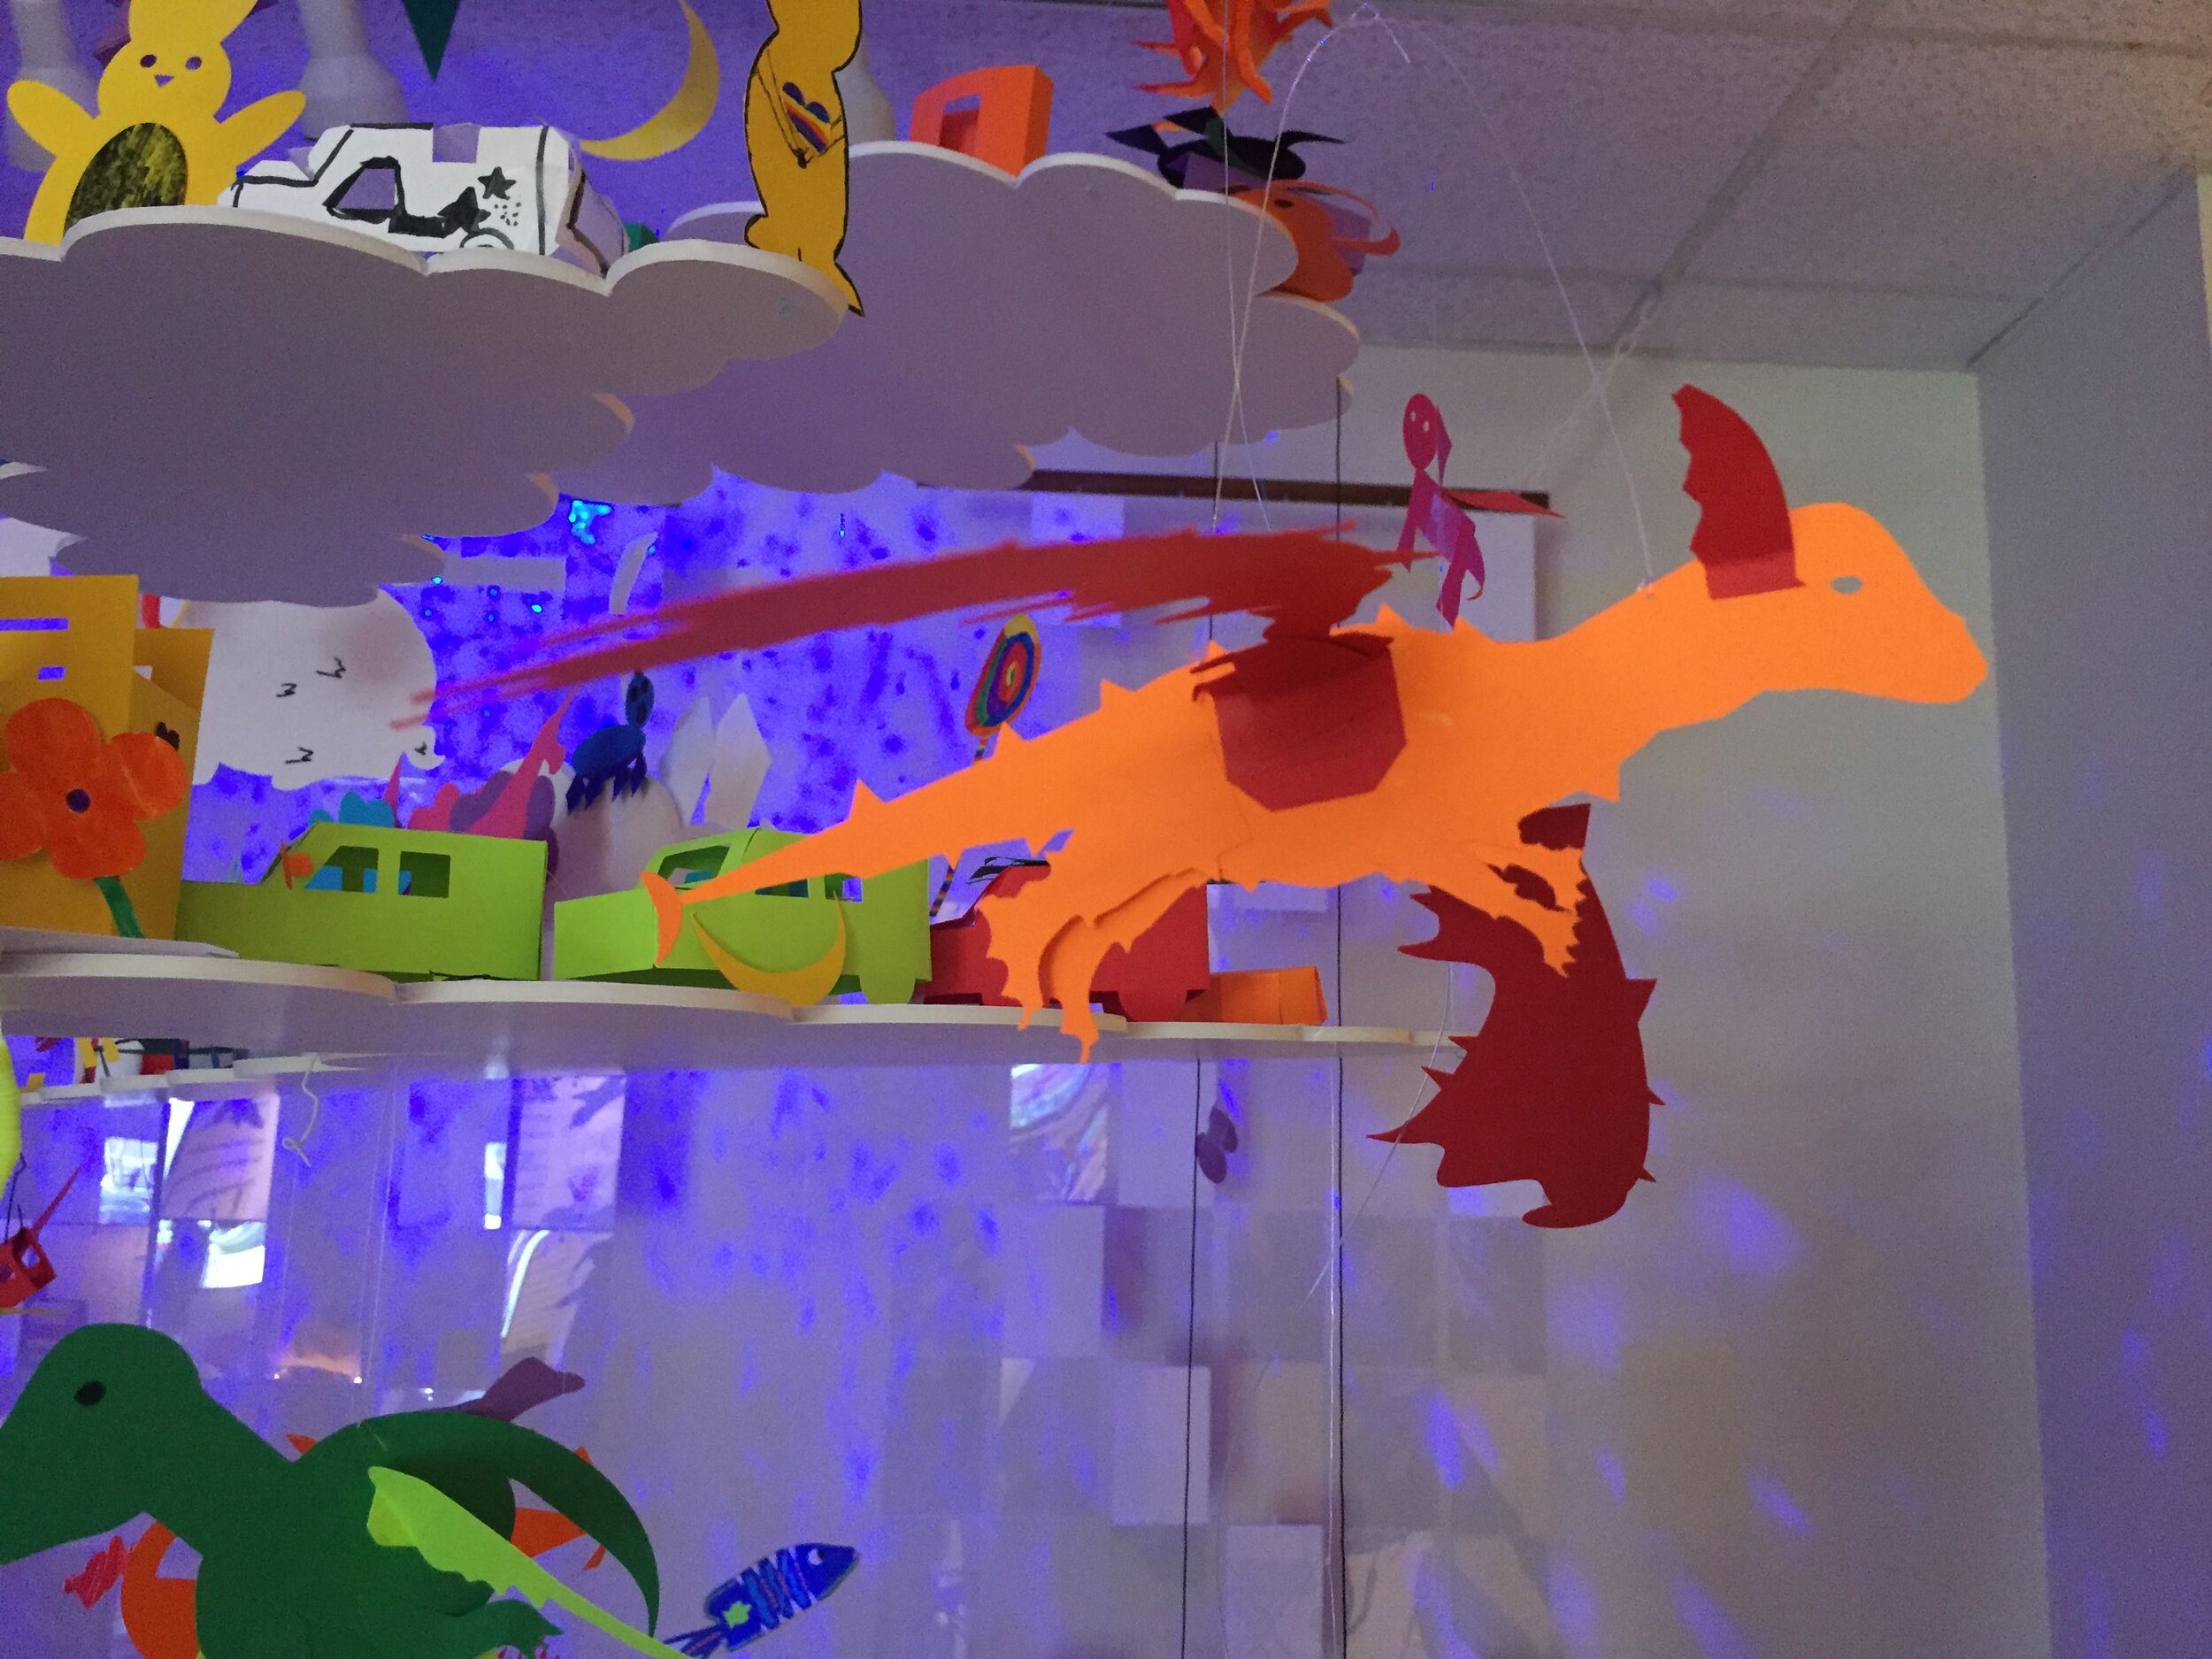
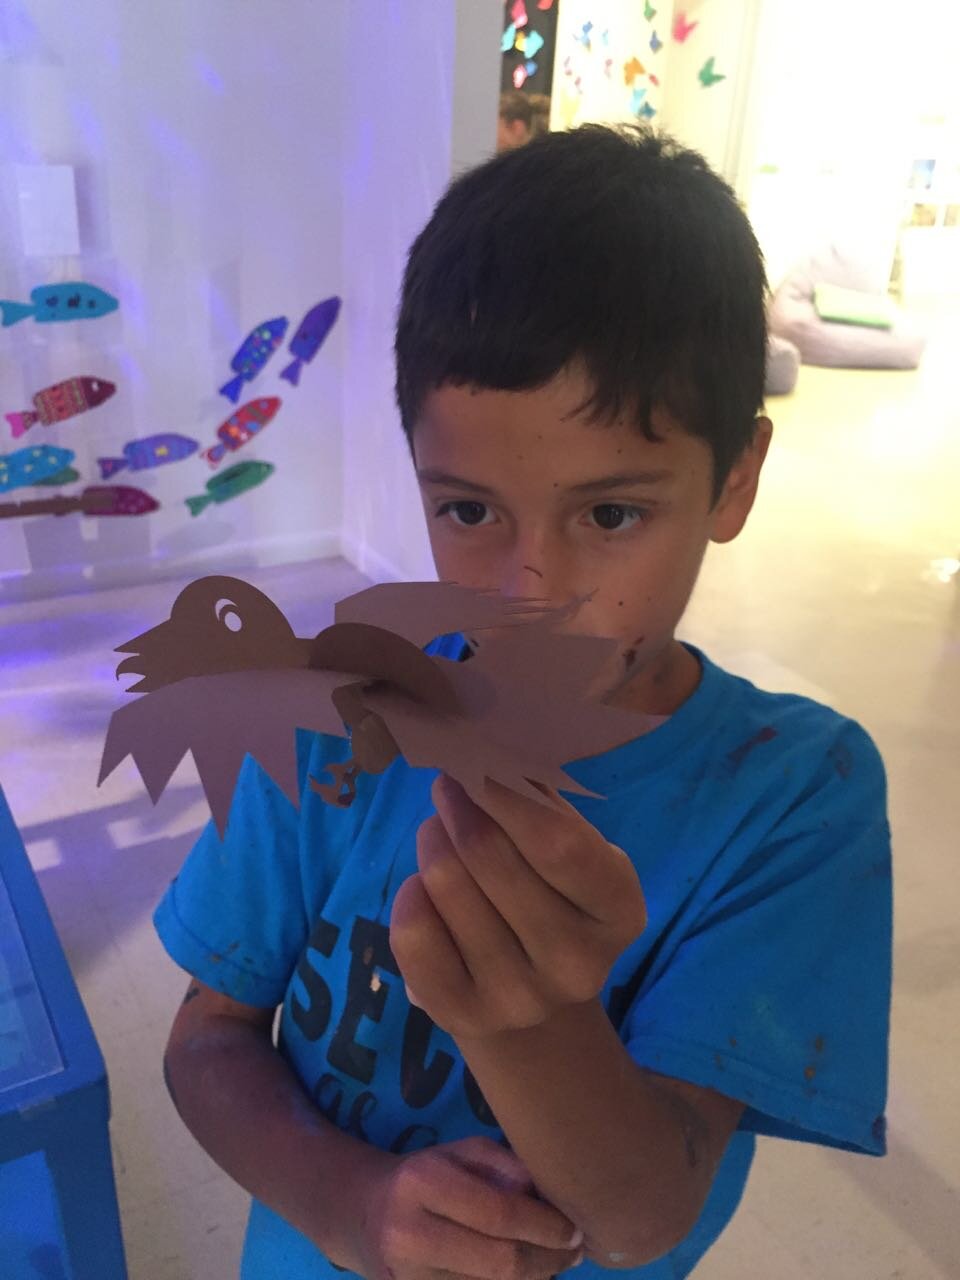
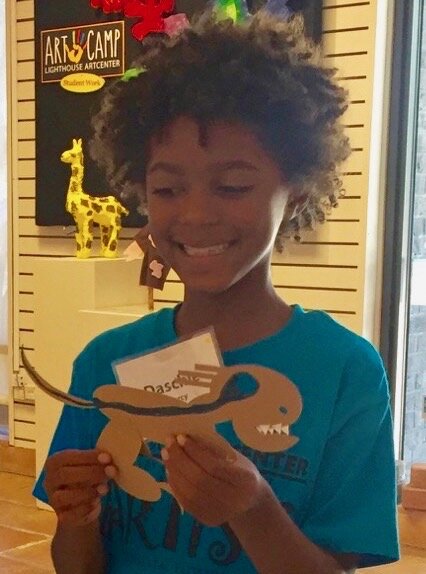
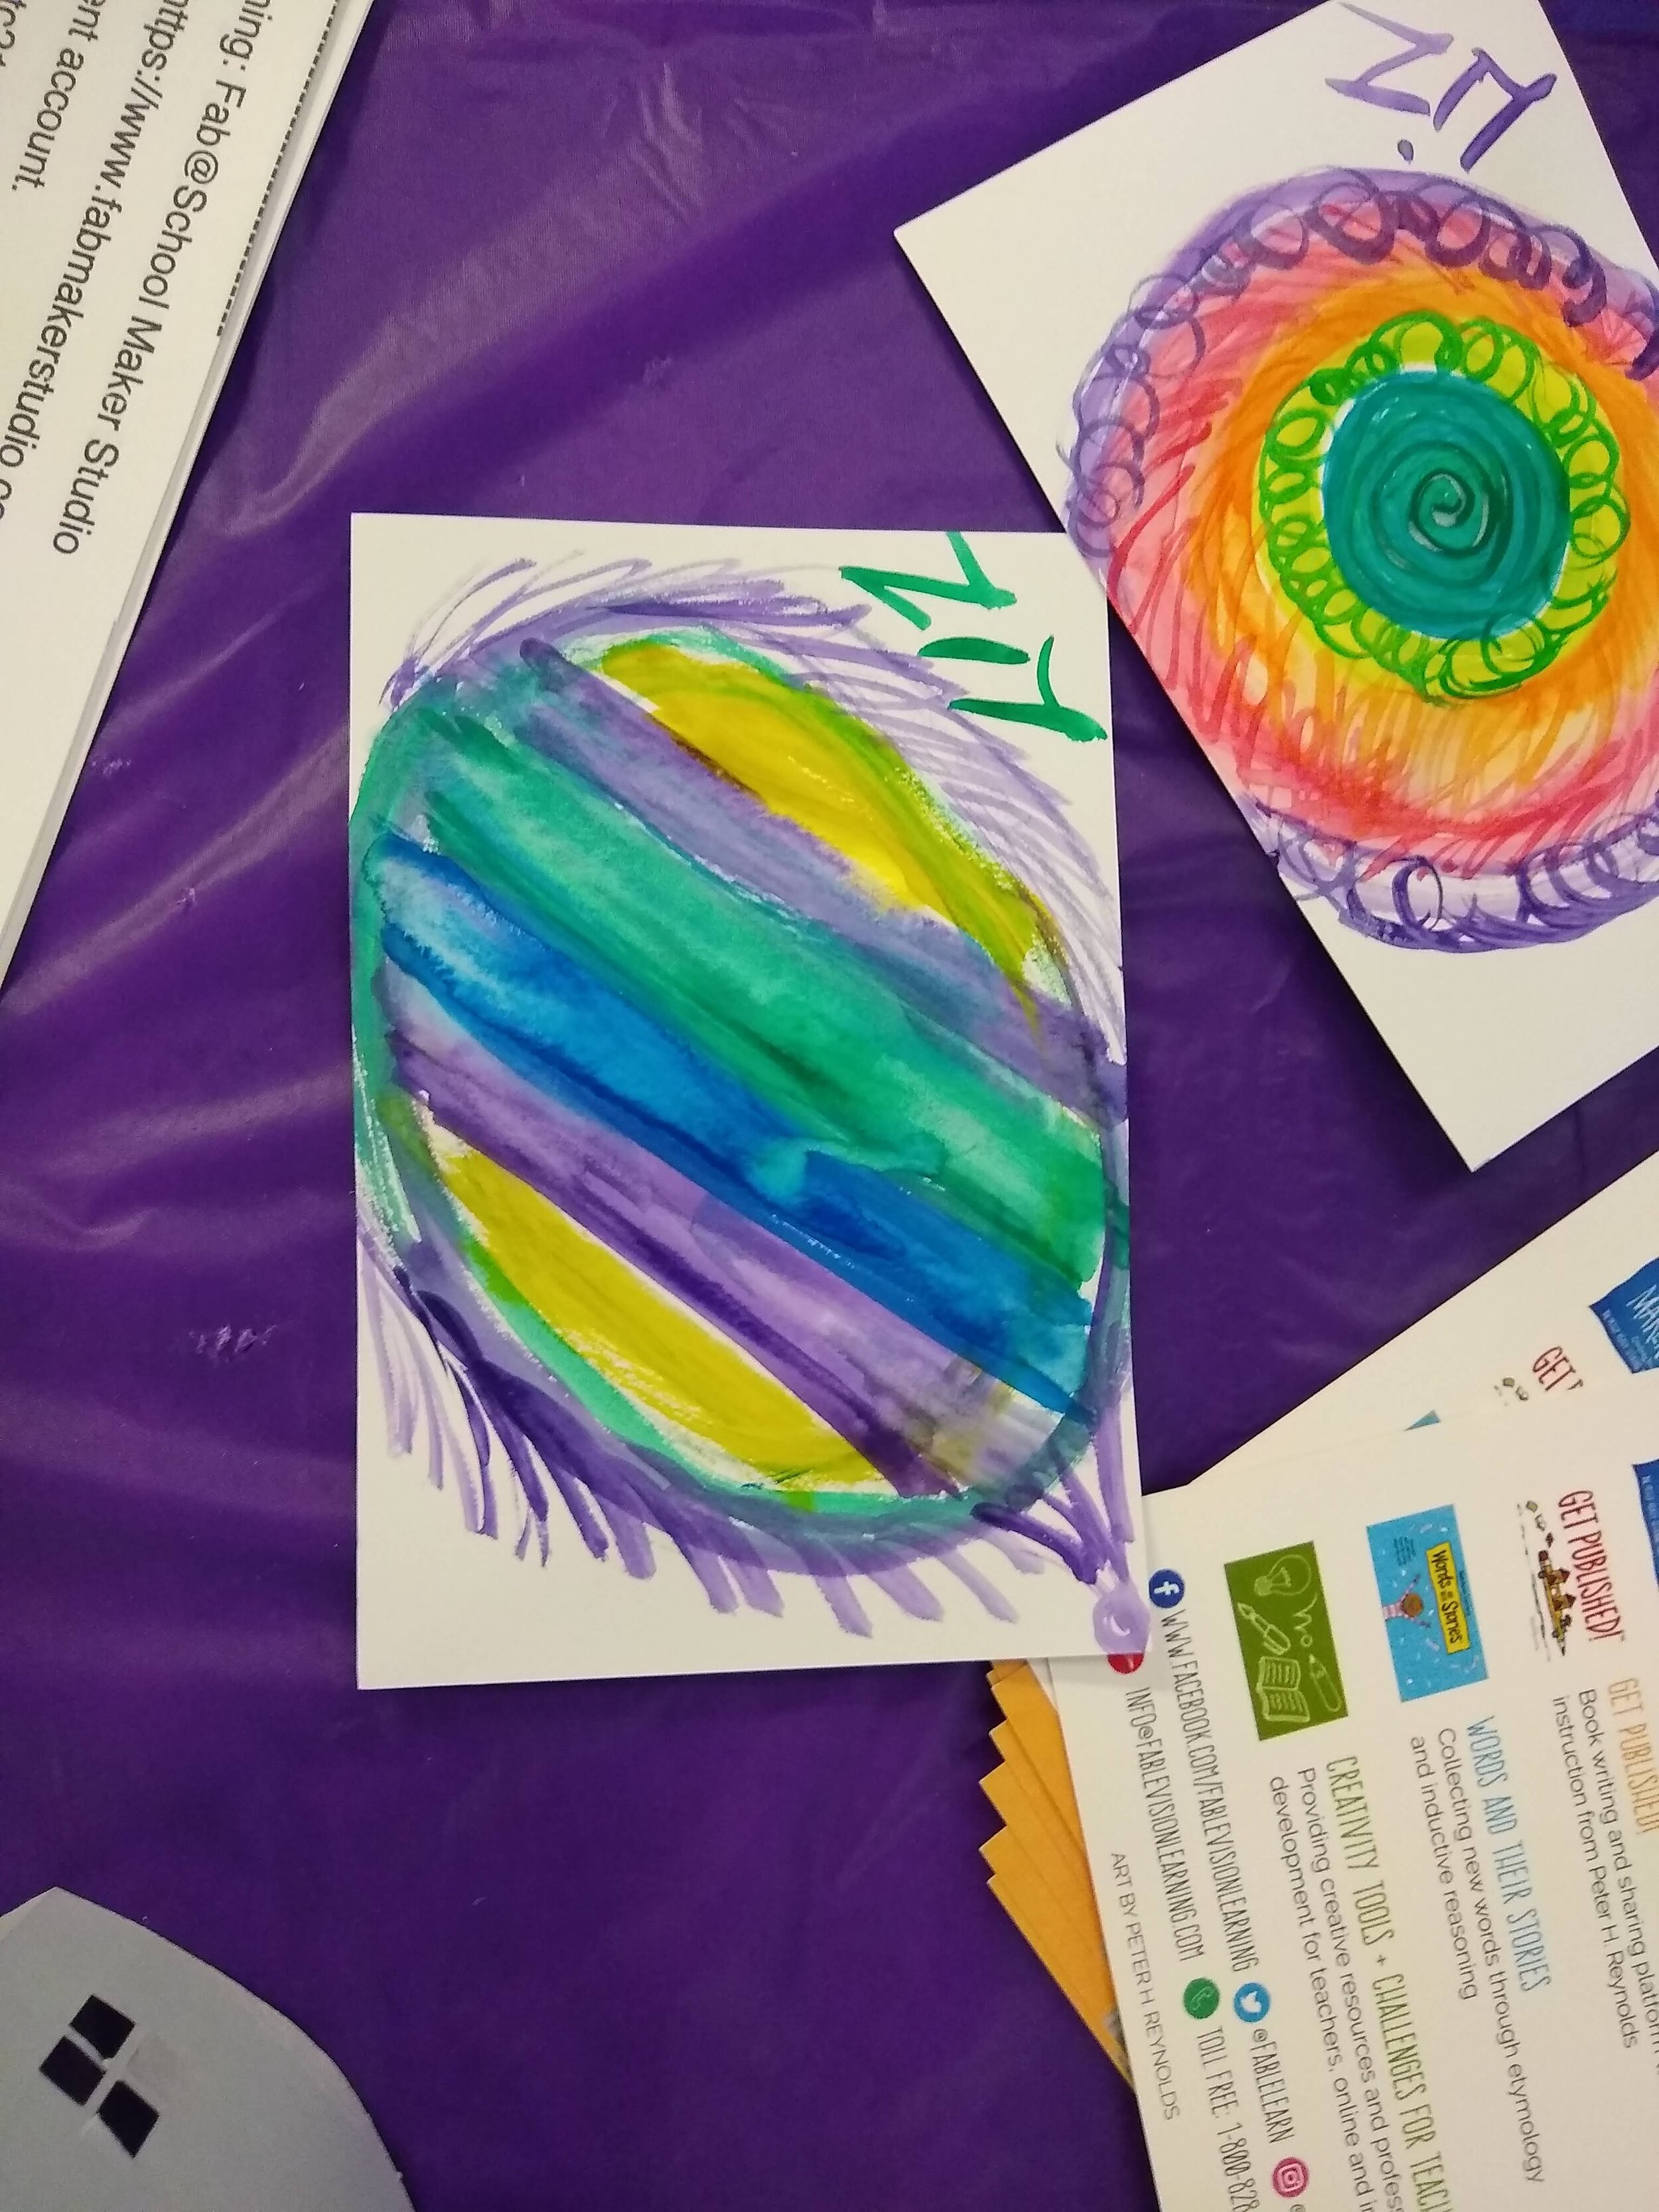
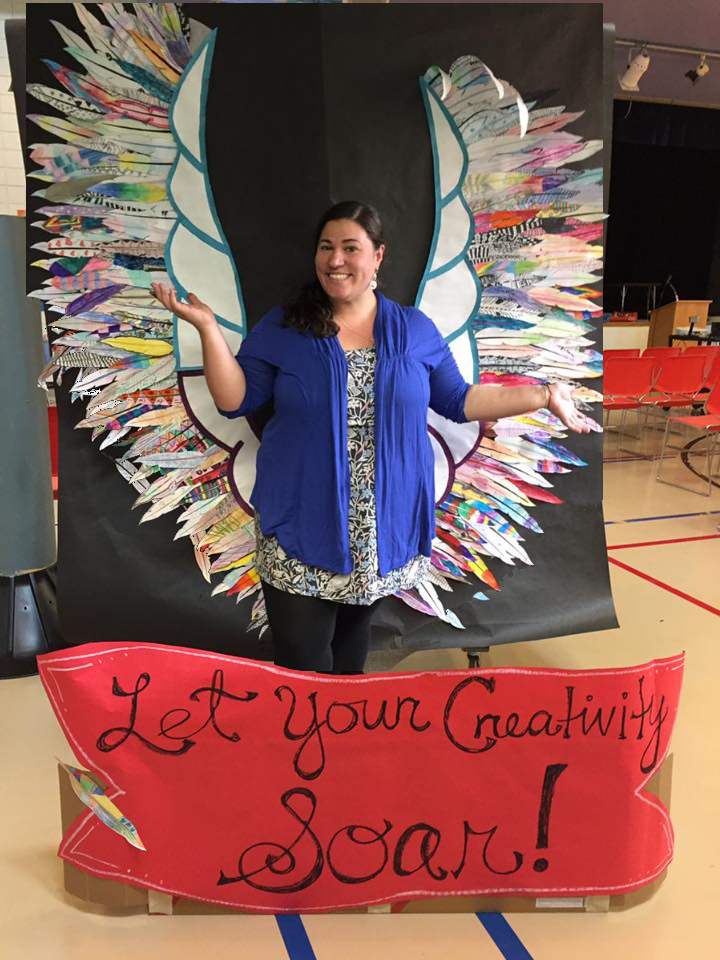
Peter H. Reynolds Joins Creativity Celebration with Norwood Extended Day
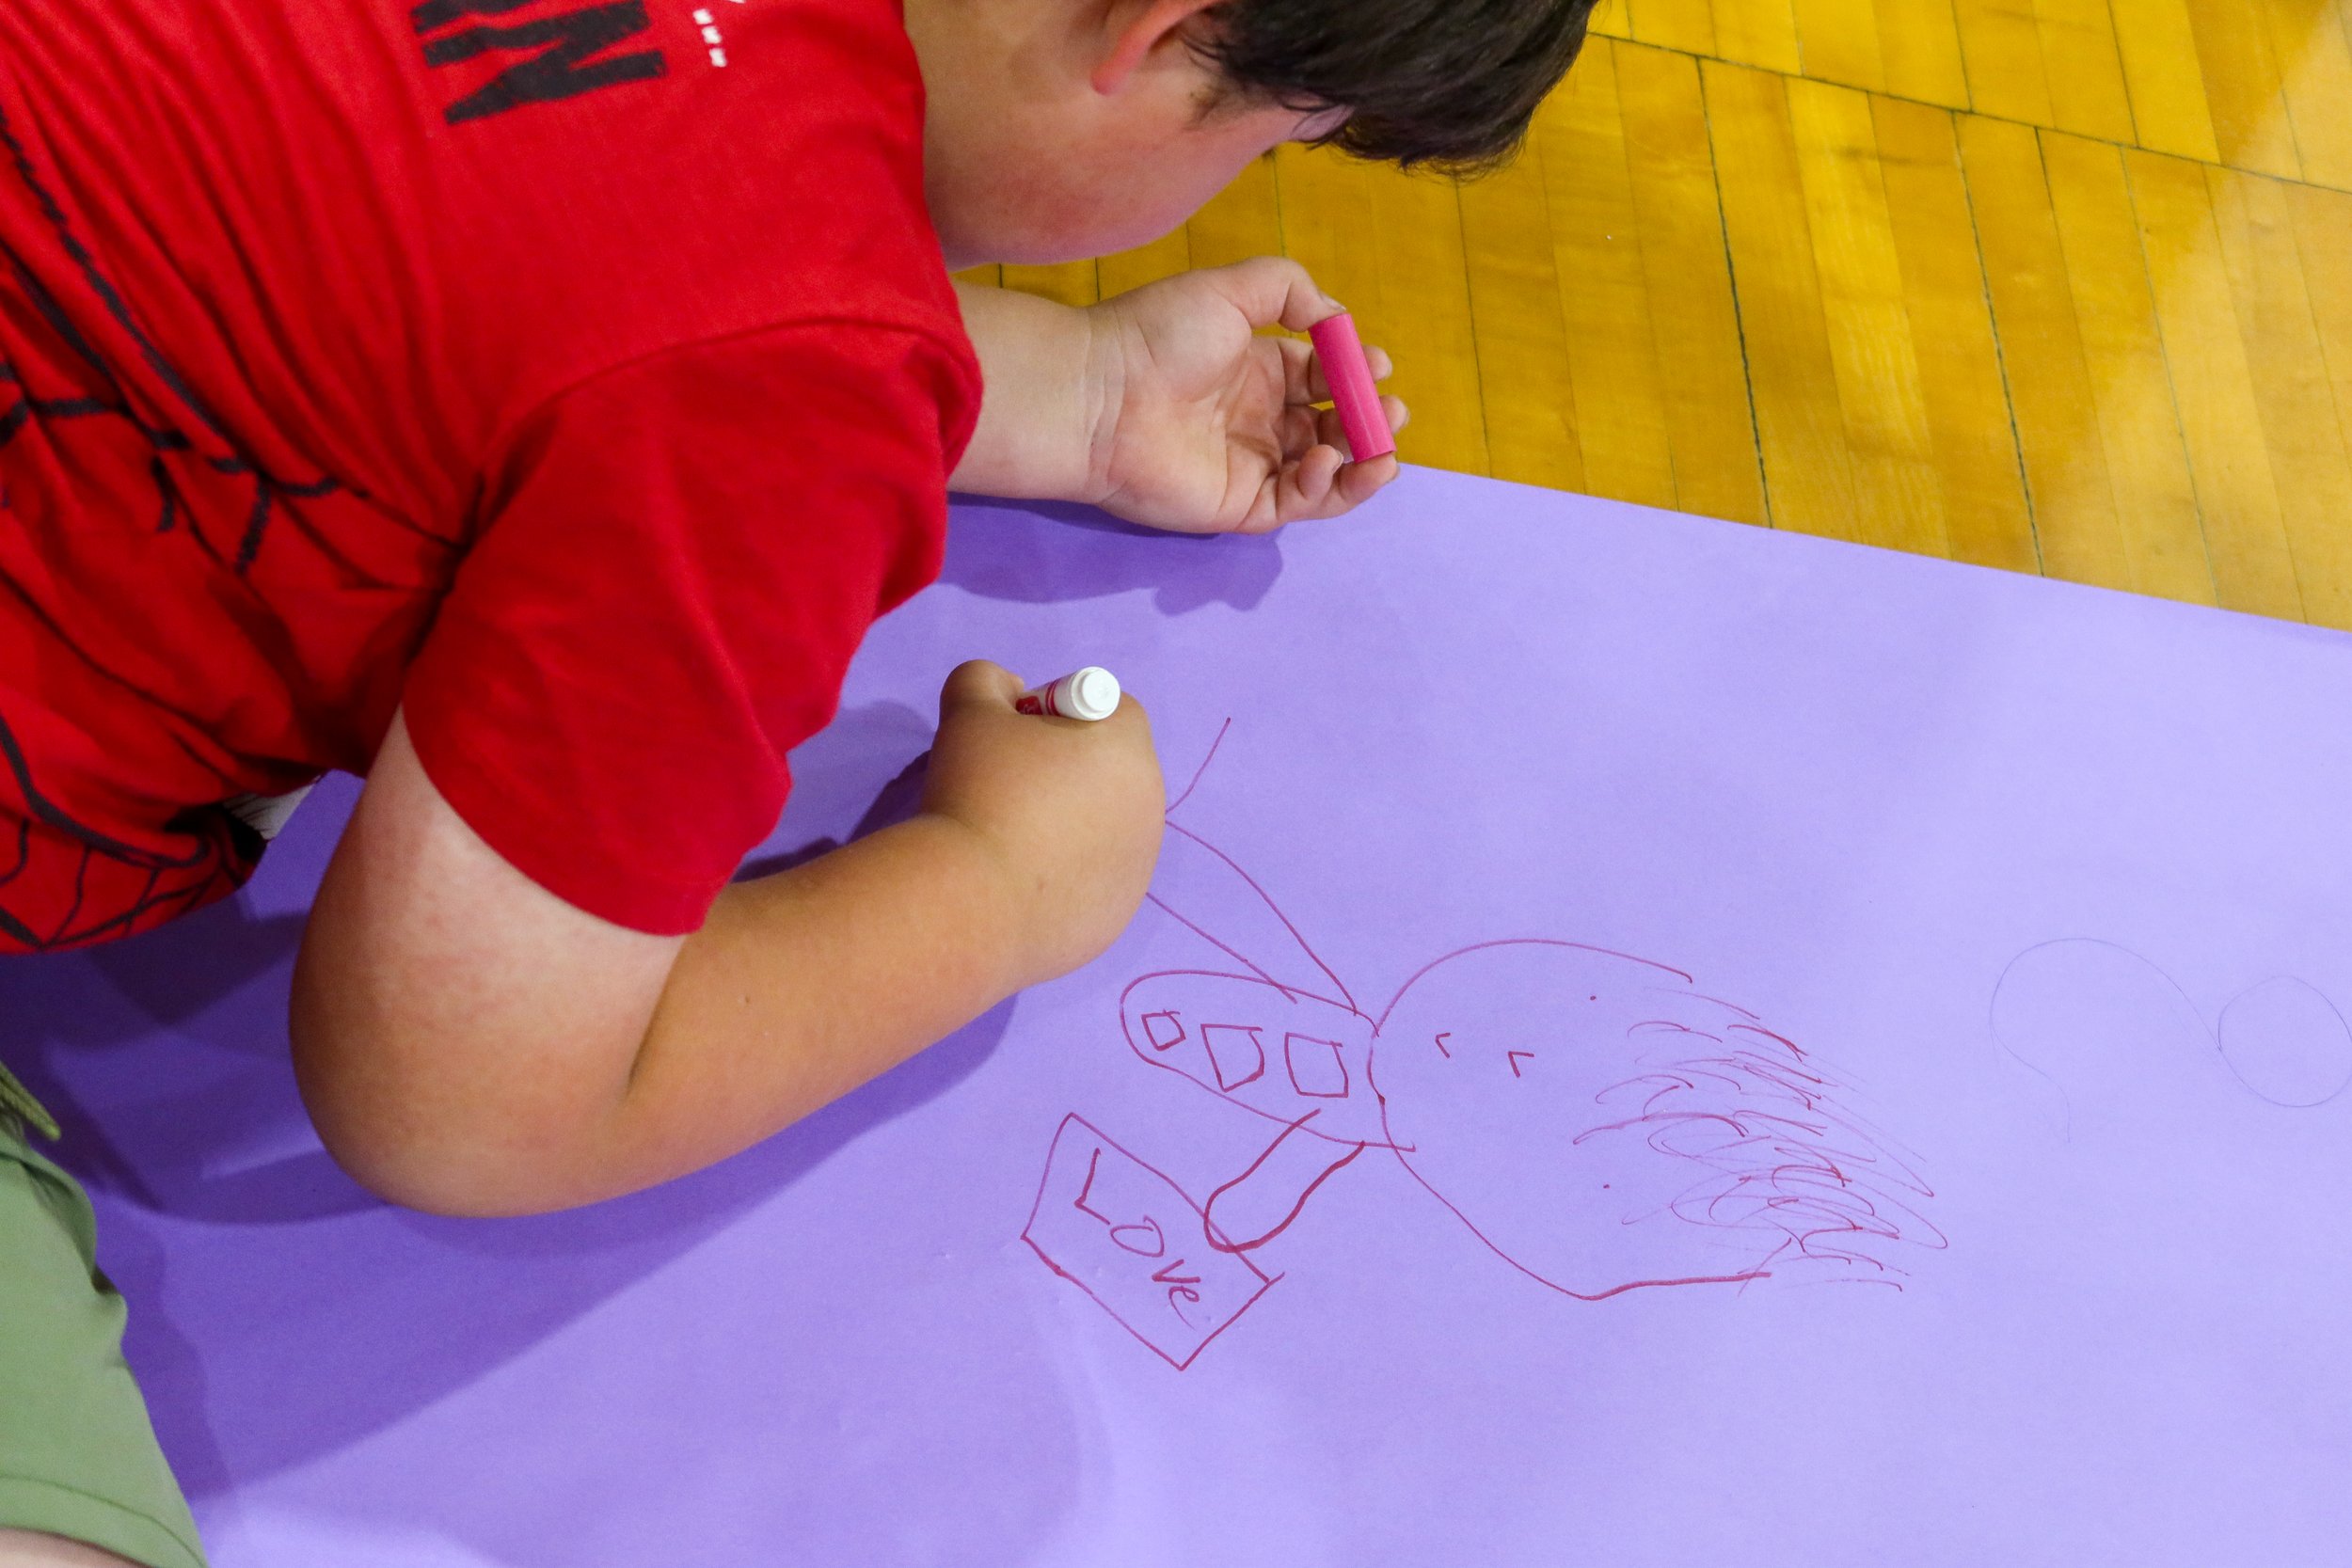
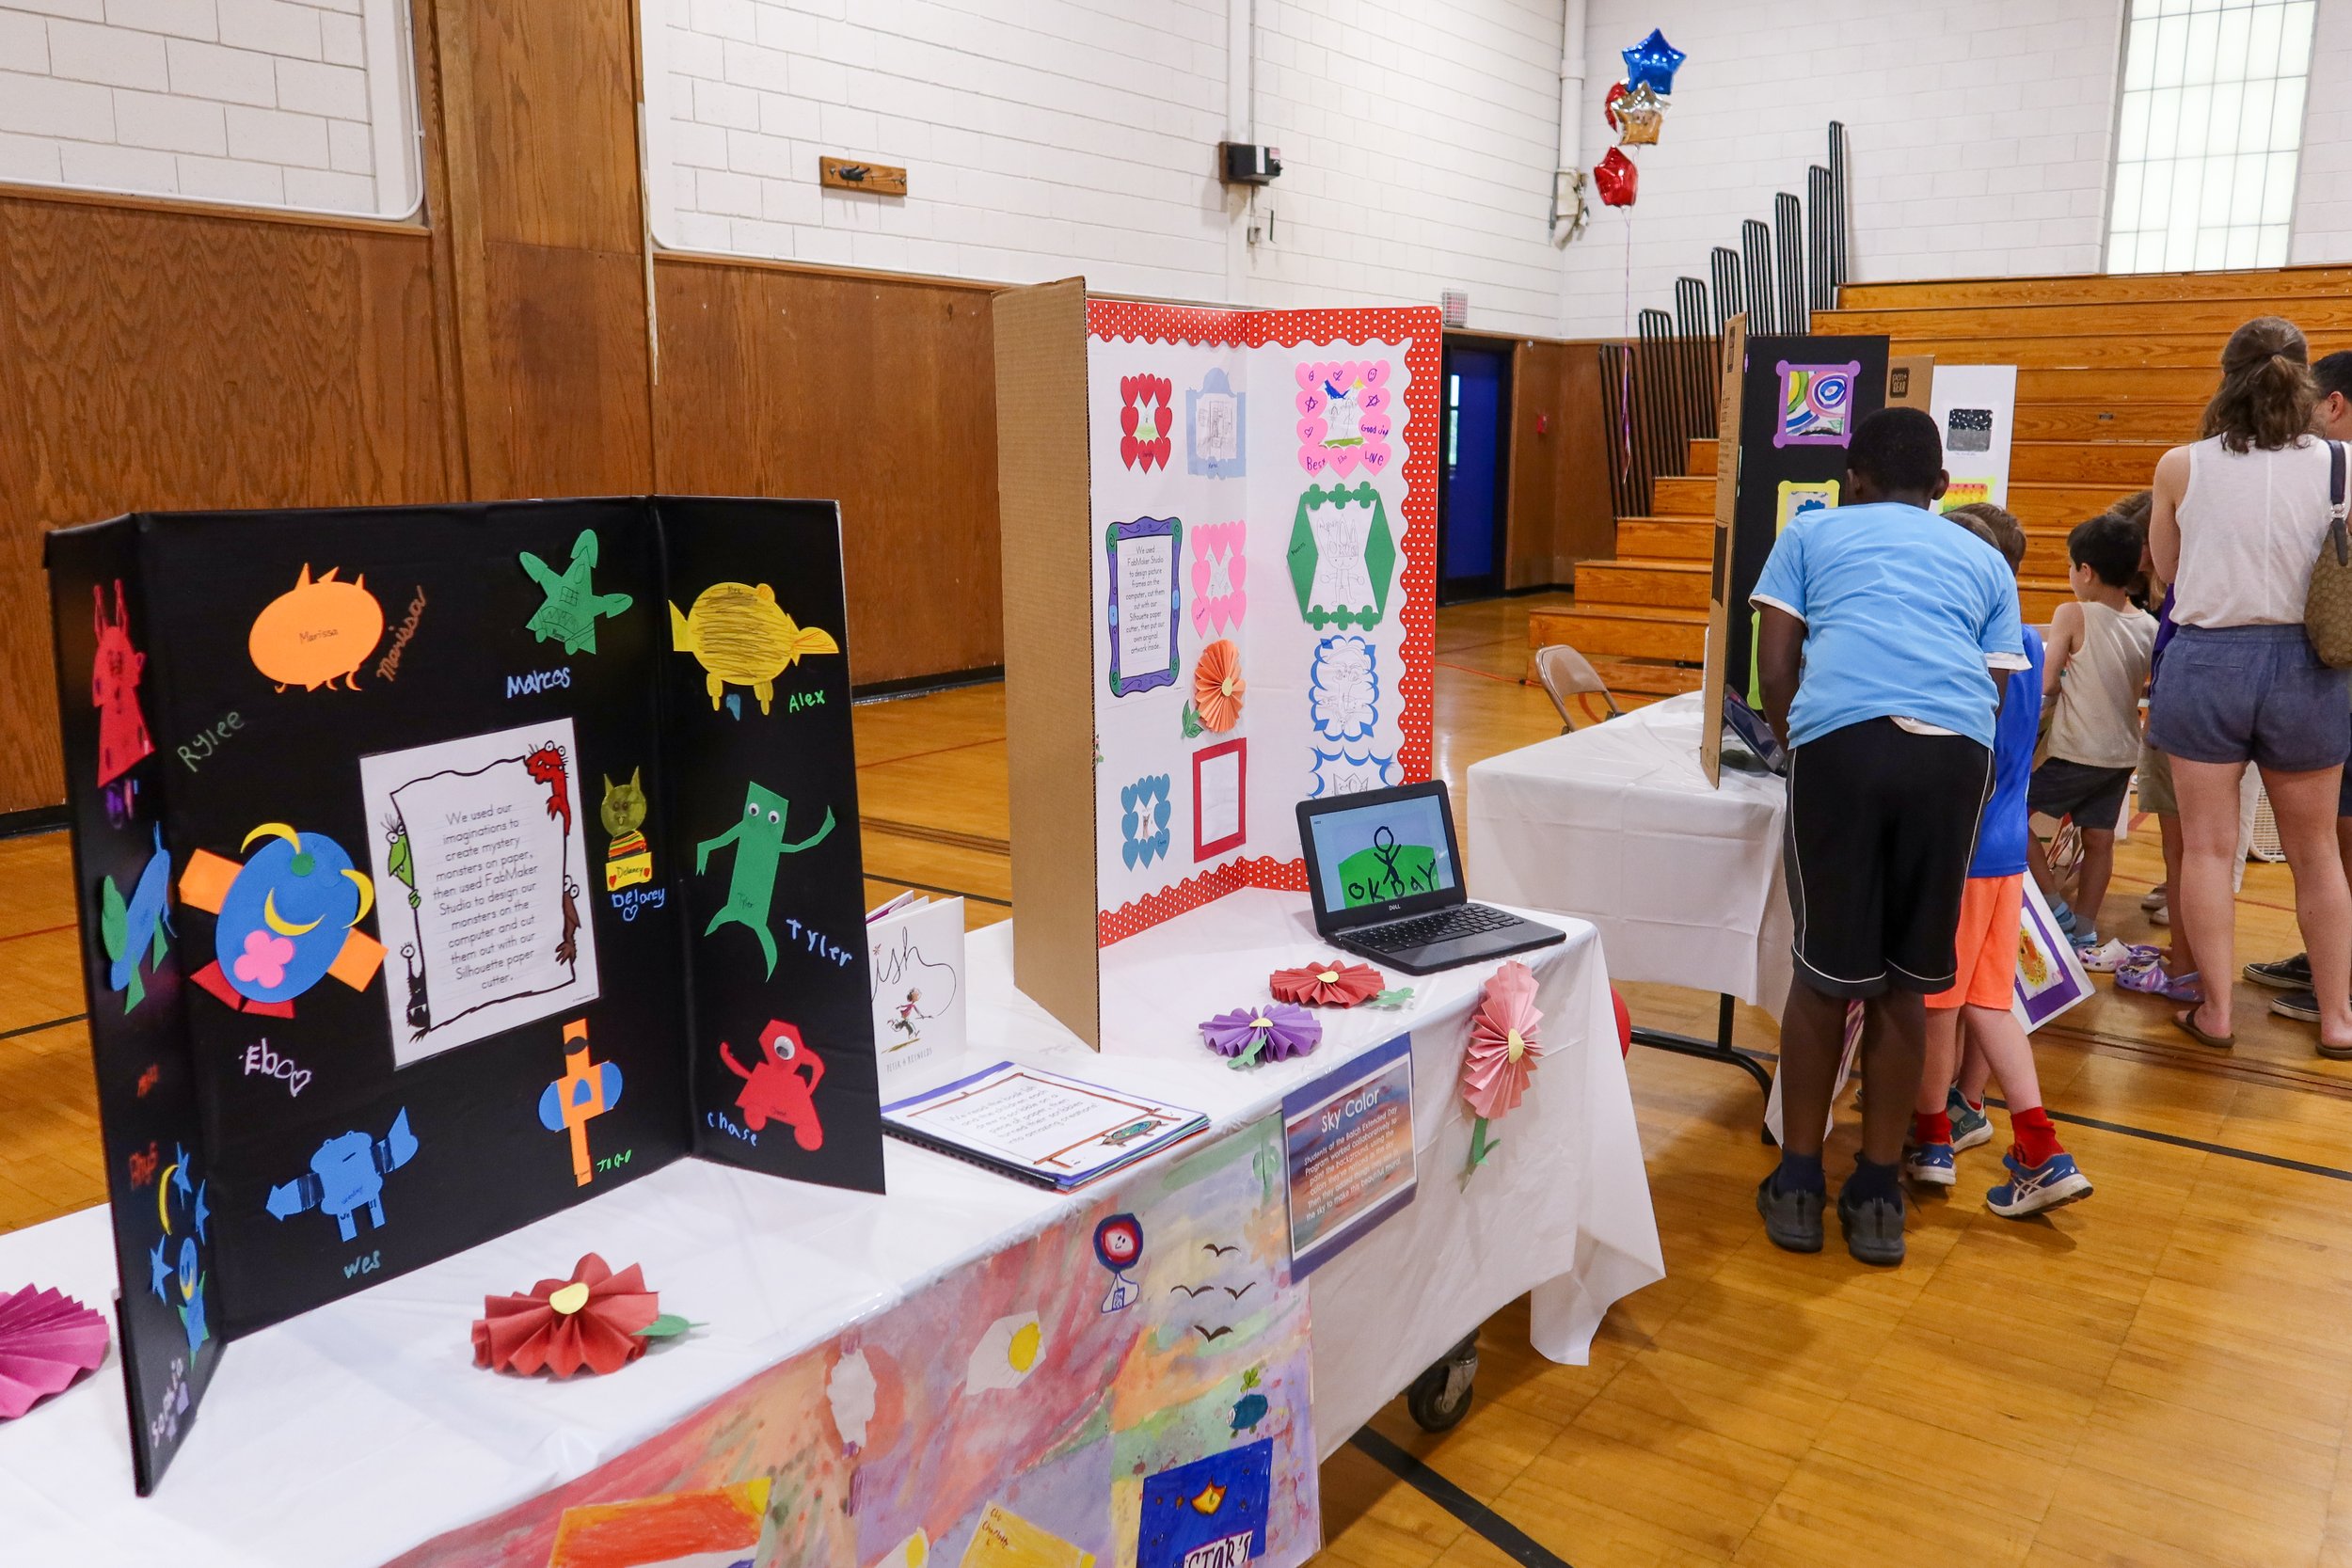
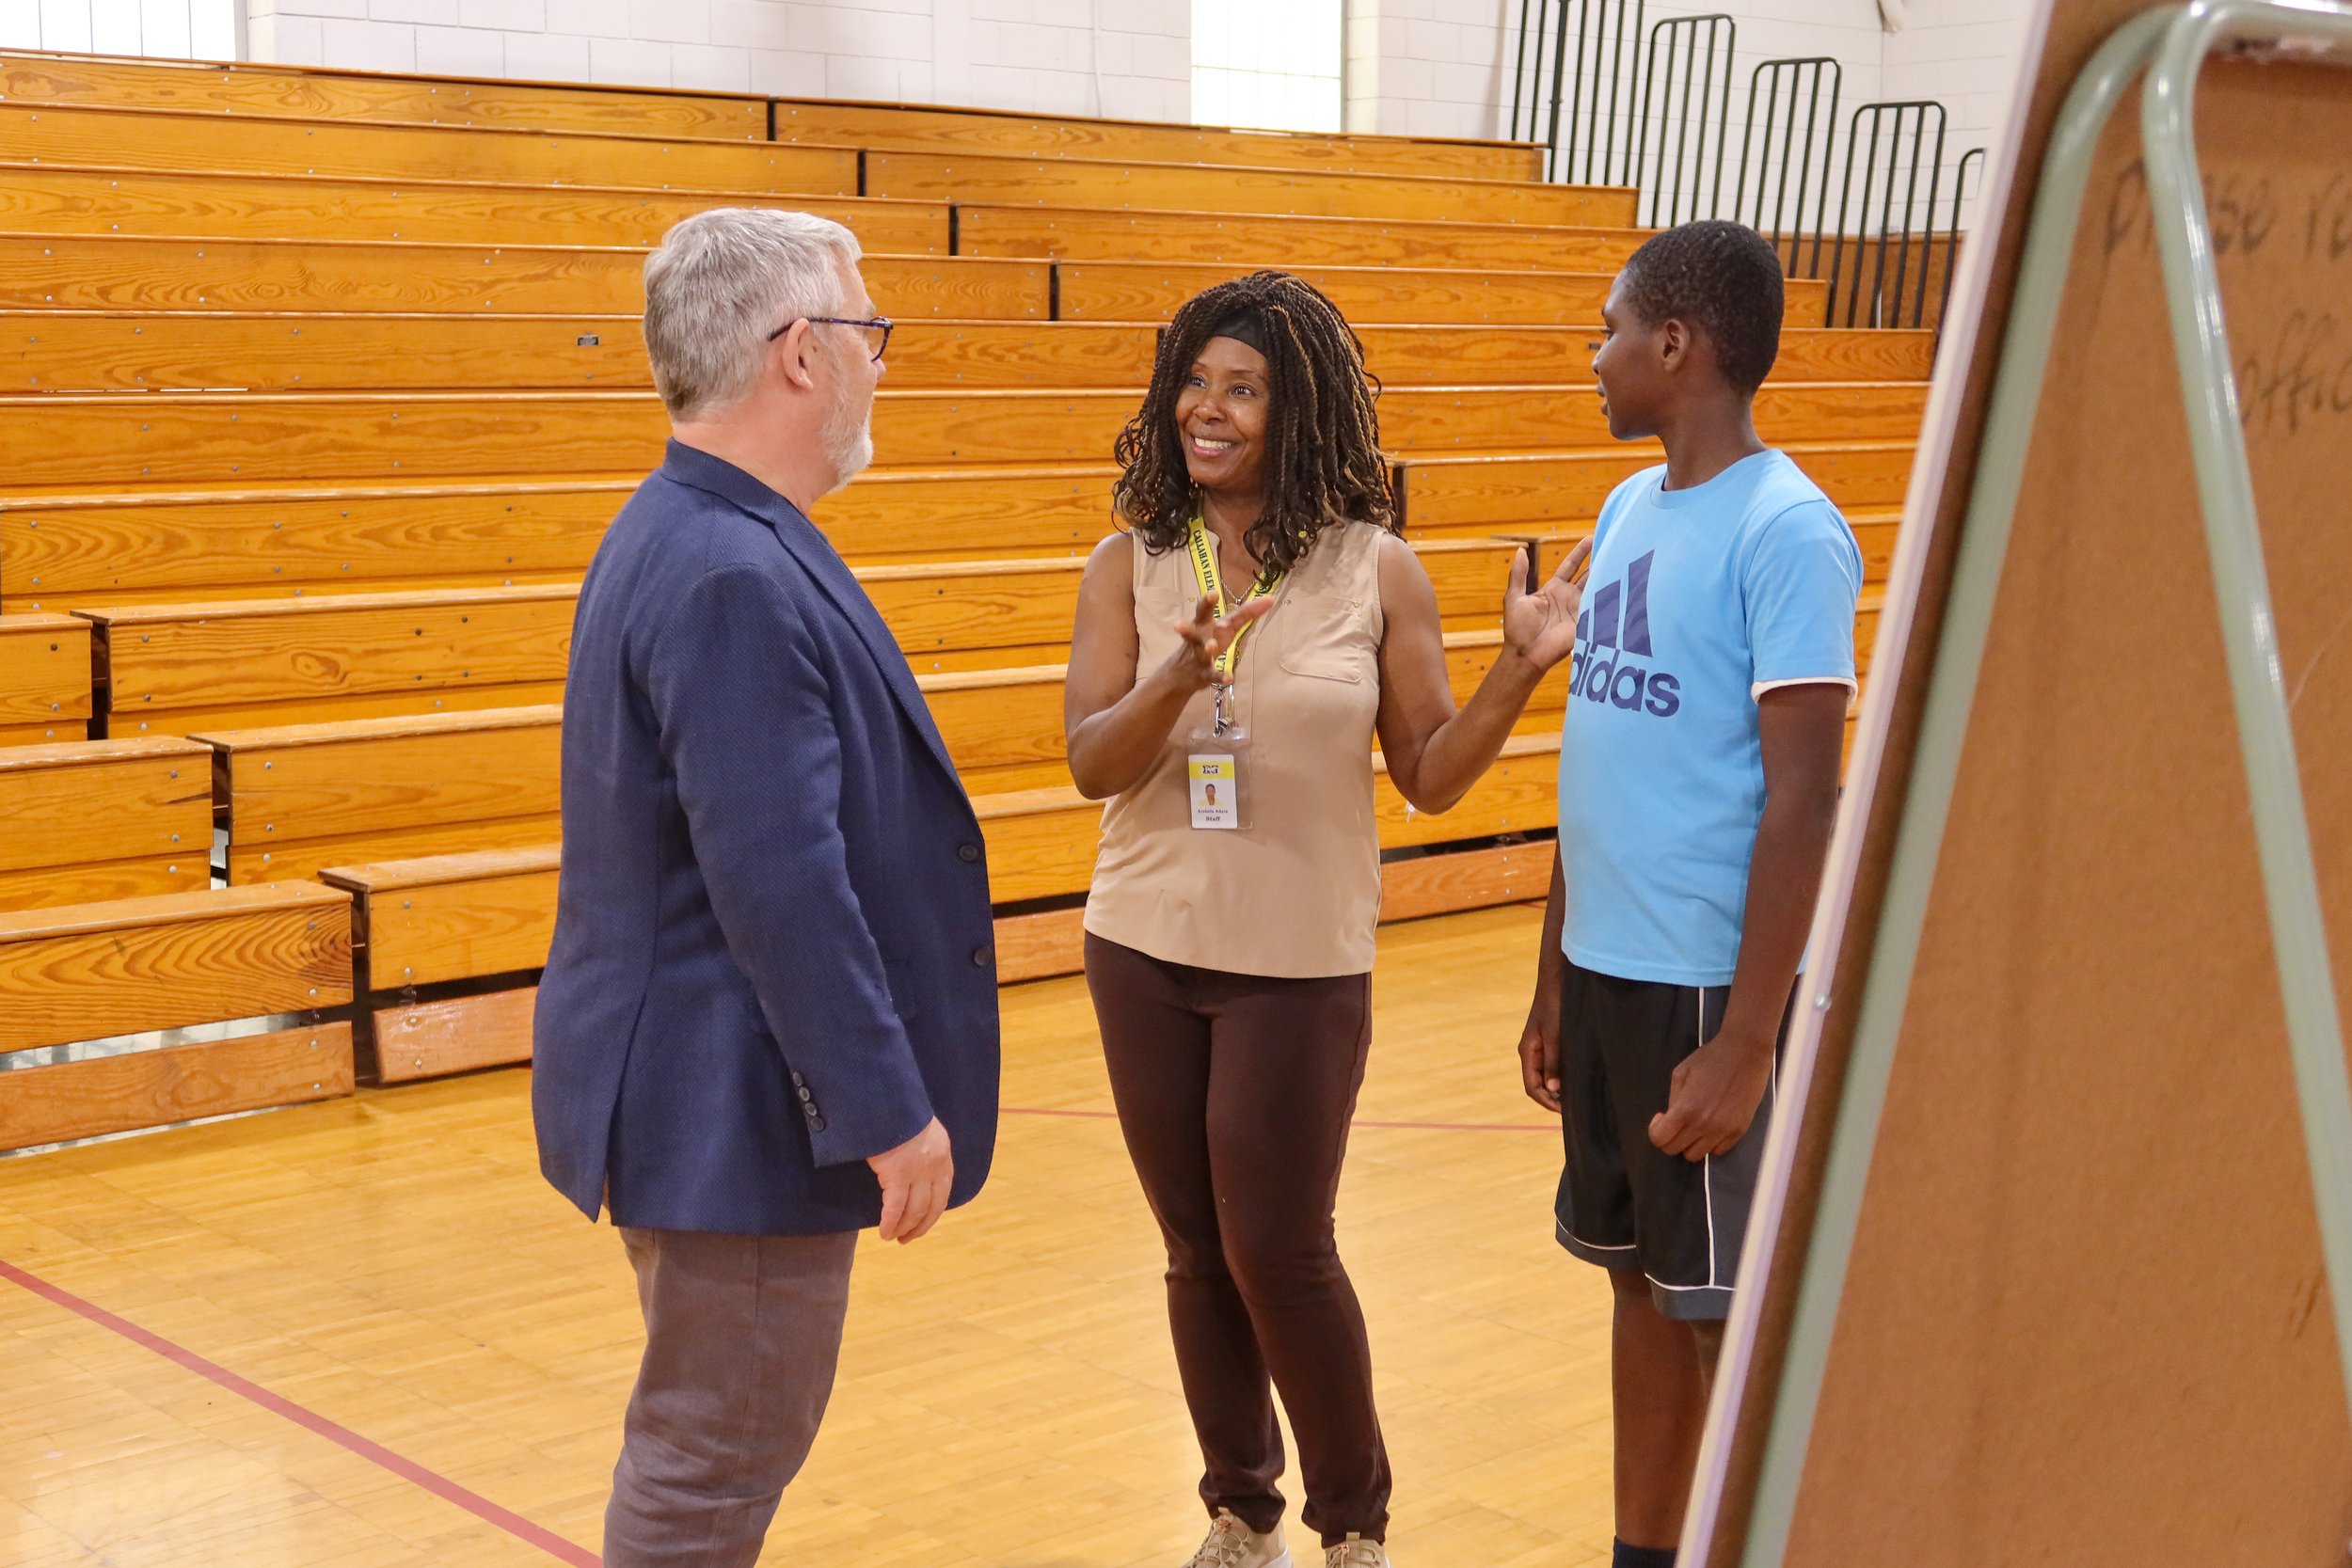
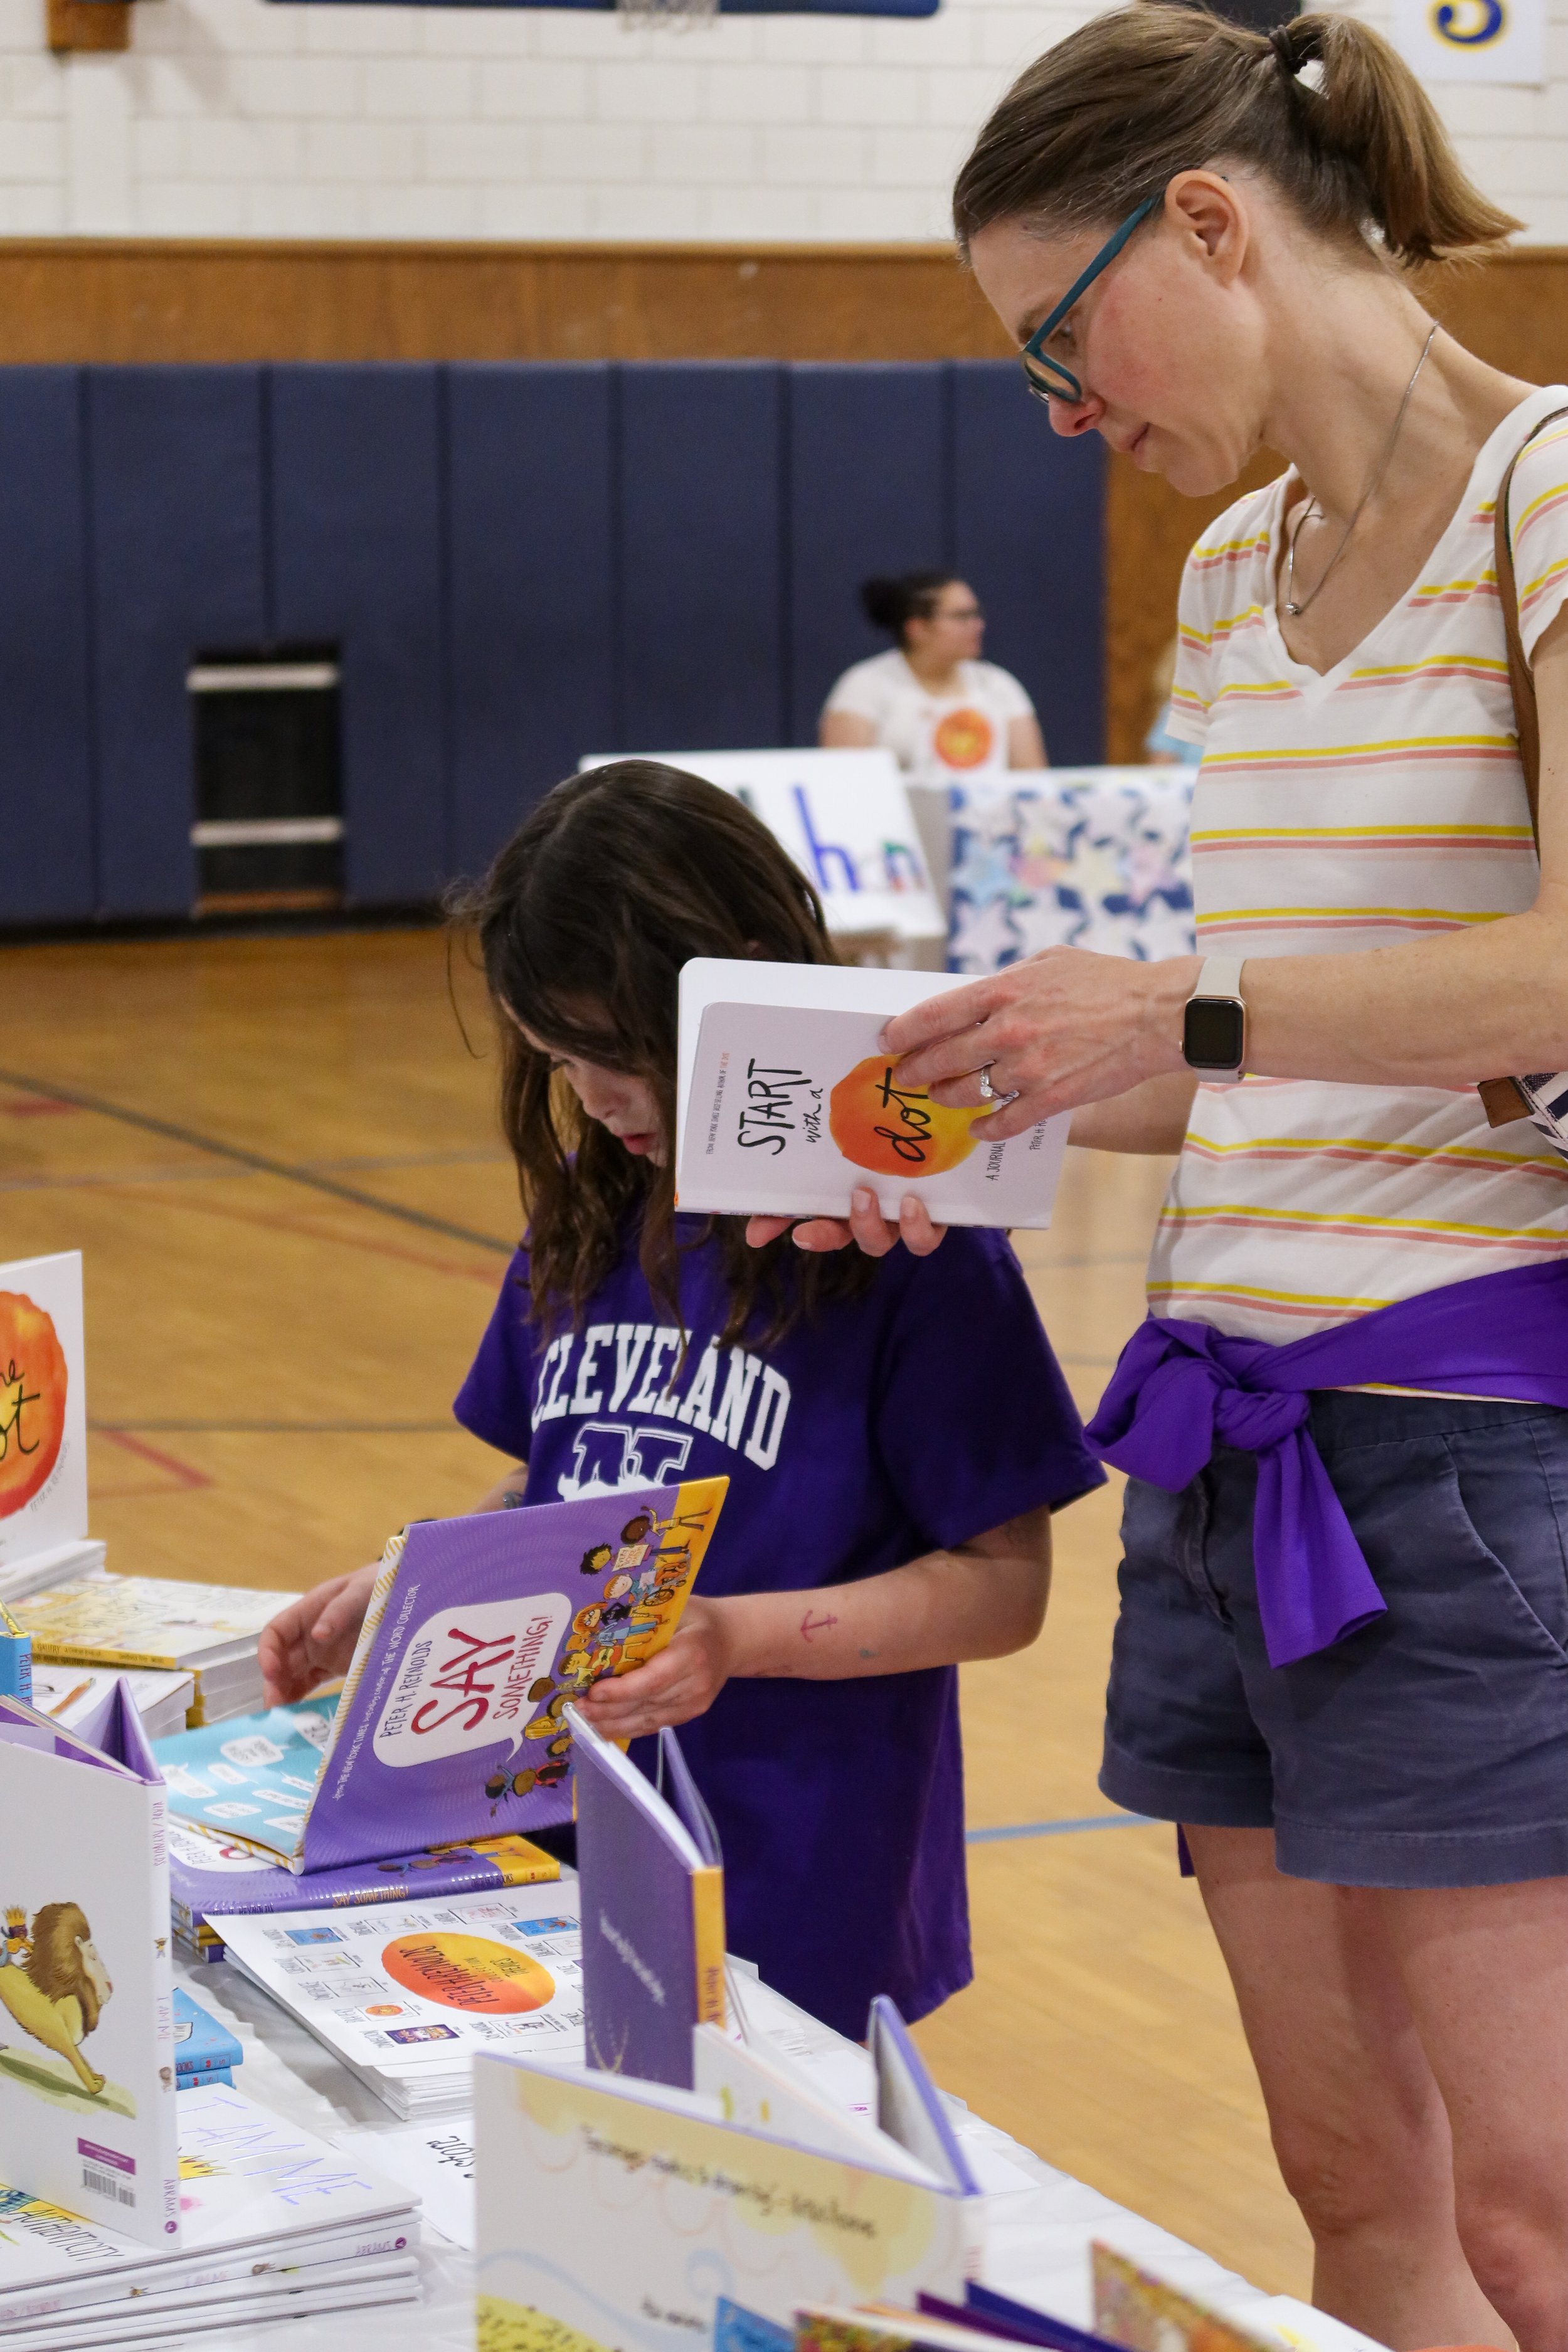
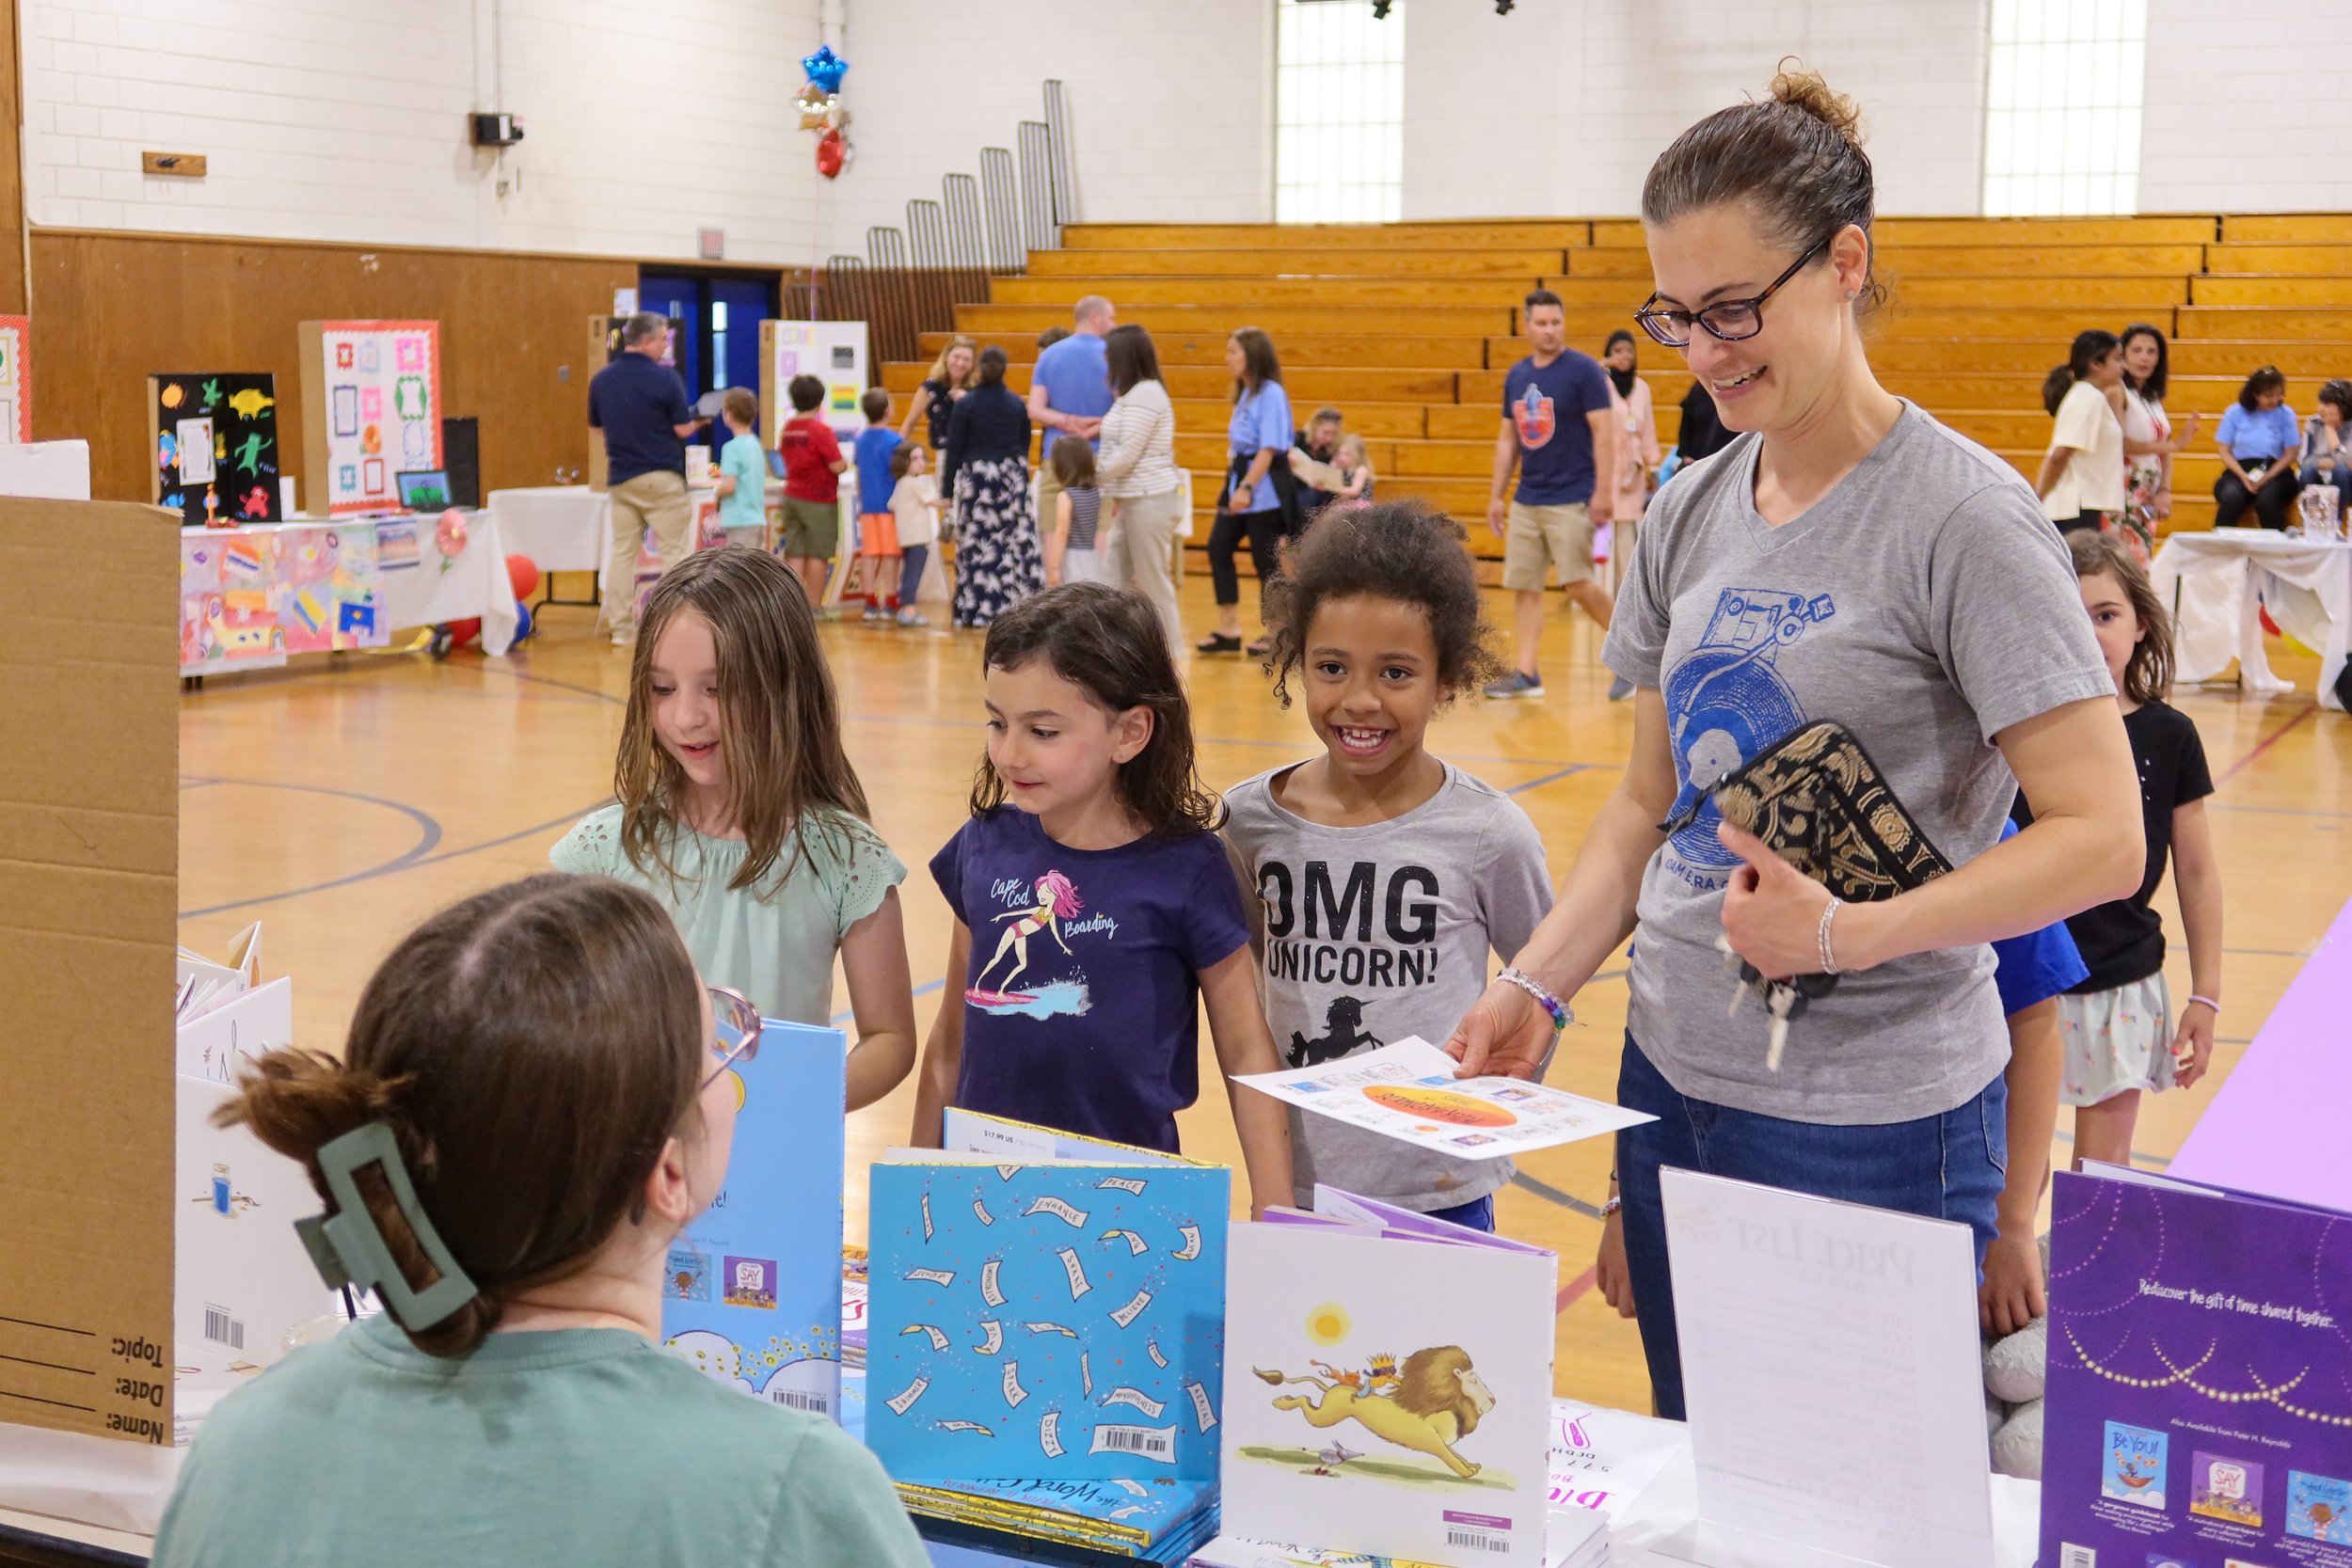
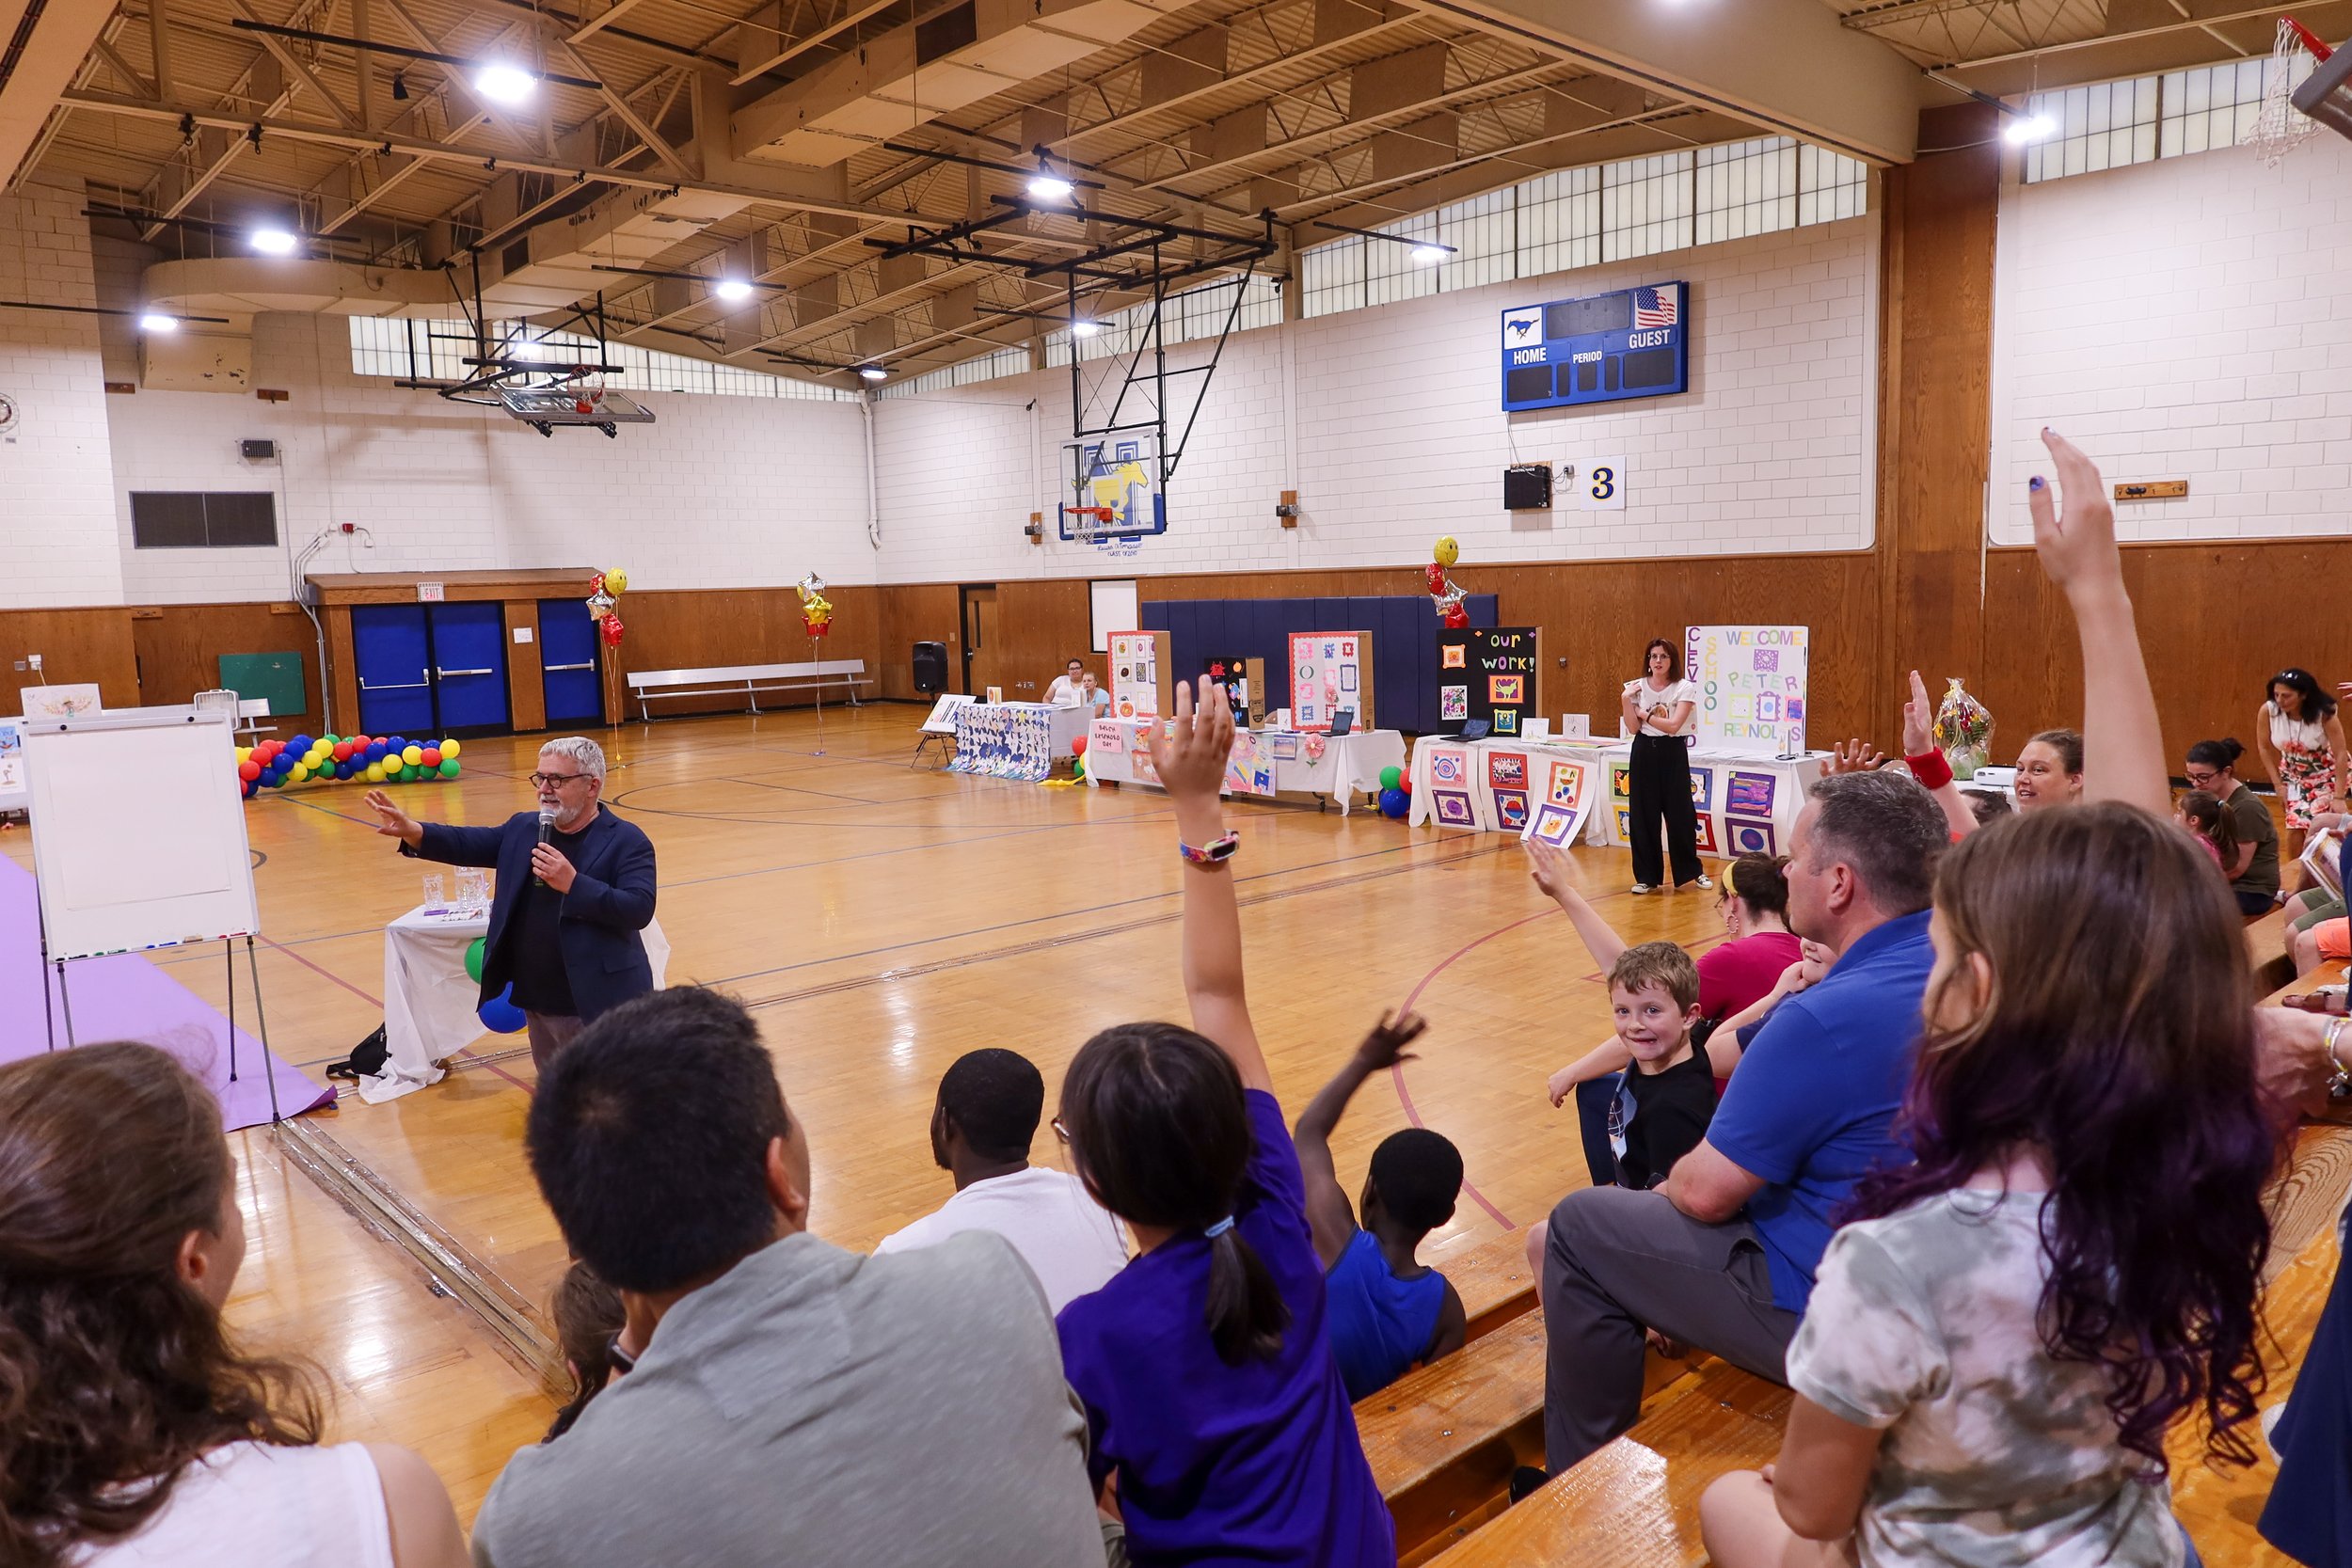
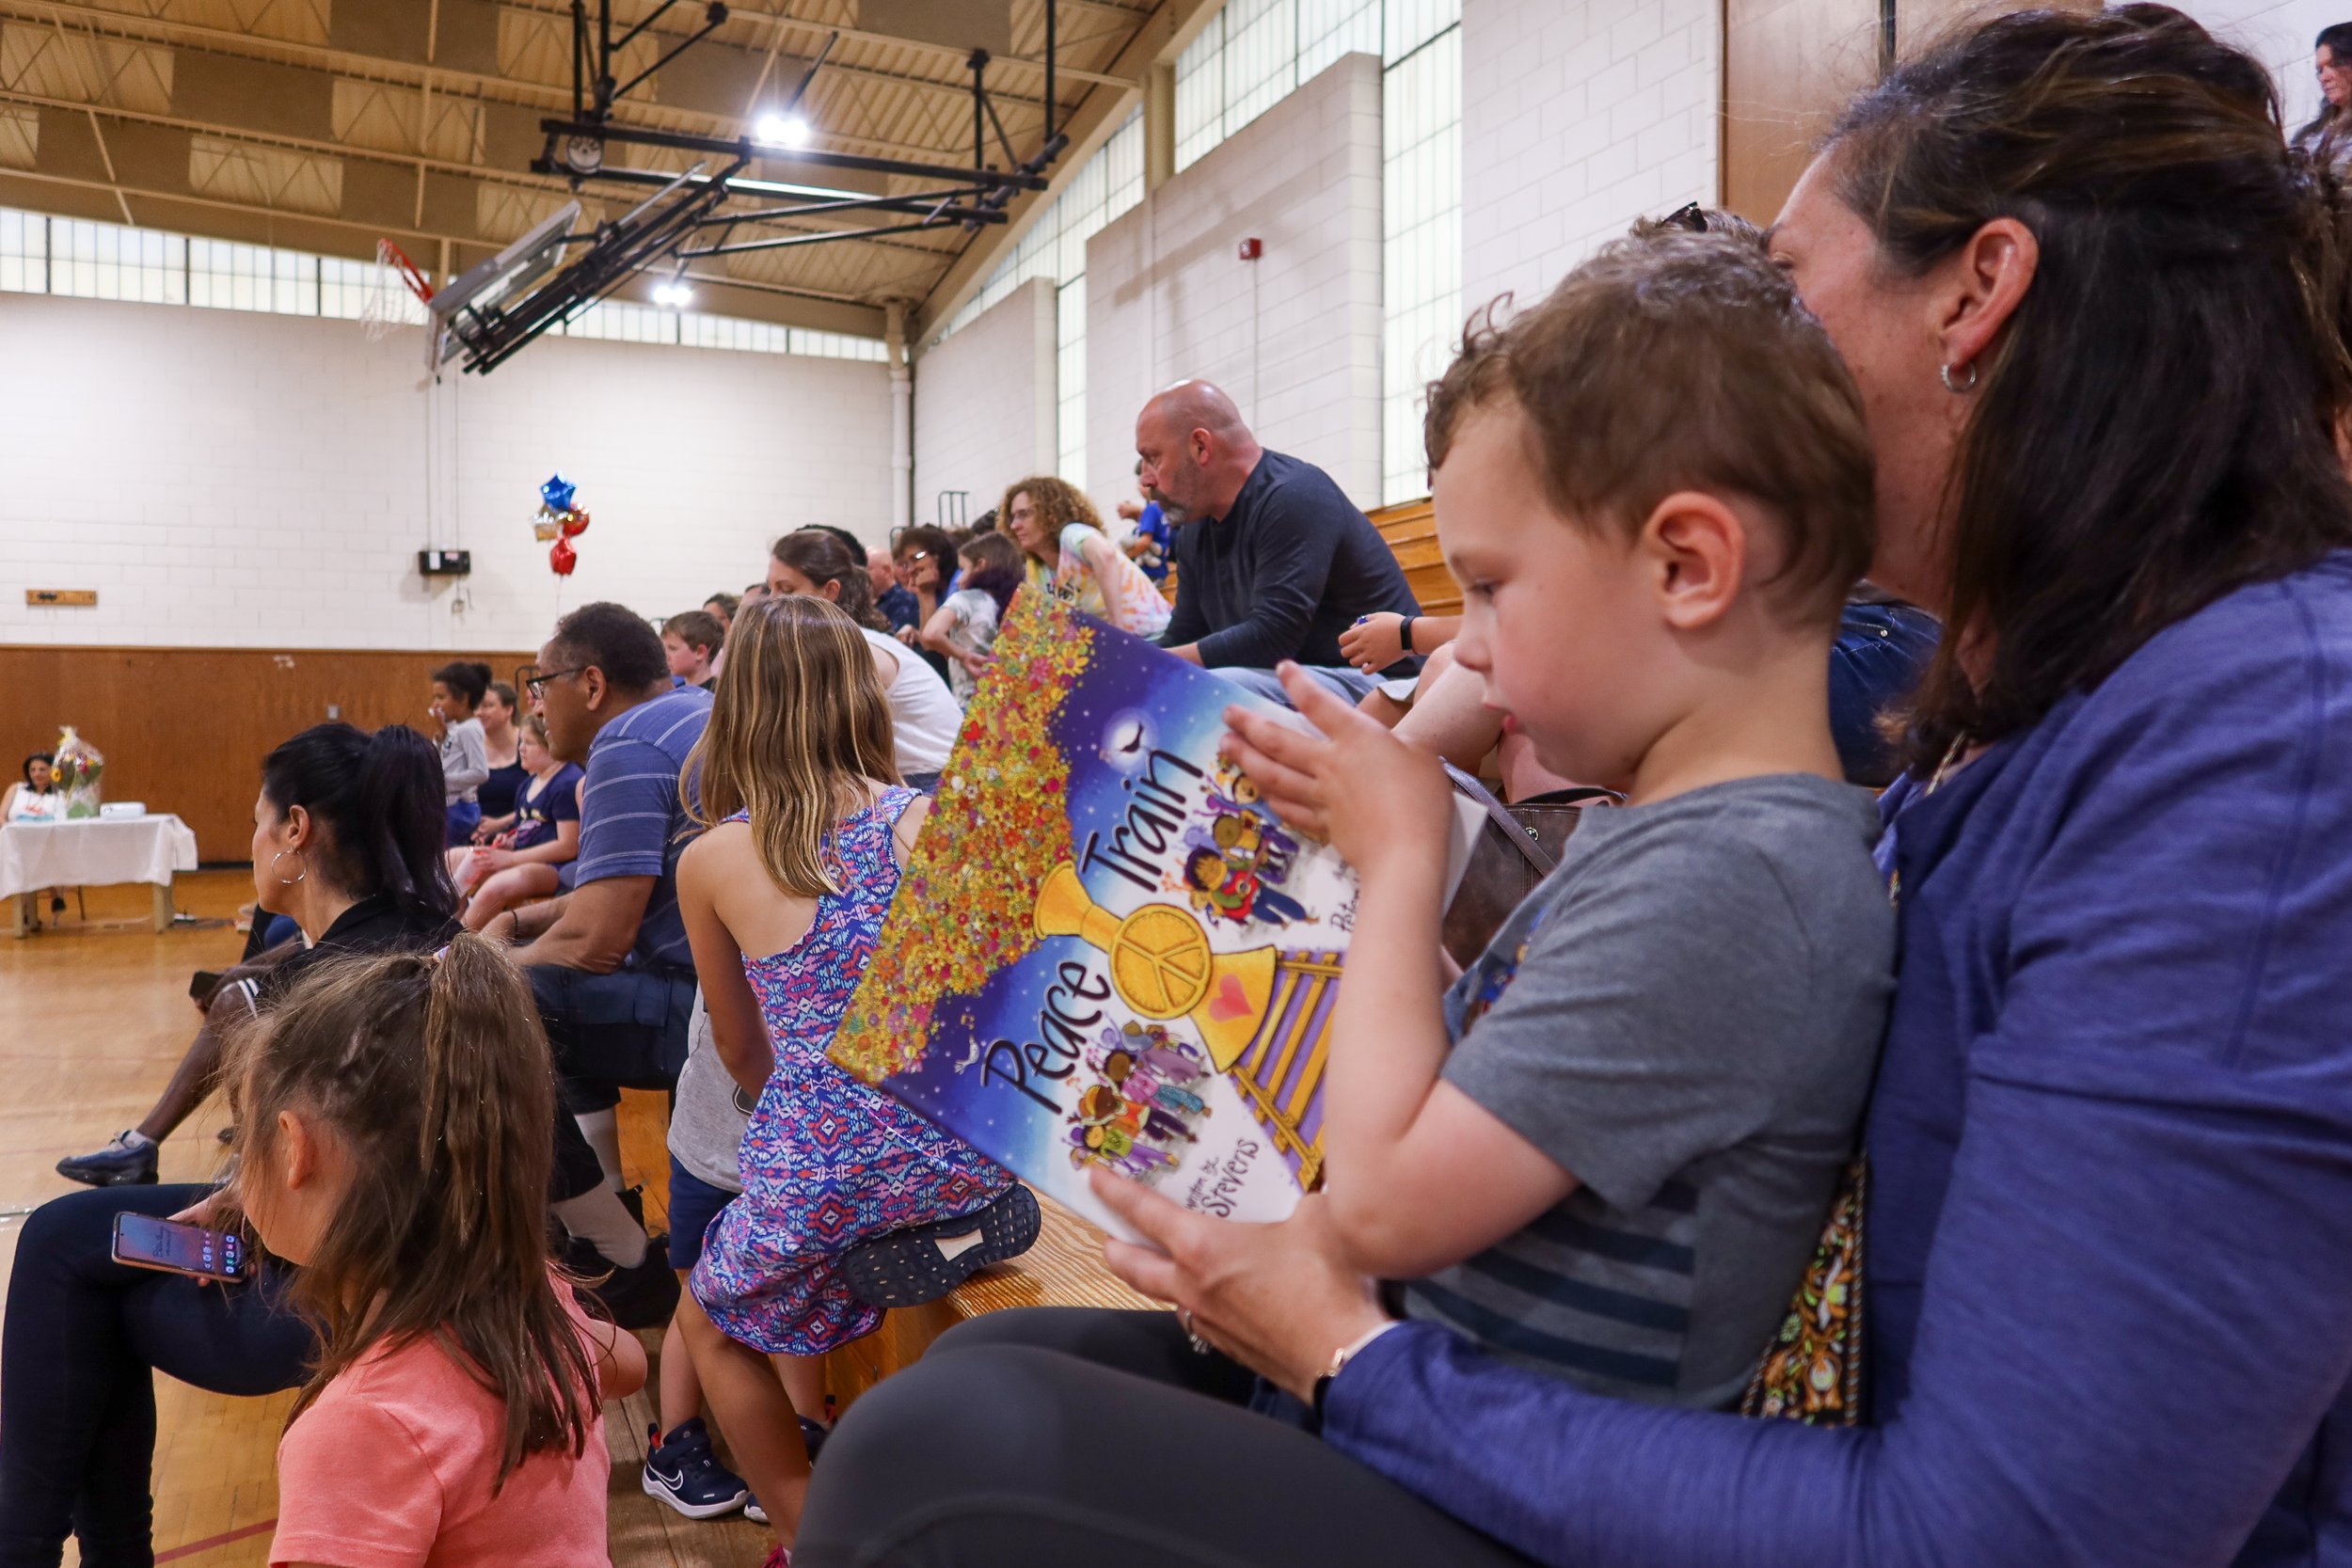
Creativity overflowed from the Savage Center Gym on Friday, June 16, as Norwood parents, kids, and Extended Day staff joined the celebration with Peter H. Reynolds and the FableVision Learning team.
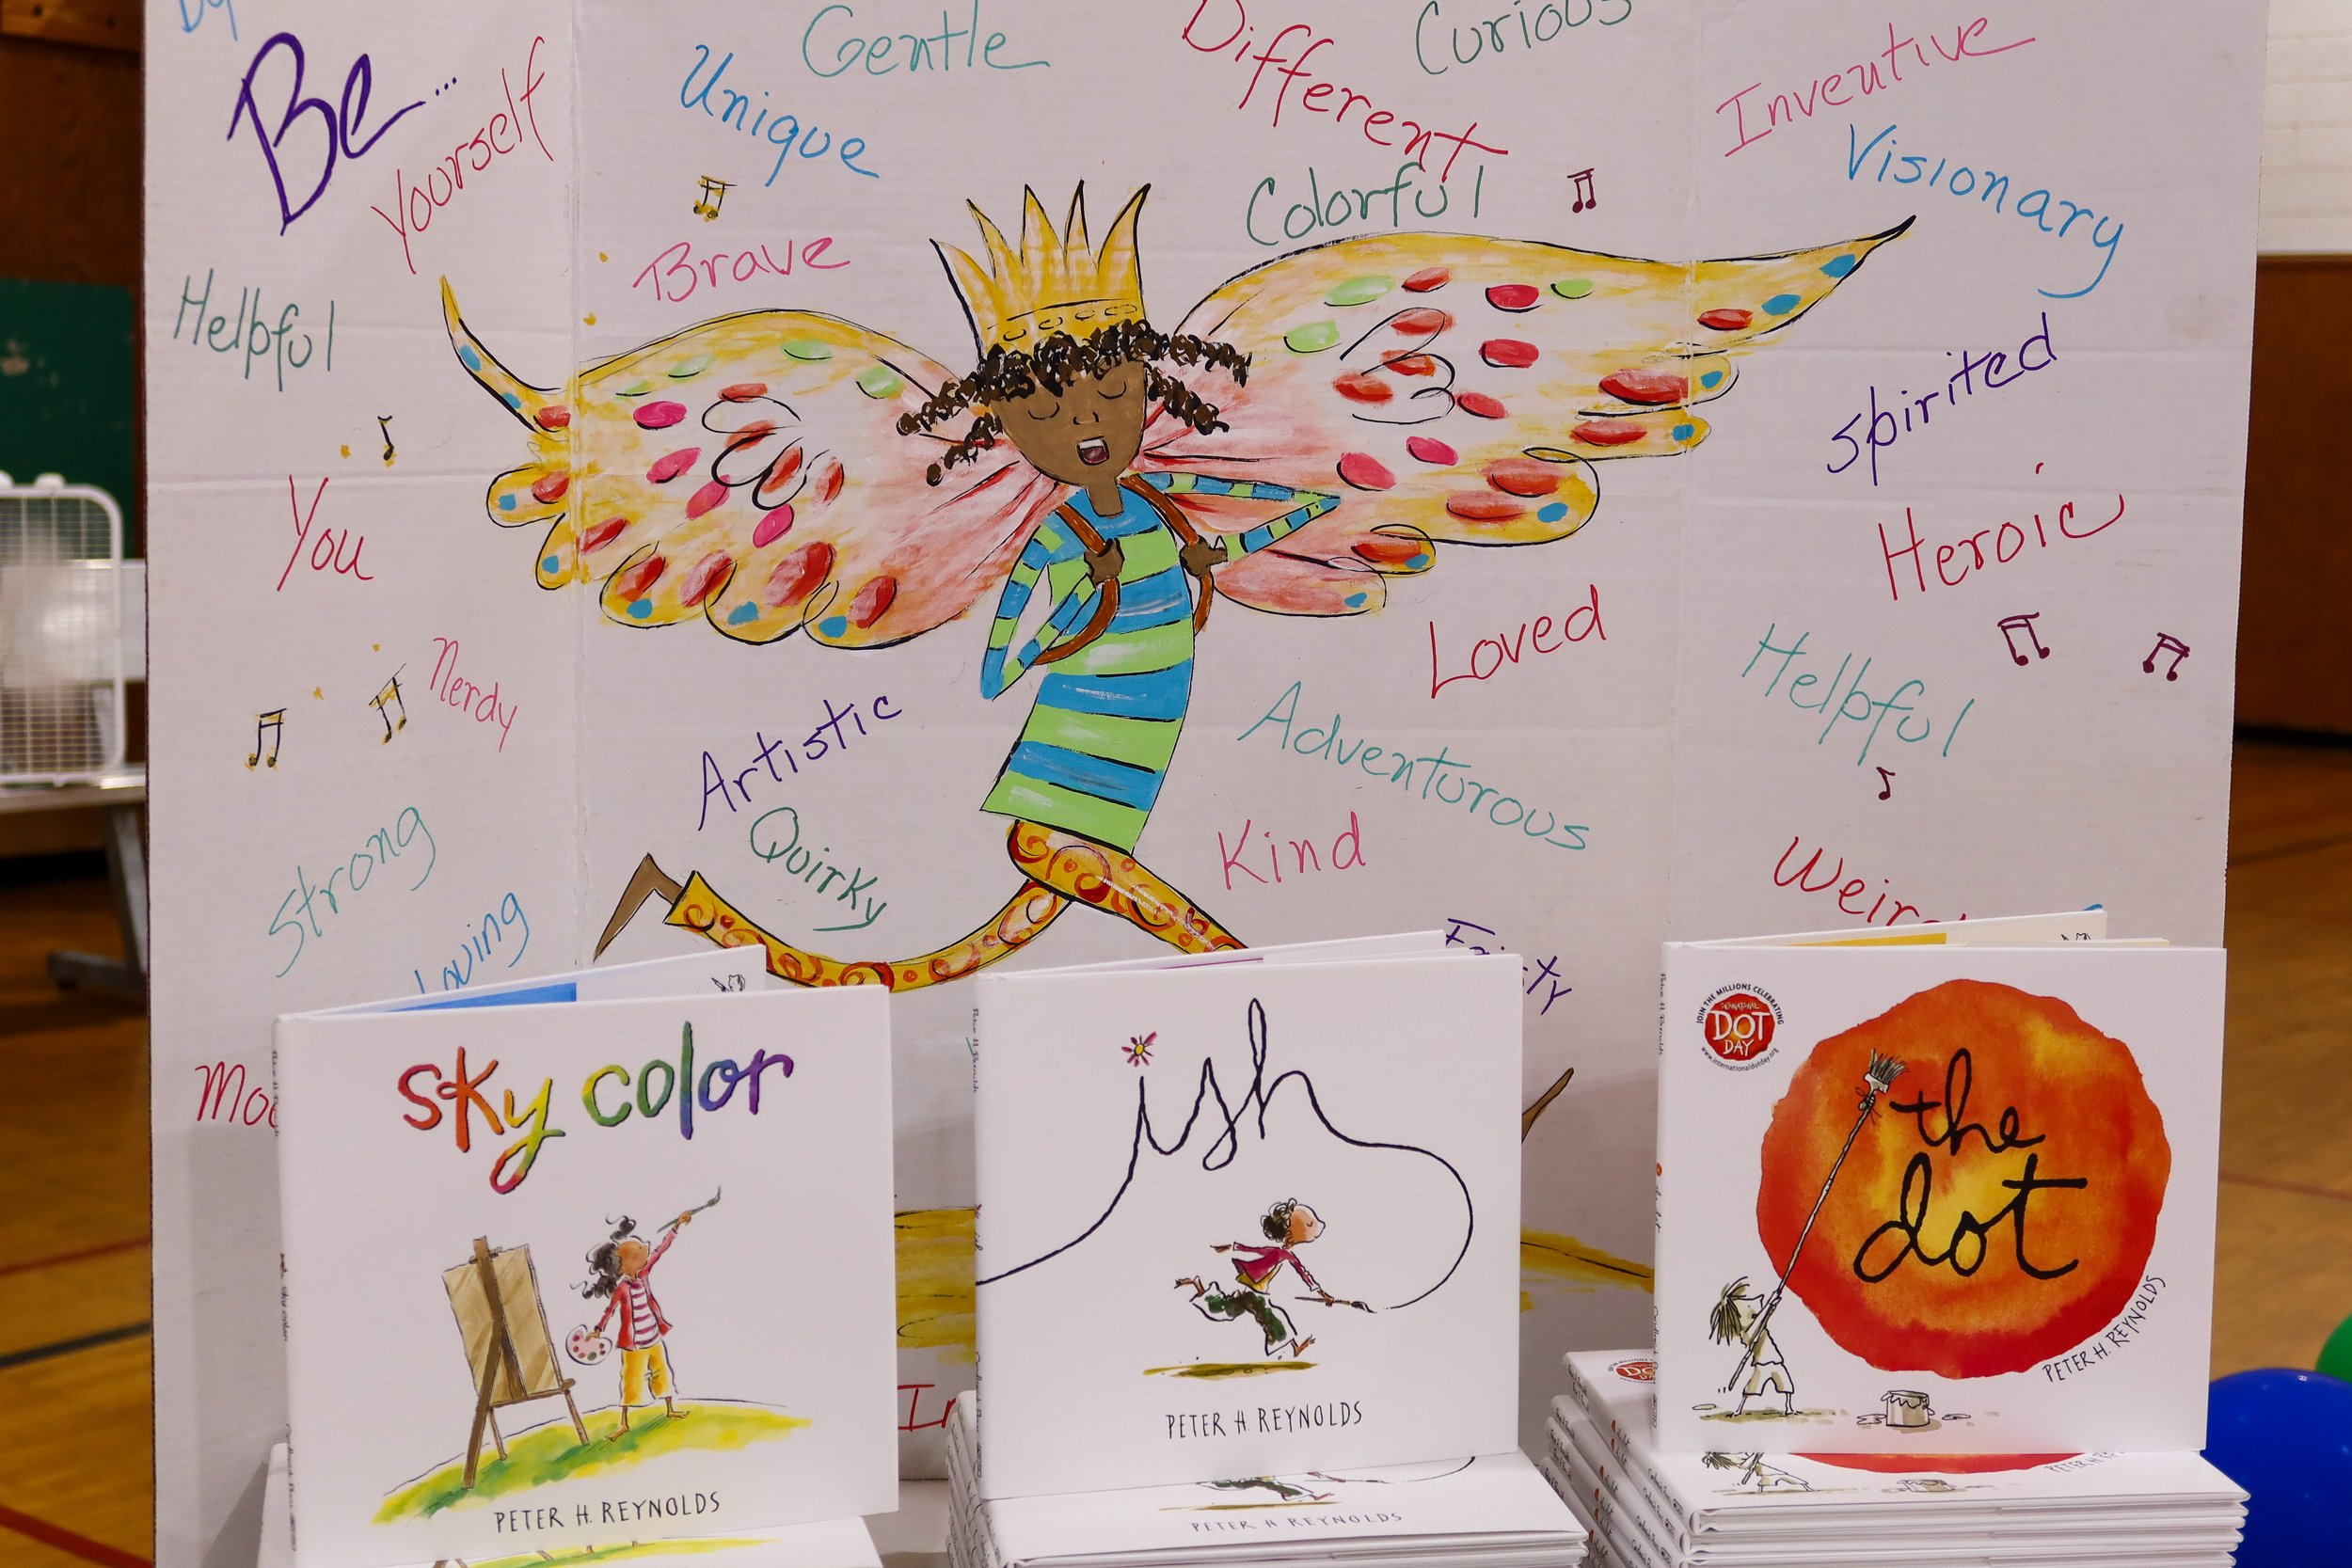
Soaking in the artwork and animations, Peter H. Reynolds toured each station that highlighted student projects done around his beloved picture books.
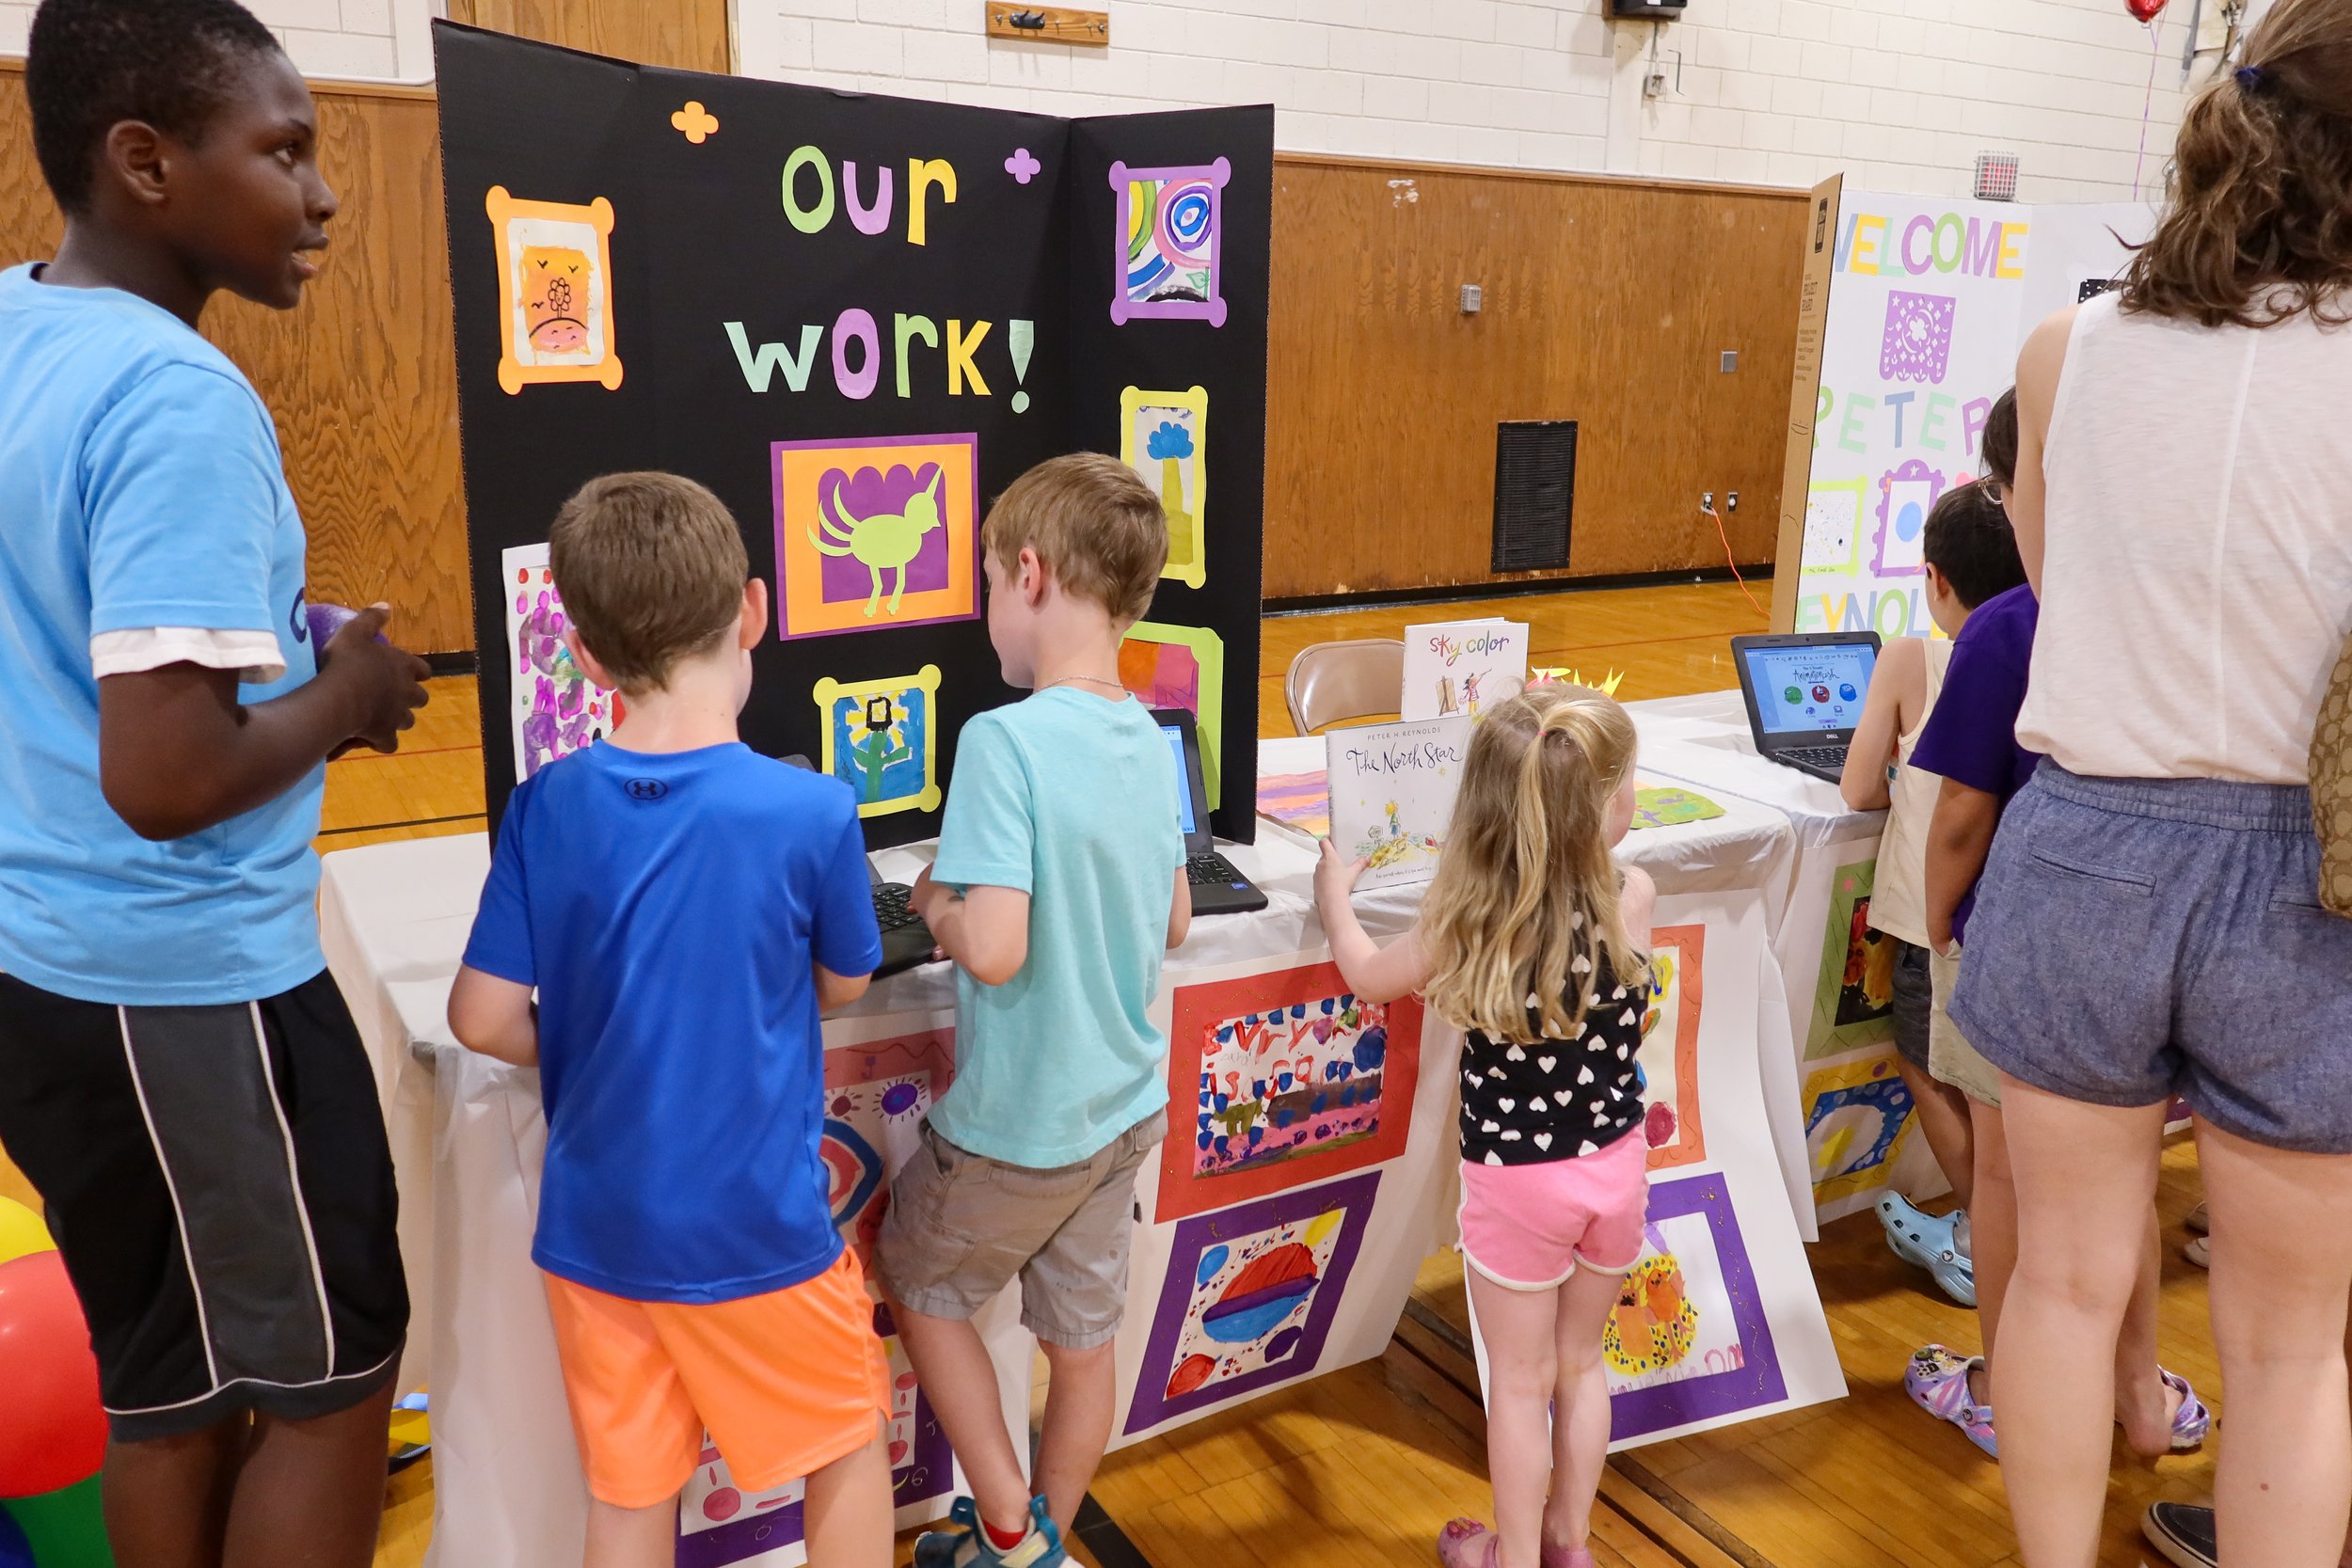
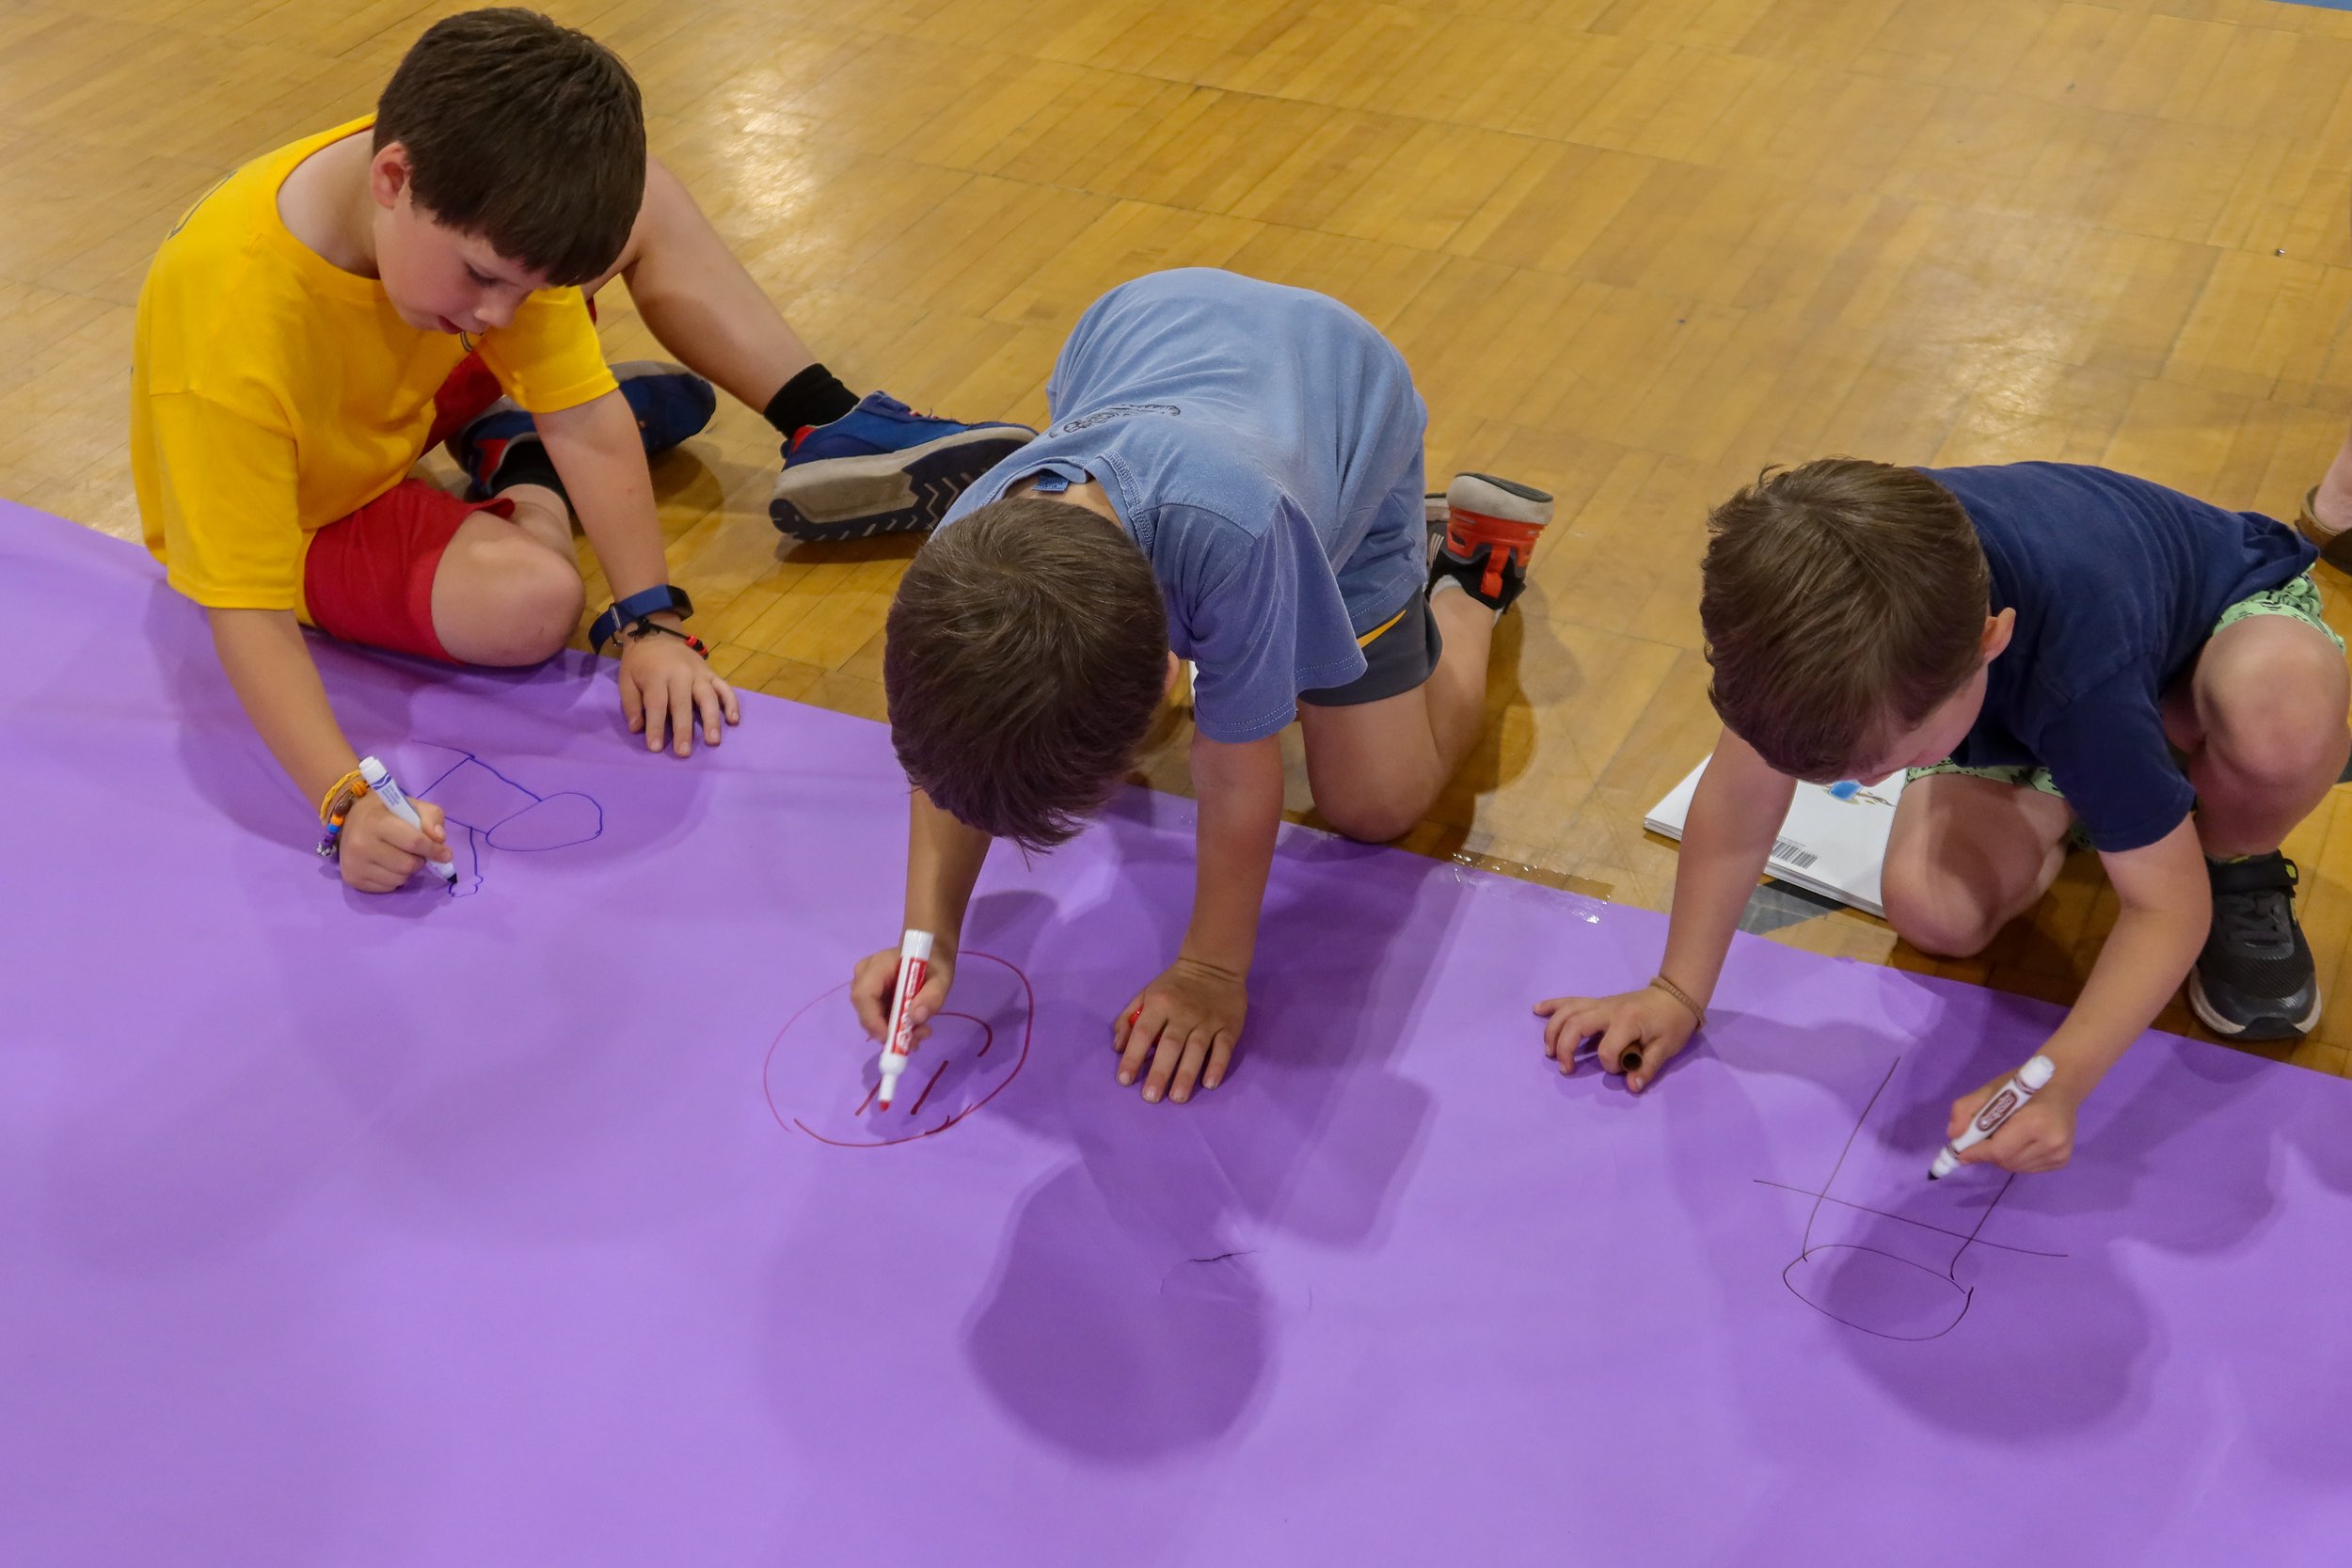
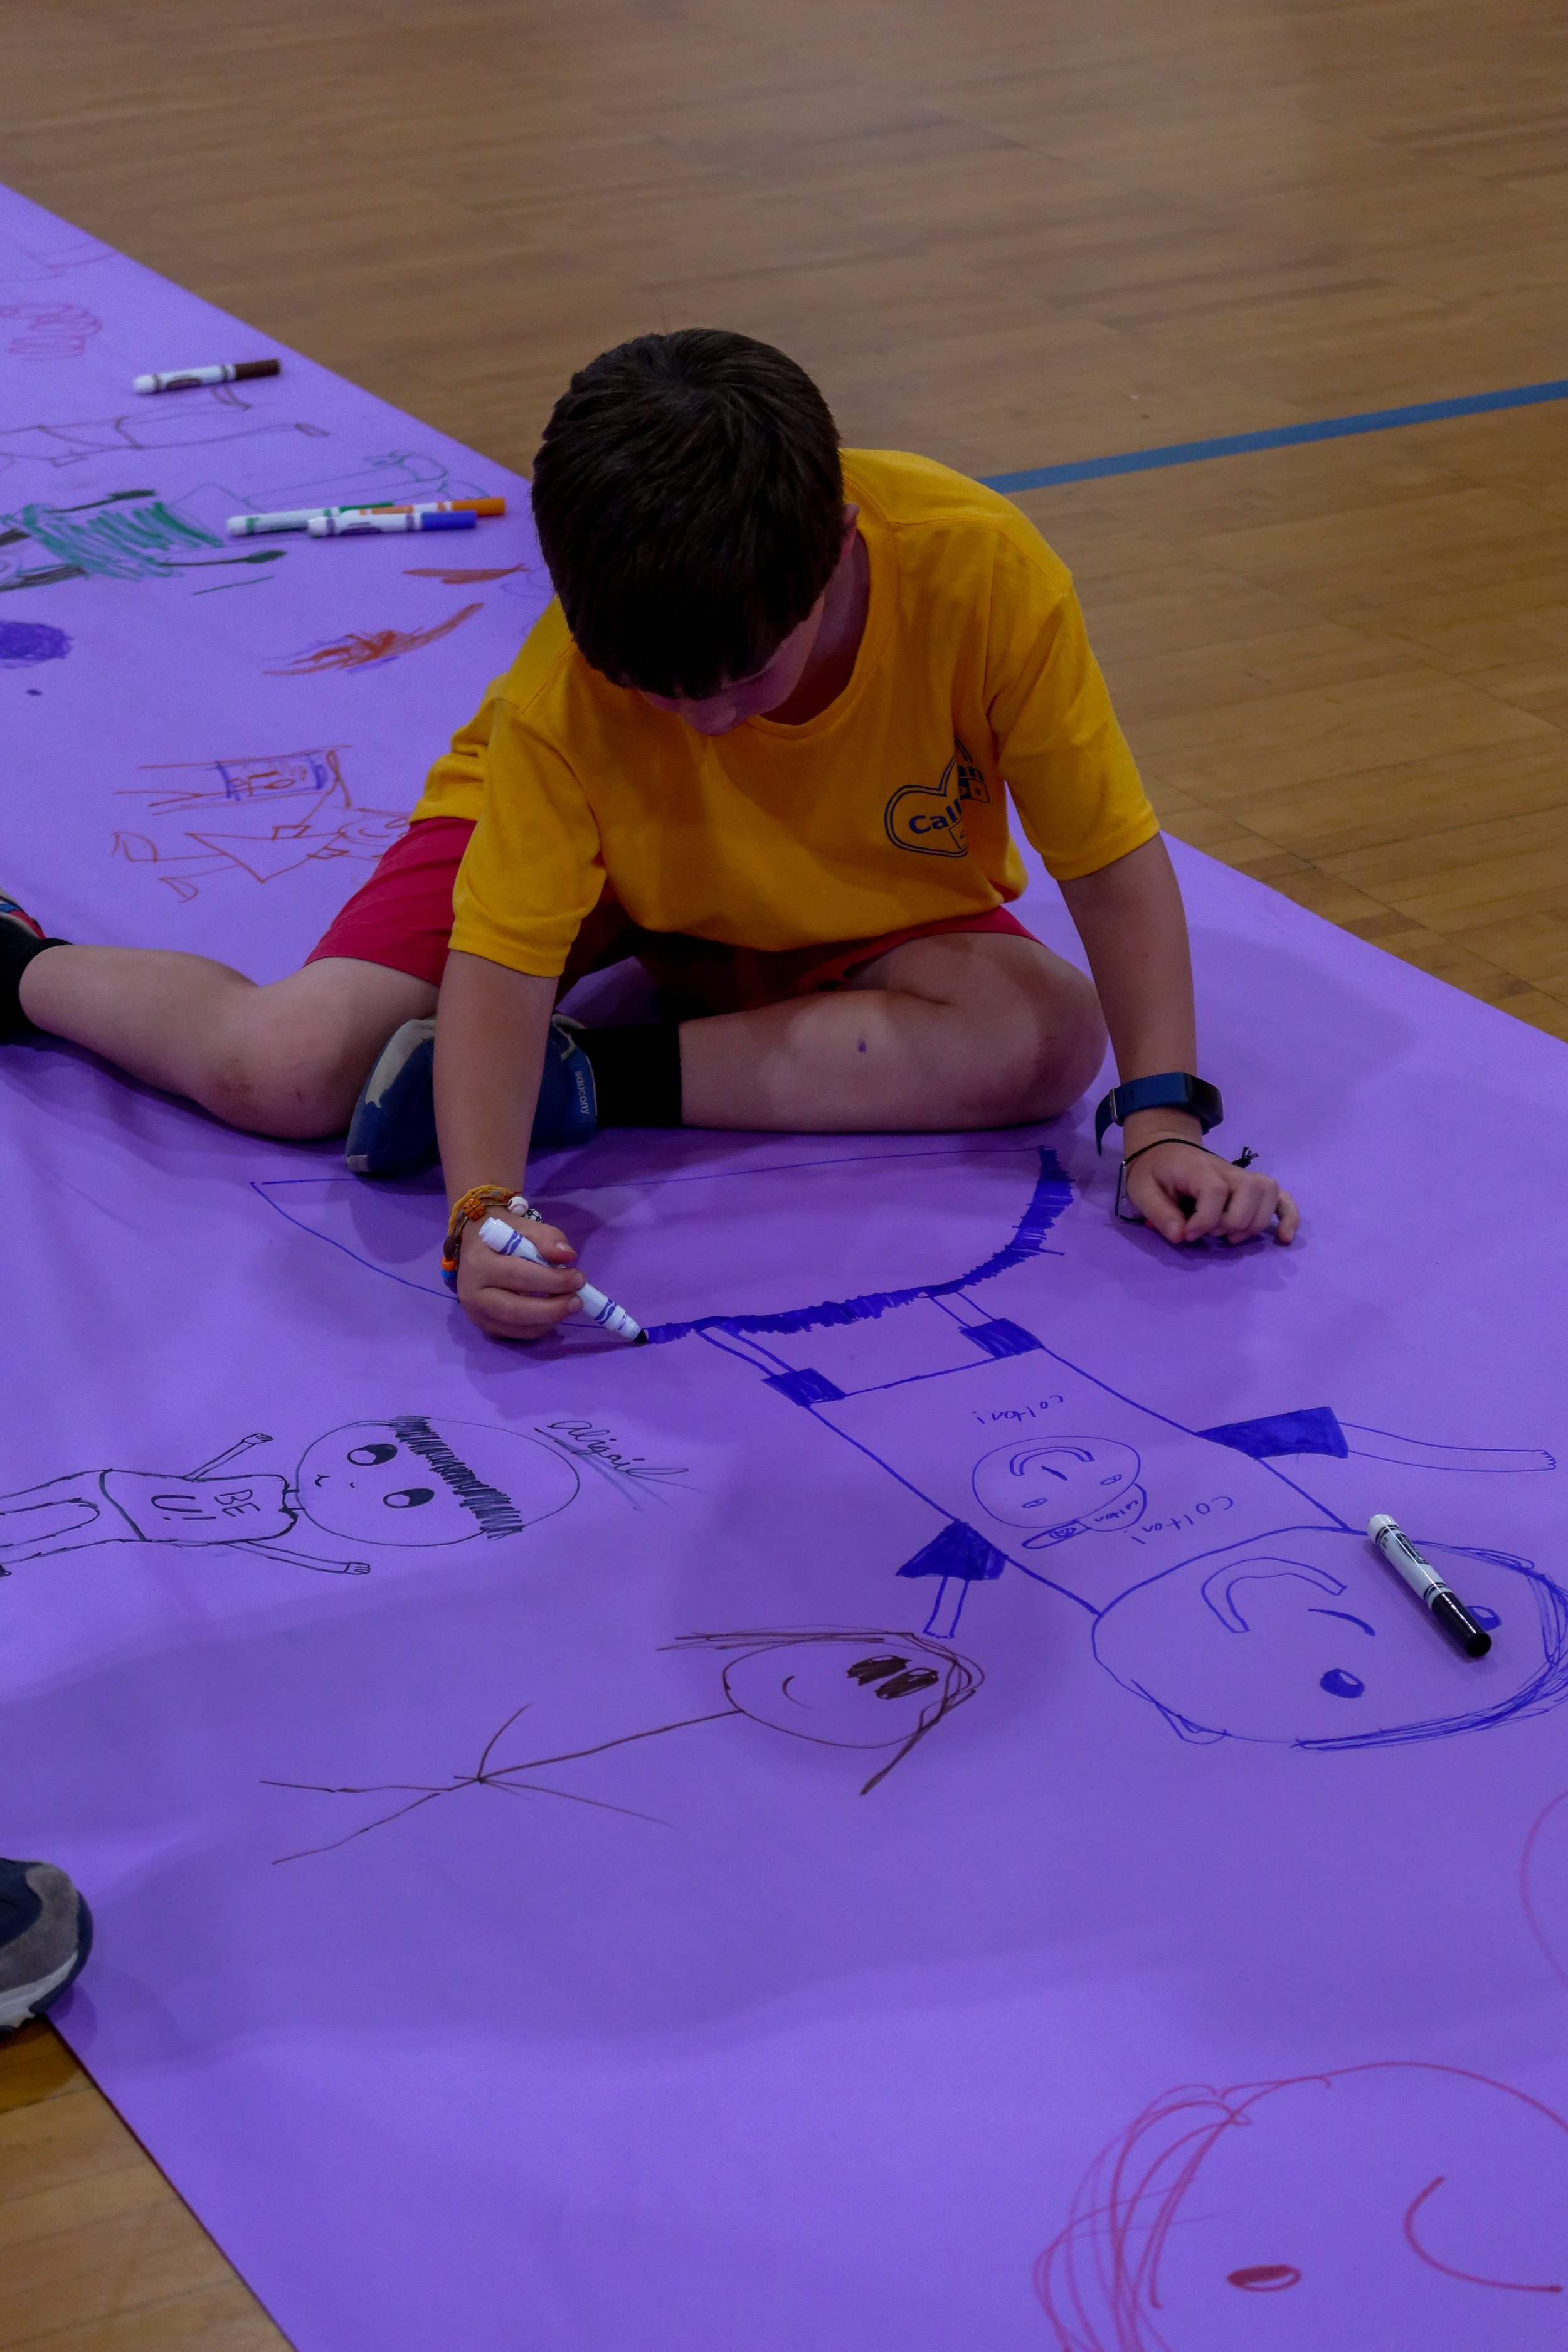
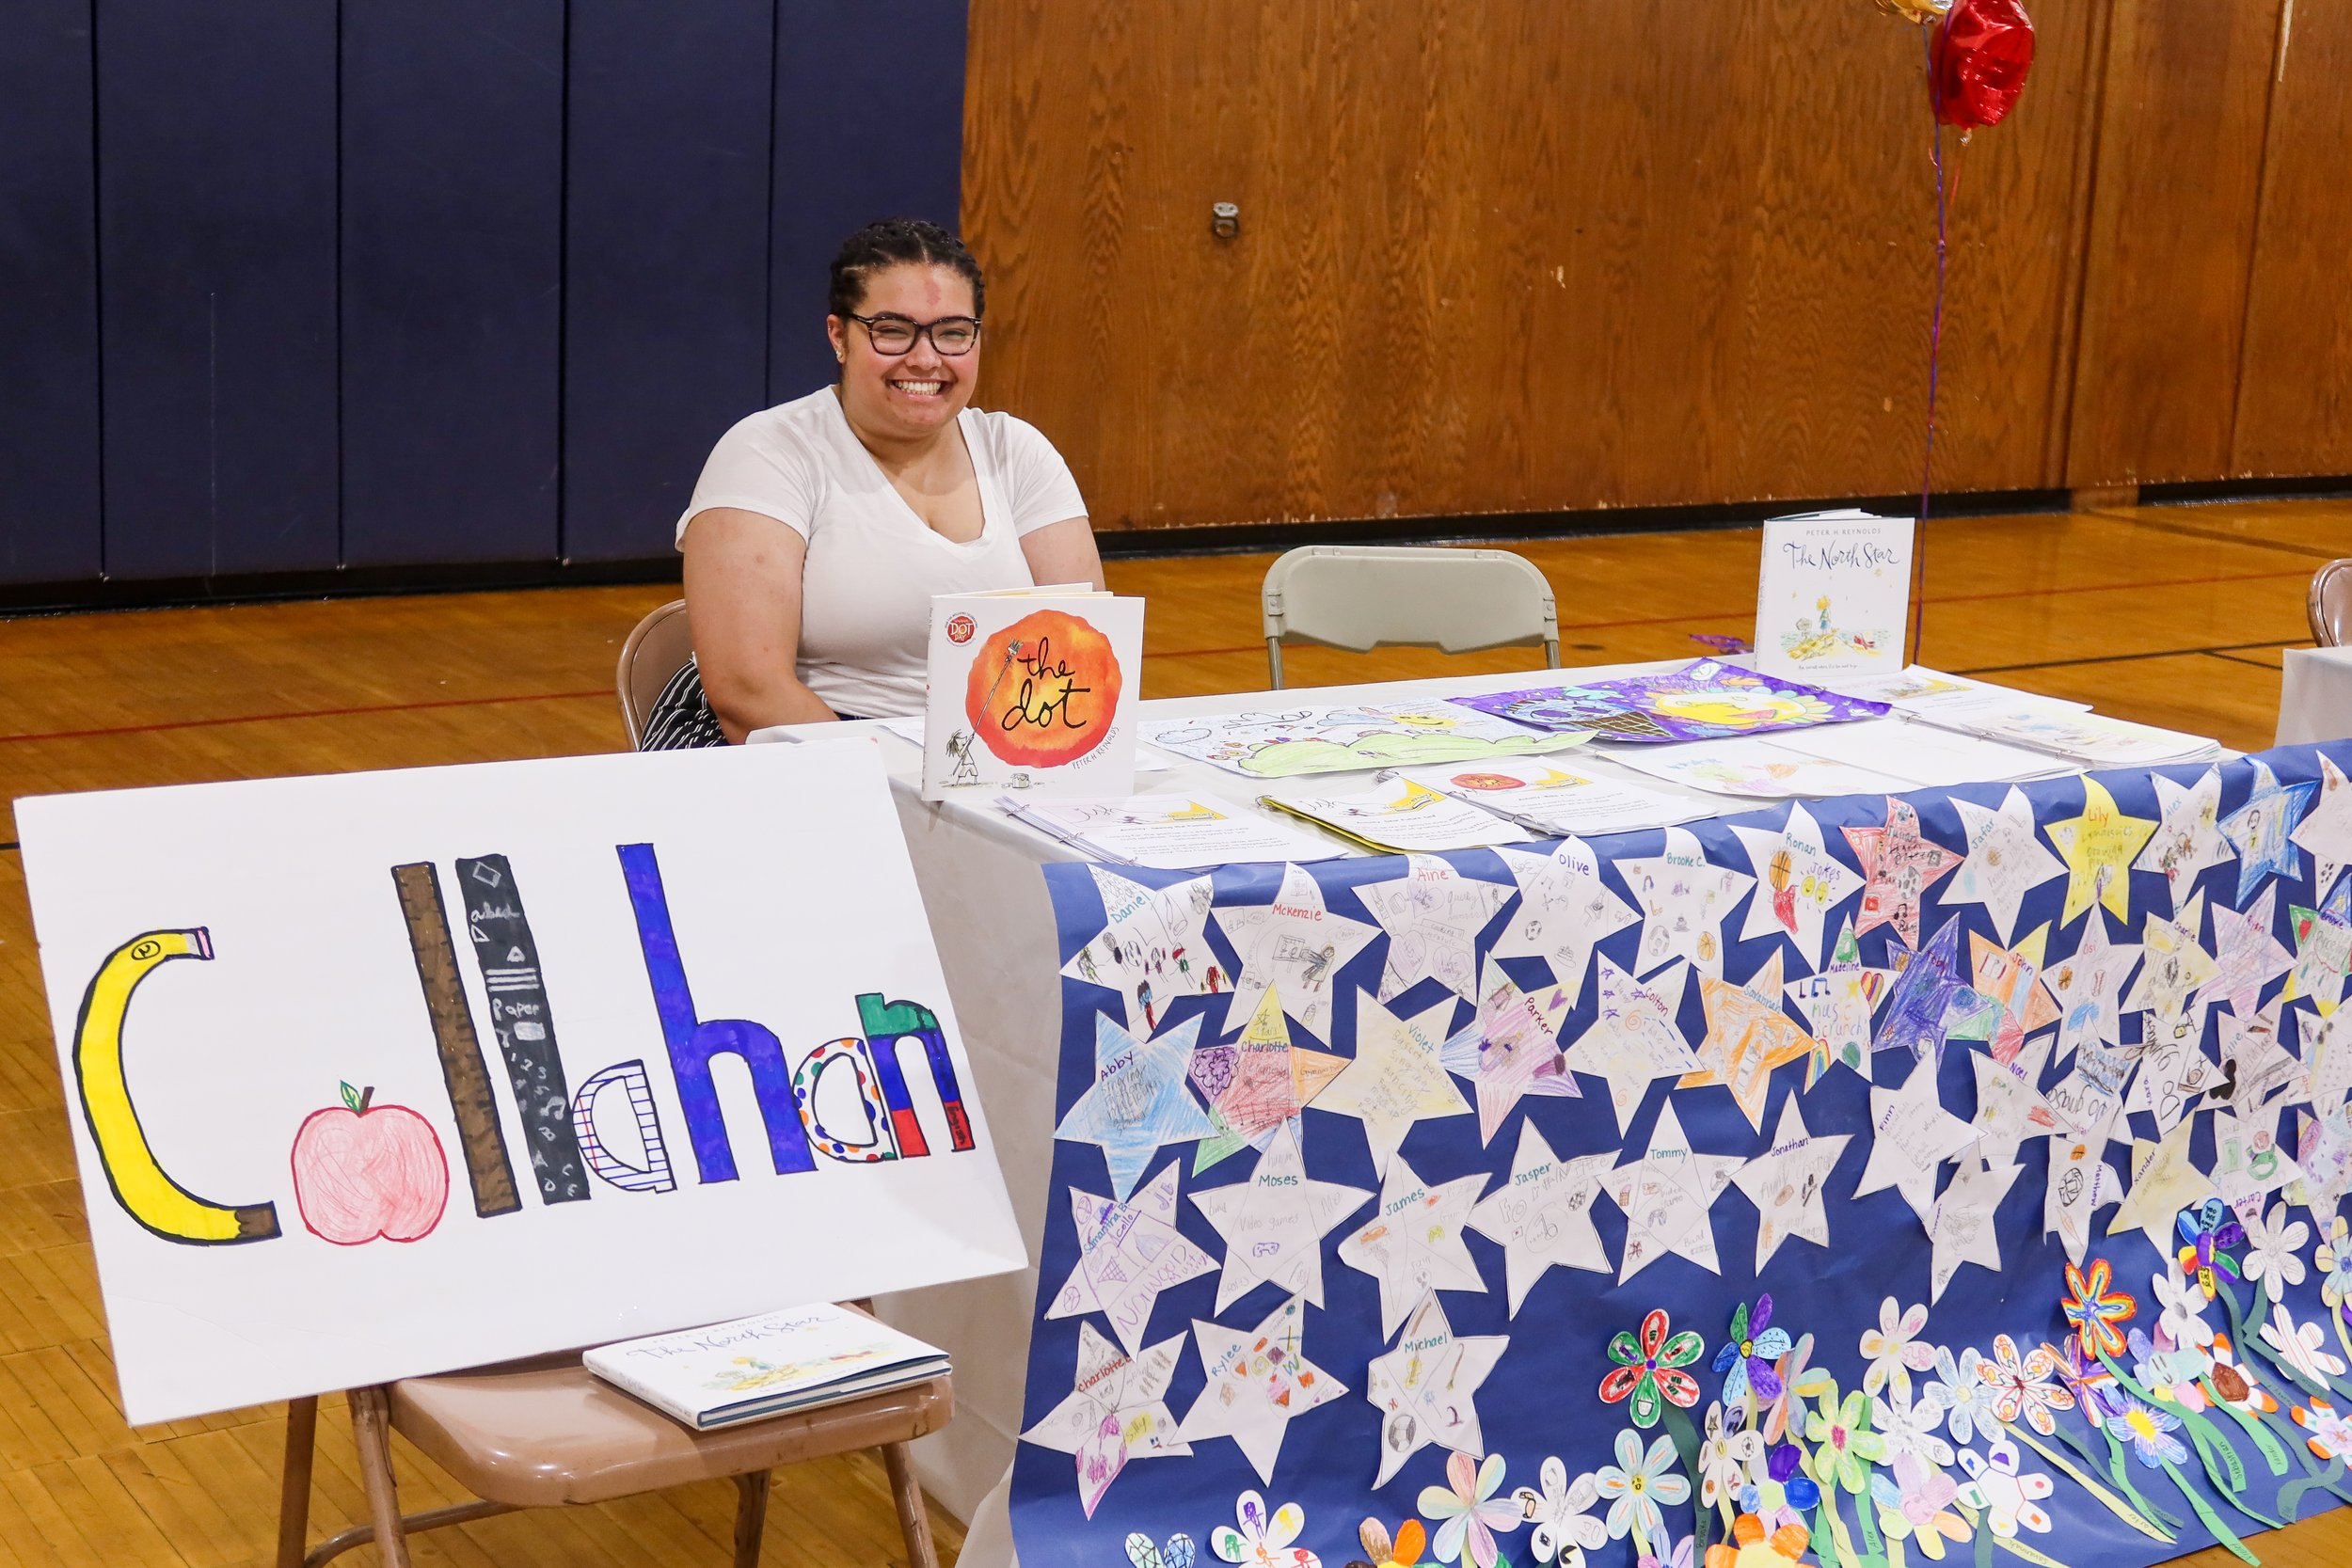
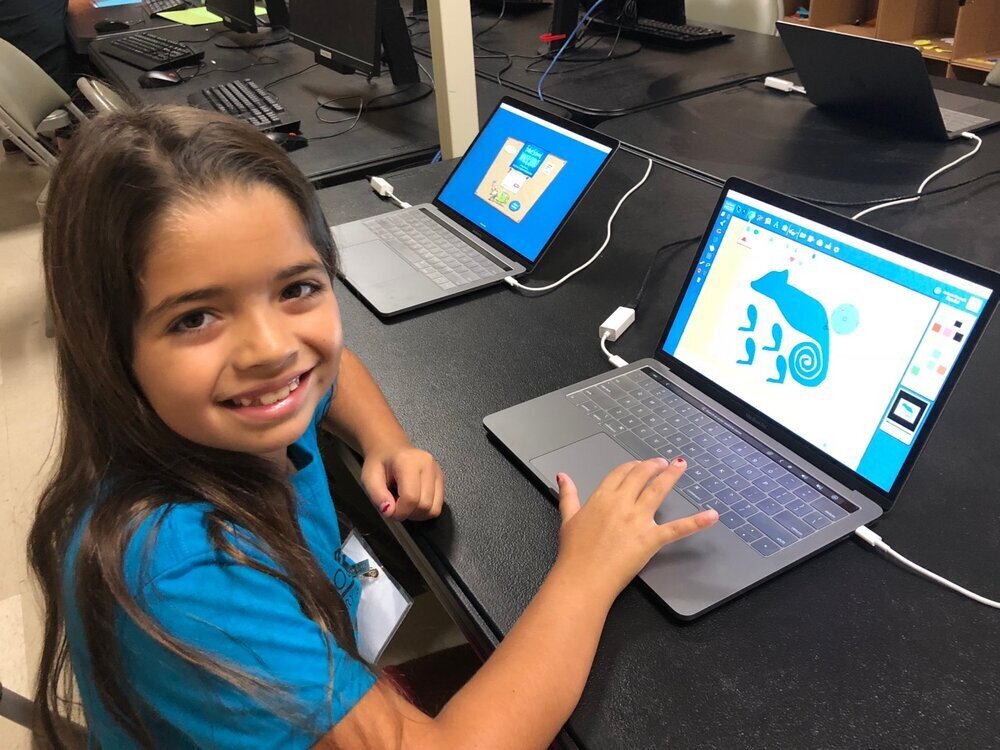
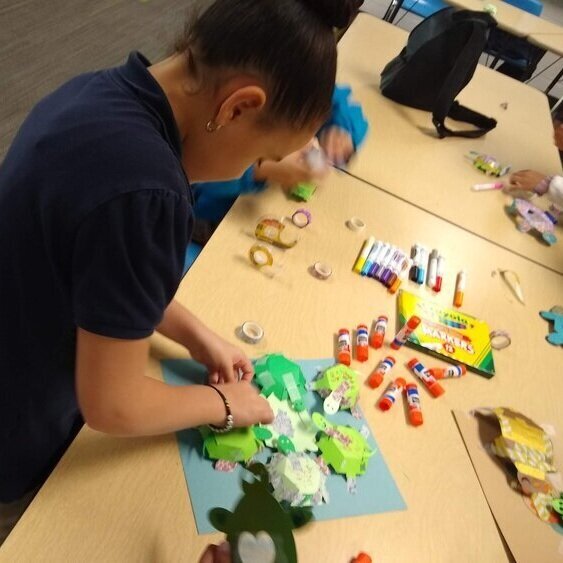
Starting with a PD session in February, FableVision Learning worked with Norwood Extended Day to develop a custom program to activate the works of New York Times Best-Selling author and illustrator Peter H. Reynolds through SEL/STEM projects. During the after-school program, K-5 students across the six elementary schools (Balch, Callahan, Cleveland, Oldham, Prescott, and Willett), engaged with creative tools, including Animation-ish (a leveled animation program) and FabMaker Studio (a 3-D design and engineering tool) as they practiced the skills of communication, collaboration, critical thinking and creativity.
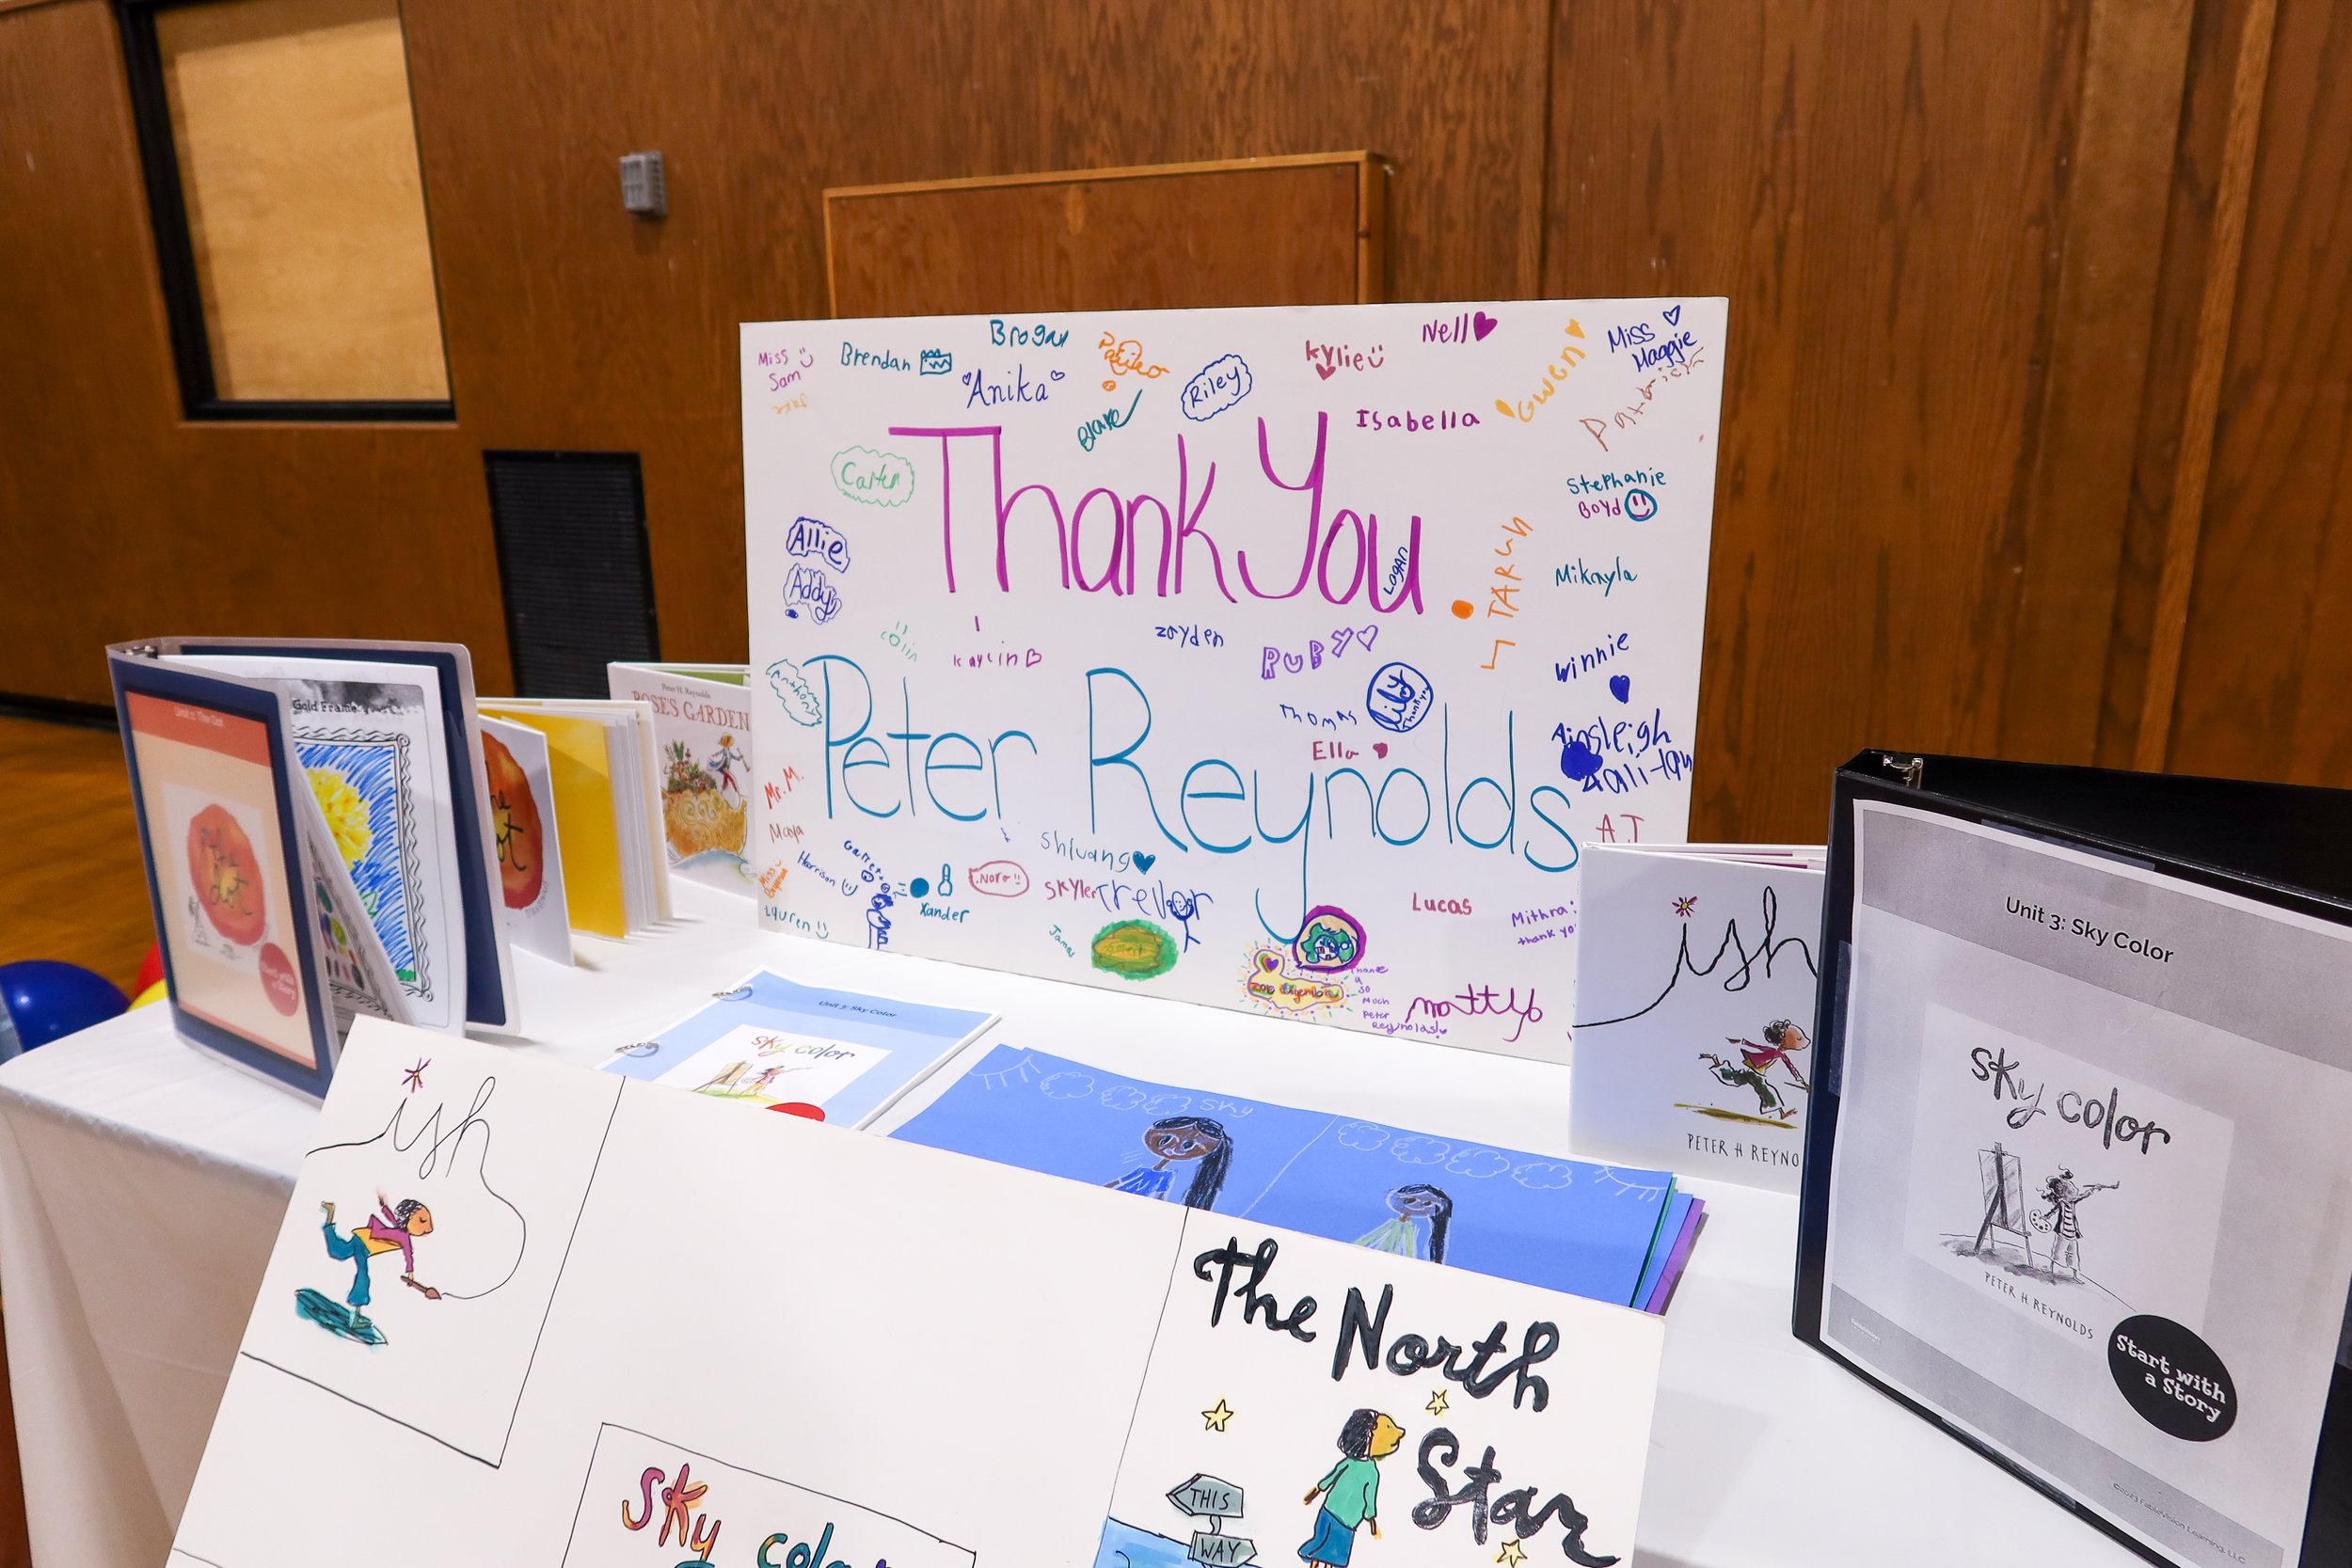
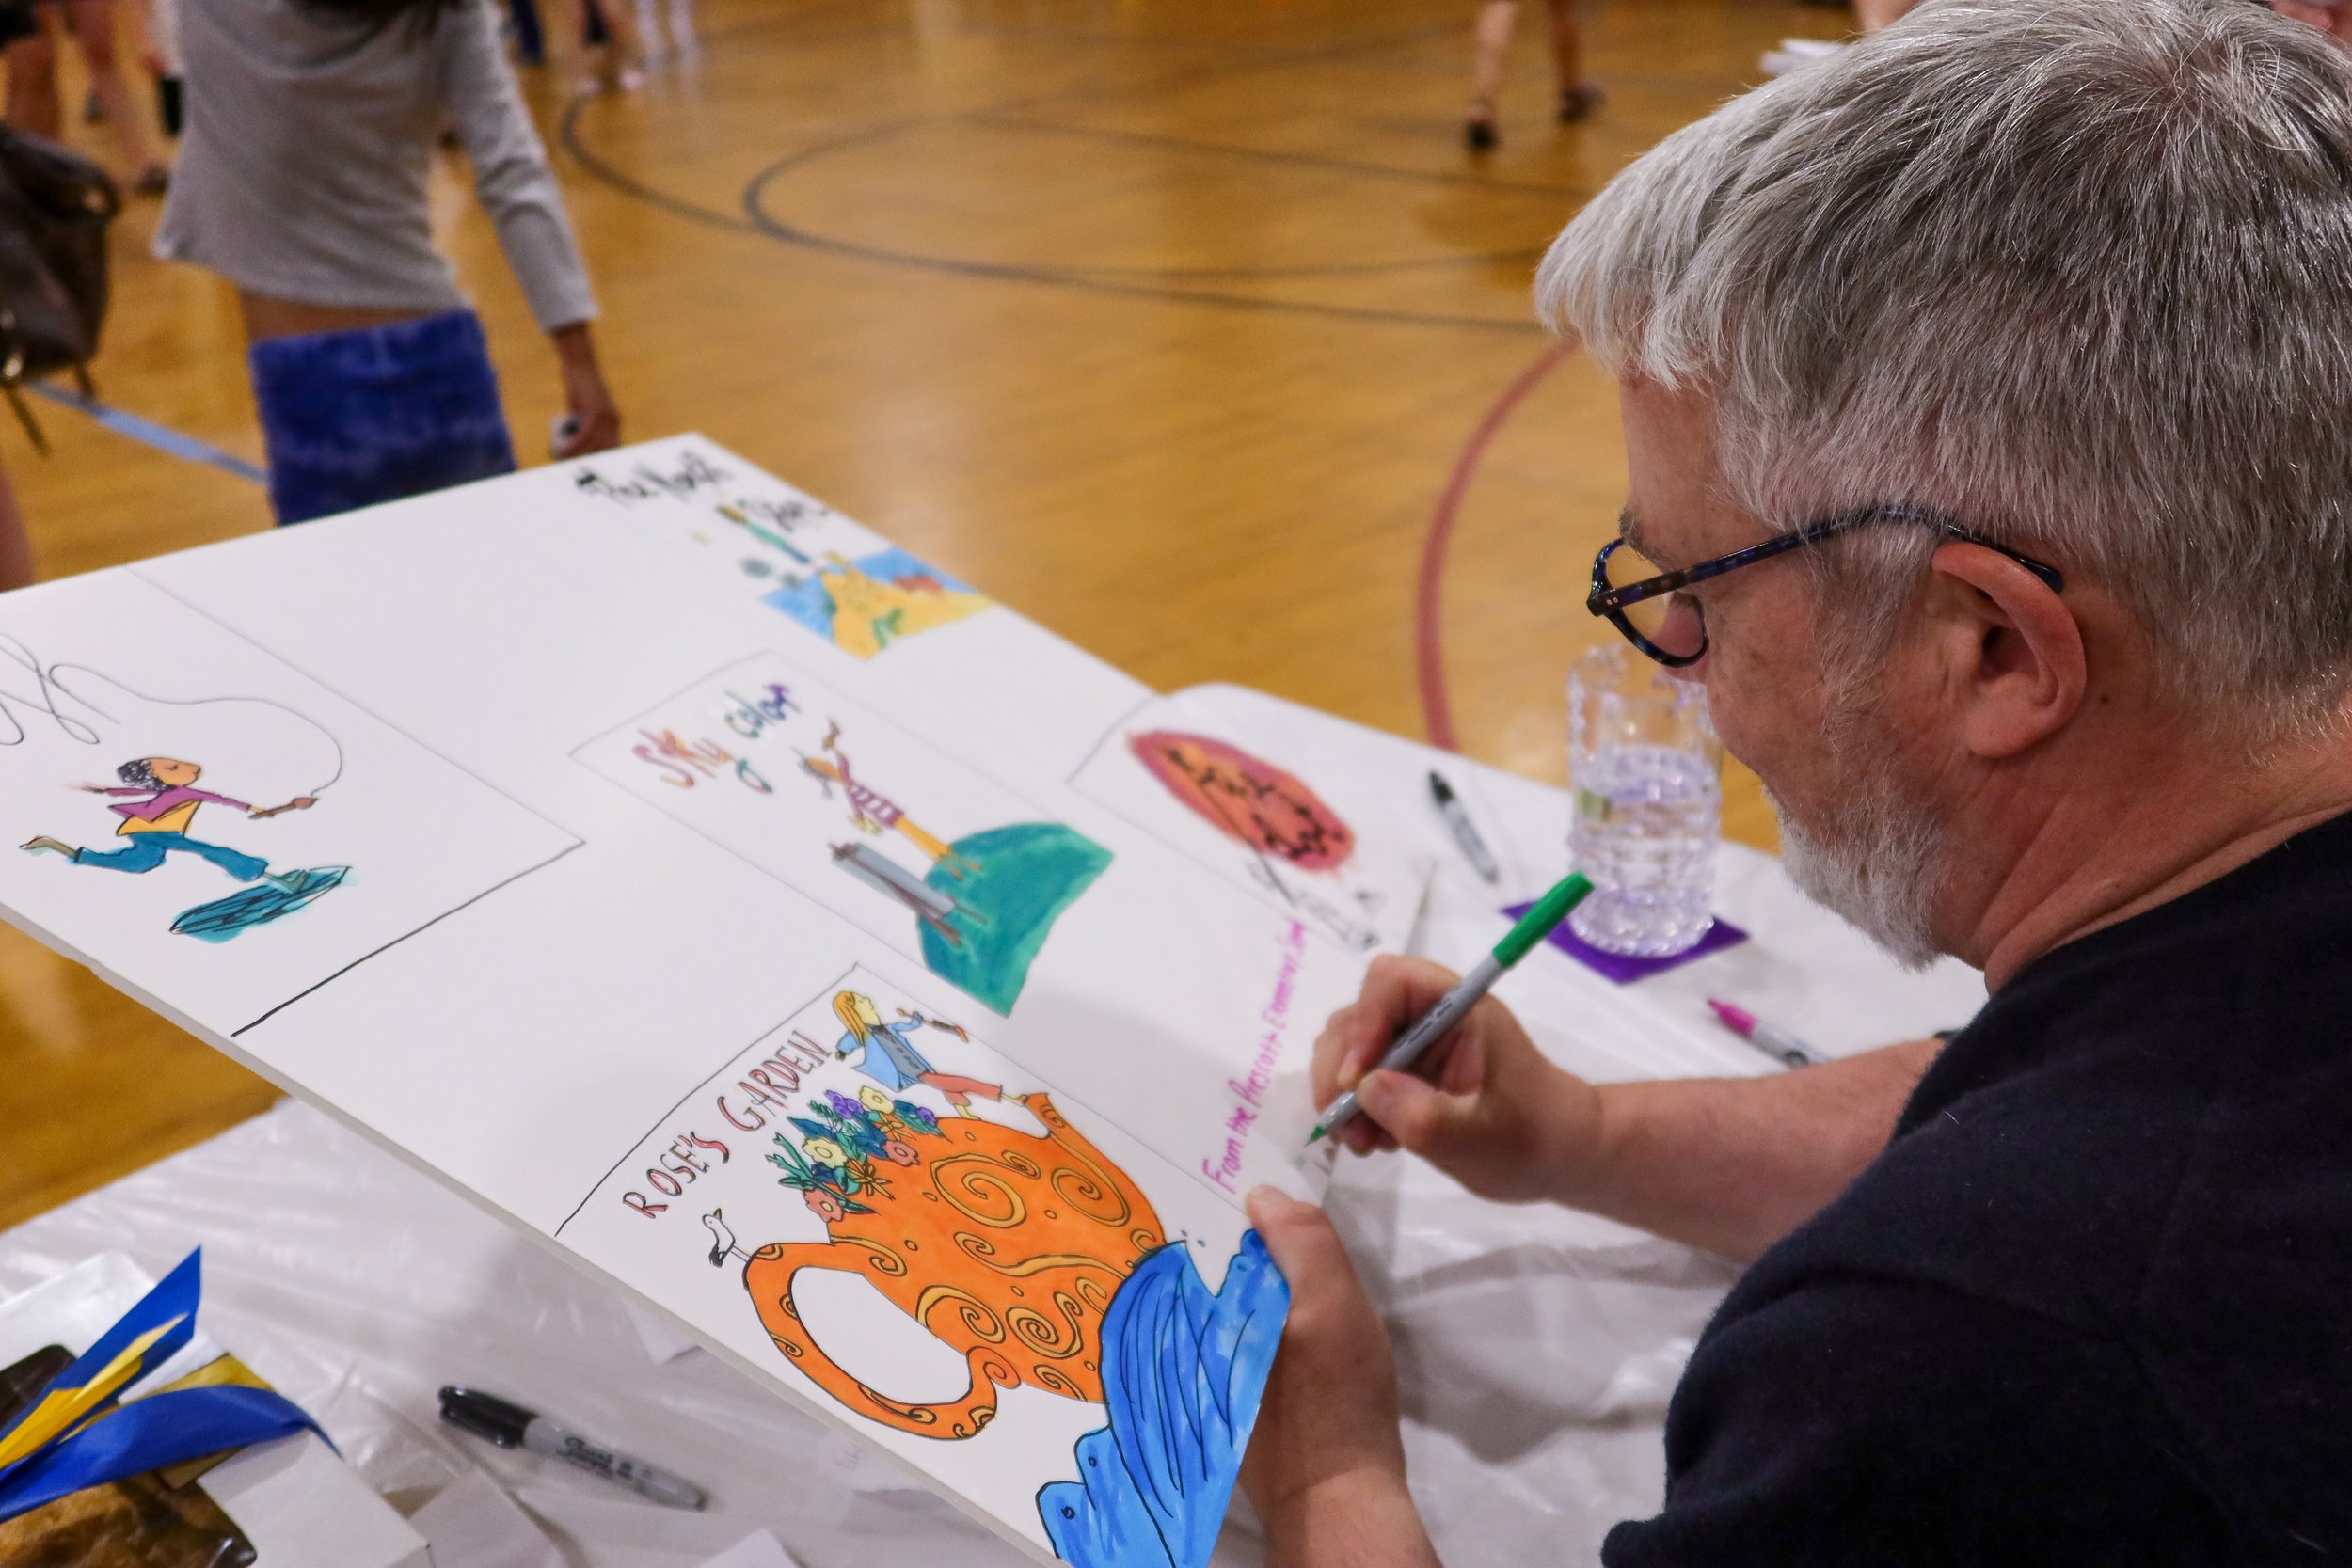
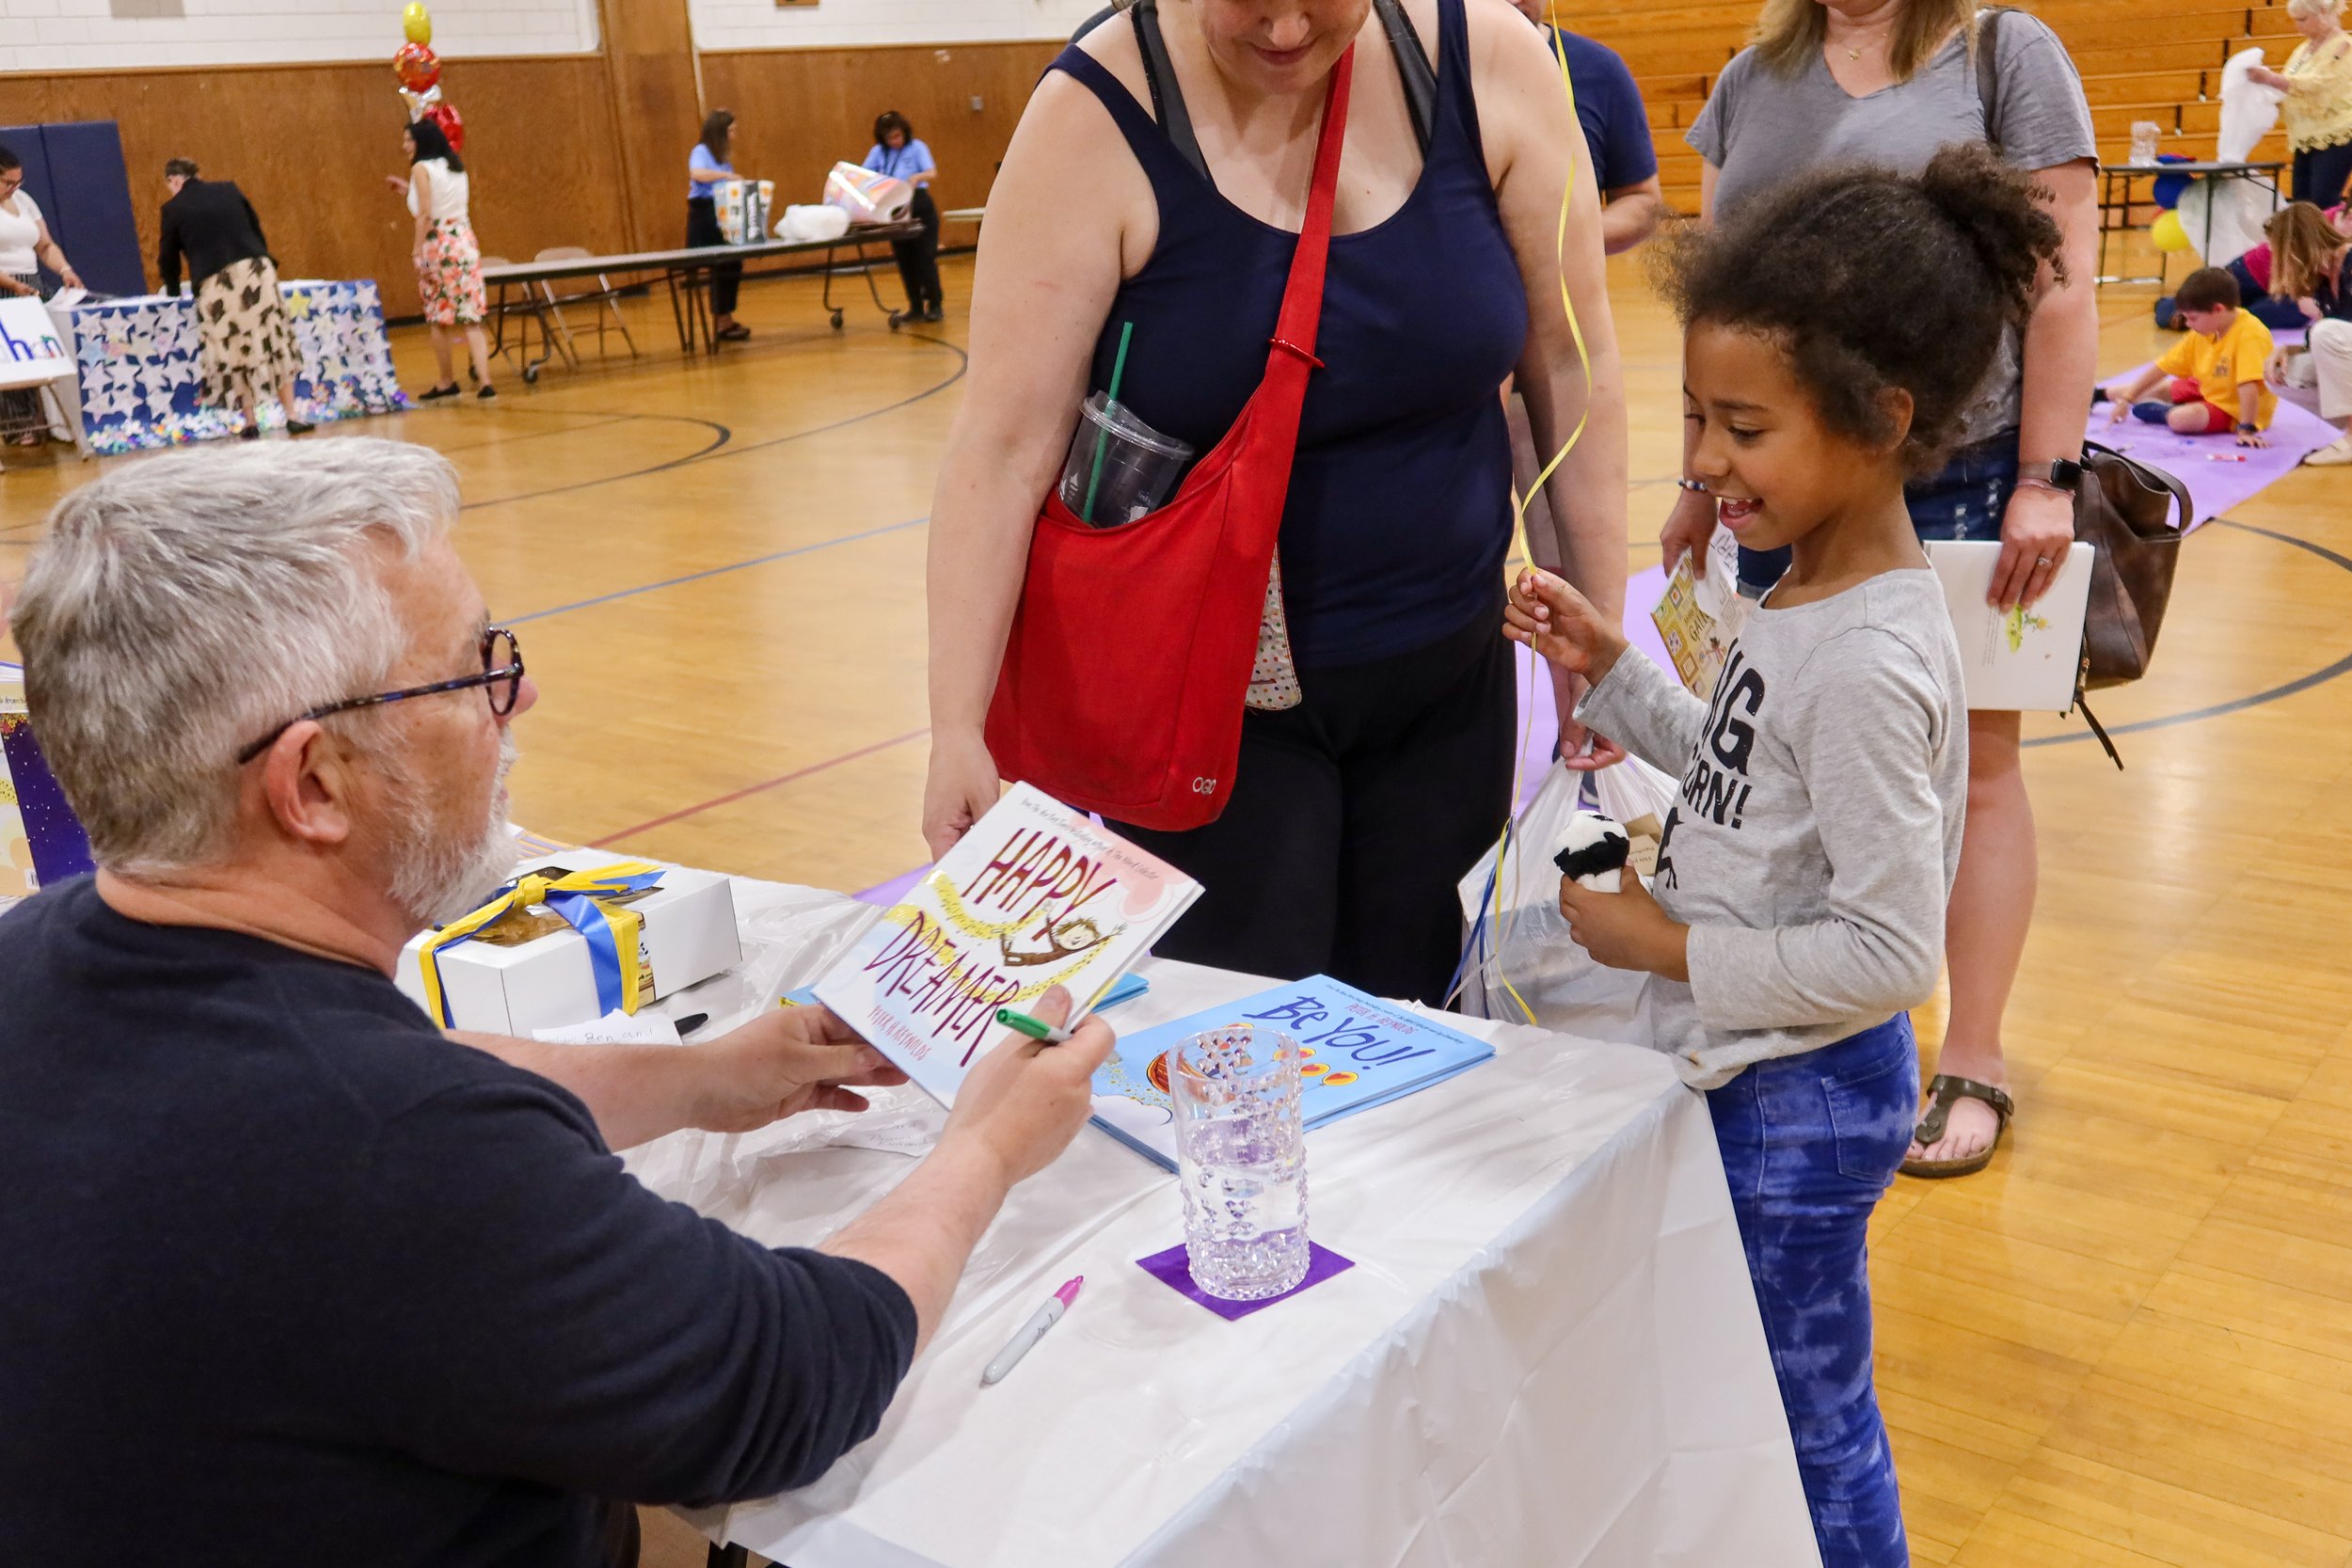
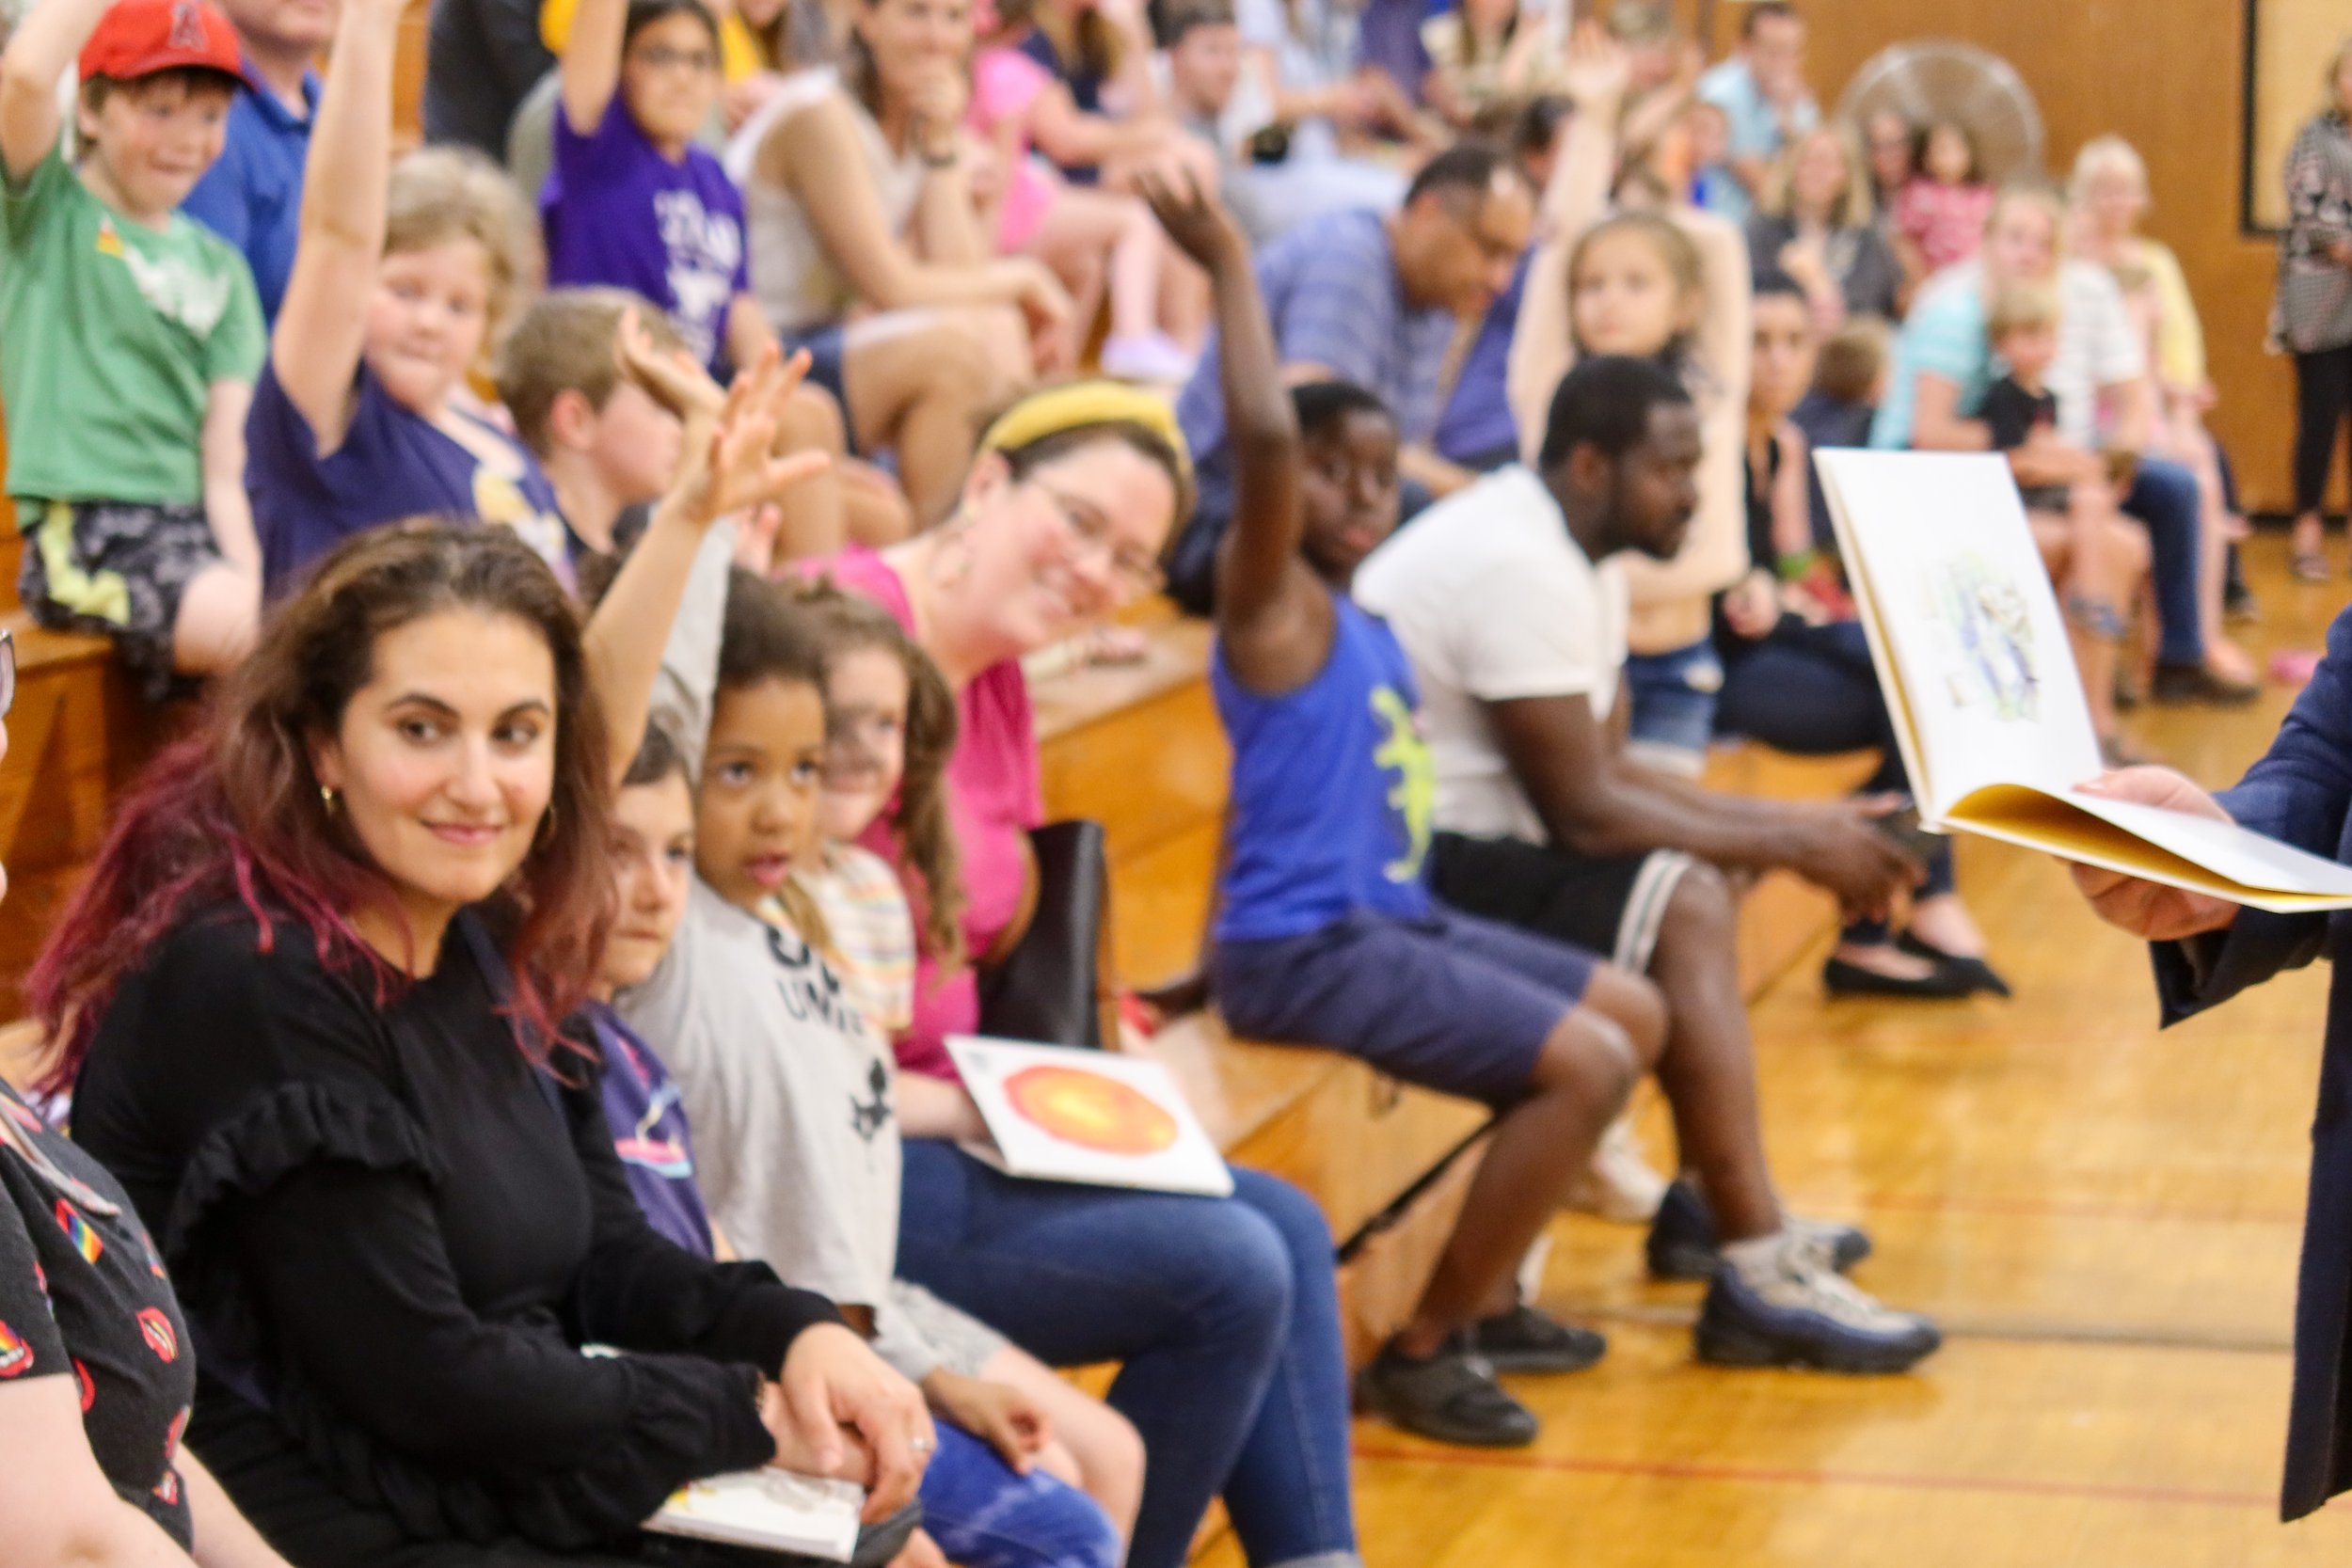
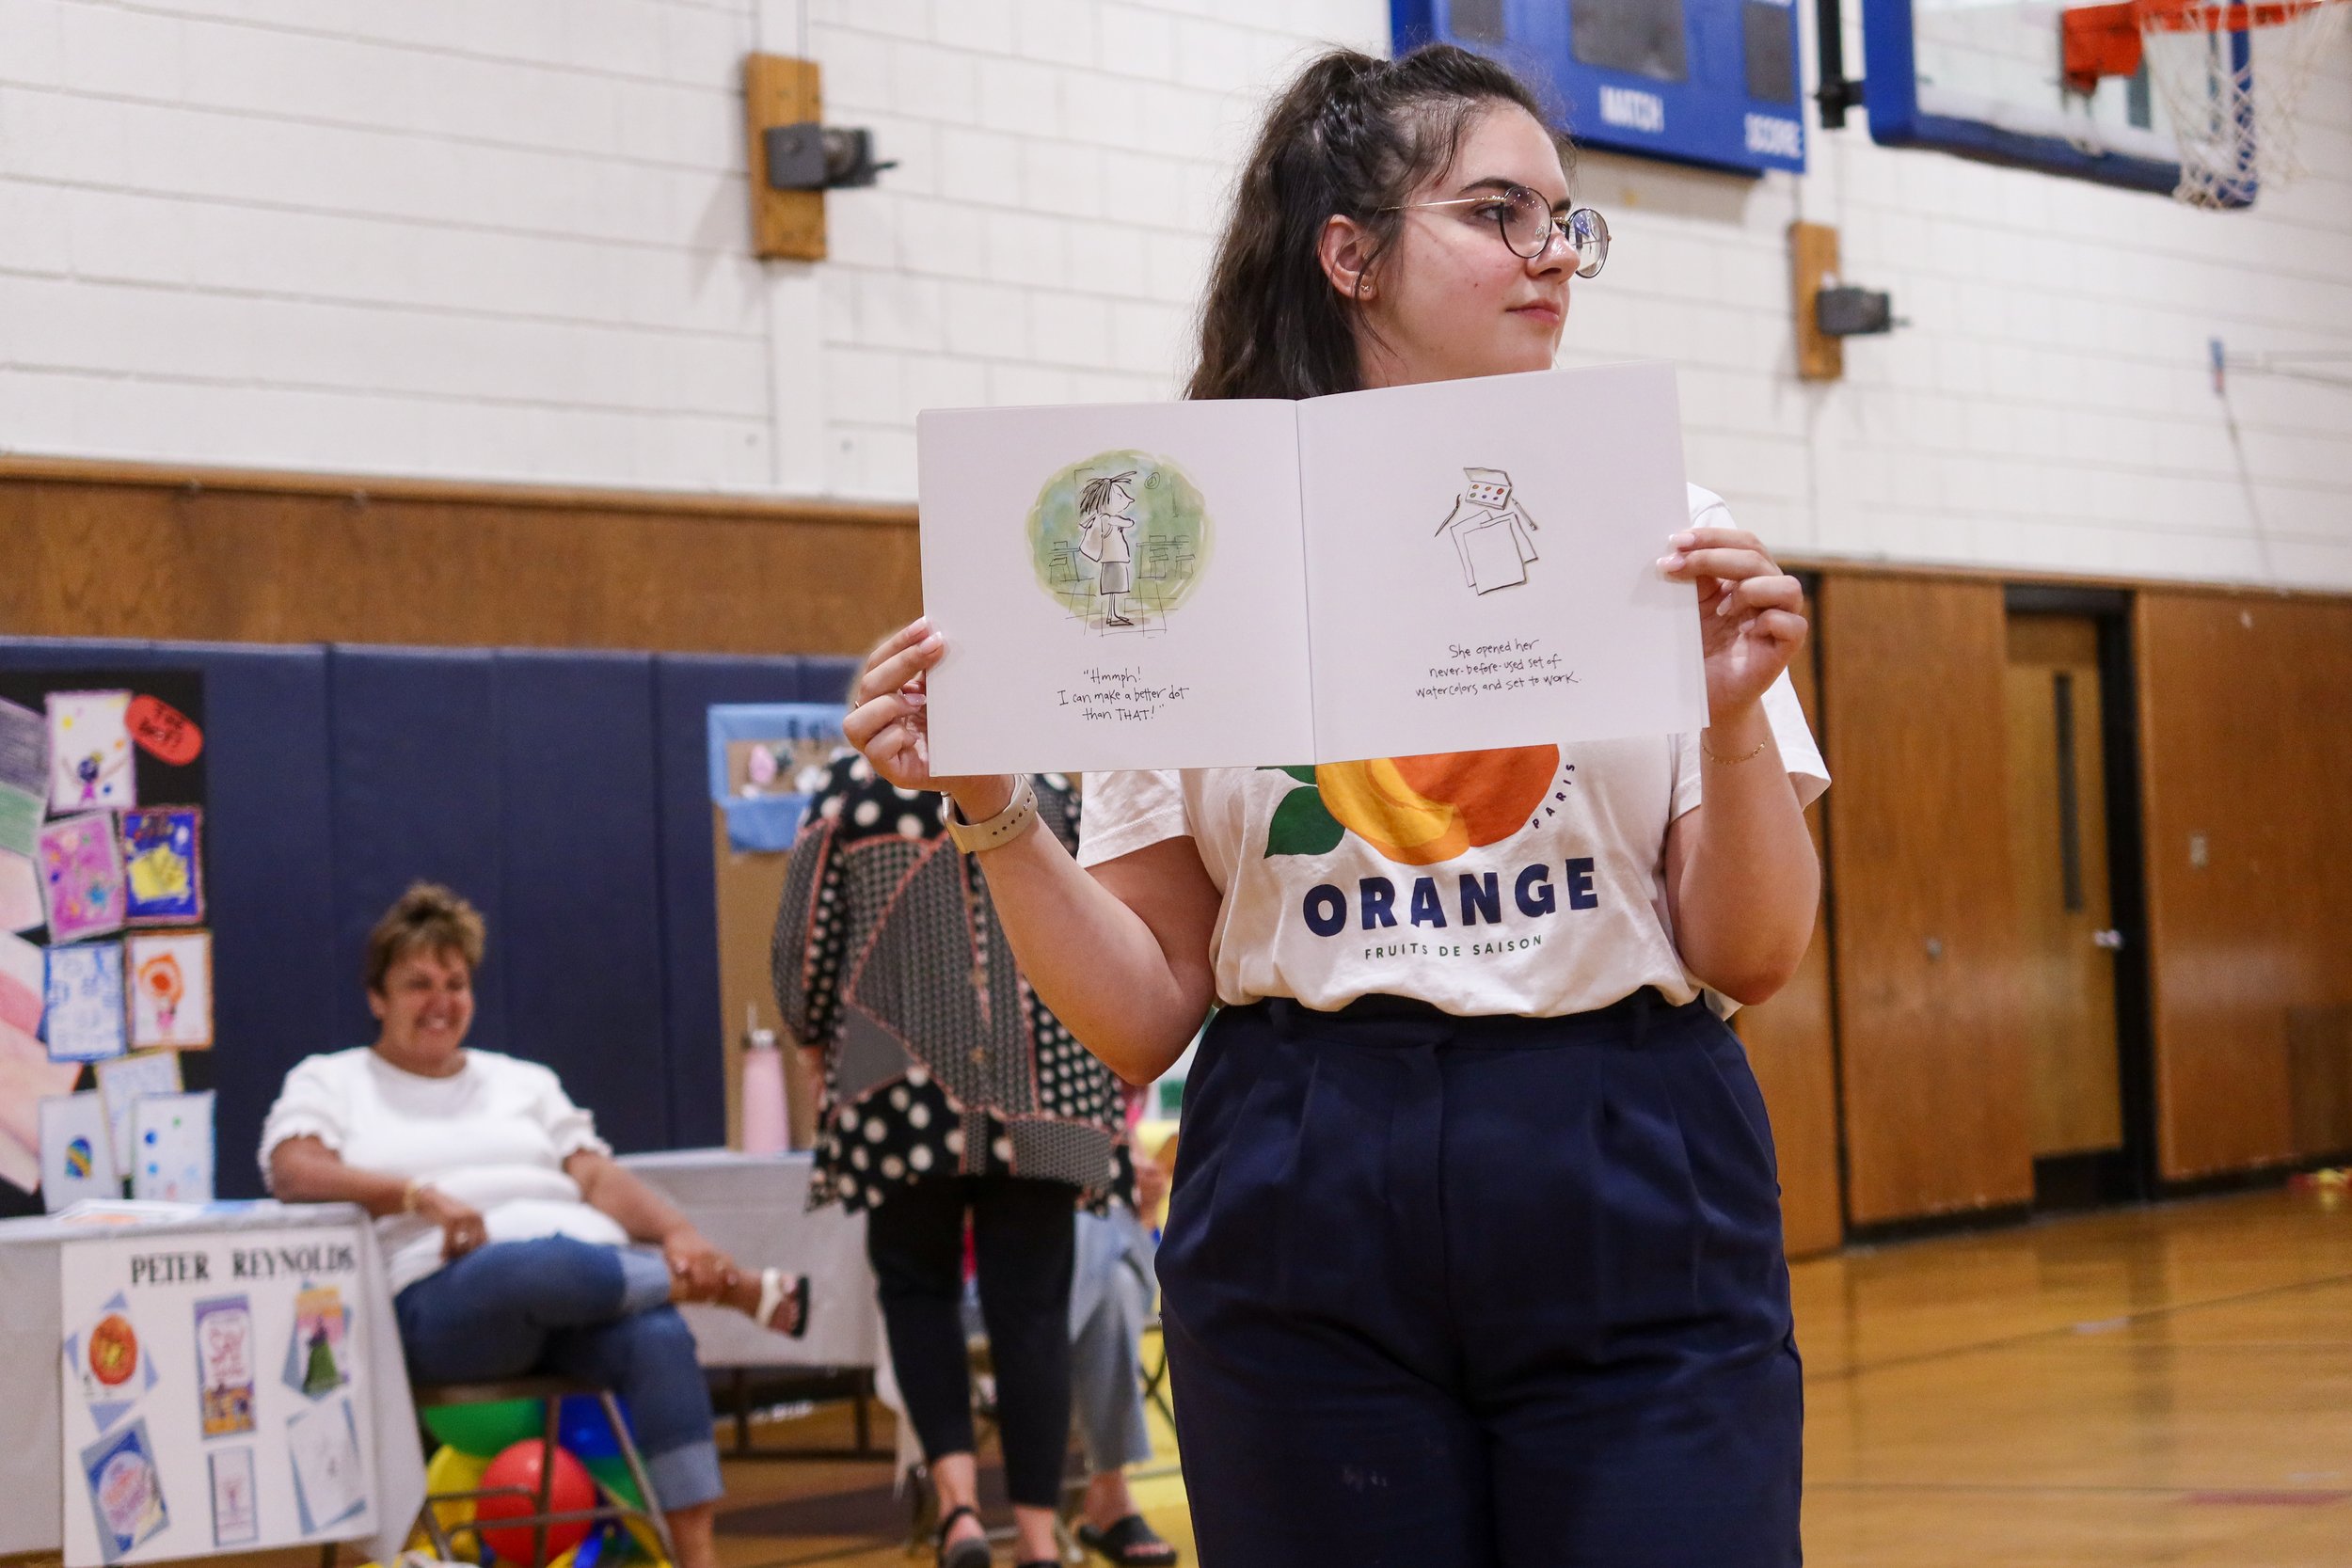
The audience at the Friday night celebration were treated to an interactive reading of The Dot by Peter H. Reynolds. Riordan, a young girl from the audience, enthusiastically played the role of Vashti as Peter read along. Following the presentation, families lined up to meet Peter and have their books signed.
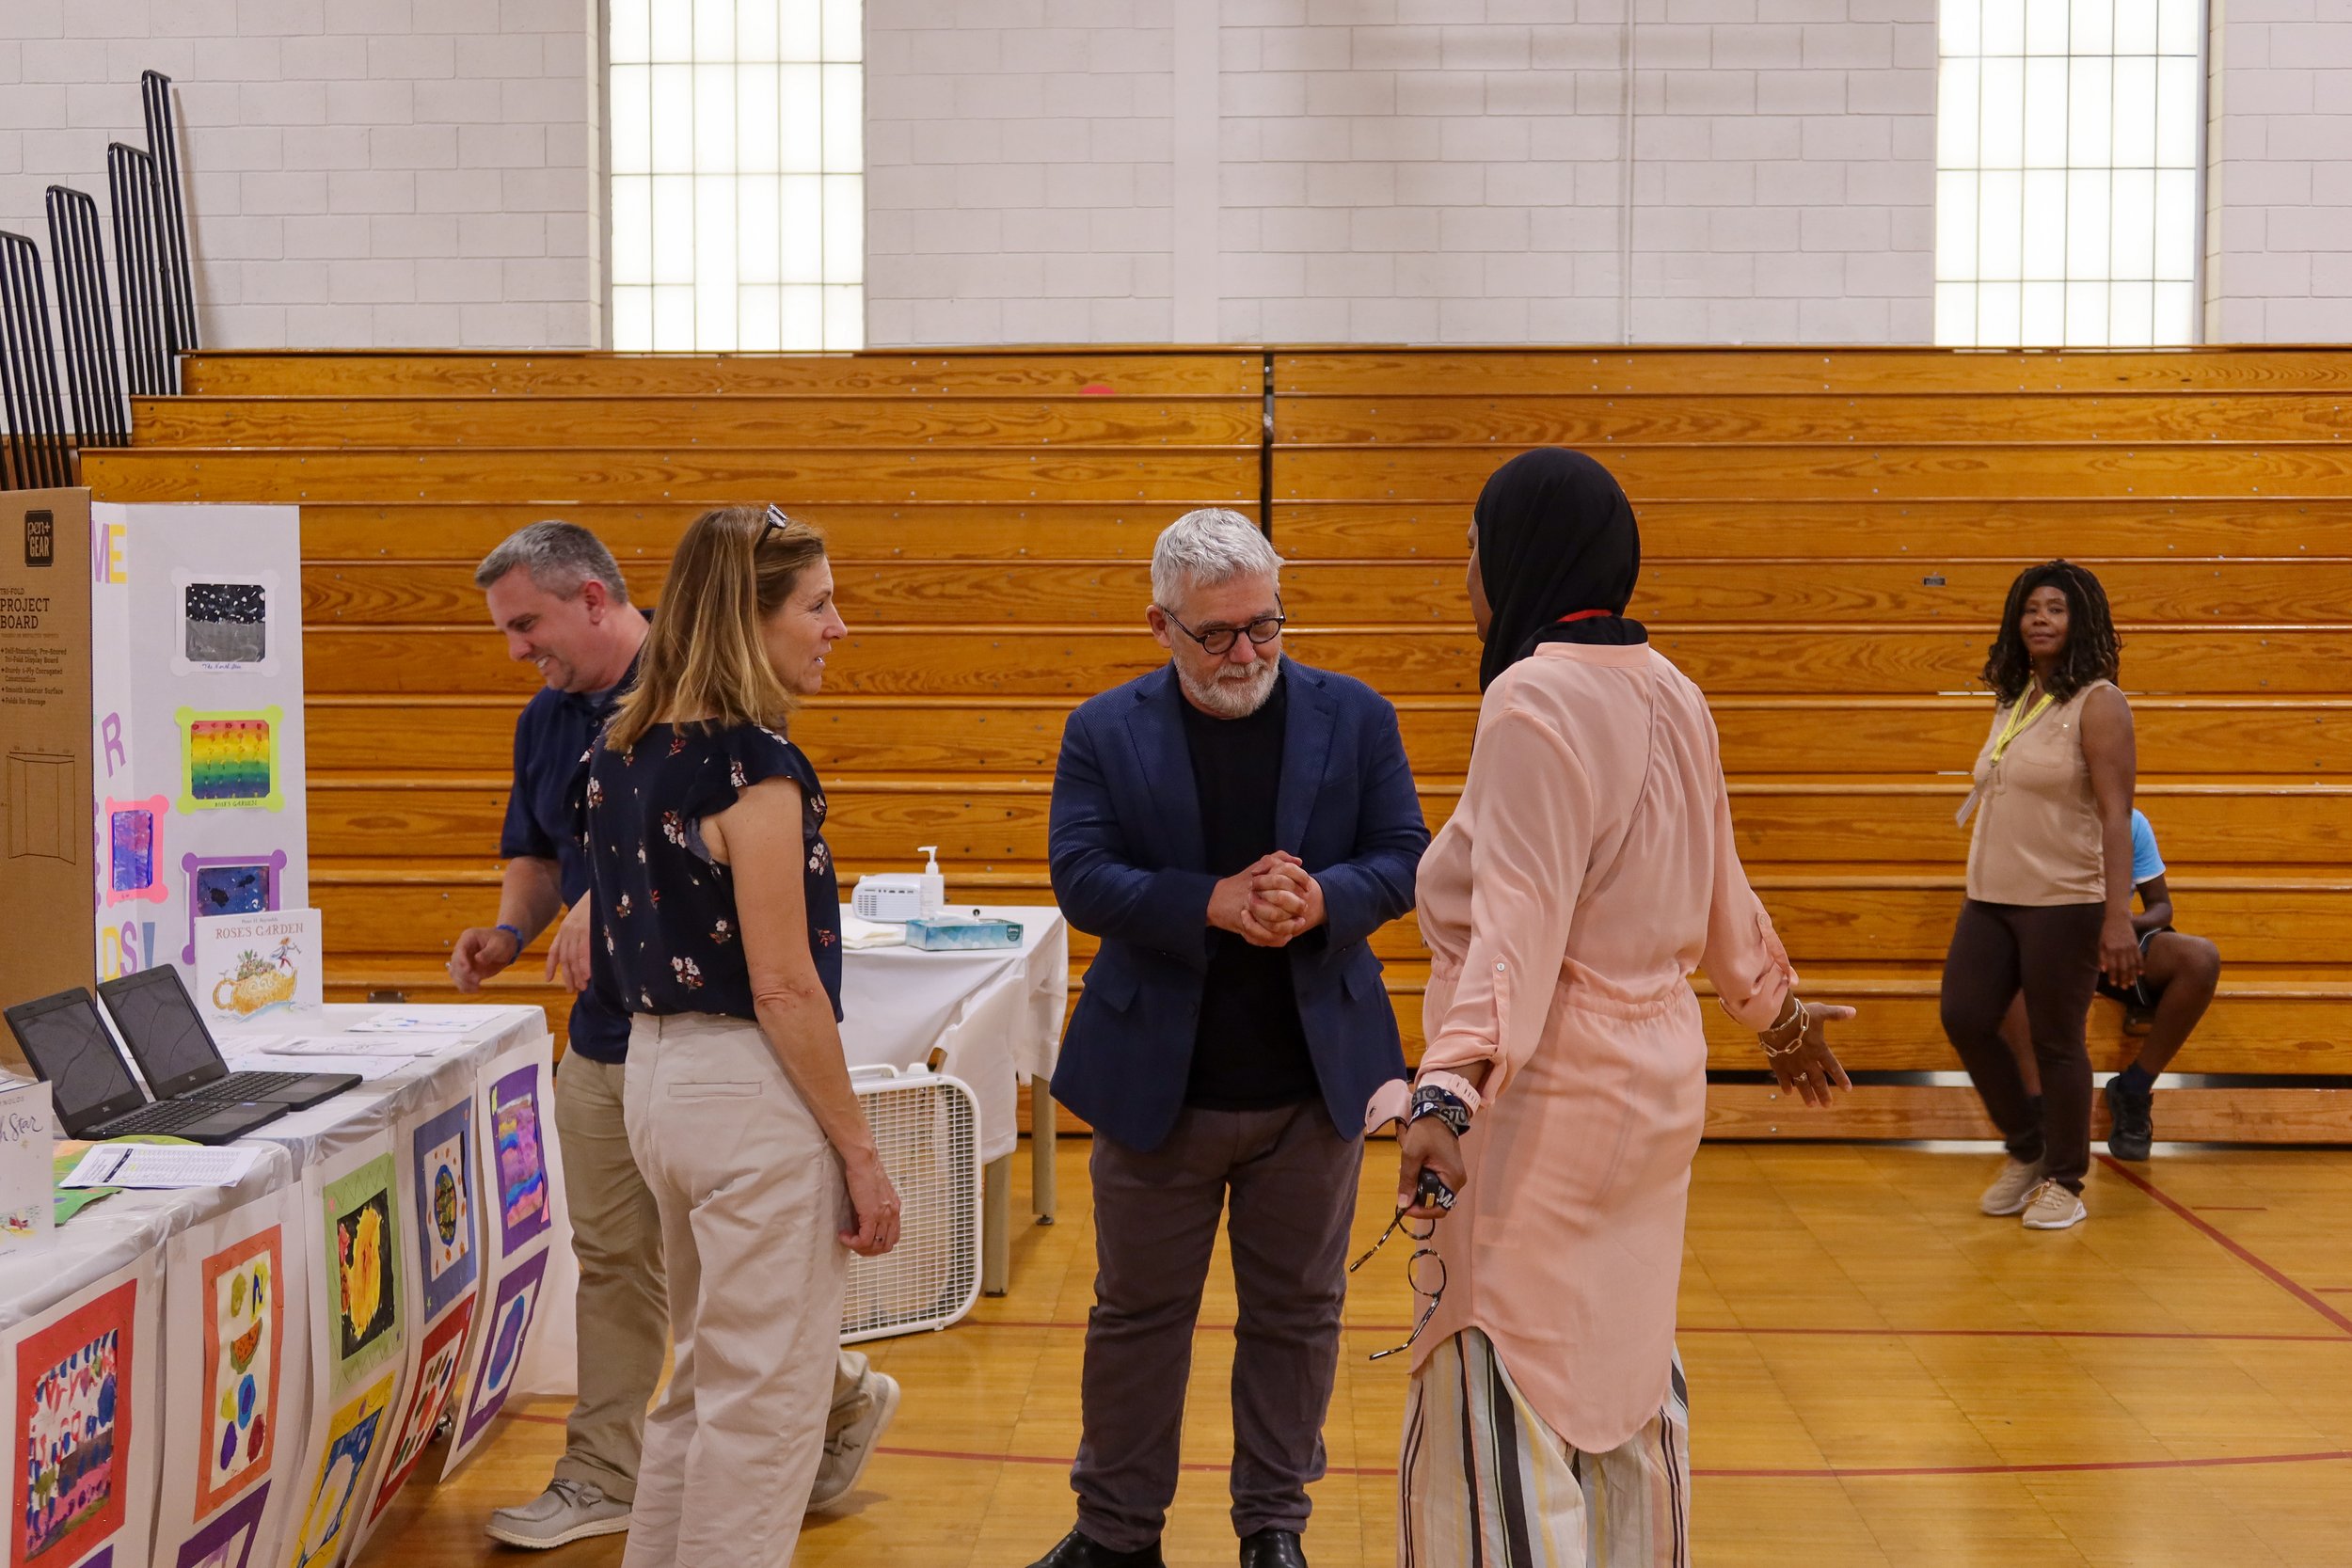

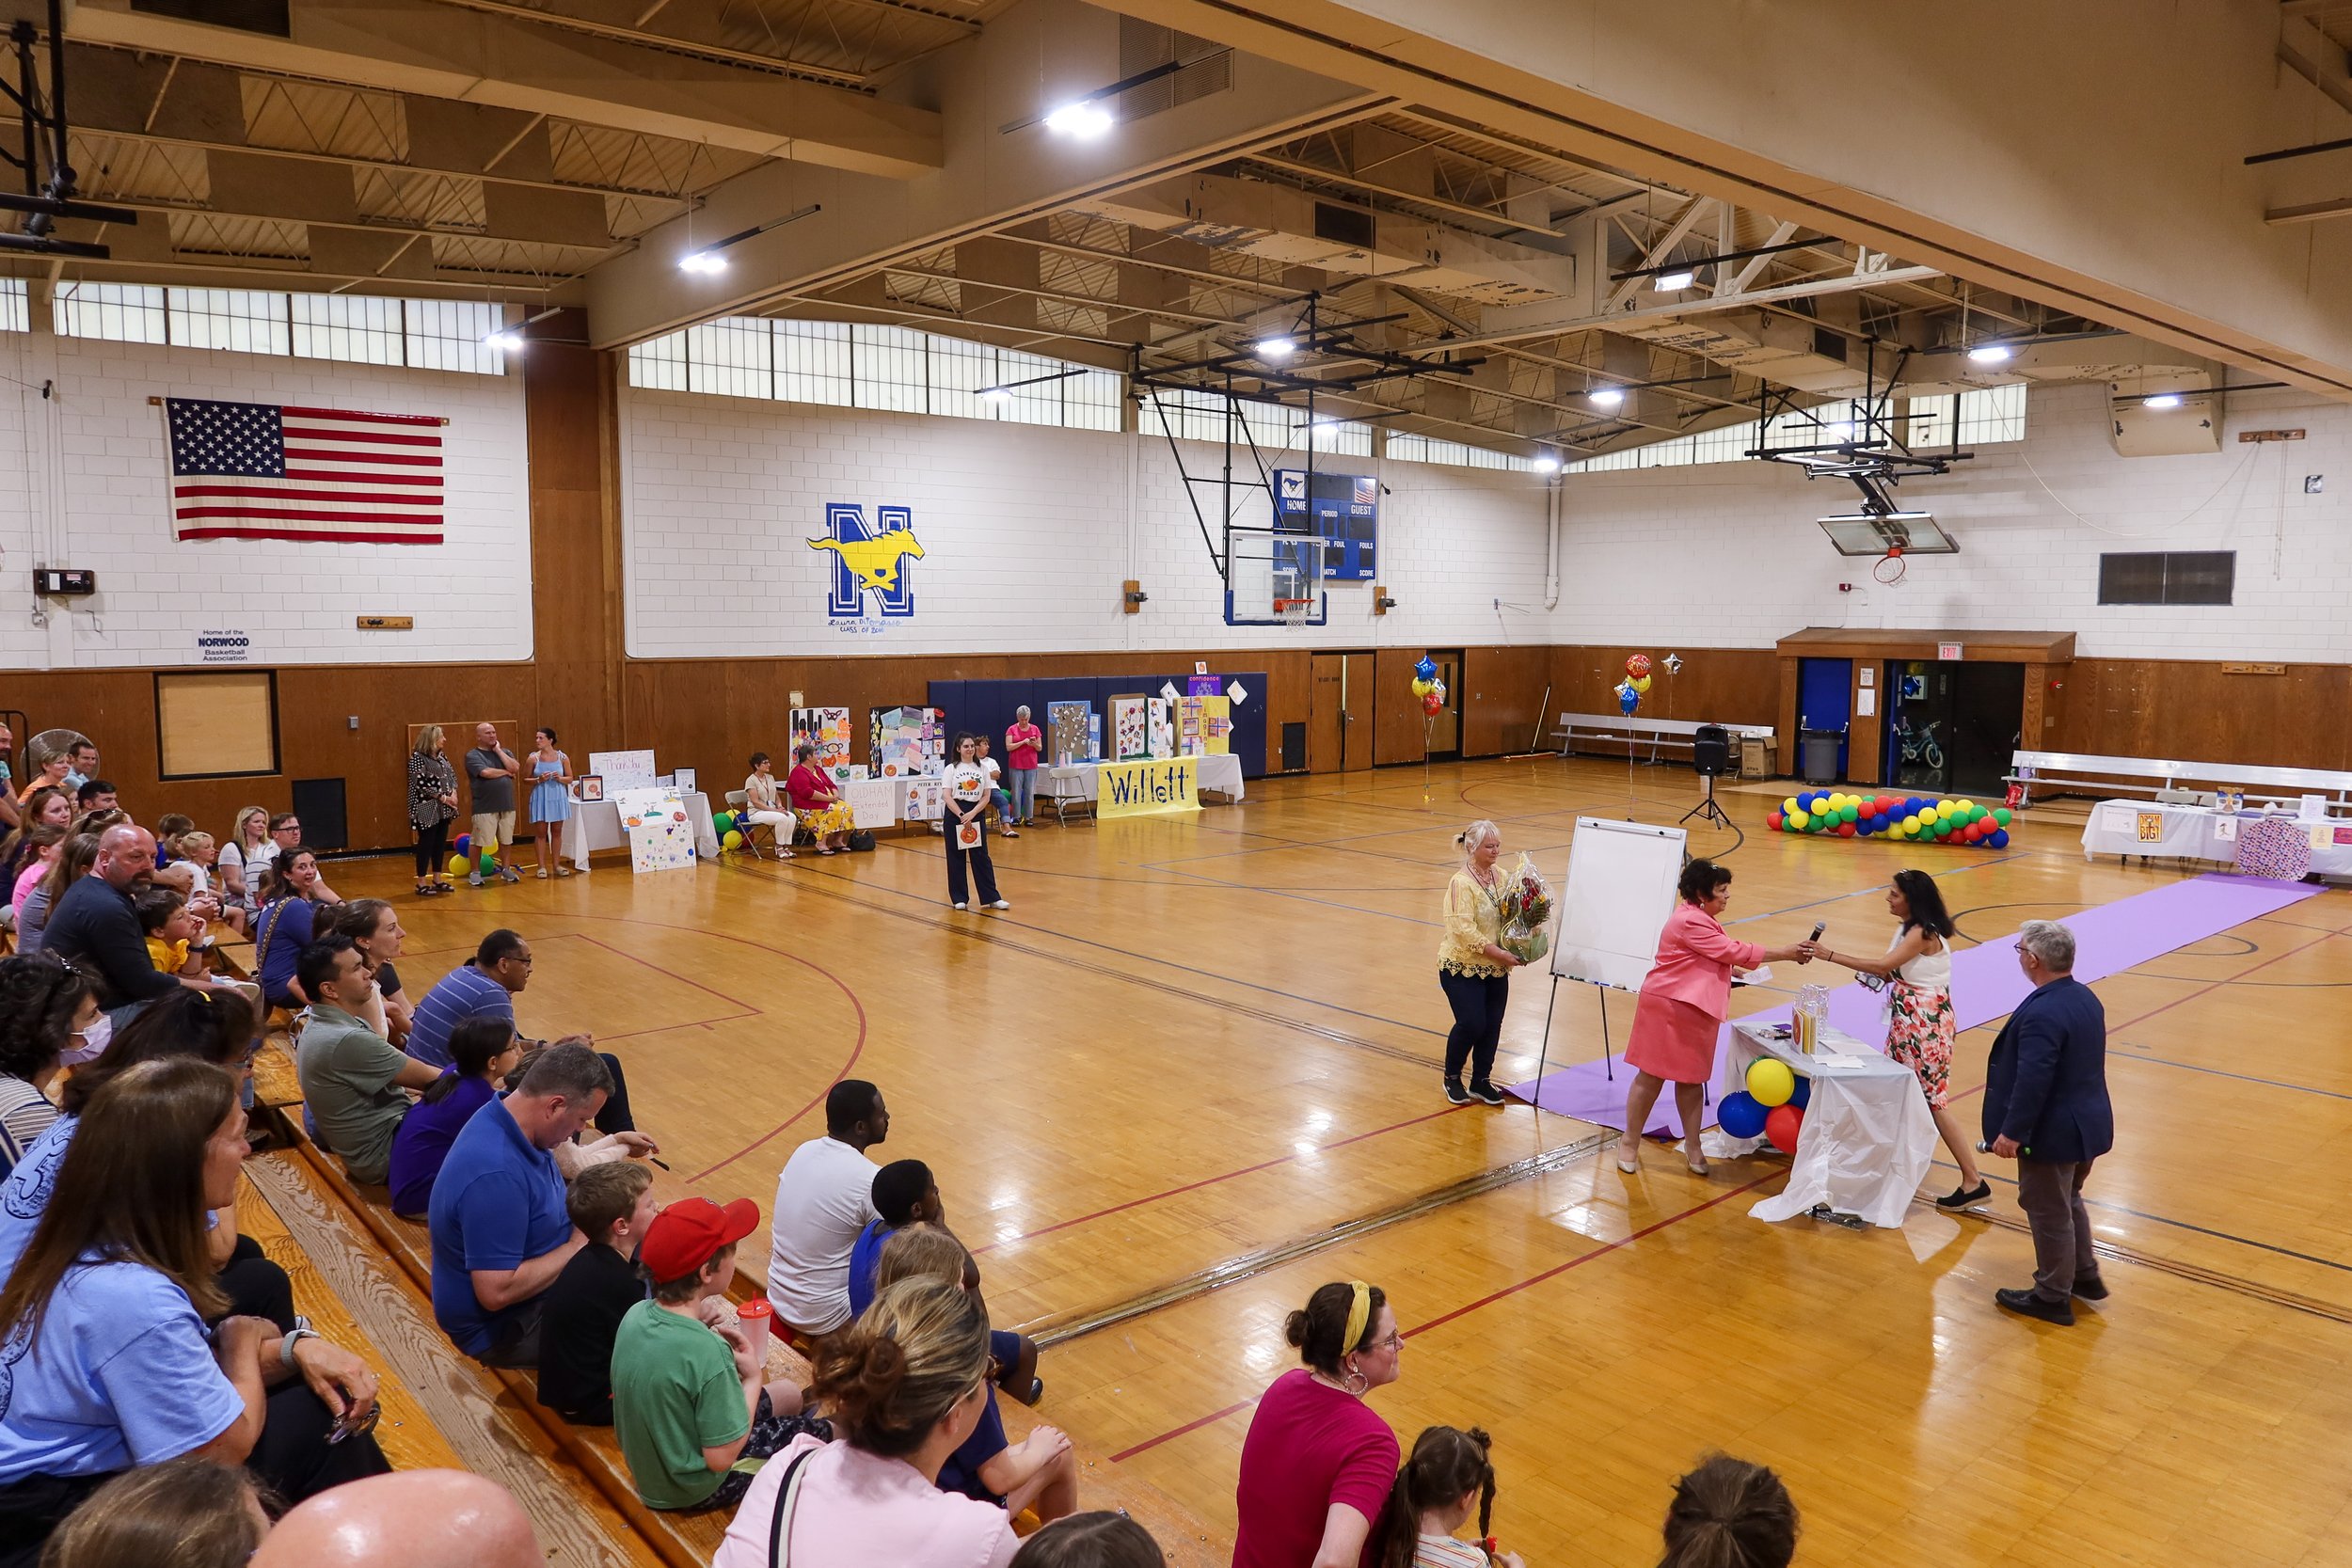

This entire night was made possible because of the vision of Debbie Holzendorf, director of the Norwood Public Schools Extended Day Services and Nevine Gadalla, assistant to the director.
If you are interested in learning more about custom programs, family nights, and author visits email the team at info@fablevisionlearning.com

FabMaker Project: Our Table Challenge
The following blog post is by Peggy Healy Stearns, Lead Software Designer, FabMaker Studio.

Peter H. Reynolds’ new picture book for all ages, Our Table, tells the story of a young girl named Violet who notices that, as her dad, mom and brother spend more and more time on their devices, their once lively dining table is shrinking! Violet longs to bring her family back together and dreams up a project on which they can all collaborate –- designing and building a new table!
This timely story provides an opportunity for children to consider the importance of gathering with family and friends – and to engage in a meaningful engineering design process.
To get ready and set context for the challenge, after reading Our Table, discuss students’ memories dining with family and friends. What made those times special? Where did they eat? Was there anything special about their table?

Peter’s Creative Challenge!
Peter loves using his imagination to design and make things - drawings, paintings, sculptures, and paper mache animals! And so, Peter is excited to present a special maker challenge to your students: “Using FabMaker Studio, imagine, design and fabricate your own table and/or chairs to send to me!” Peter will select some finished projects to feature on the FableVision Learning websites and social media.
So, let’s get started! Have students work collaboratively to Ask, Imagine, Plan, Create, Test and Improve a paper or cardstock prototype.

Ask: What kind of table would you like? How big should it be? What shape? Does it matter how it looks? Use questions like these to define the criteria. Students may want to research images of tables and interview family members. Then outline constraints – e.g., the final prototype must be designed with FabMaker Studio and constructed with paper or cardstock.
Now it’s time to Imagine. Have students brainstorm and sketch different designs and consider each option based on the criteria they set earlier. A single design may not meet all the criteria. Which criteria are most important? Once students choose a favorite design, they’re ready for the next step.
Tell students to use a ruler to draw a Plan for their table and label dimensions.
Then have them use FabMaker Studio to Create their prototype. They can use the Chair design found in the FabMaker Ready-Made 3D projects. This starter project shows how Shapes can be combined to create a flat pattern that folds into a 3-dimensional object. Their tables might be constructed of a single flat net like the chair or made of multiple elements folded and constructed individually and then combined.
Encourage students to be inspired by Peter’s creativity. Suggest they use FabMaker’s color and texture tool -- or use plain white cardstock and color by hand.
If there’s time, ask students to consider how they would Test their prototype? Tell them to refer back to the criteria they set at the start. If their table’s not quite right, ask them how they would Improve their design.
You can adapt this activity to different grade levels by challenging students to use FabMaker Studio to design other 2D and 3D objects from the book. Younger students can weld shapes to create fruits and vegetables. More experienced makers may want to design bowls or glasses or even the vegetable cart.
Need more tips and tricks on how to use FabMaker Studio? Check out the Tutorials page.
Send your students’ designs to info@fablevisionlearning.com or use the #FabMakerChair in your social posts . We’ll feature the best designs on the FableVision Learning Spotlight Blog!

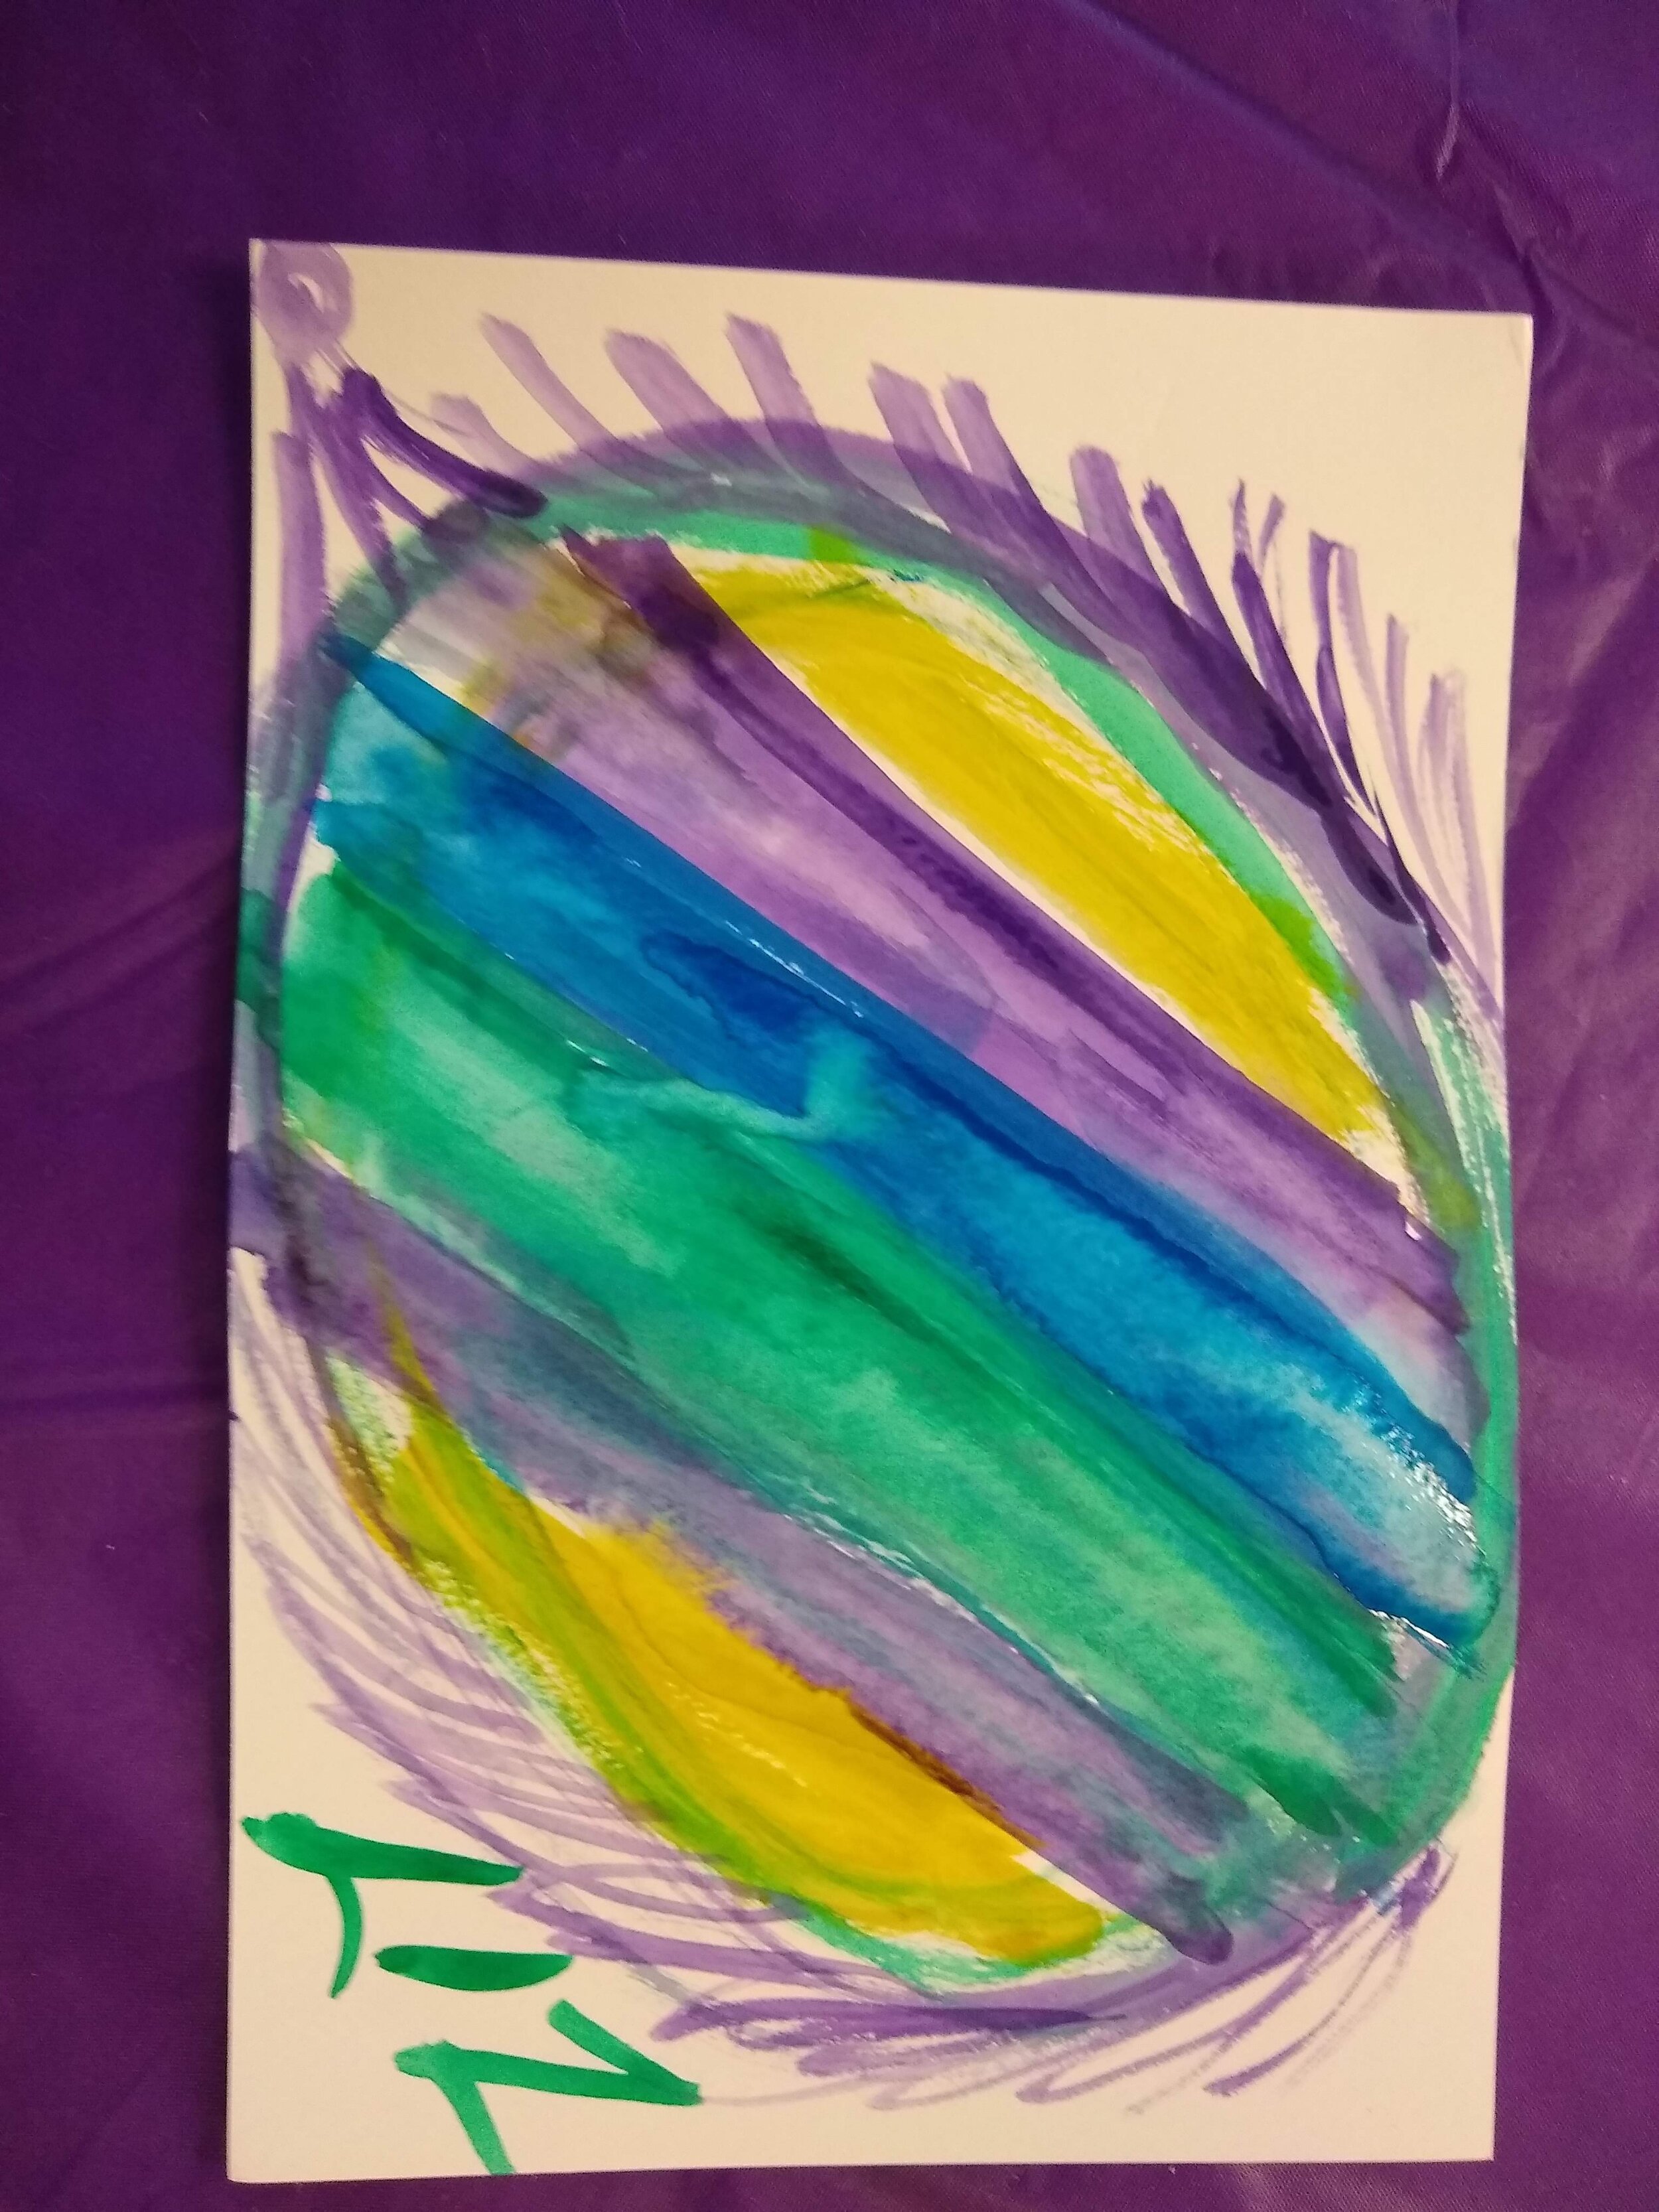
Celebrate International Day of Math with FableVision: Where Creativity Counts

You may not realize it, but you use math every single day! From cooking dinner to telling time, your brain is constantly busting equations. That’s why we are going to celebrate math this Pi Day, March 14.
Fast Fact: In 2019, United Nations Educational, Scientific and Cultural Organization (UNESCO), declared March 14 as the International Day of Mathematics. Since 3.14 is also the beginning of pi, it is double the celebration!
Check out some of the ways we are celebrating this year.
Explore Game-based Learning with Math
Studies have shown that game-based learning can improve skills in STEM, math, literacy and more. This is why we are so excited to share these two researched-based online games designed to give educators an unique opportunity to teach through gameplay. The two games we’ll be playing are Zoombinis and Cyberchase Fractions Quest!
Zoombinis
Students travel across the Zoombinis landscape ast they solve a series of 12 puzzles that encourage computational thinking (CT). Through pattern recognition, abstraction, problem decomposition and algebraic thinking, your learners will lay the foundation for CT while leading the little blue guys to safety.
Grade level: 3-8
Cyberchase Fractions Quest
Take your learners on an epic journey across the universe to save the Cybersquad by solving equations. Whether it’s dividing leaves into parachutes for chameleons or estimating fractions on the Estimatron-5000 number line, students practice their fractions in various contexts. After traveling planet to planet, your learners will be expert fraction busters!
Grade level: 3-5
FabMaker Studio
Math isn’t just solving equations, it’s also using your creativity! FabMaker Studio, our digital fabrication and design software allows your students to get creative while getting a hands on experience as being an engineer! Here are a few ideas to get you started:
Use shapes and lines to build 2D, 3D projects.
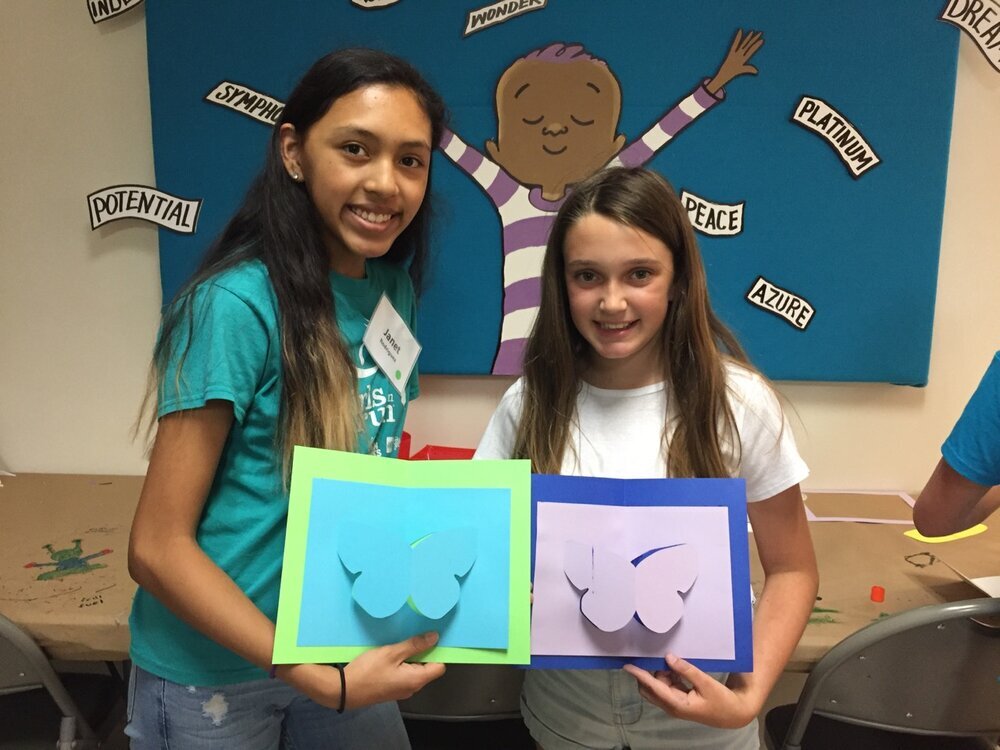
Create a pop-up card with a special shape to give to your friends.
Ready to Create: Download our FabMaker 3D pyramid design to get started.

Animation-ish
No matter what age your students are, Animation-ish is a great way to combine math and creativity. Educators can get in on the fun too by using their unique designs to teach new mathematical concepts and ideas.
In the second level of Animation-ish, students can create a flipbook filled with as many numbers of pi as they can remember, or practice their pythagorean theorem with an animation. Try making your own story with some fun shapes and numbers.
Enter the Poster Challenge
For 2021, International Day of Math has challenged classrooms to create a poster “that shows one way to make the world a little bit better using mathematics.” To learn more this challenge and how to register your classroom click here.
Click on the image below to download our design.

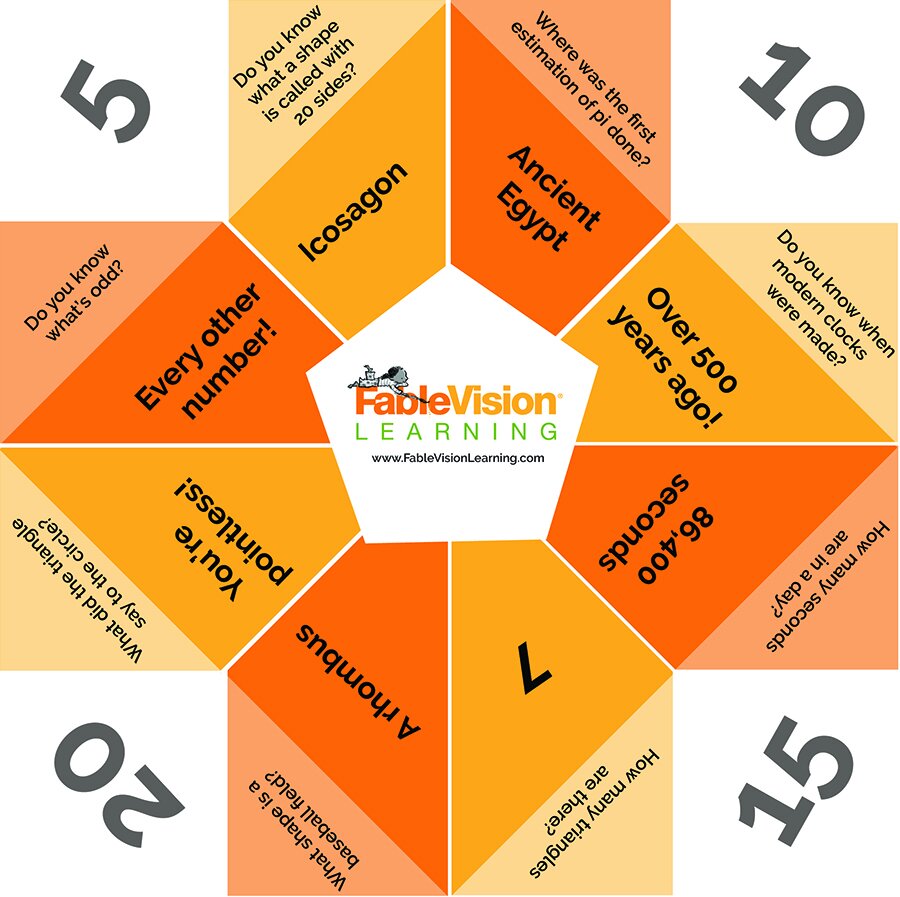
Bonus Project
We love to catch facts. Click on the image below to download and create a Math Catcher filled with fun math facts!
Share your International Day of Math creations with the FableVision Learning team via Twitter or Instagram @FableLearn, or via email: info@fablevisionlearning.com.

FabMaker Mystery Monsters: Math Shapes & Cool Tools for Imagineering
The following blog post is by Peggy Healy Stearns, Lead Software Designer, FabMaker Studio.
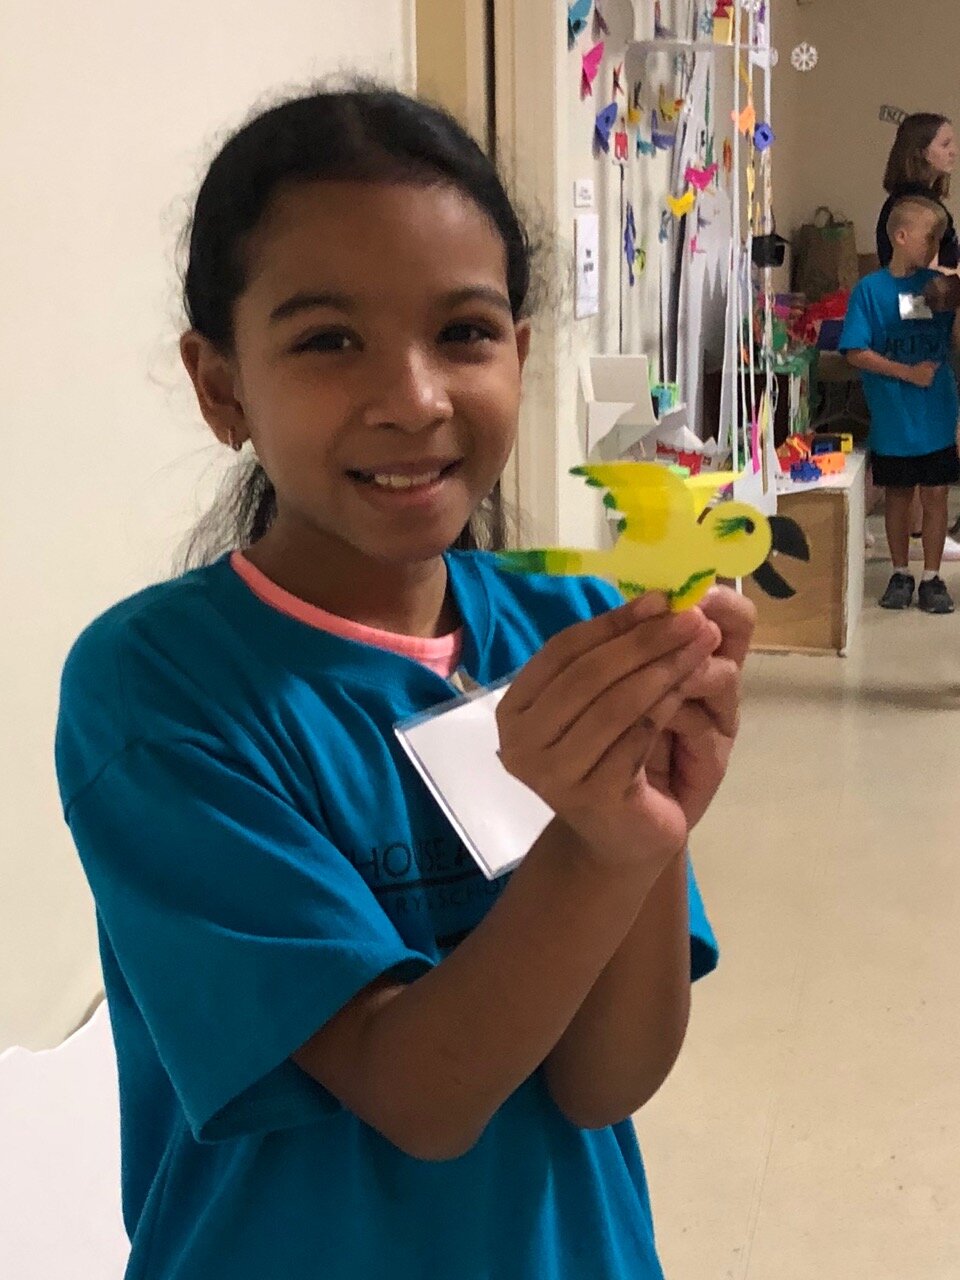
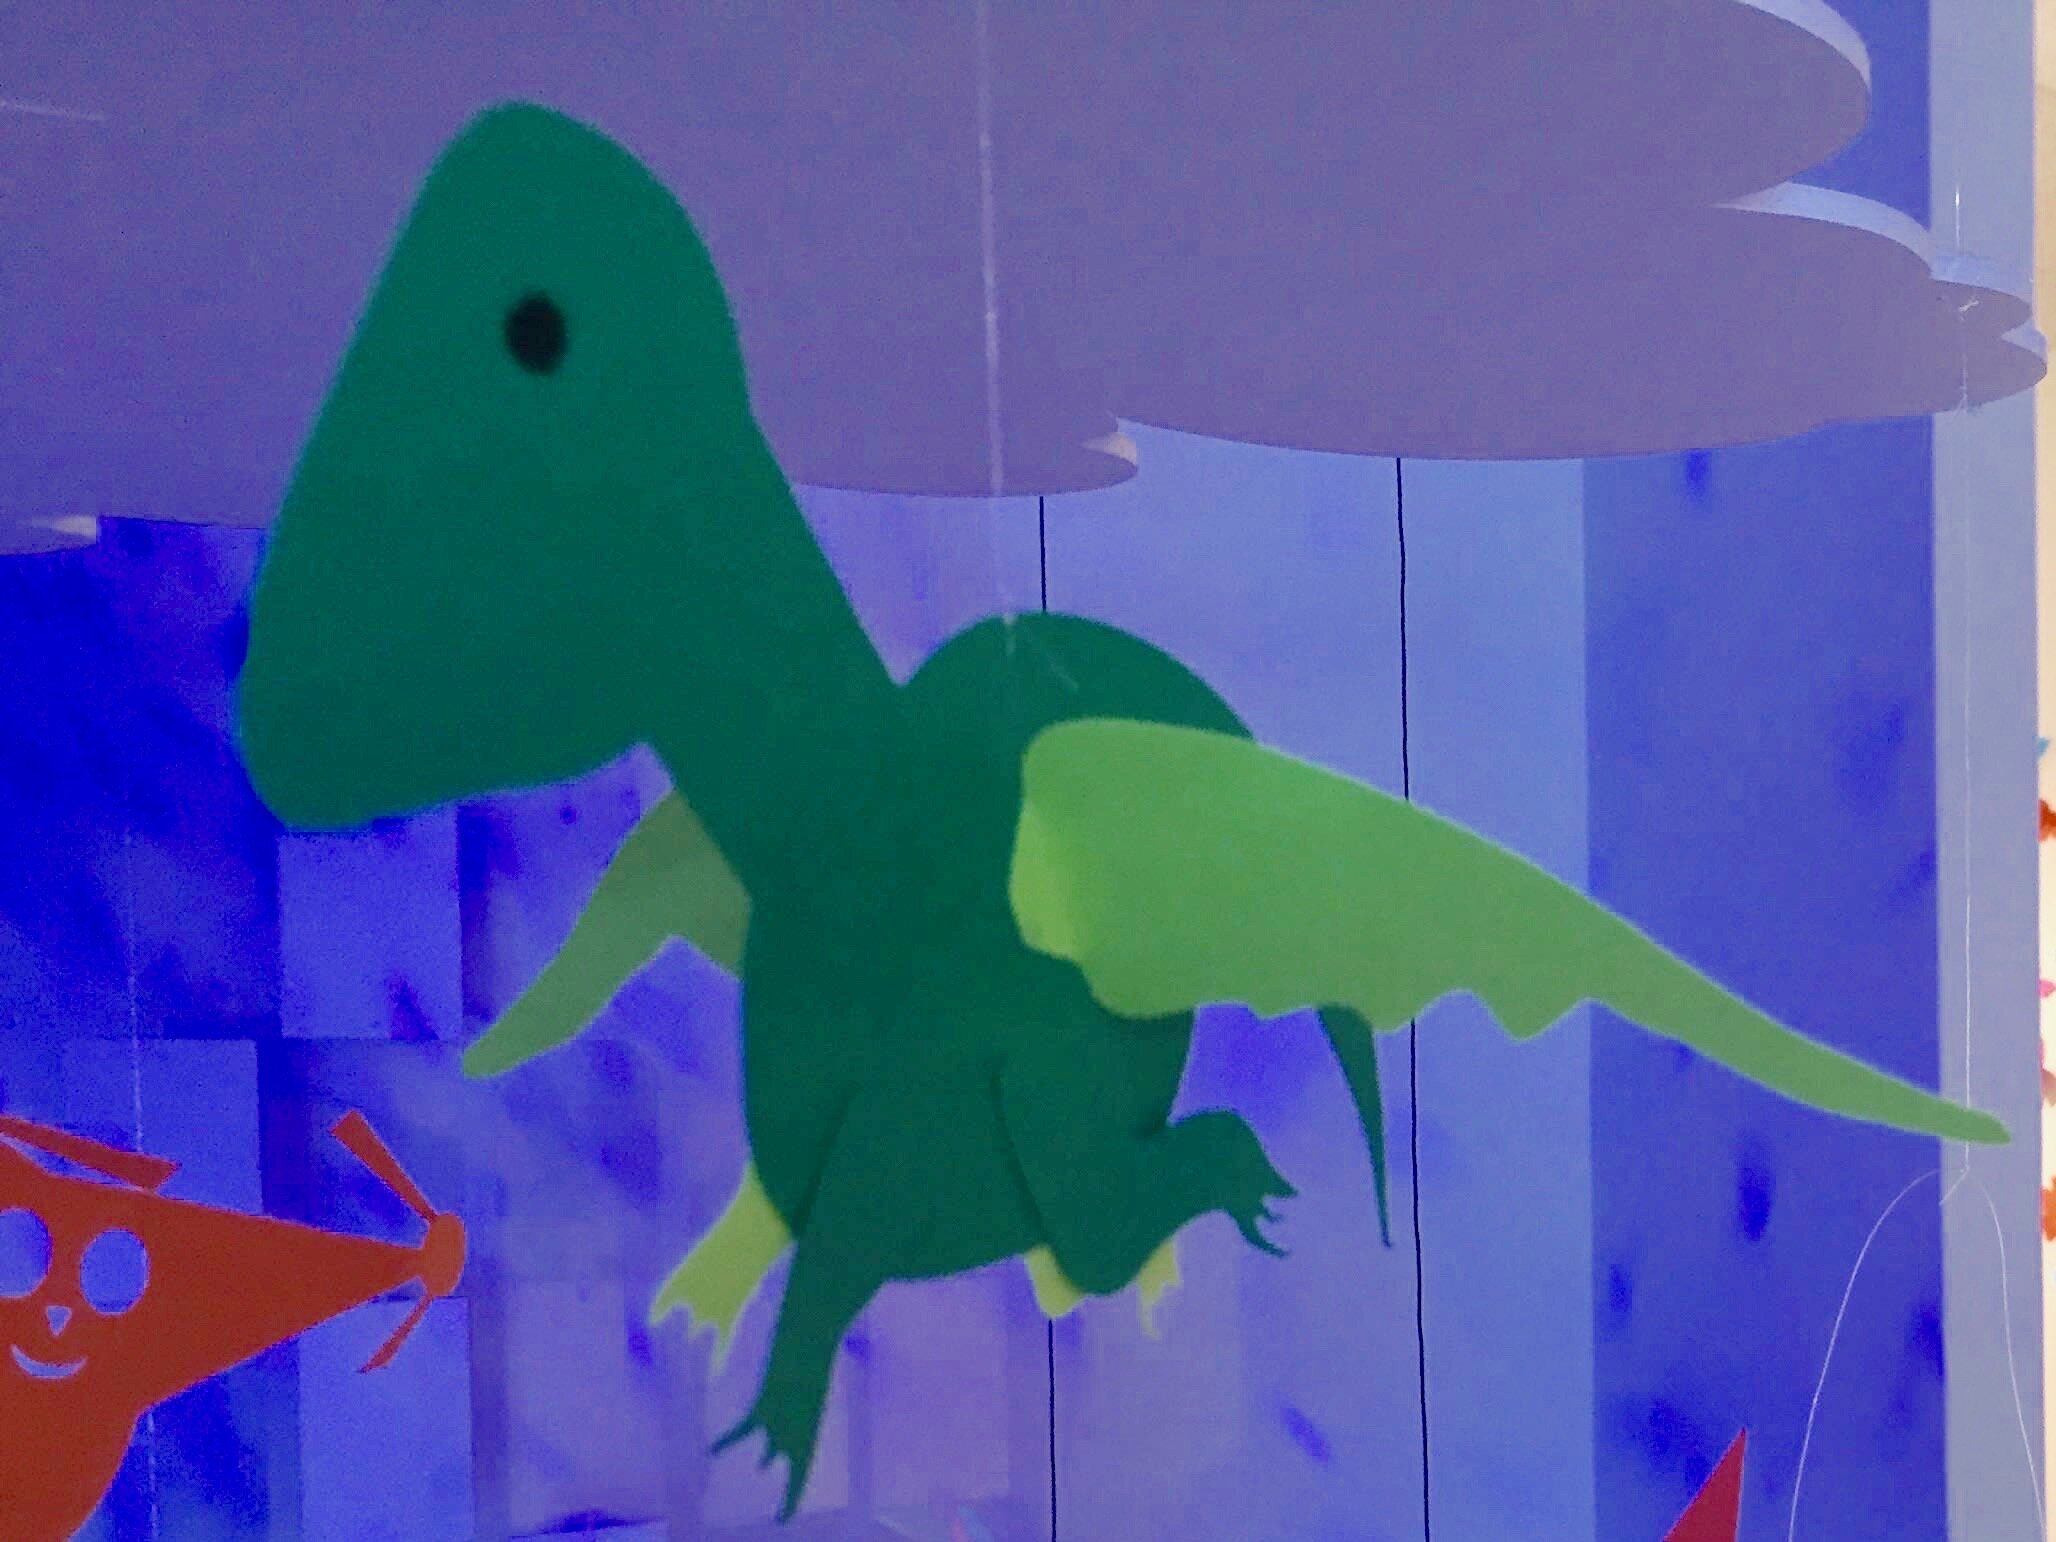
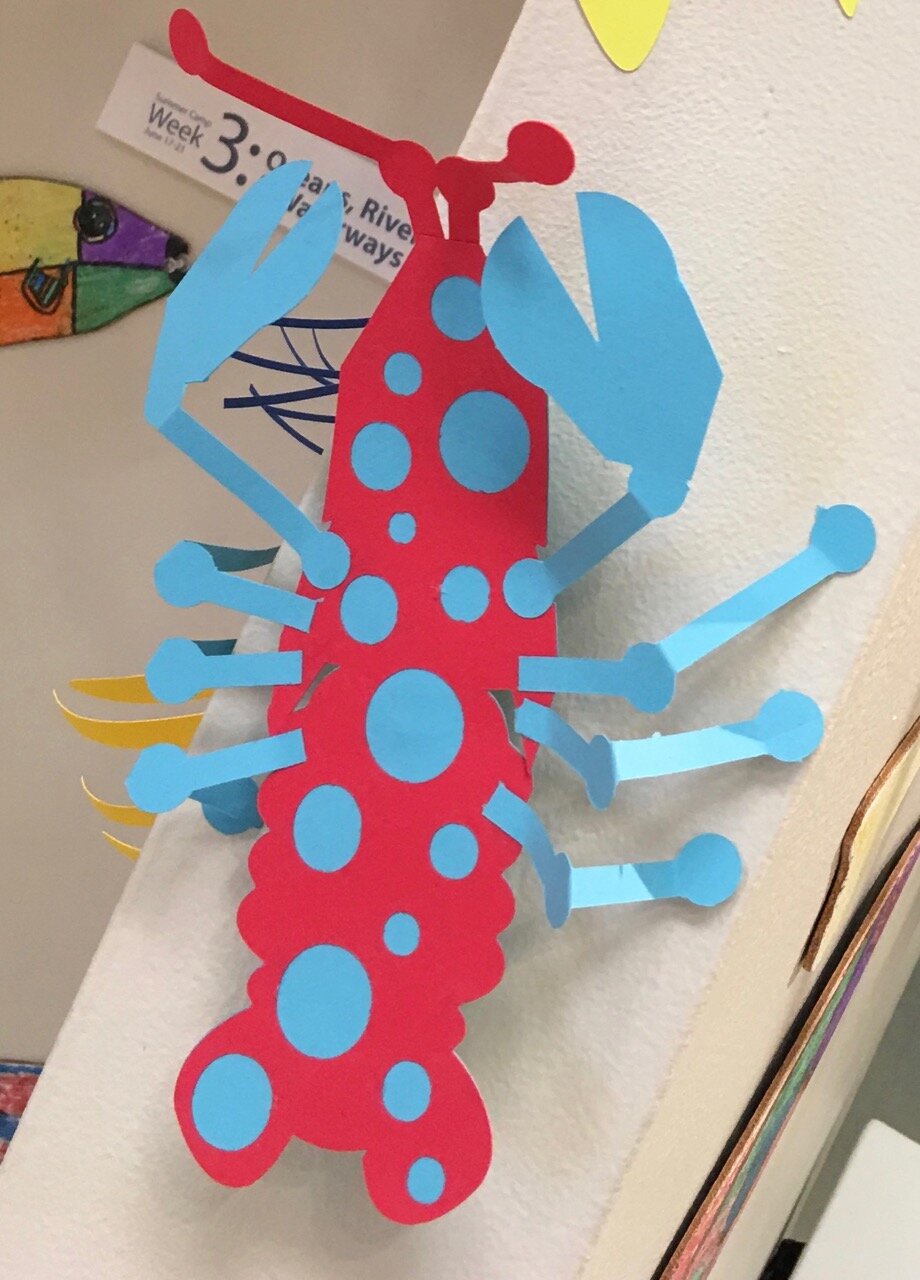
Create a 3D “Mystery Monster” with FabMaker Studio! Identify and combine shapes, weld shapes, and morph shapes. Add 3D wings, legs, ears and other body parts!
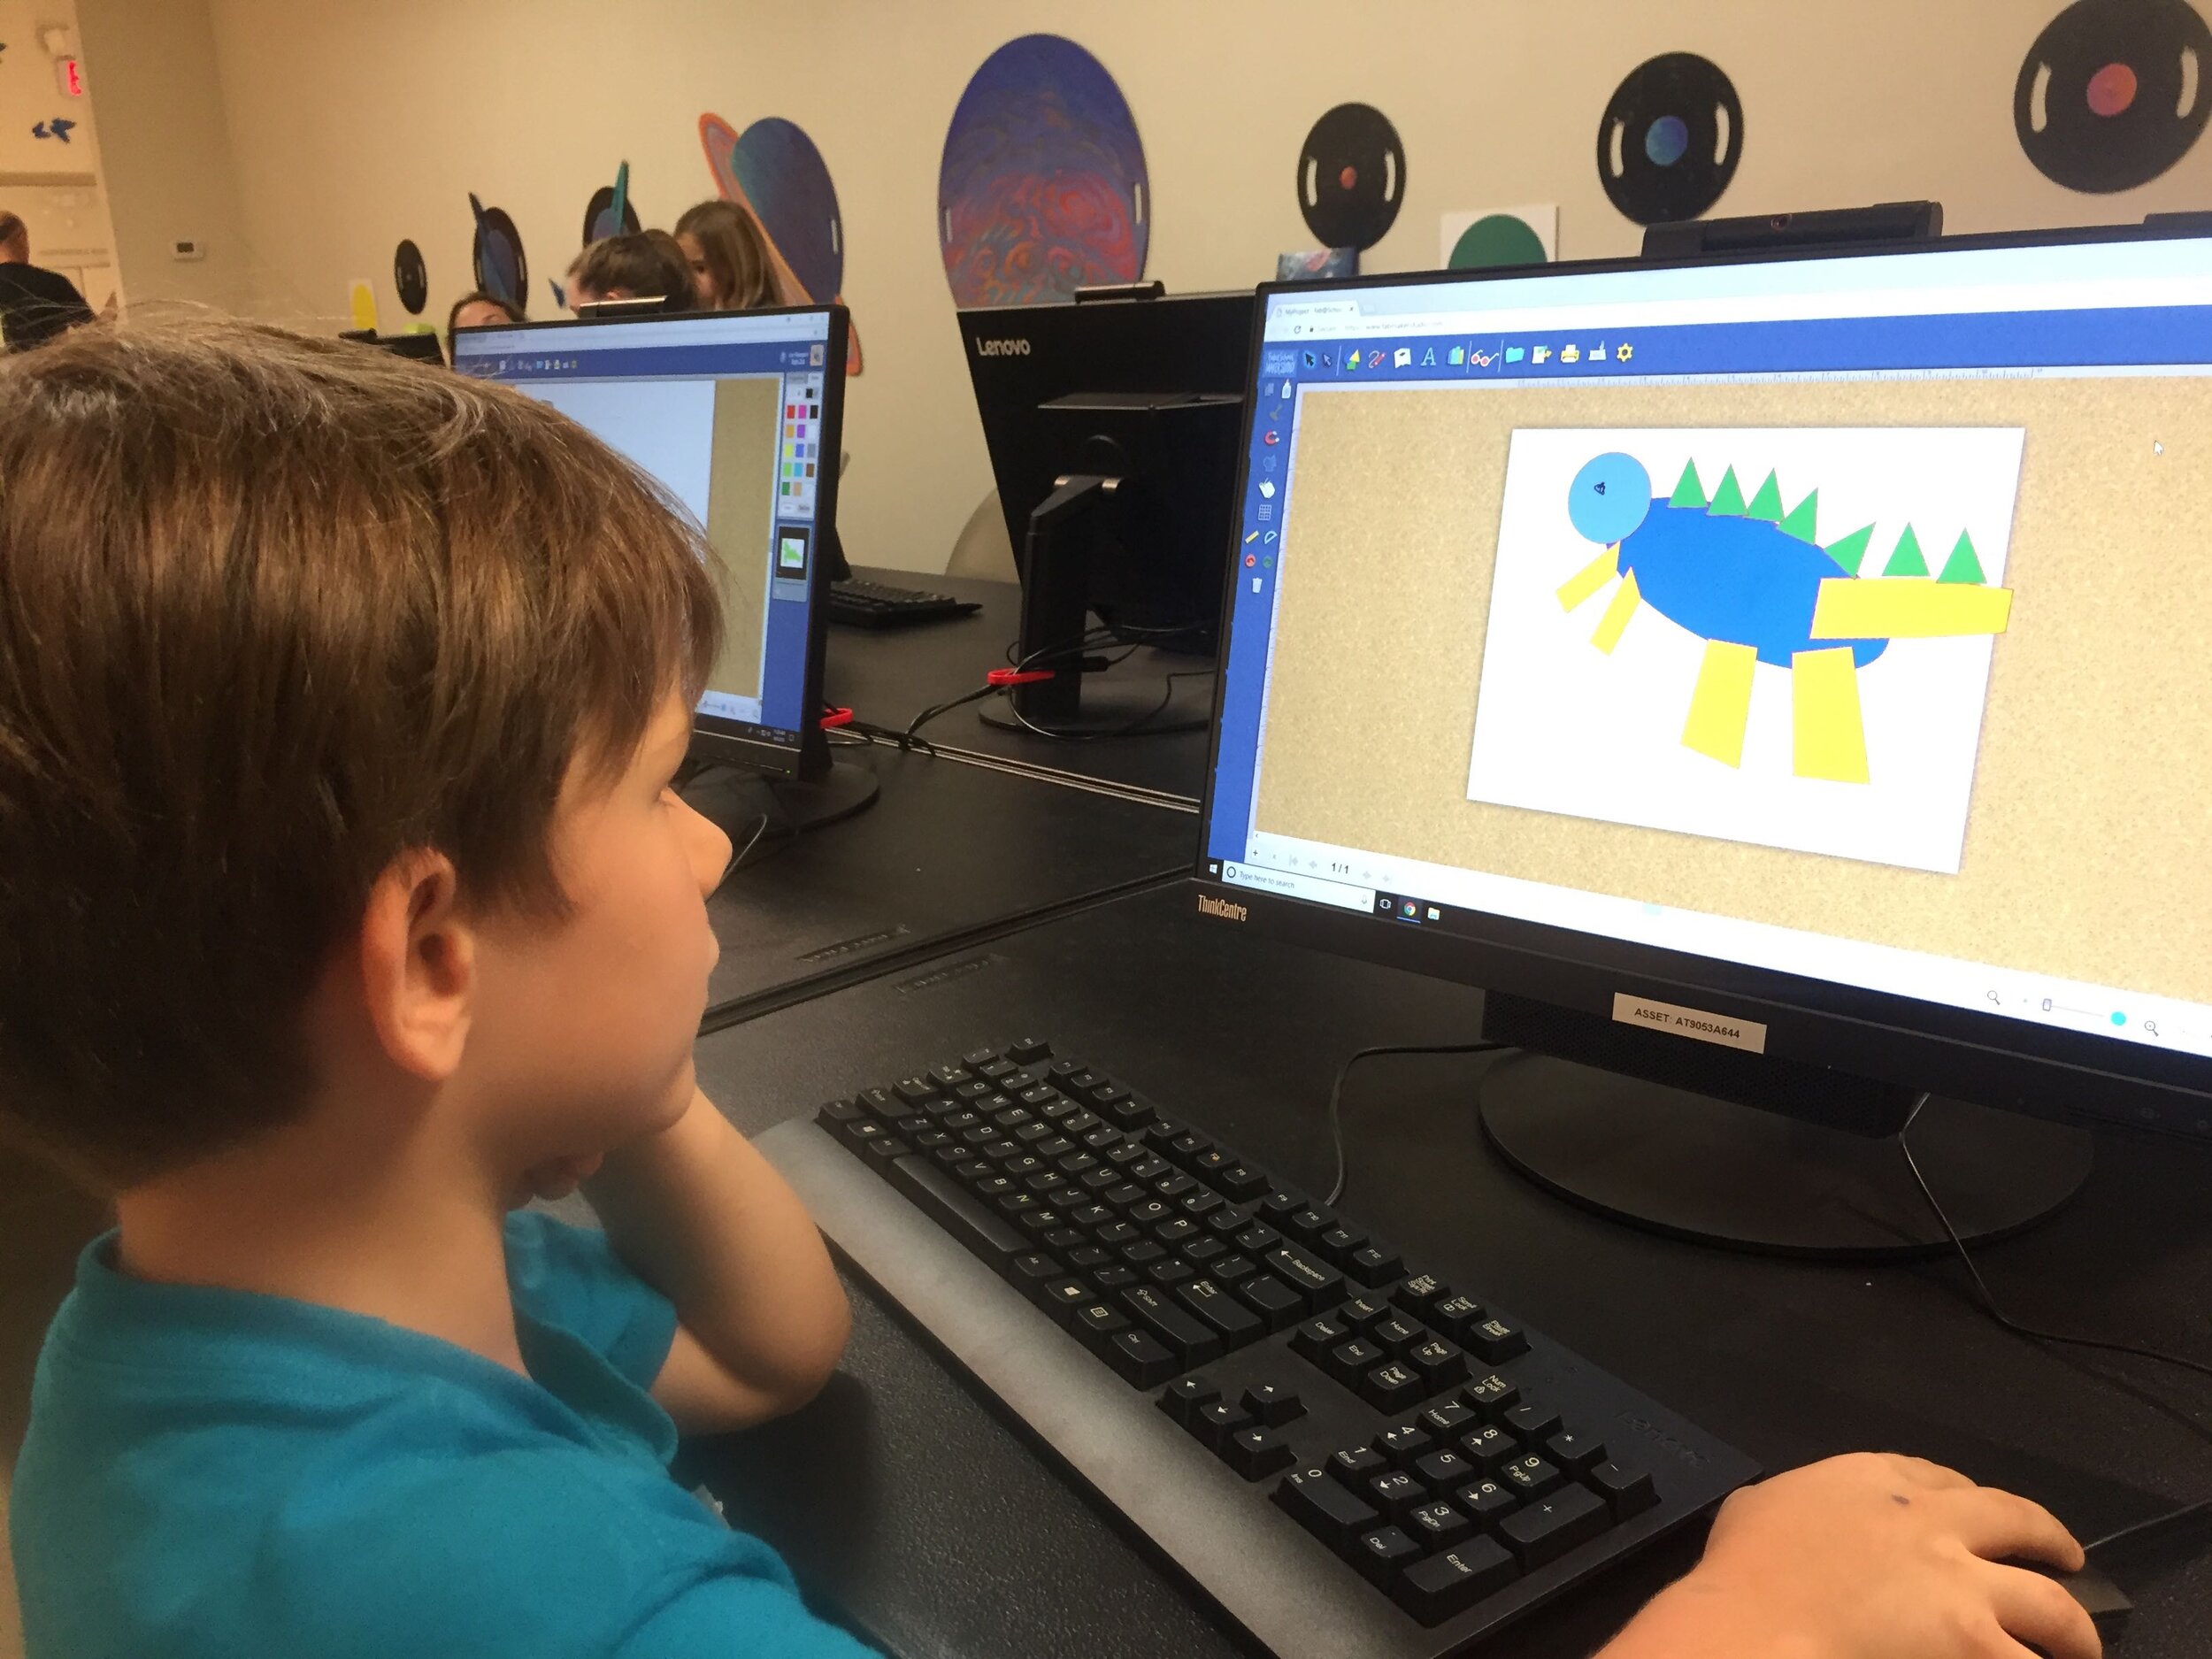

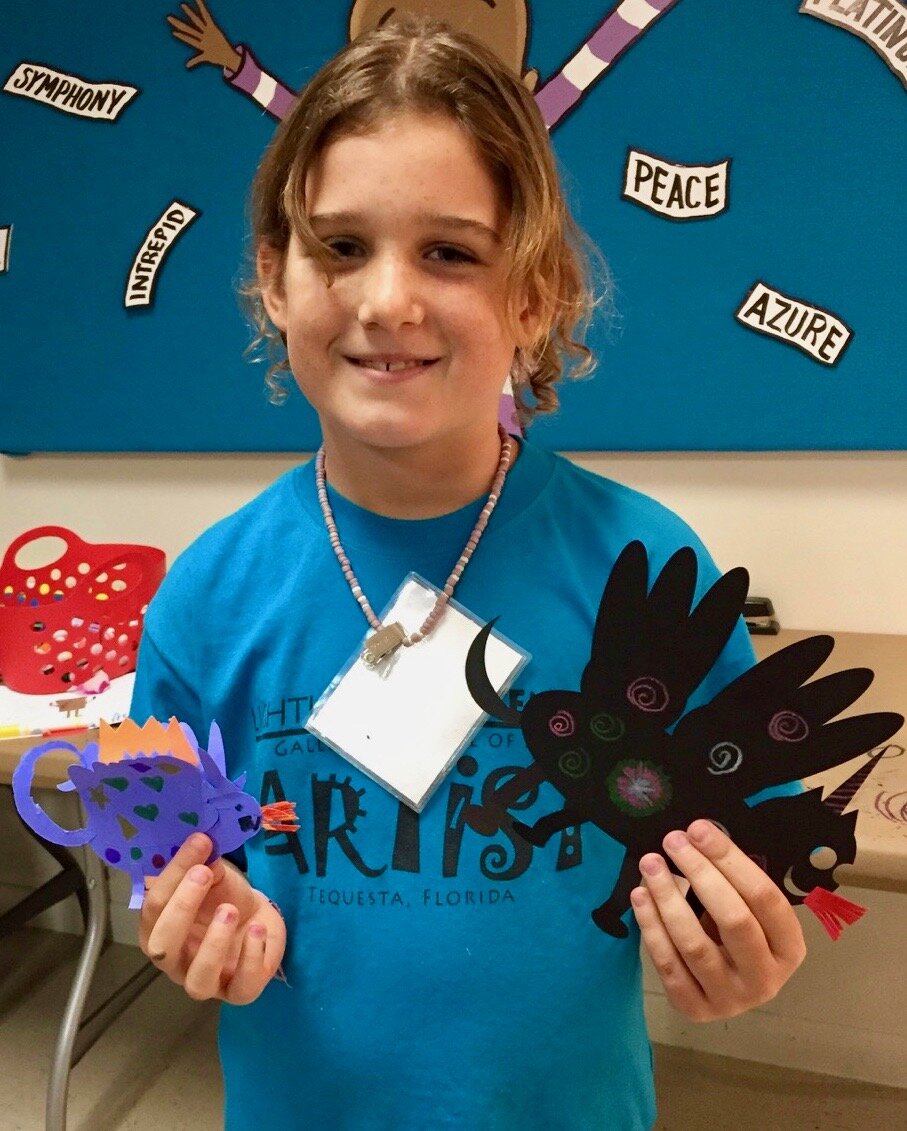
Designing “Mystery Monsters” is a motivating way to address foundational math standards and inspire meaningful writing prompts. In the process, students learn easy but powerful digital design tools they can use for years to come. This project can be simple or sophisticated. Follow the steps that work best for your makers and then print, cut and construct.
Make Your Monster
Watch this short video then follow the steps below.
Step 1: New Project Click here to go to FabMaker Studio. Sign in and go to New Project and click OK.
Step 2: Choose Shapes Open the Shapes tool at the top. Drag shapes onto the screen and arrange them to make your basic monster. To resize a shape, select it and drag handles.

Step 3: Weld Shapes Make sure your shapes touch or overlap. Then place your cursor and drag around all the shapes to select them. Choose the Weld button in the left toolbar to weld your shapes.

Tip: Be sure to drag far enough outside the shapes to select them all before welding.
Step 4: Rearrange If you want to rearrange your monster parts, you can Unweld. Select your monster and click the Weld button. This time, since your monster is already welded, it unwelds. Rearrange the shapes and then drag around to select them all and Weld again.
Tip: Make a mistake? Use the red Undo and green Redo buttons on the left above the Trash can.
Step 5: Save Go to the File button on the top toolbar and choose Save. Select “My Online Files” (or another location if desired), give your file a name, and click Save.

Tip: If you save your FabMaker Studio file to My Google Drive or My Computer, it can only be opened from within the FabMaker Studio software.
Morph Your Monster
Watch this video then follow the steps below.
Step 1: Turn on Edit points With your monster file open, choose the gray Edit Points cursor in the top left corner of your design. The edit points that anchor your design will appear.

Step 2: Drag Edit points Drag edit points to morph your mystery monster.
Step 3: Add new Edit points Click anywhere on the outline to add a new edit point, and then drag the new edit point to reshape. Edit points can be tricky -- sometimes it helps to zoom in. Play around. You can always Undo and Redo.

Step 4: Check your design Choose the standard cursor (black arrow) again to see your morphed monster.

Tip: If you Unweld after using Edit points, you’ll go back to your original shapes and lose all your morphing! Remember you can quickly Undo changes.
Step 5: Save Go to the File button on the top toolbar and choose Save or Save As.
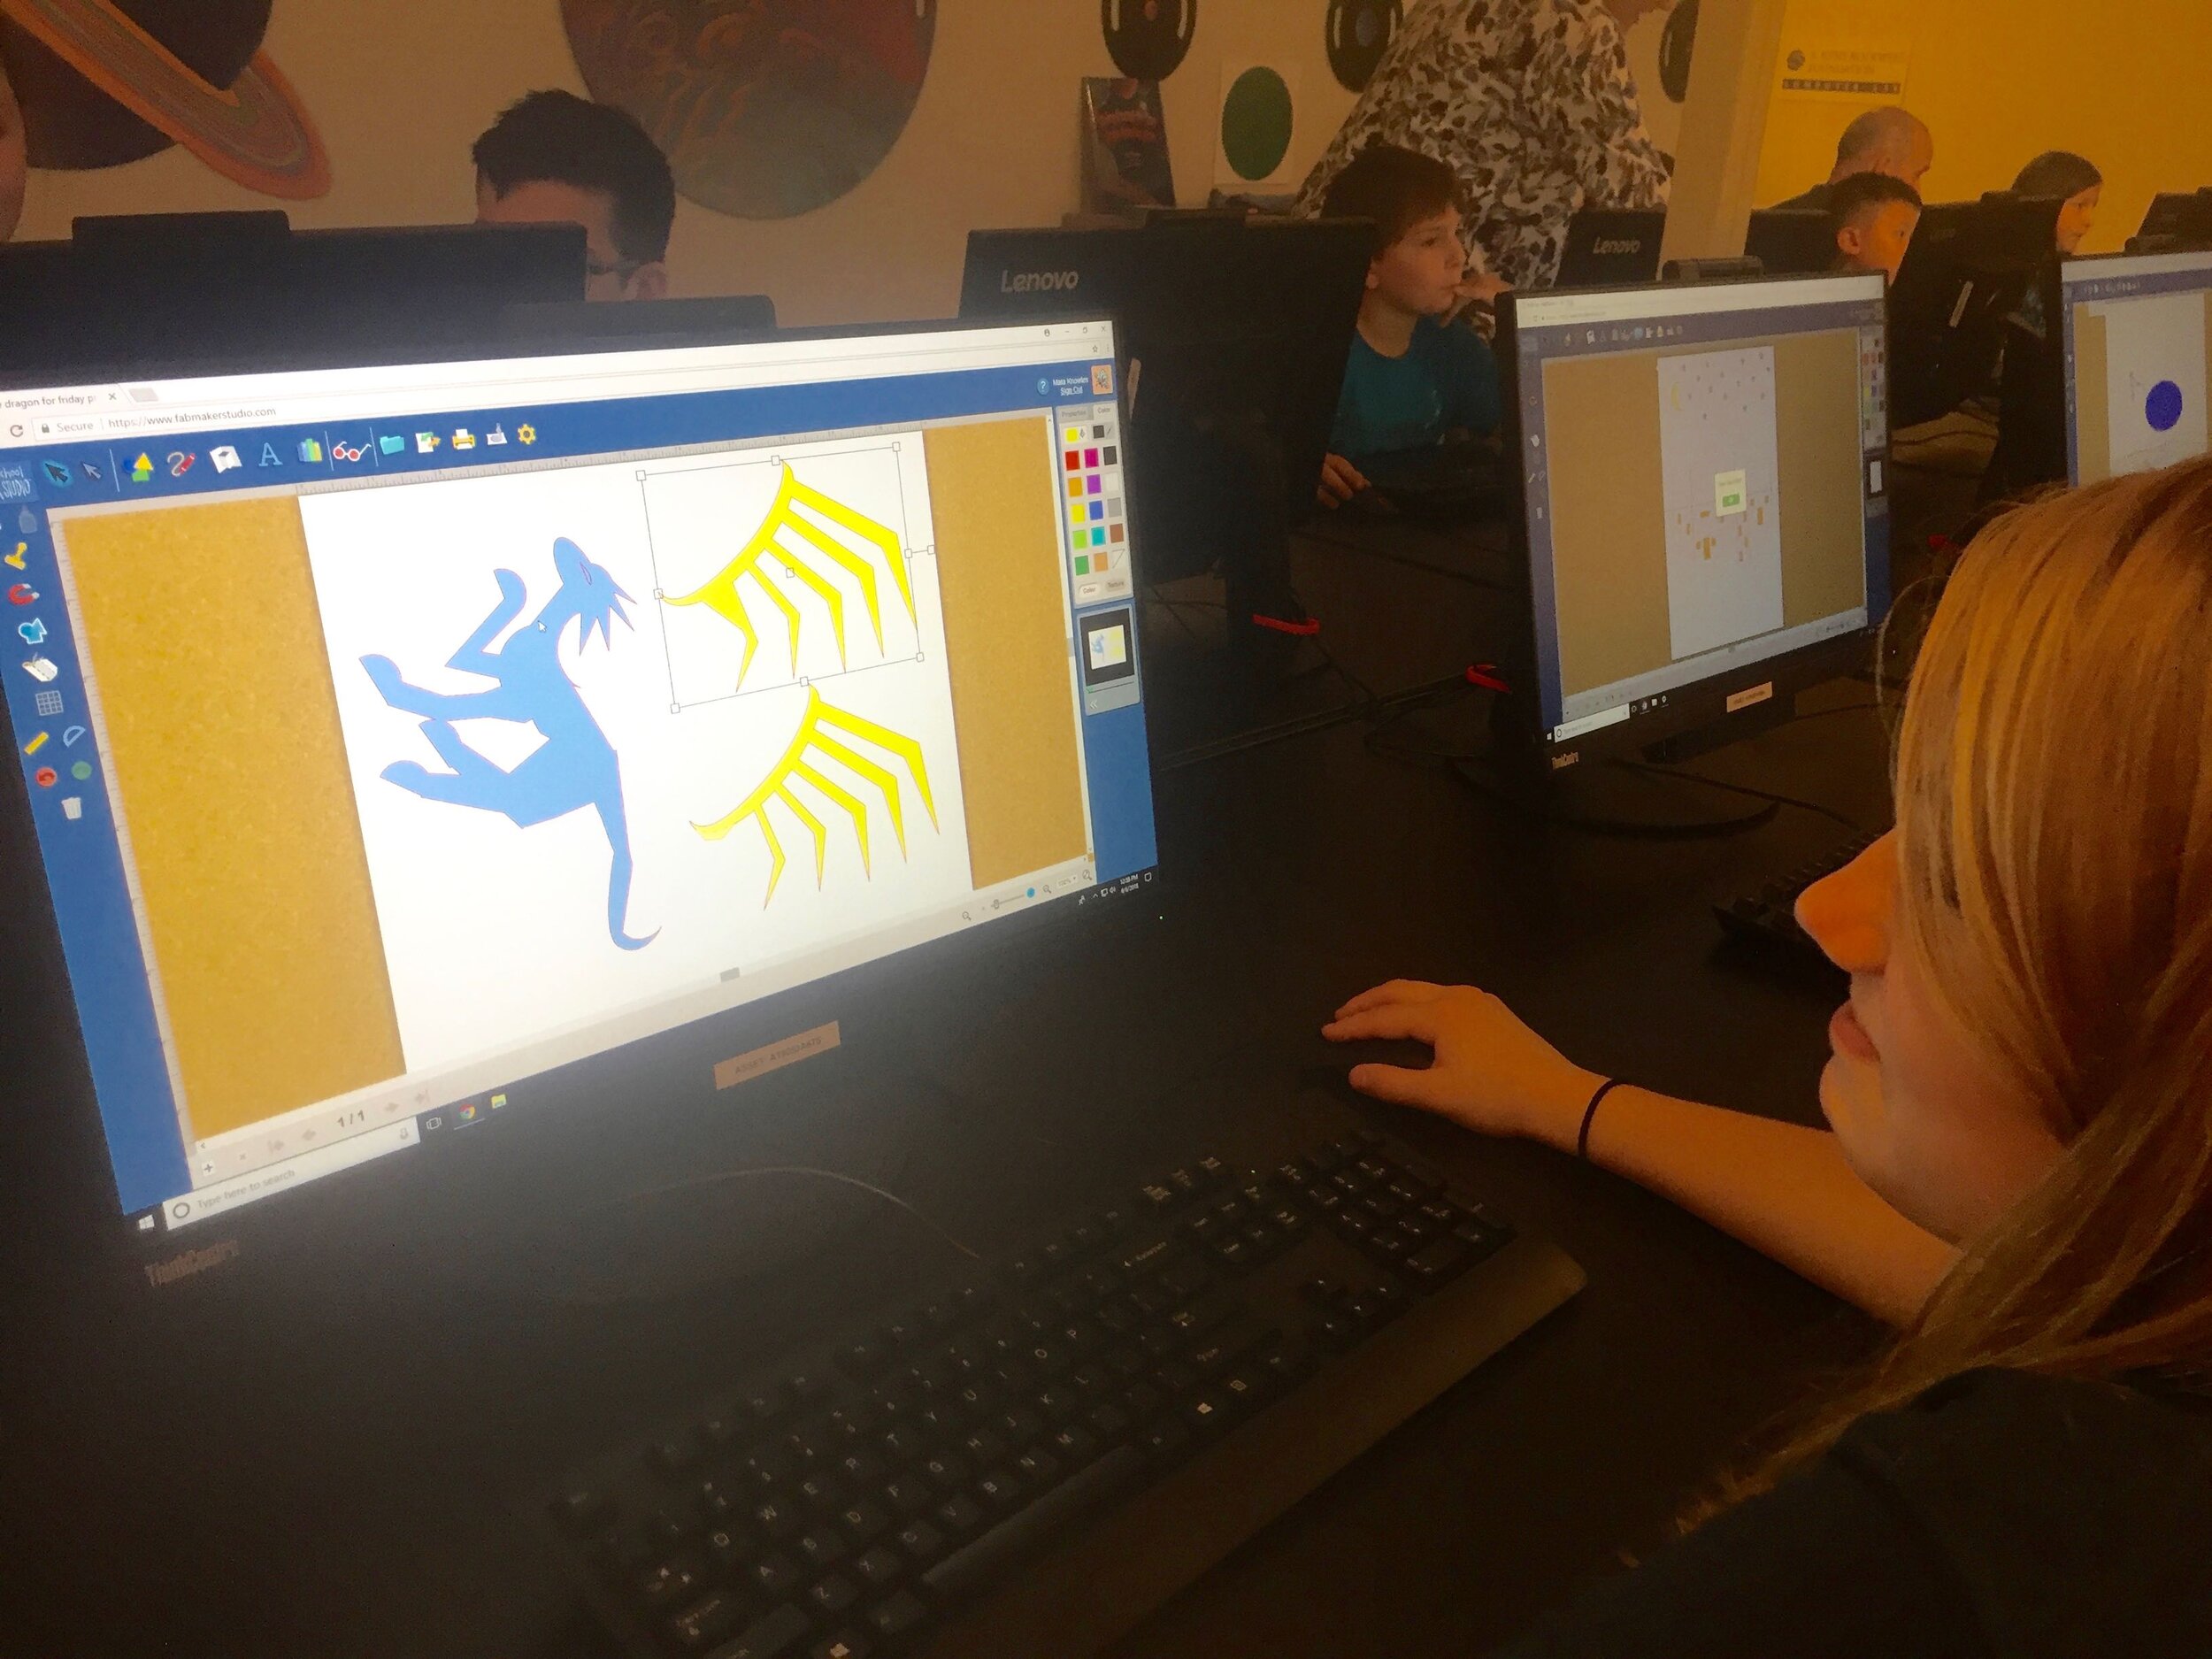
Make Your Monster 3D
Watch this video then follow the steps below.
Step 1: Make a new body part Design wings, ears, legs, bigger tail or other parts to cut separately and attach to your monster. Check the photos for ideas. You can use the following tools.
A. Shapes Tool: Choose a shape and use the handles to resize and reshape it. If you want, combine two or more shapes, weld them, and the choose Edit Points to morph.
B. Lines Tool: Choose the Lines tool and then choose Straight Lines, Curved Lines, or Brush. To use Straight Lines or Curved Lines, click to place each point. Double-click to place the final point. To close a shape, place your final point at or near the beginning point. For more detail on the Lines tool, see the FabMaker Studio Lines tutorial.
Step 2: Save Go to the File button on the top toolbar and choose Save or Save As.
Step 3: Print, cut and construct
To cut by hand: Click the Print button at the top. If you want to color by hand or use color paper, select “Print Cut & Fold Lines” and “Remove Color Fill” on the Print Preview page. Then select Save to PDF and print.
To cut with a Silhouette: If you want to color by hand or use color paper, you can send directly to the cutter. Click the Fabricate button at the top and follow instructions. Tip: Shapes have automatic cut lines, but objects created with the Lines tool do not. To define the outlines of these objects as cut lines, see the “Cut Fold Tab” tutorial or the FabMaker Studio User Guide for details.

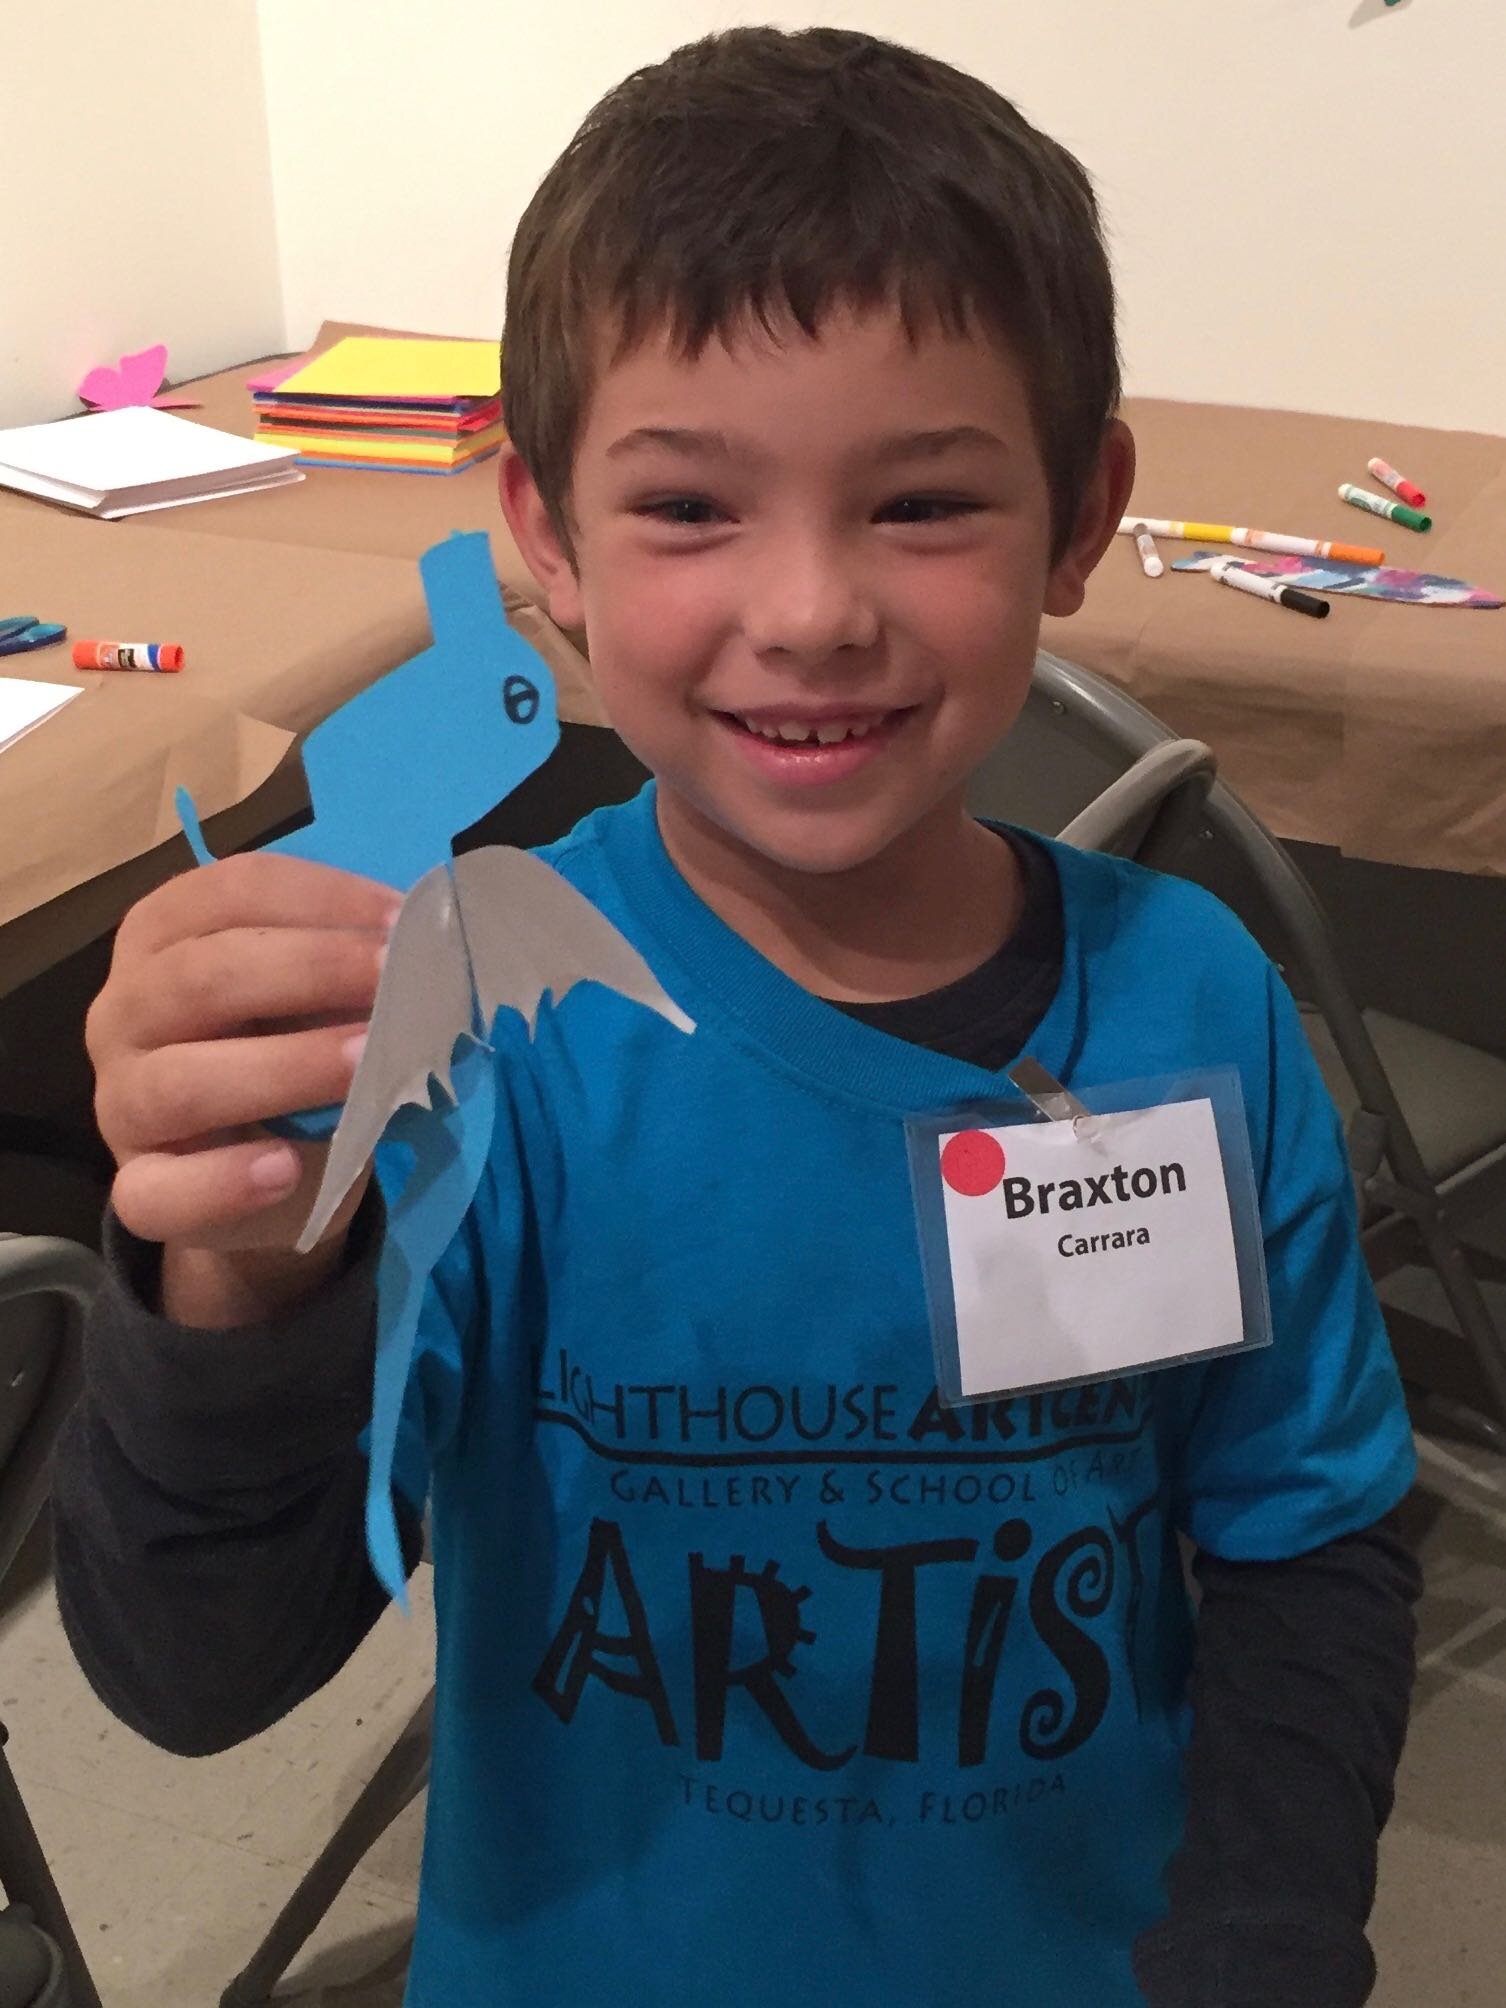
What To Do With a Mystery Monster?
Write about your mystery monster. How big is it? How does it move? Where does it live? What does it eat? Does it have any enemies?
Tell a story about your mystery monster.
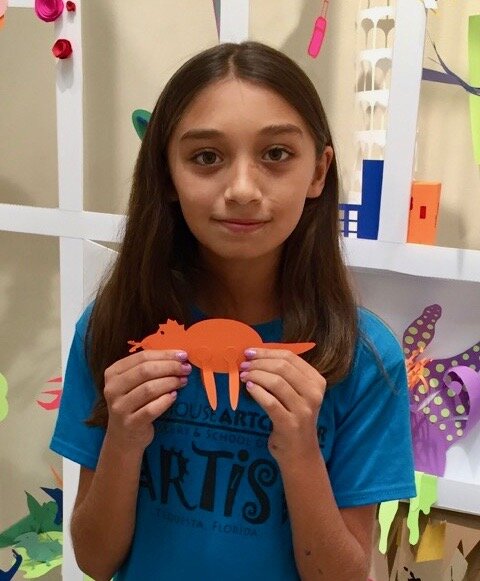
Now that you’ve honed your design skills, create a herd or flock or an entire habitat complete with flora and fauna.
Share your mystery monster. Post a PDF or picture of your monster. For more share options, see the FabMaker Studio User Guide.
For more information, contact us at info@fablevisionlearning.com. We invite you to join the conversation on Facebook the FabMaker Teacher Group.

Fabricating Fun for National Engineers Week

Build a snowman without the frostbite! Watch this quick time-lapse video to see how educators can introduce engineering concepts to young learners with FabMaker Studio.
FabMaker Studio is the first digital fabrication software tool developed specifically for use in the classroom. It is an easy-to-use, web-based program that invites students to experience STEM and STEAM learning in an engaging, personally meaningful way.
For more information, contact us at info@fablevisionlearning.com

FABMaker Spotlight: “Operating” with Tuscarora Intermediate Unit’s Maker Campers

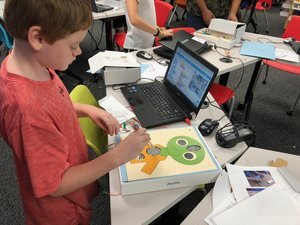
Eric Yoder’s son exploring FABMaker Studio
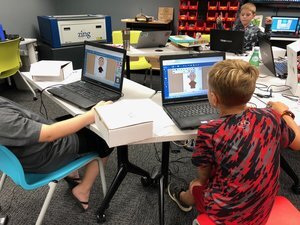
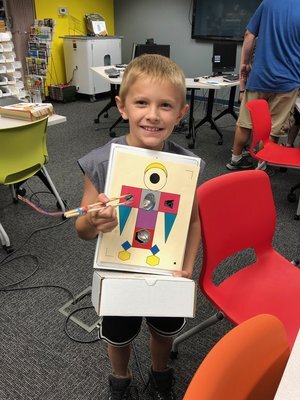
Inspired young engineers created their own Operation games this summer at Tuscarora Intermediate Unit’s Maker Camp, with the help of their instructor, Eric Yoder, the Coordinator of Educational Technology for the district.
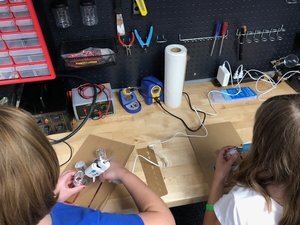
The Maker Camp, located in Central Pennsylvania, introduced the aspiring engineers to FabMaker Studio, and the Silhouette Portrait. From there, campers used their imagination to design their own characters, and cut out holes to create their organs, or game pieces. Copper tape and wired chopsticks were used as surgical tools in assisting the engineer’s characters in their “Operation.”

To make these patients come to life campers used a Makey Makey - wired to the chopsticks - and Scratch to program the custom sounds and effects. Whenever the surgeon removed a game piece the wrong way - buzz! This project was inspired by Joel Poel Smith, a DIY YouTuber, and Josh Burker.
Is your classroom a FabClassroom? We would love to highlight your school! To be featured in an upcoming post, send an email to andrea@fablevision.com. You can also tweet your photos with the hashtag #FabMakerStudio! For more posts featuring FabMaker Studio, click here.
Join the FabMaker Teacher Group here

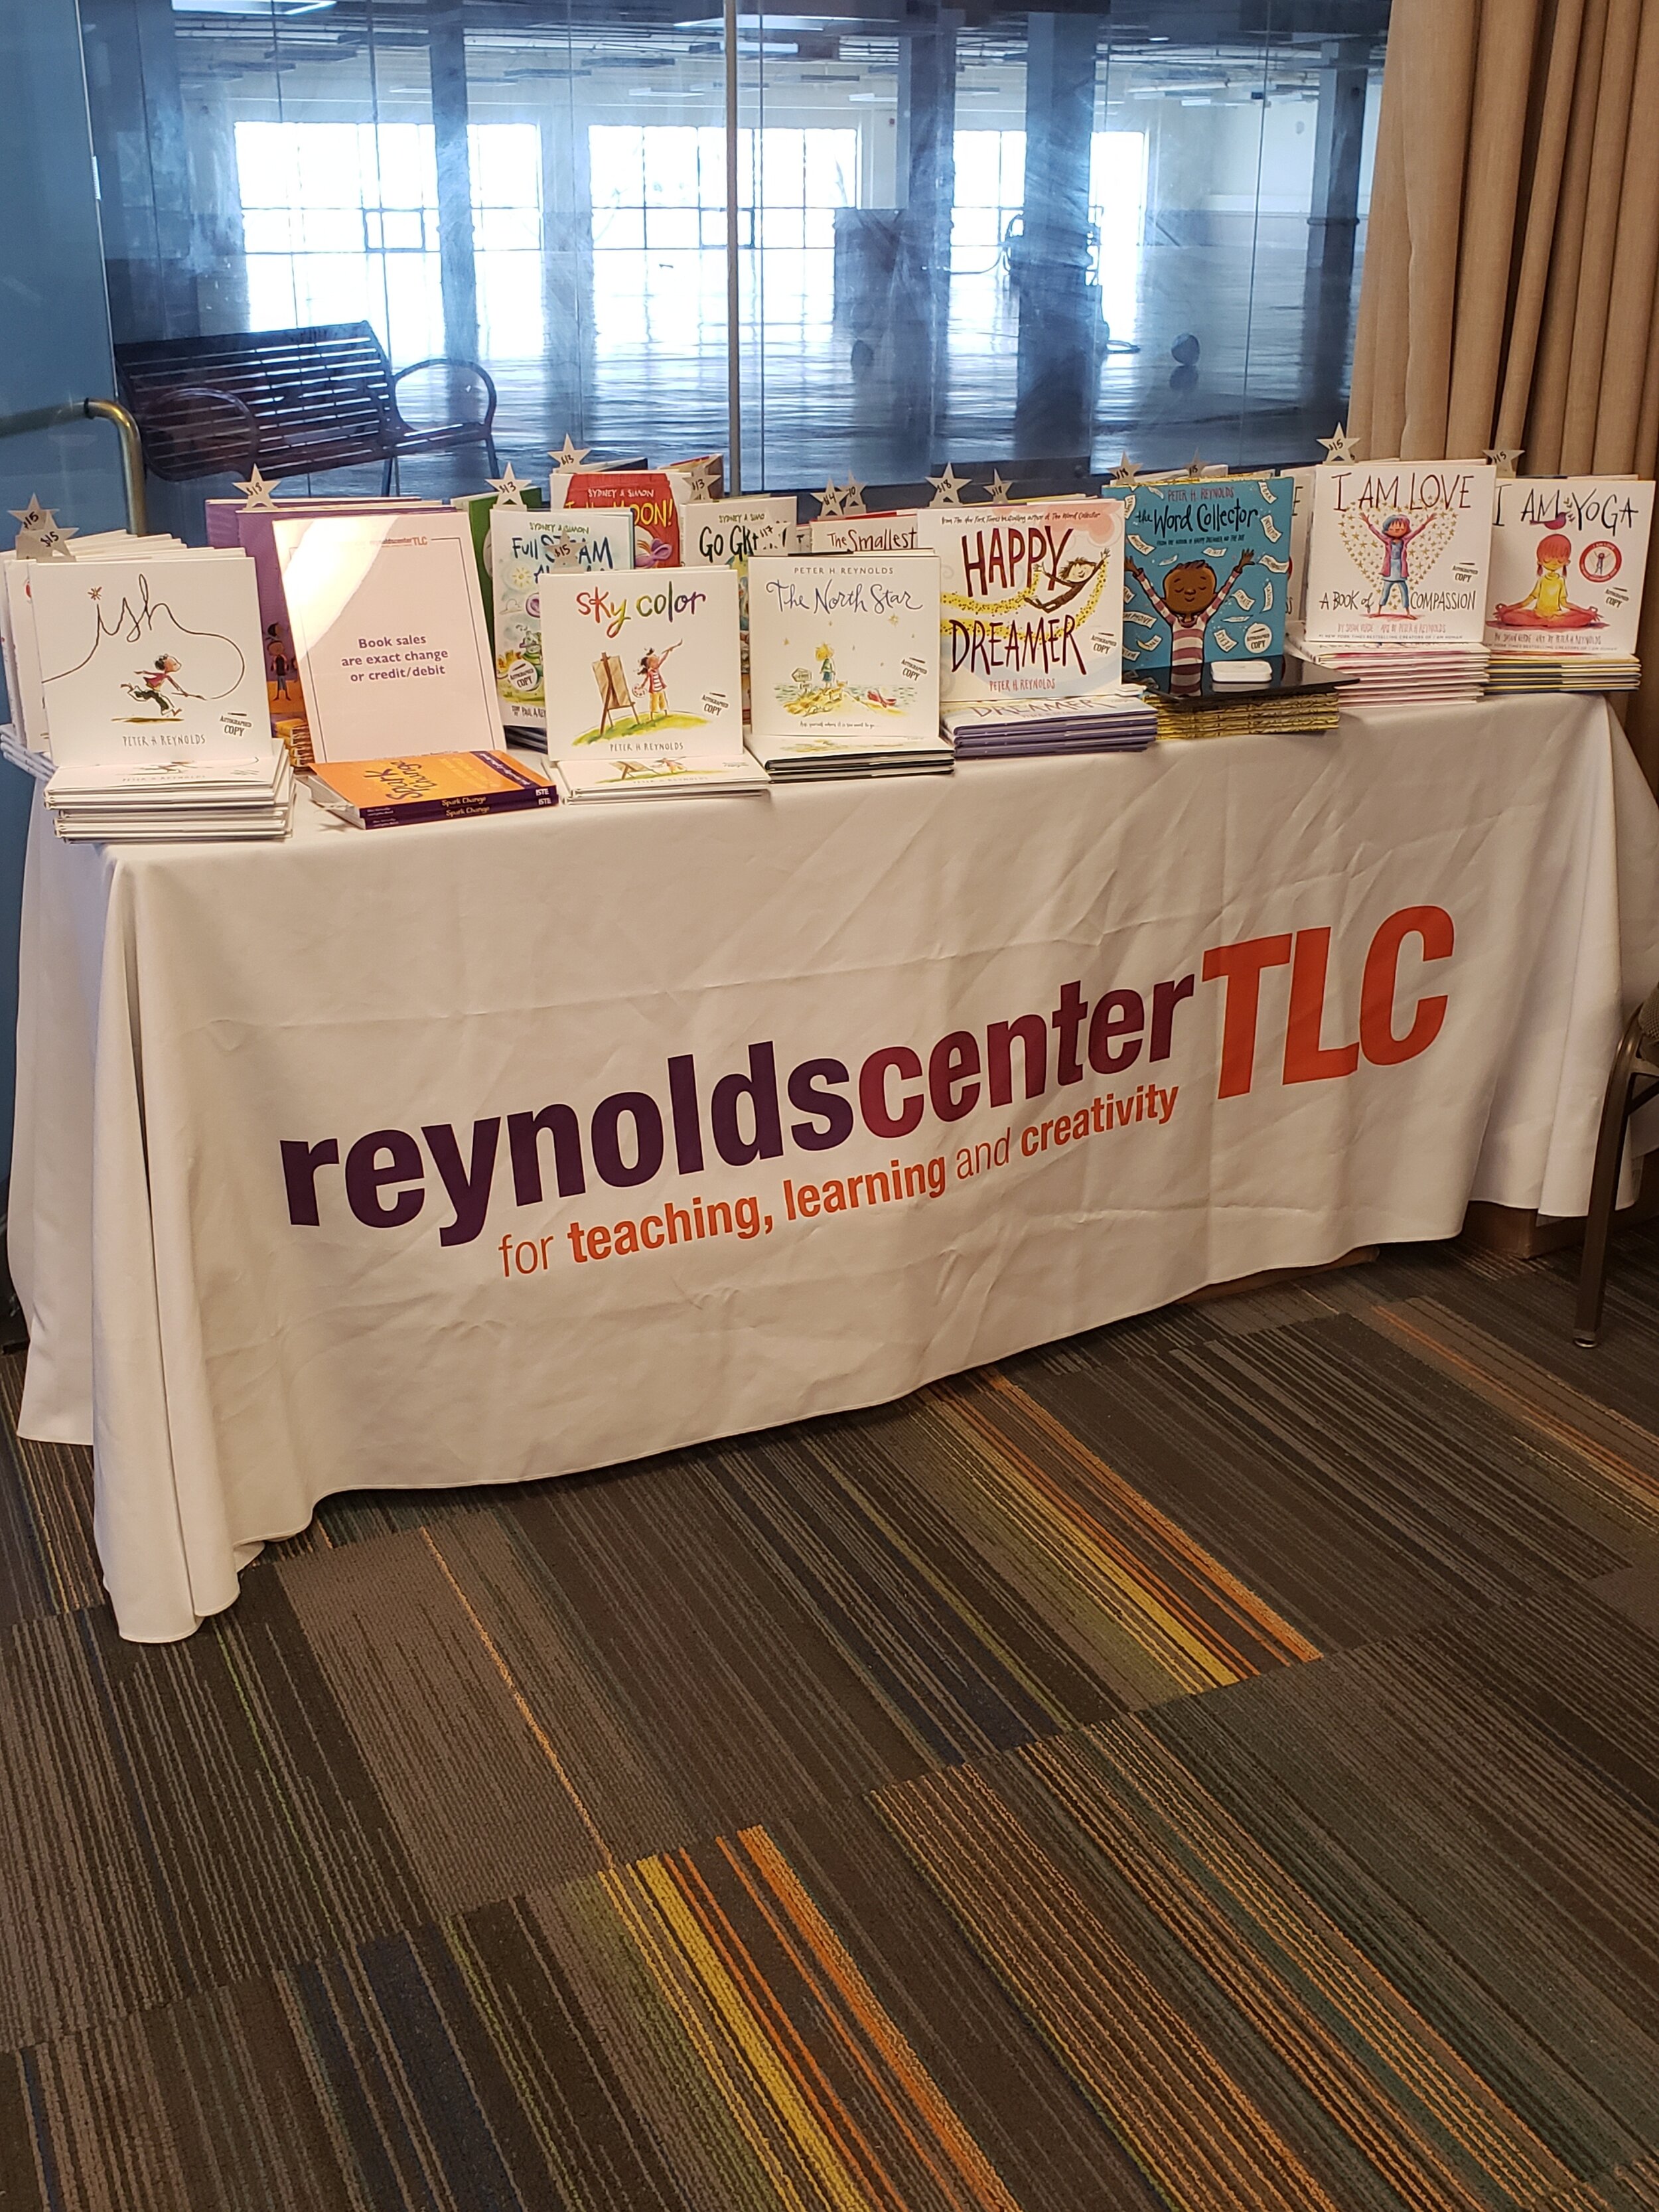
Educators Create Bravely in New Hampshire at CMTC with FableVision/Reynolds Center
With the New England snow in full force, FableVision Learning and the Reynolds Center team joined the Christa McAuliffe Technology Conference in New Hampshire for two days of creativity, invention, and inspiration.

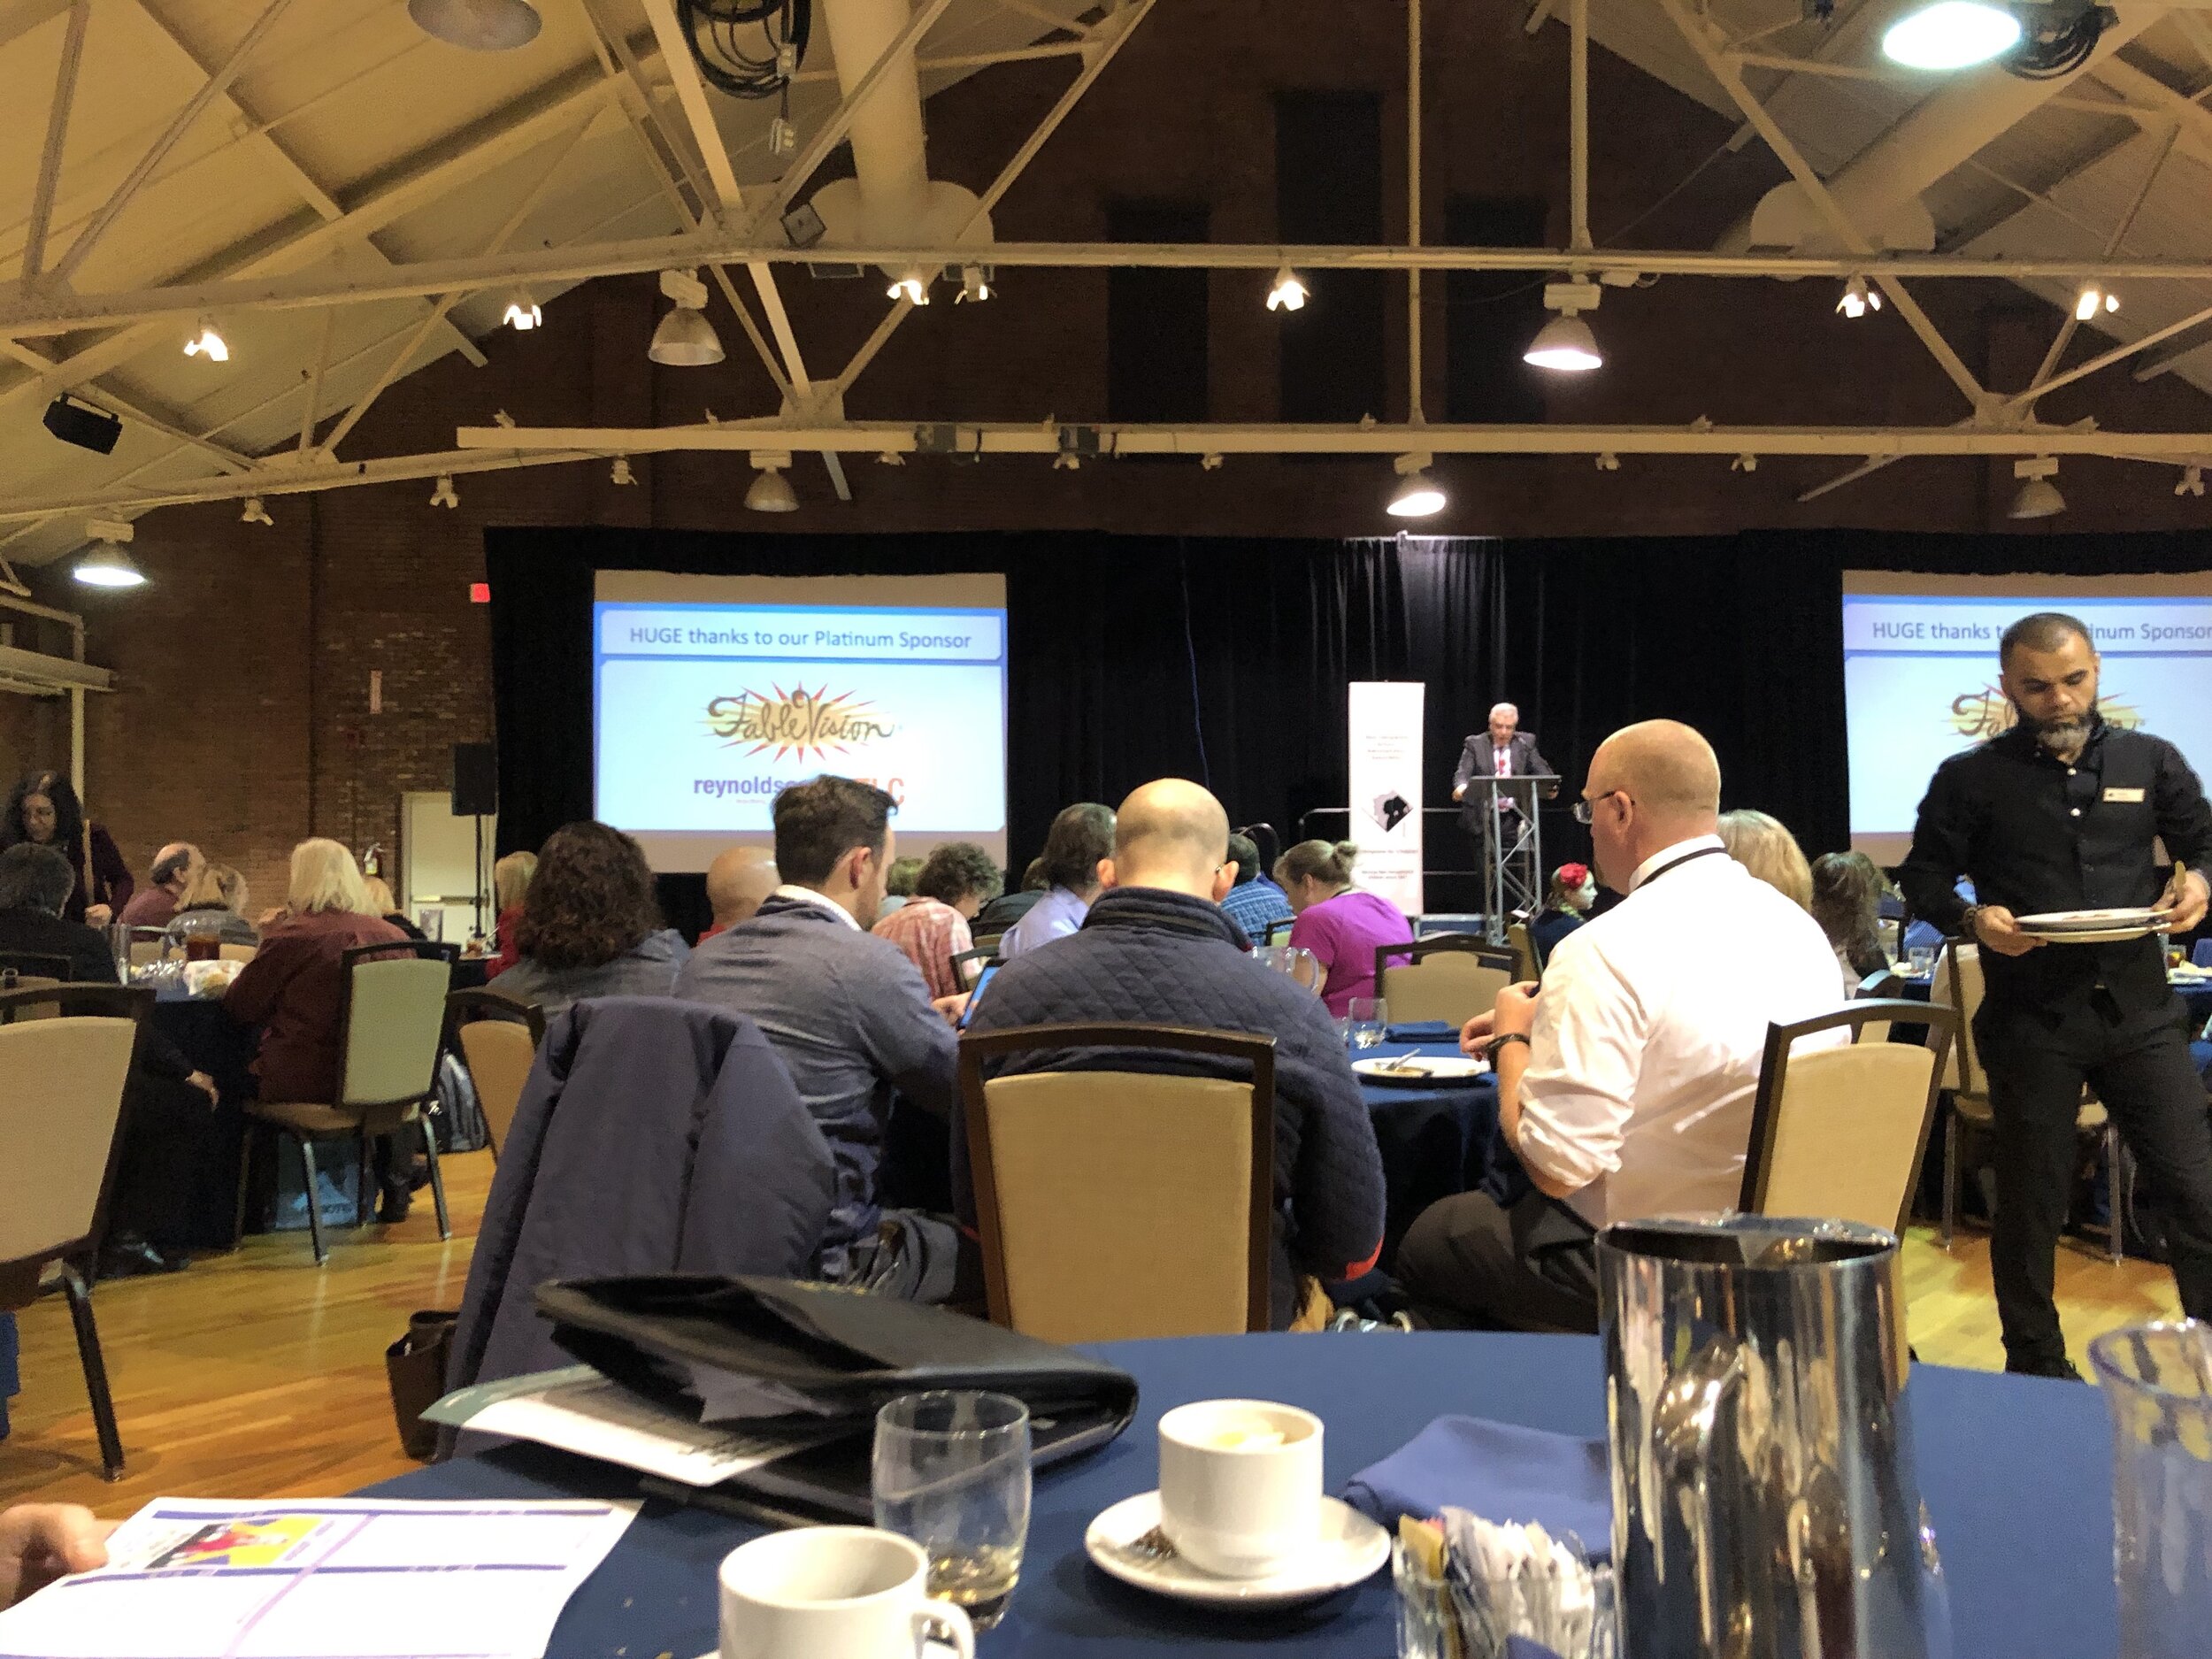
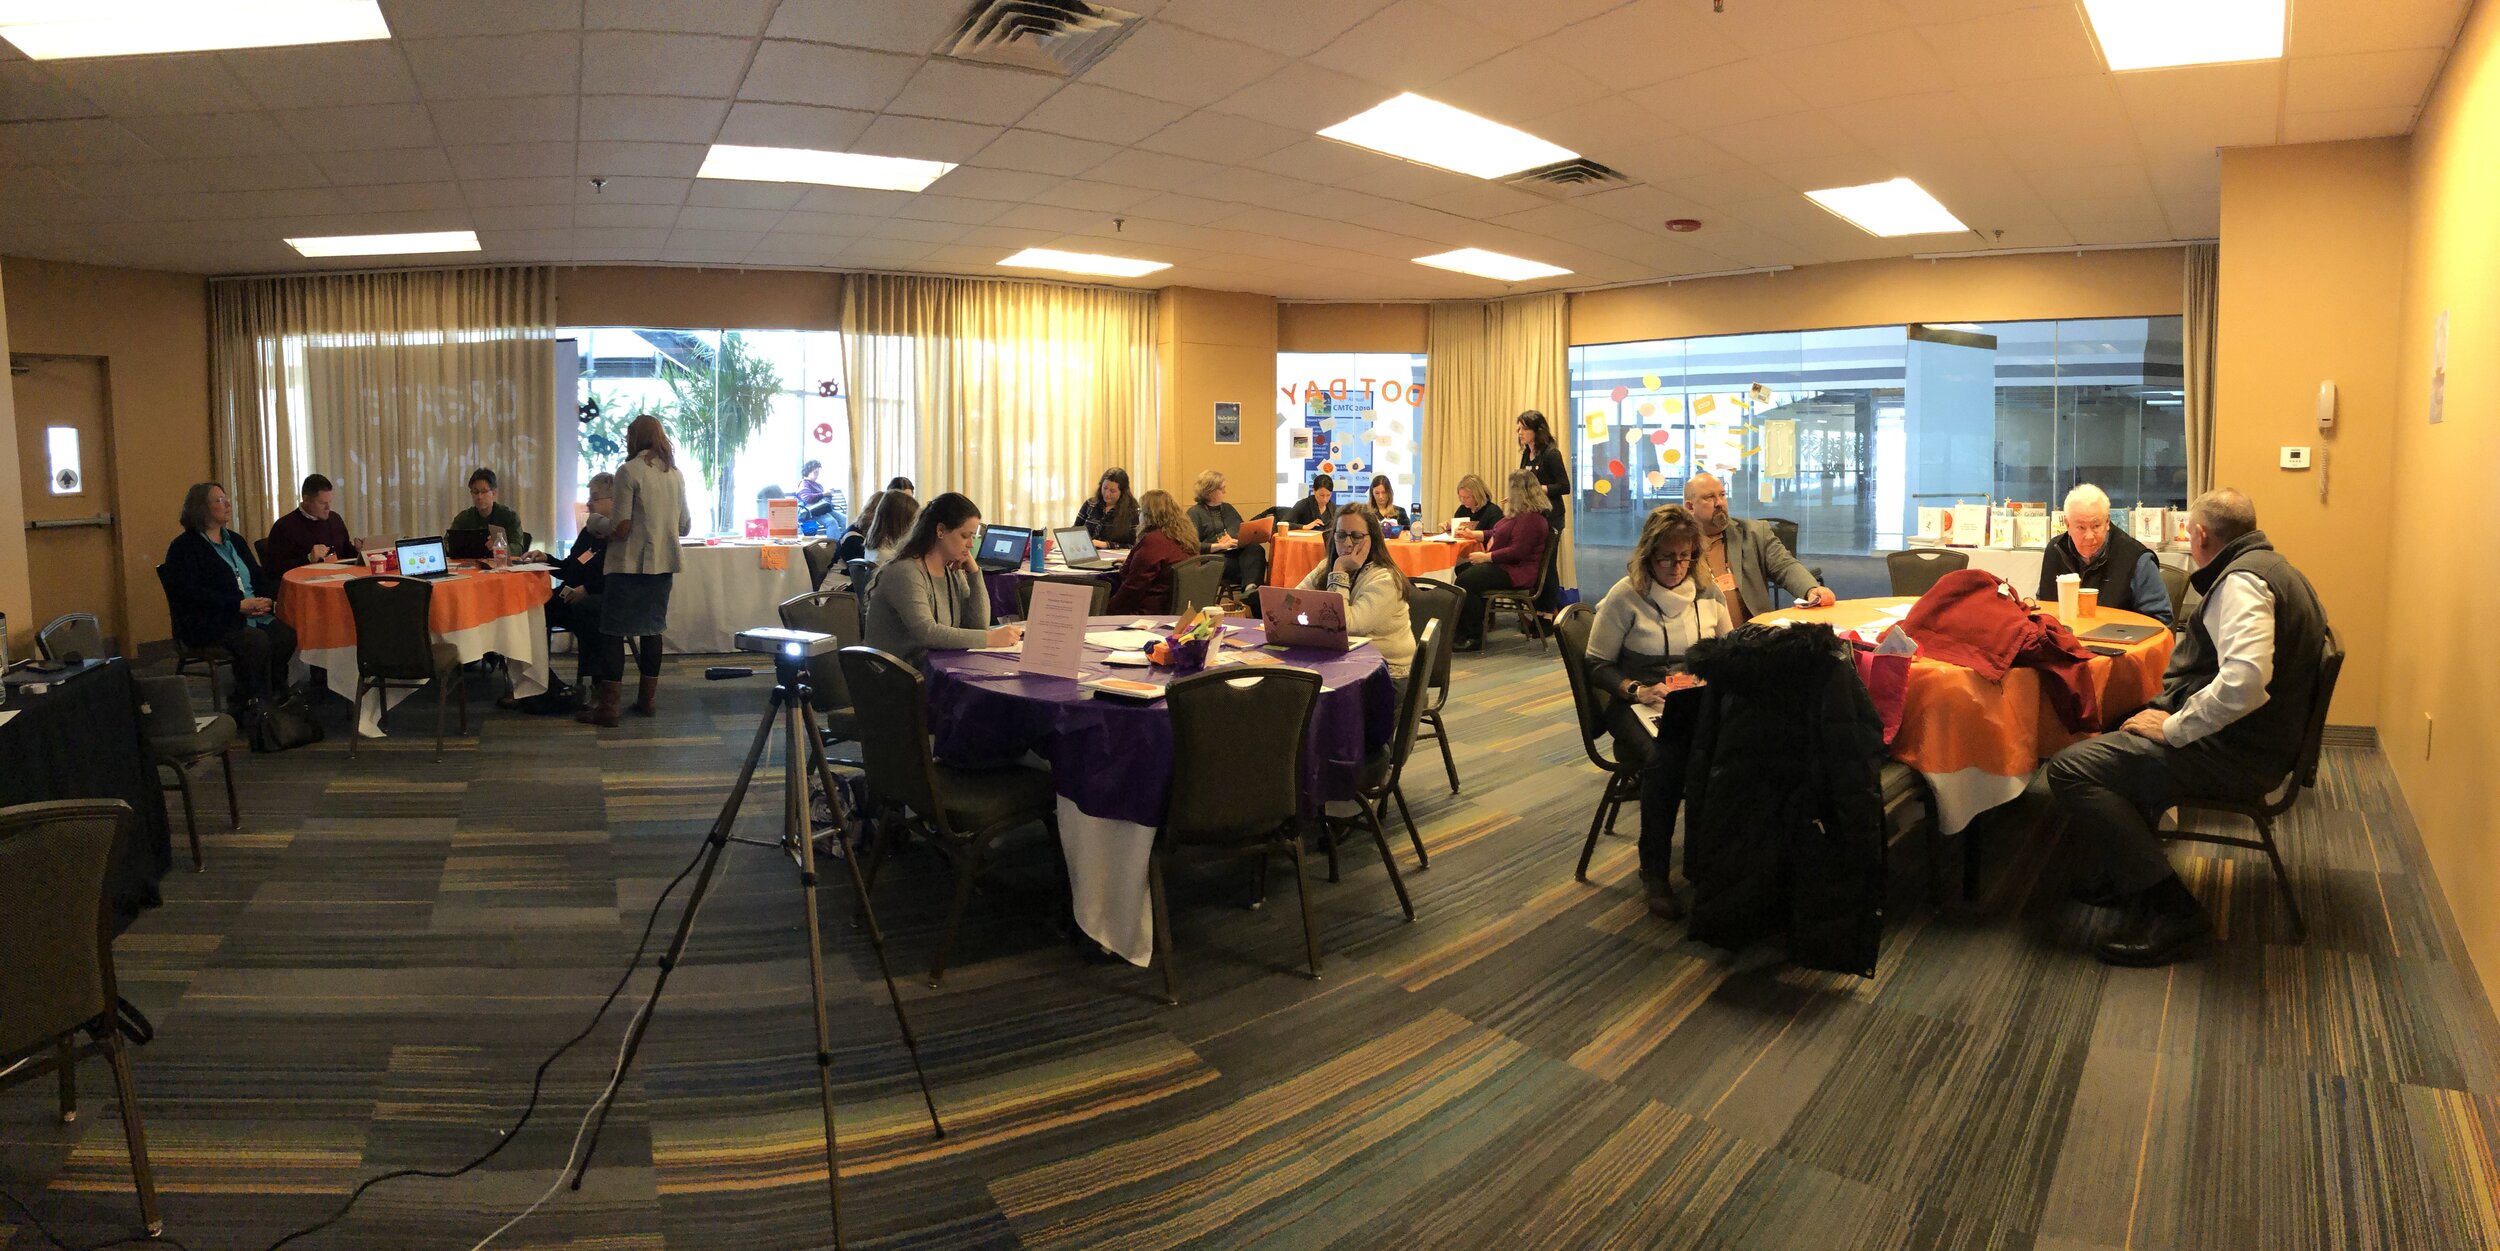
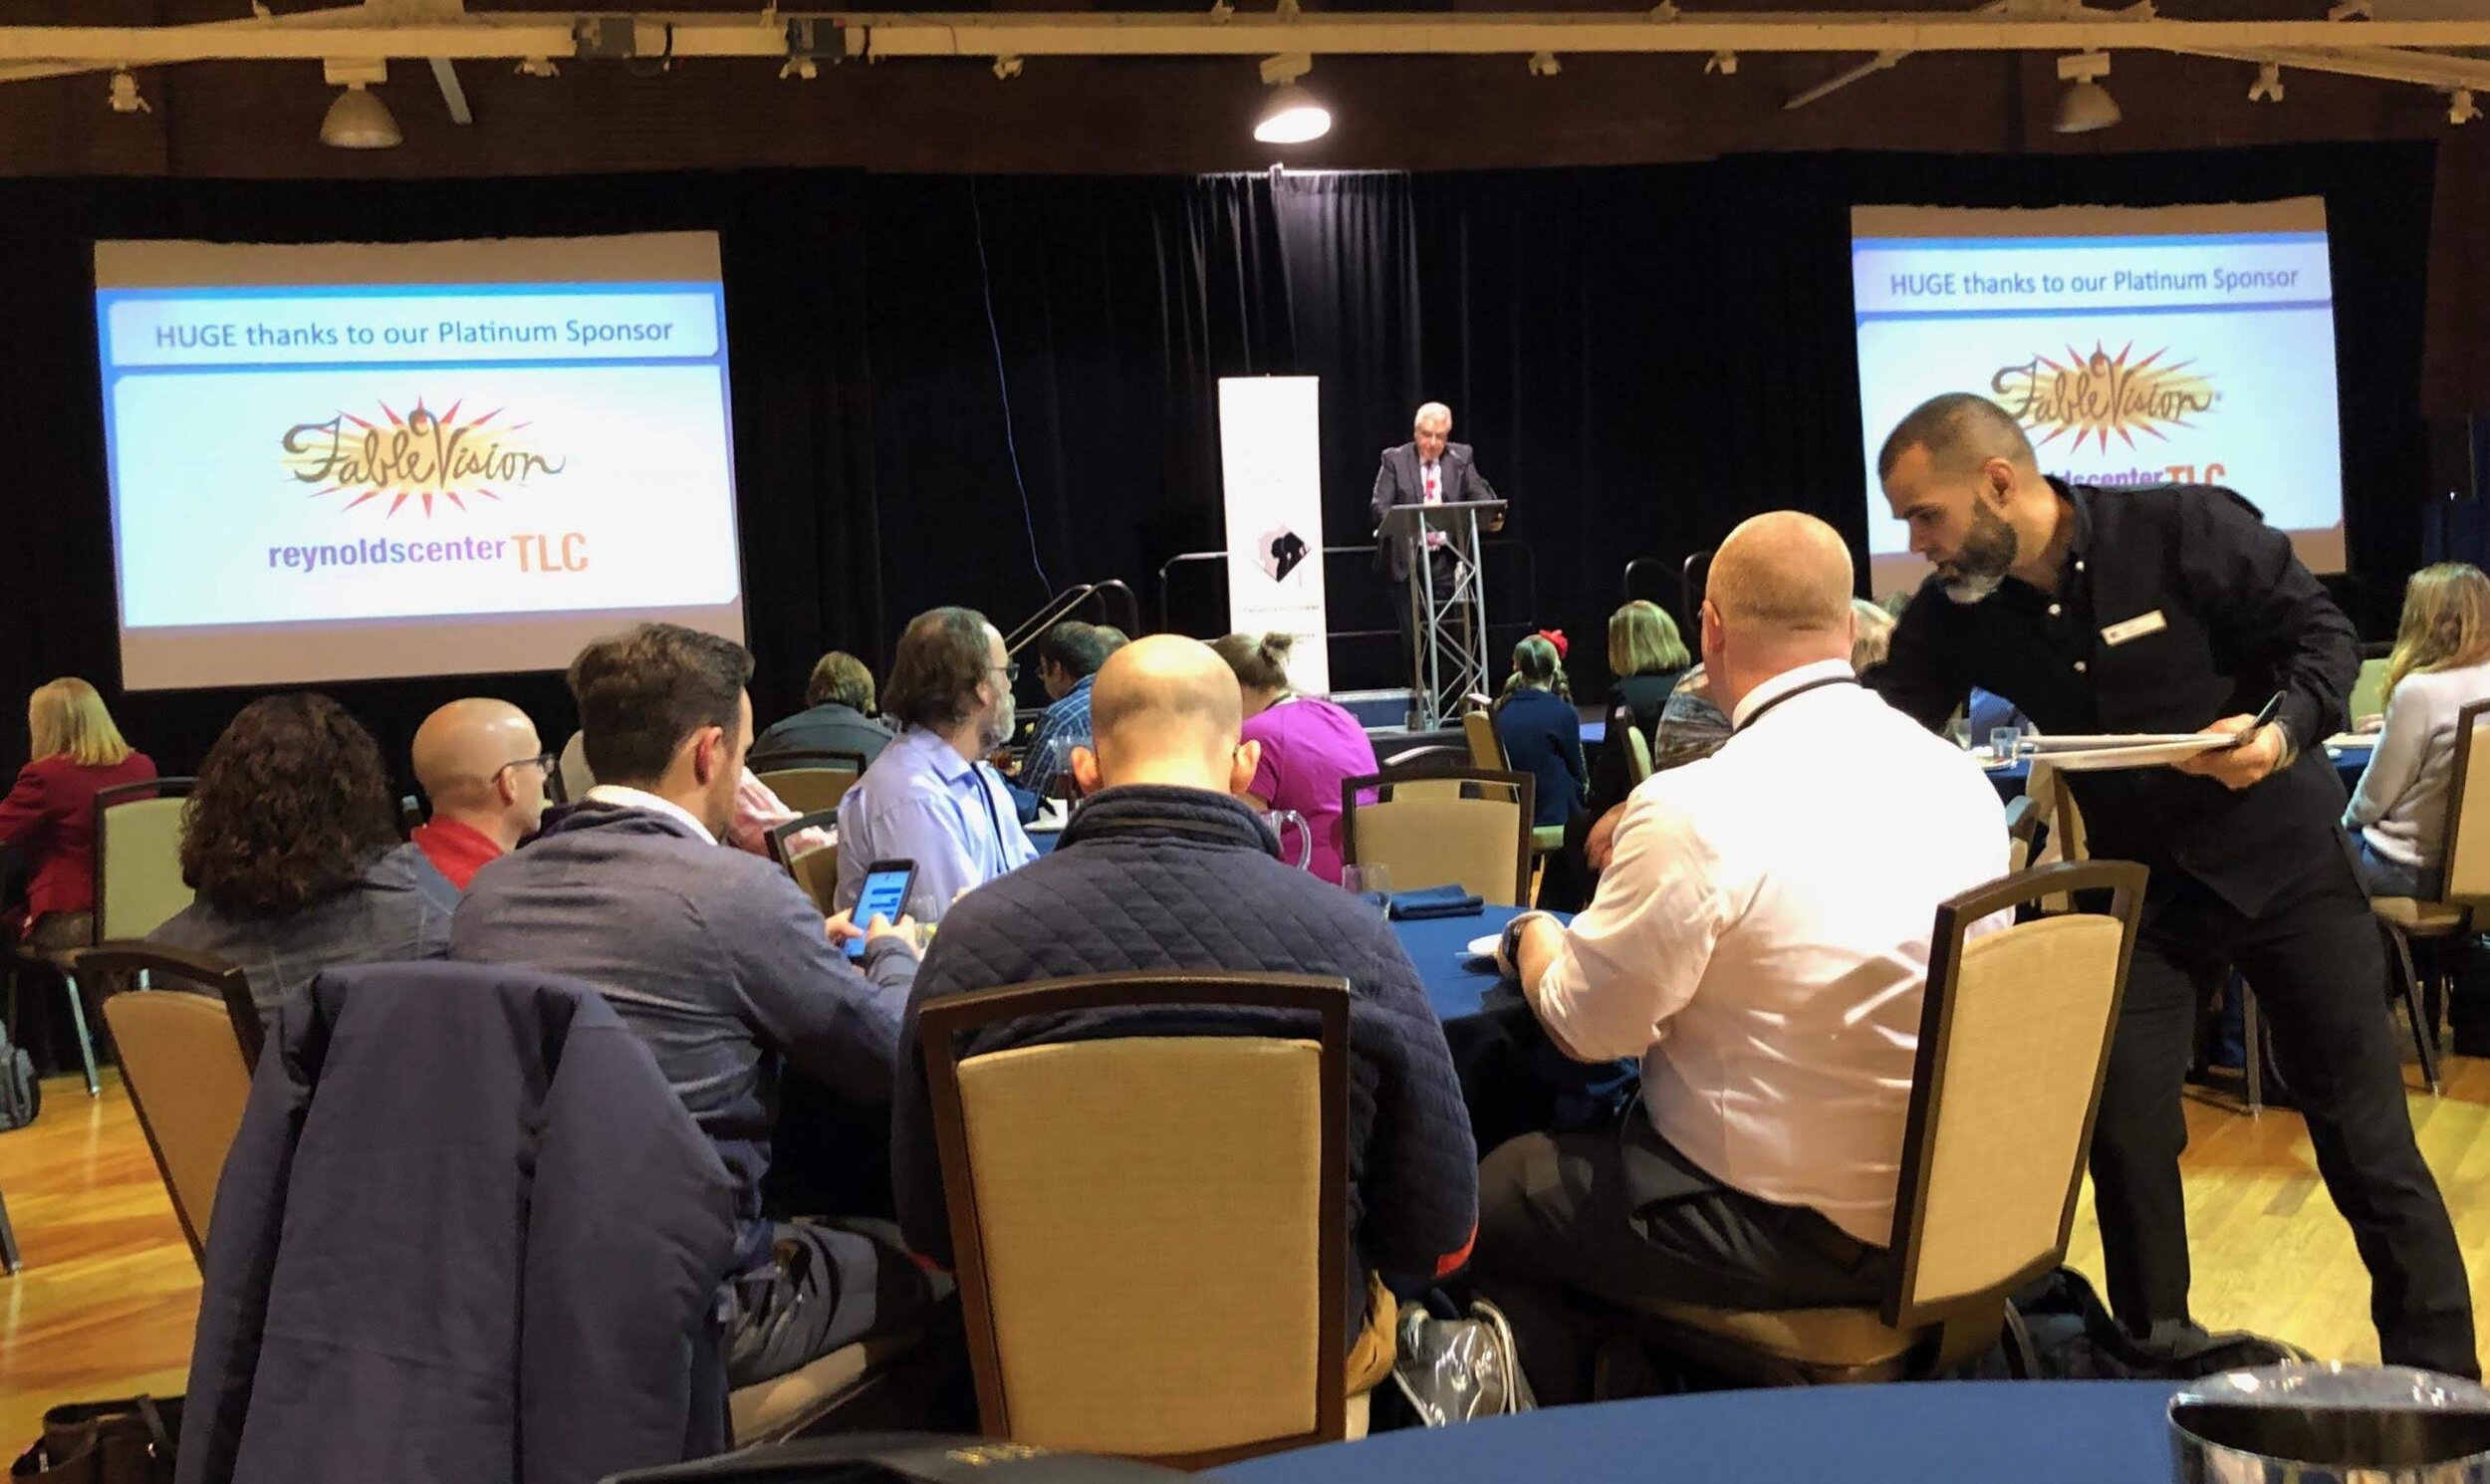
During hands-on sessions, we introduced our FableVision Learning Creative Tools, Animation-ish and FabMaker Studio. We had a lot of fun exploring STEAM-powered learning by making cubes, exploring shapes and geometry, and understanding the importance of digital storytelling through animation.
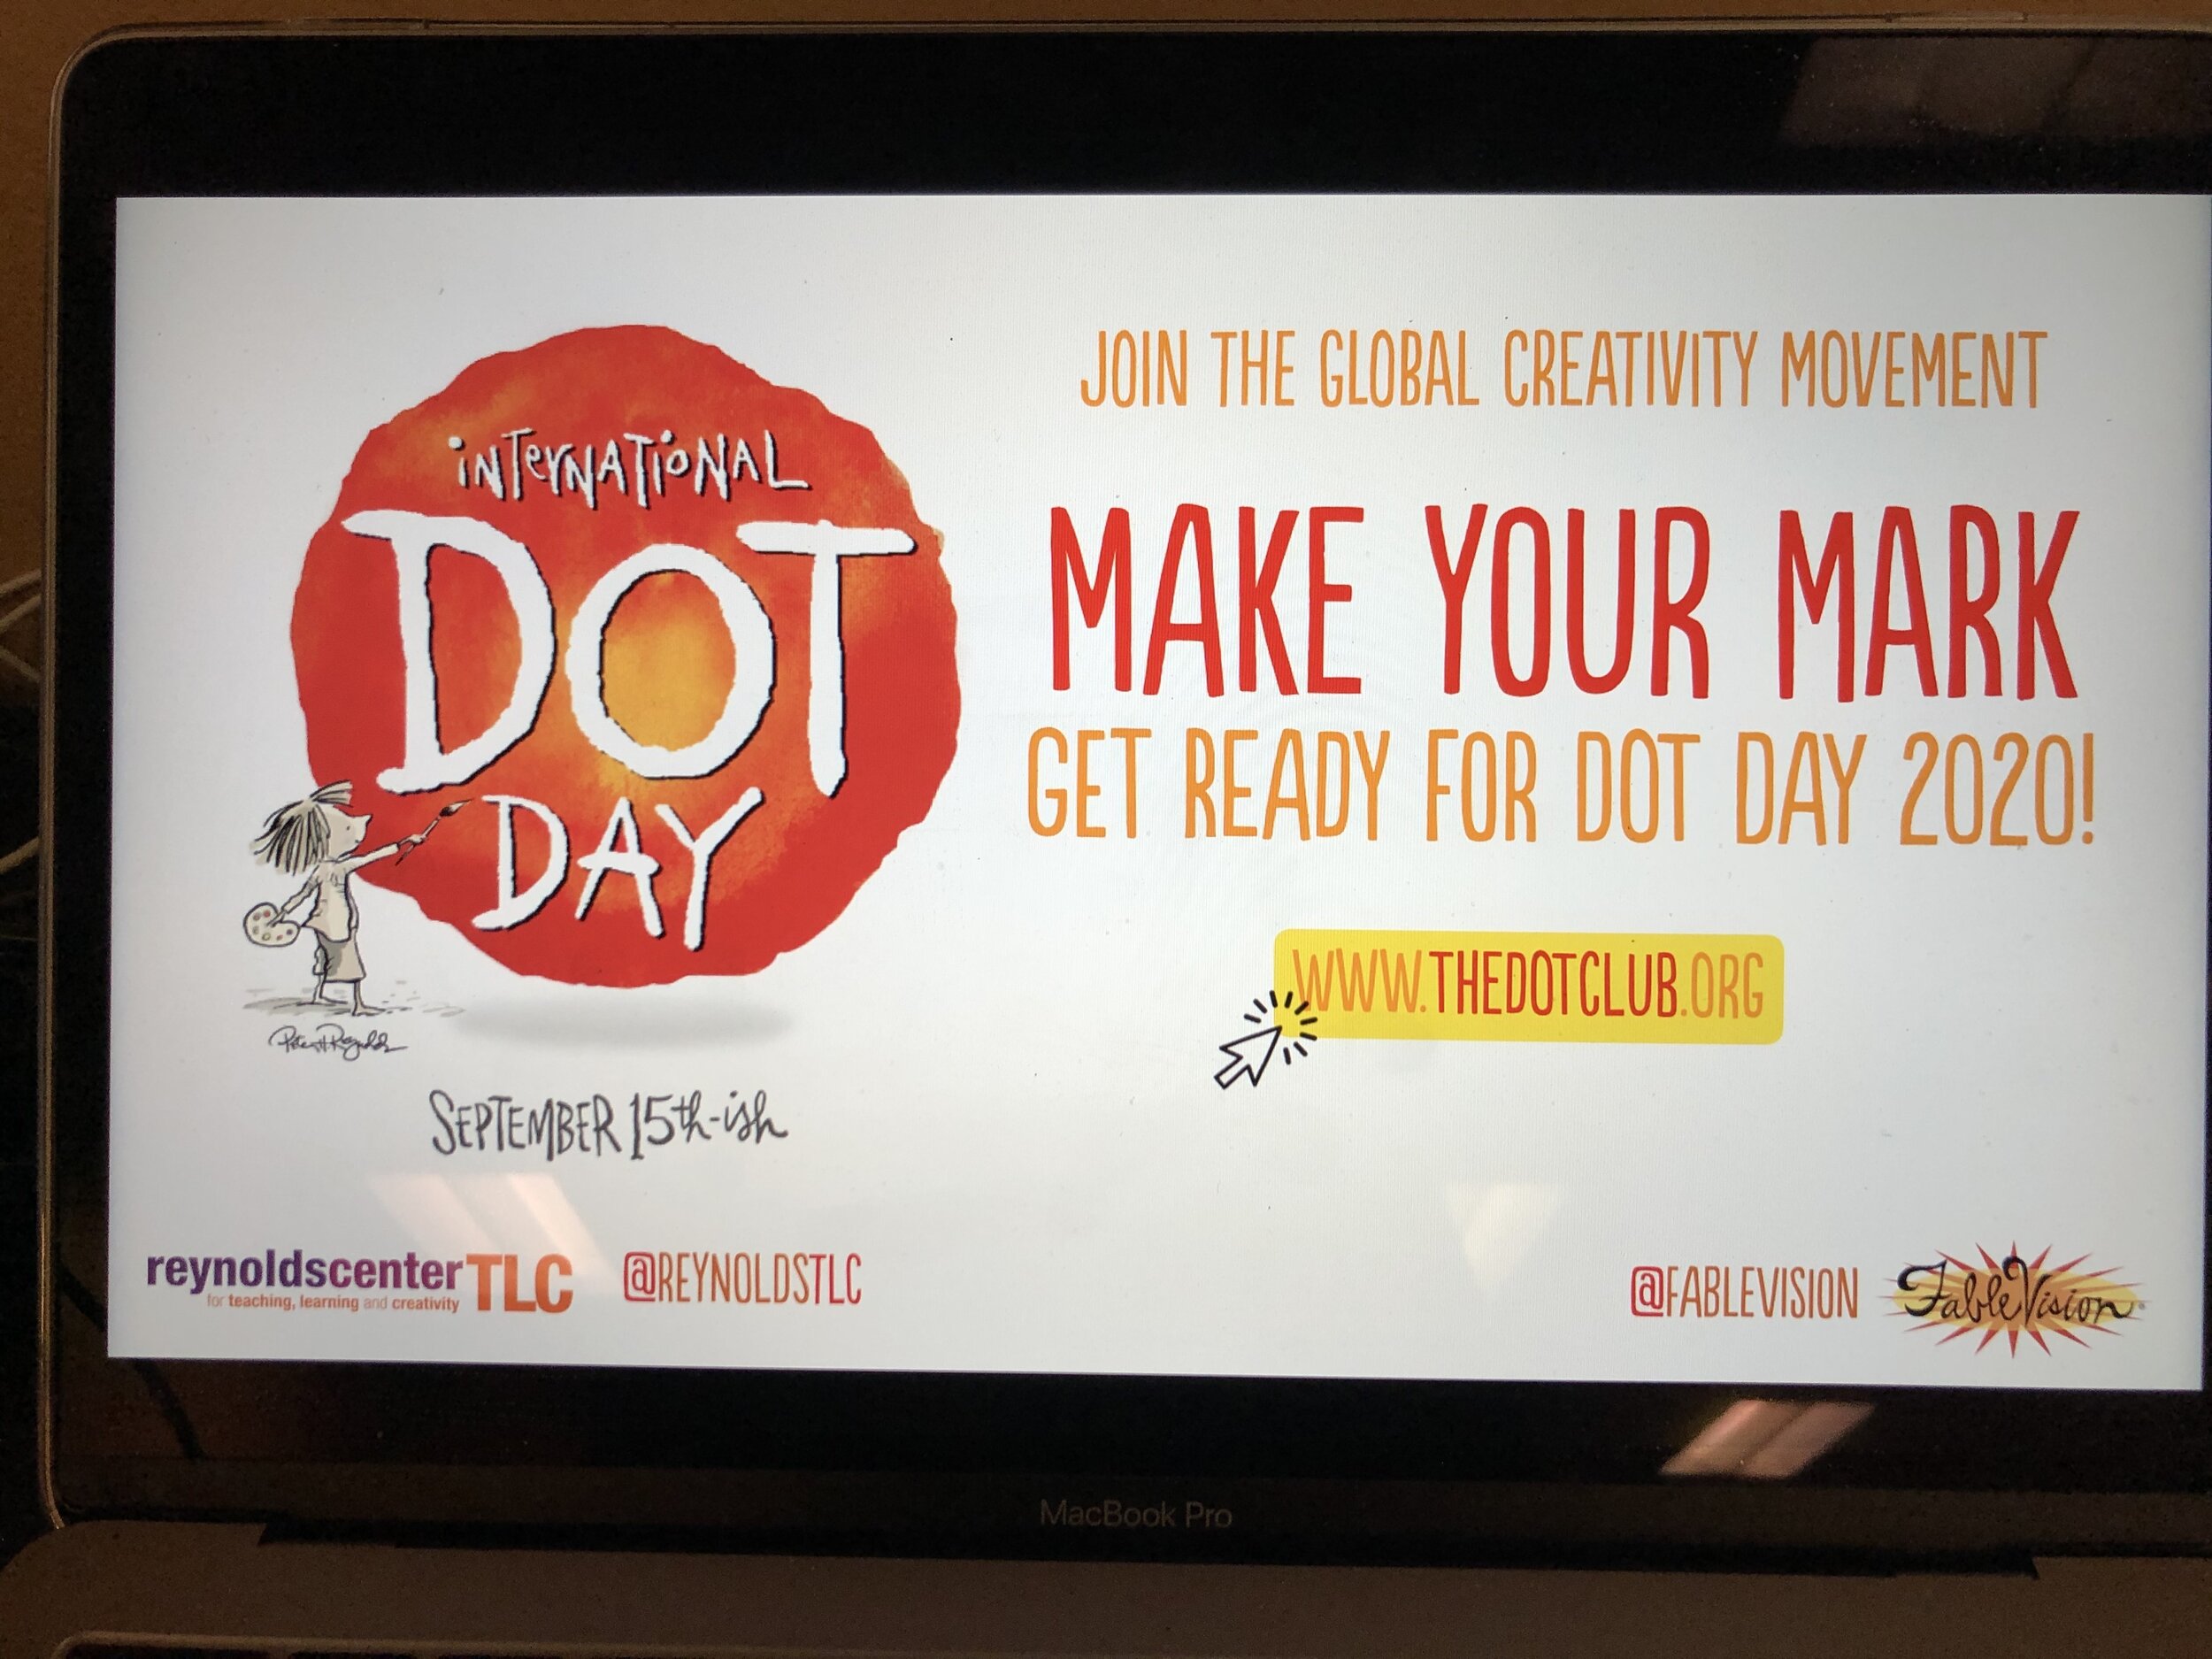
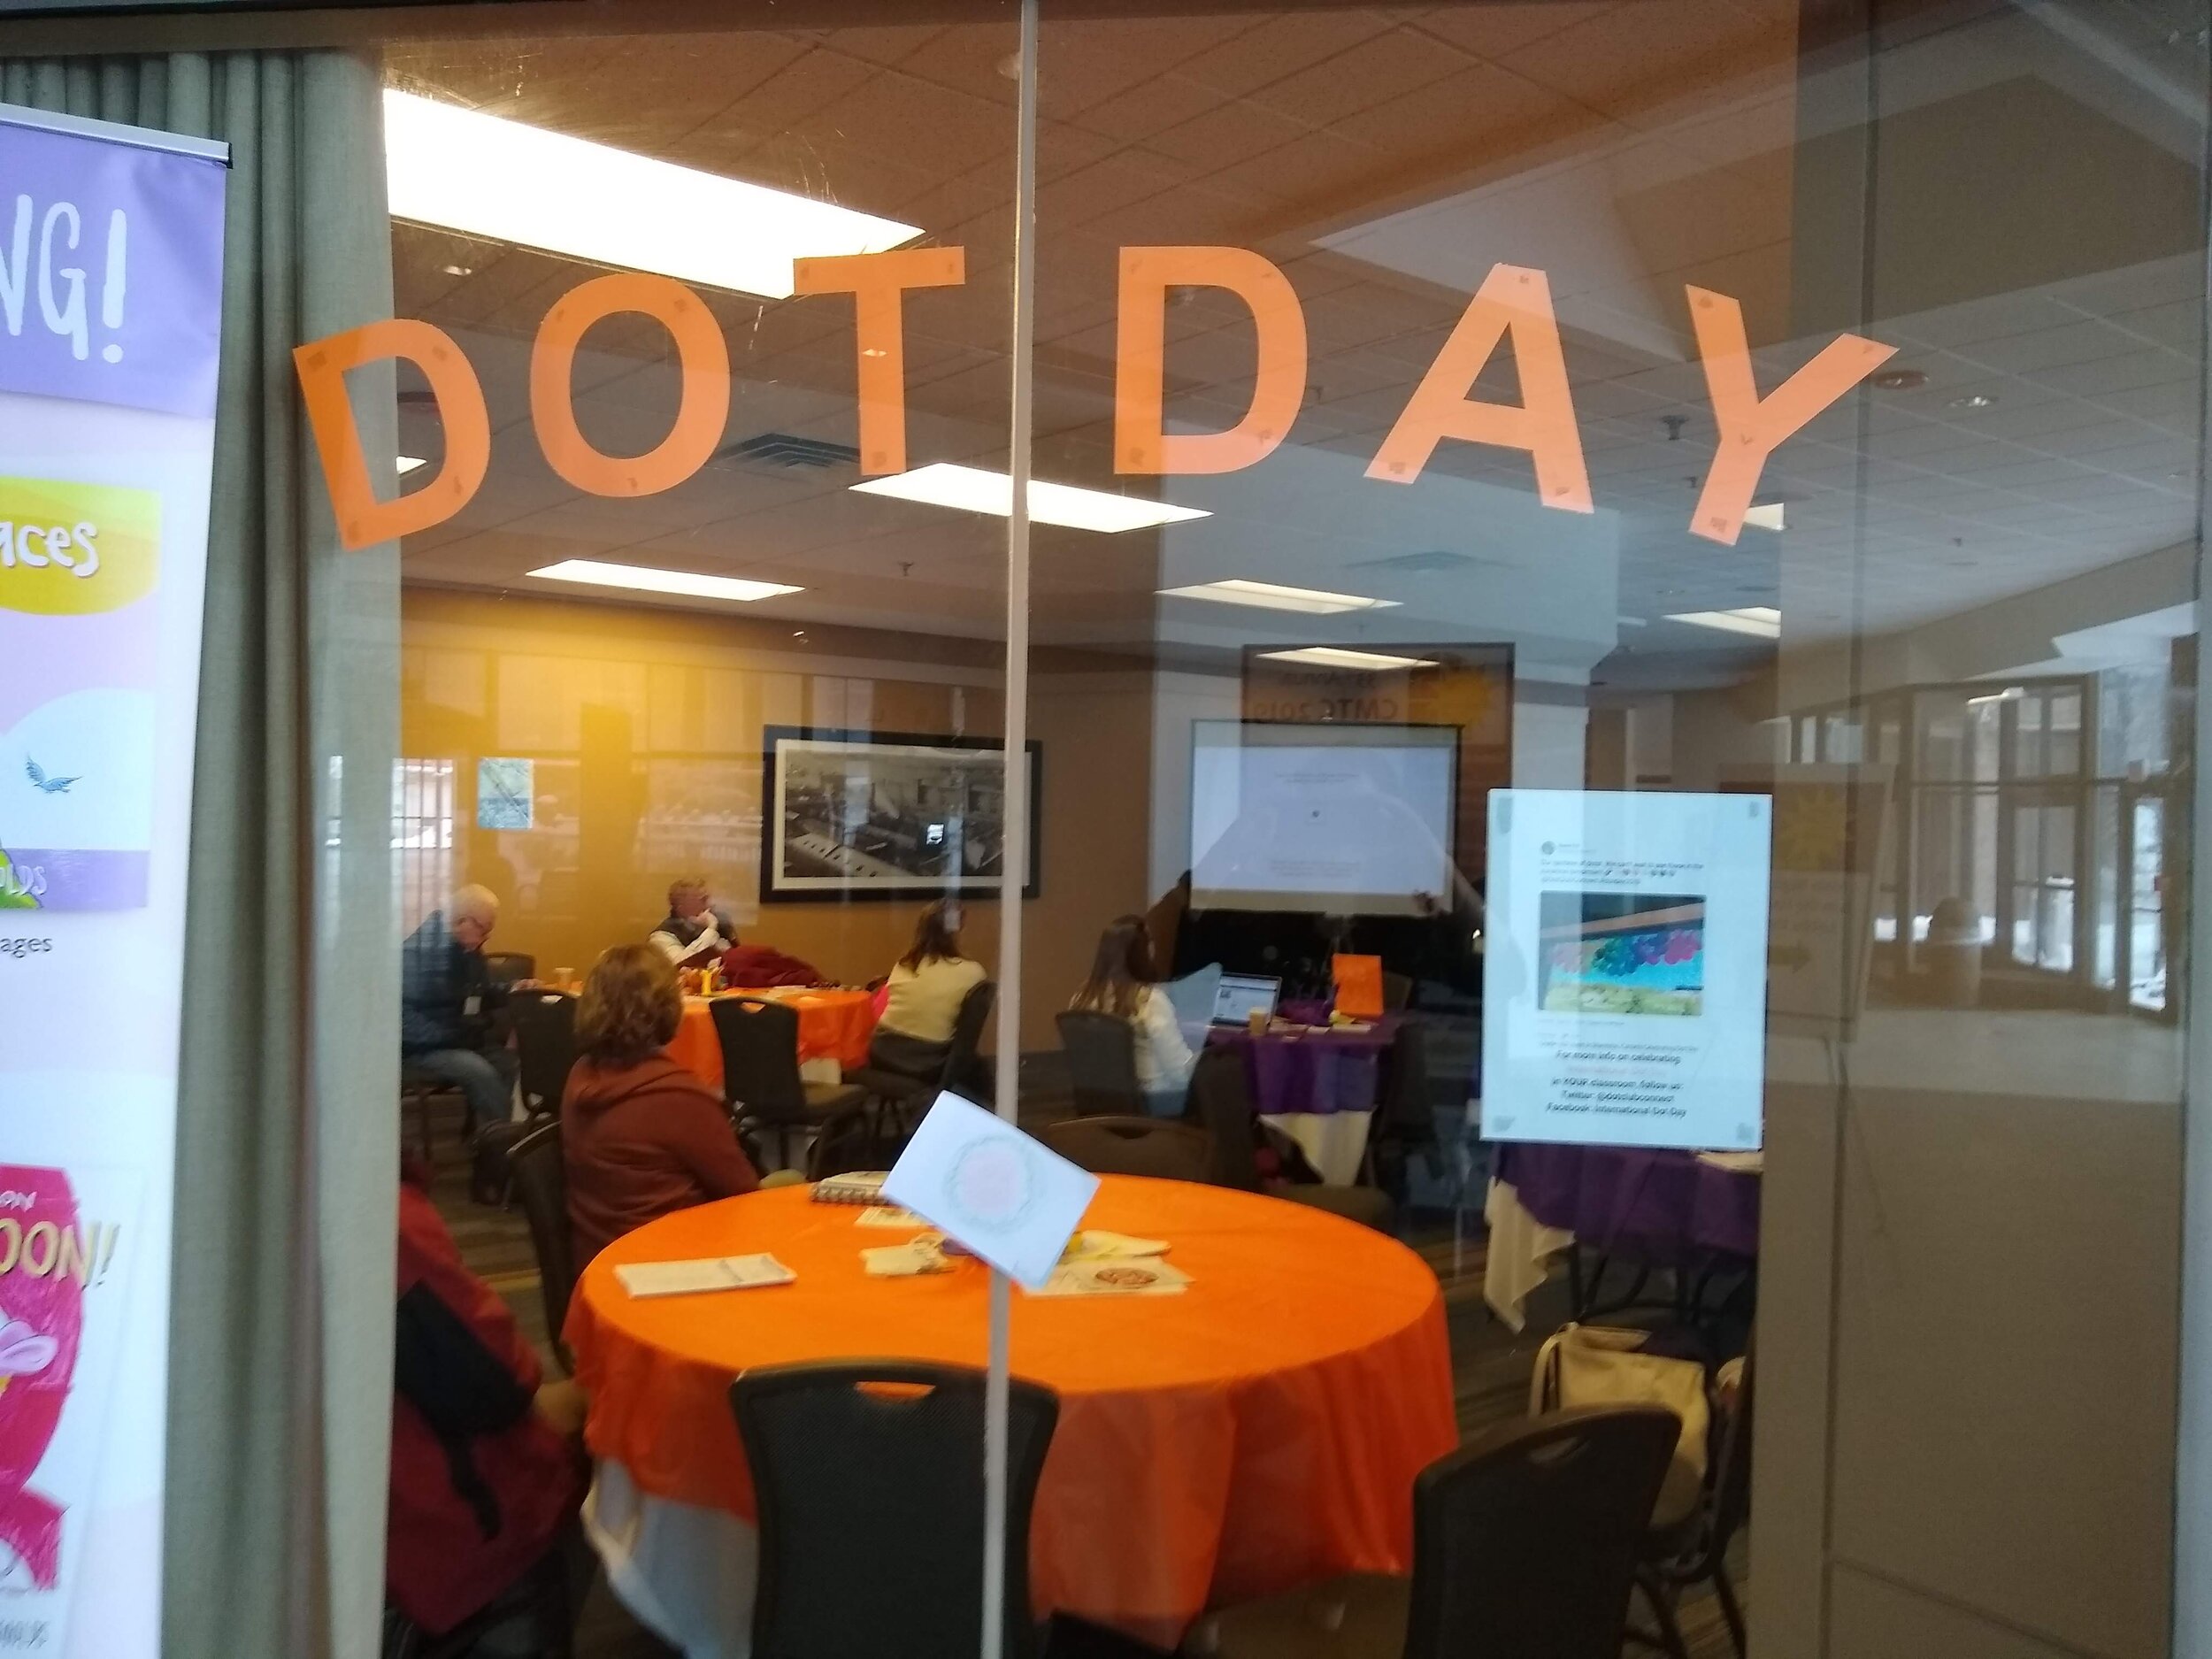
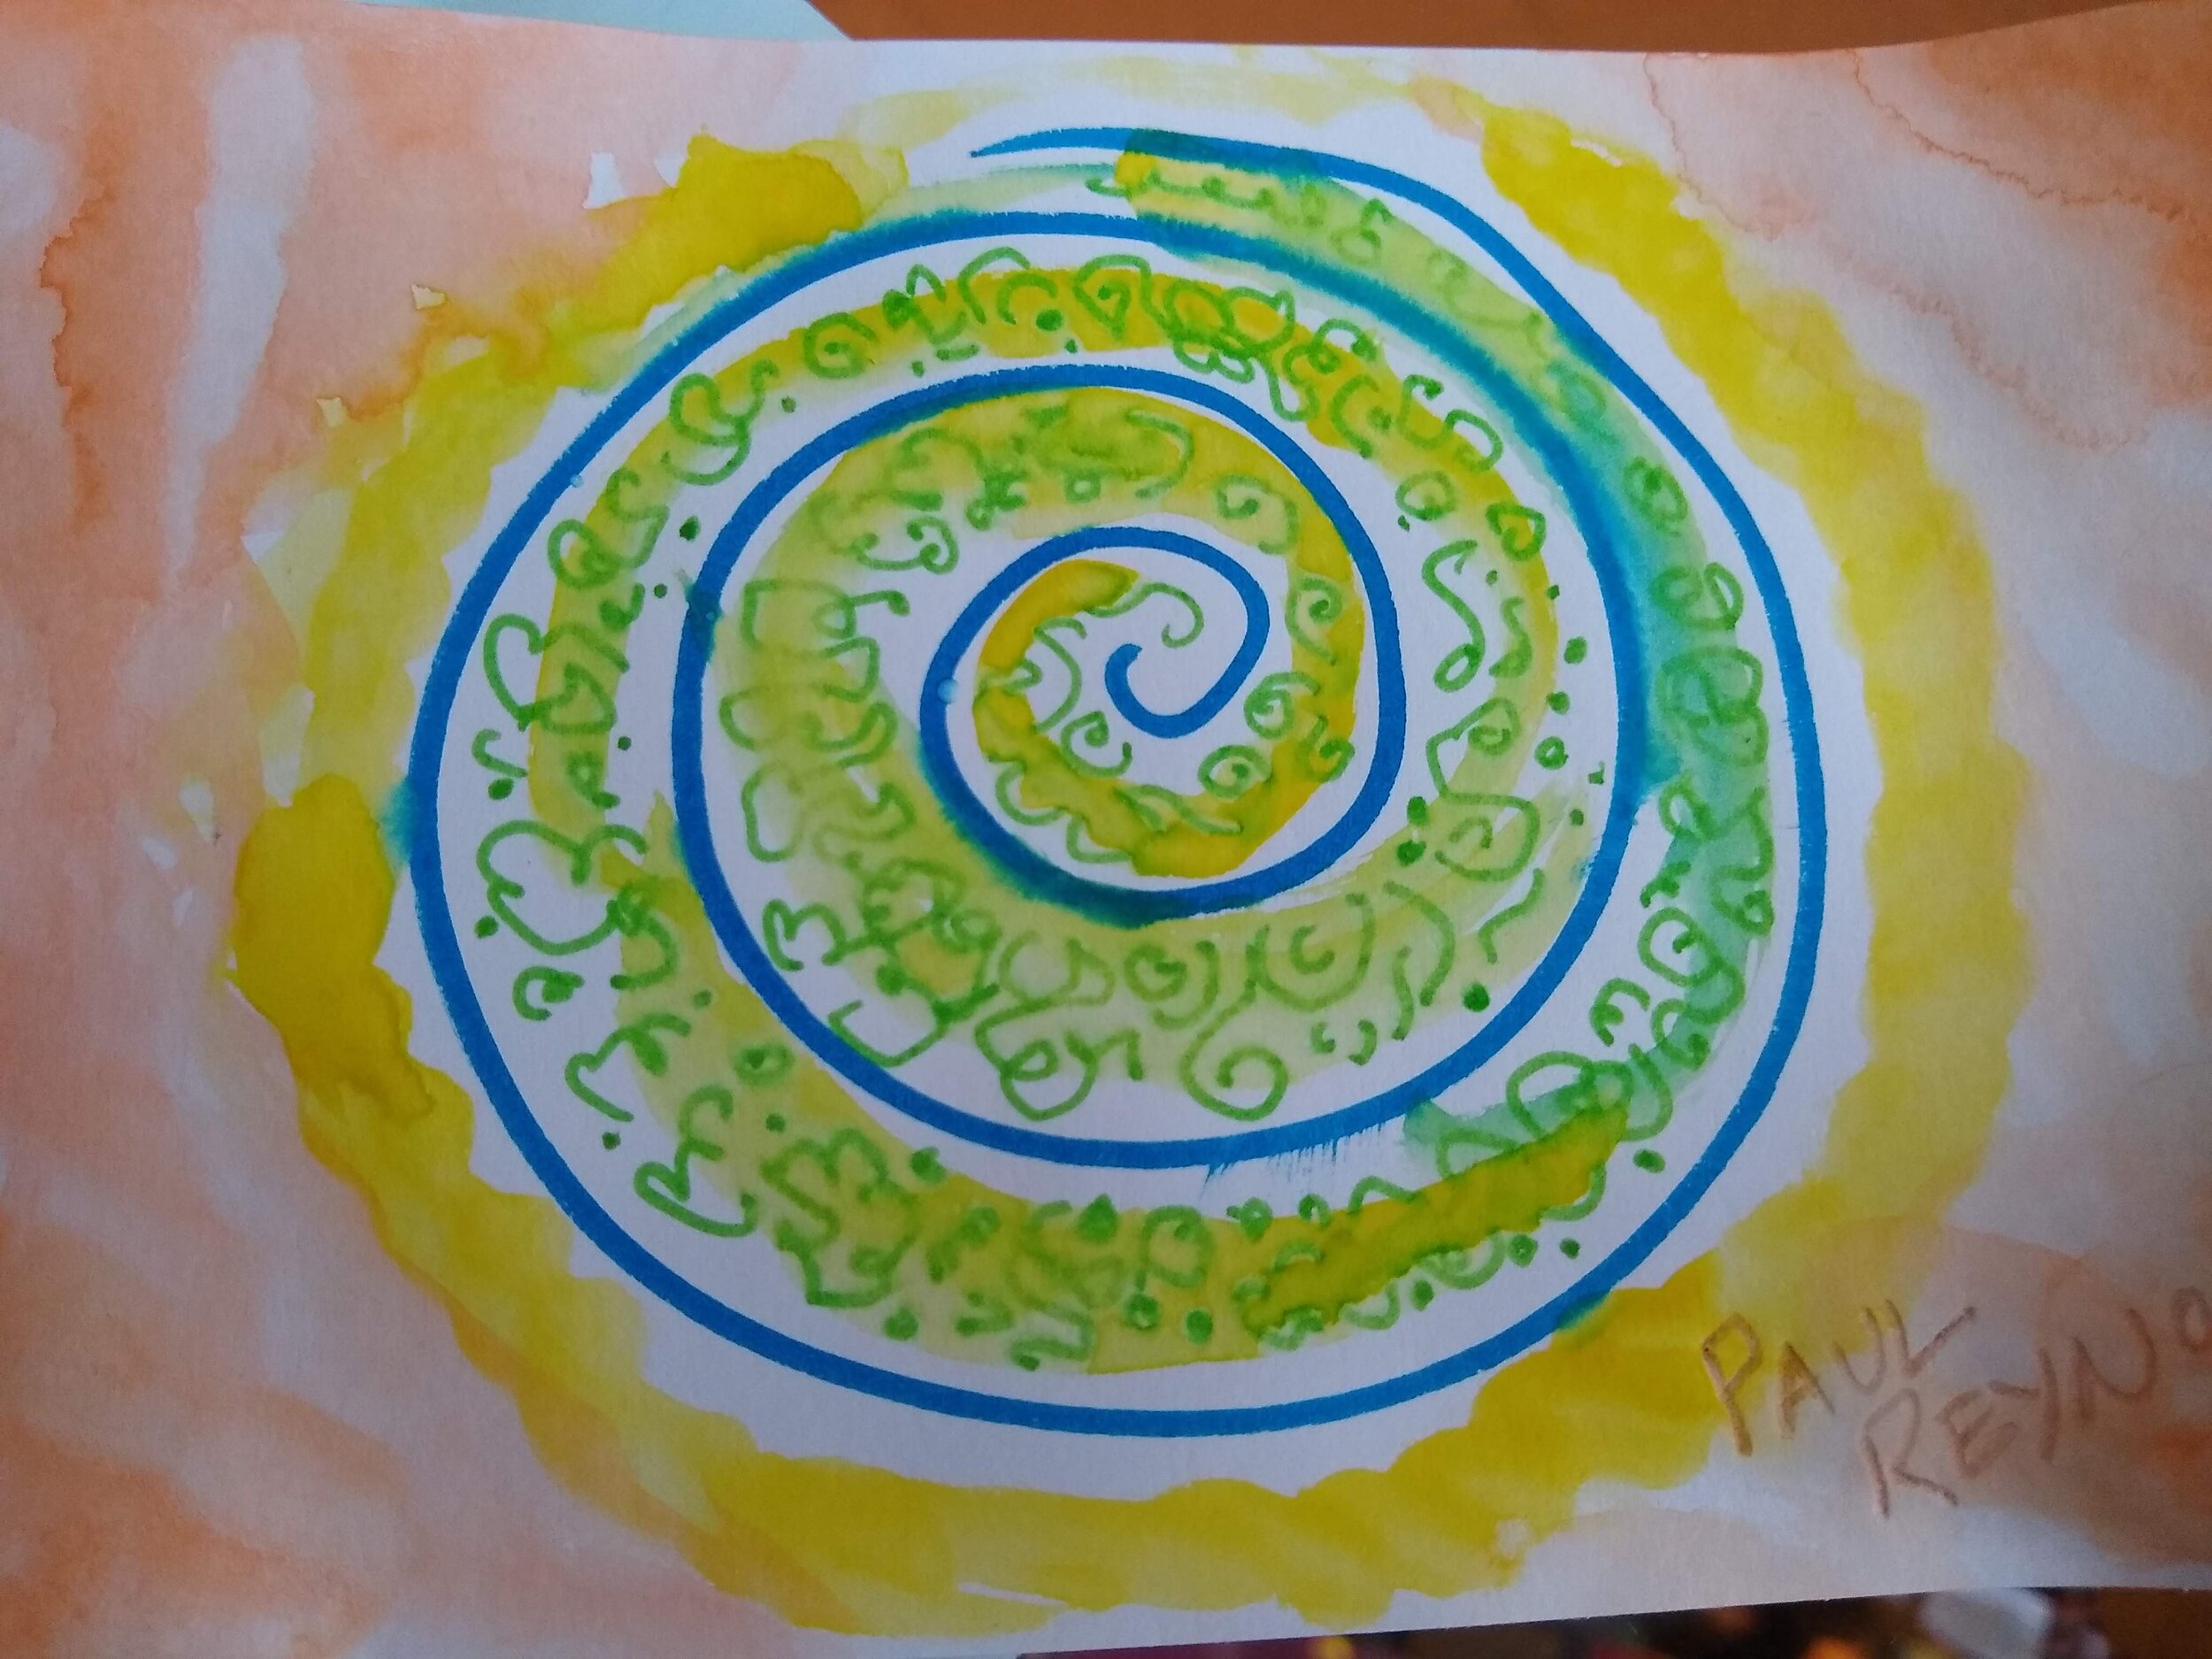
From Fireside Chats with Paul Reynolds and Olivia Van Ledtje (LivBits) to Dot Day celebrations, there were many opportunities for a creativity recharge in the FableVision/Reynolds Center Room.
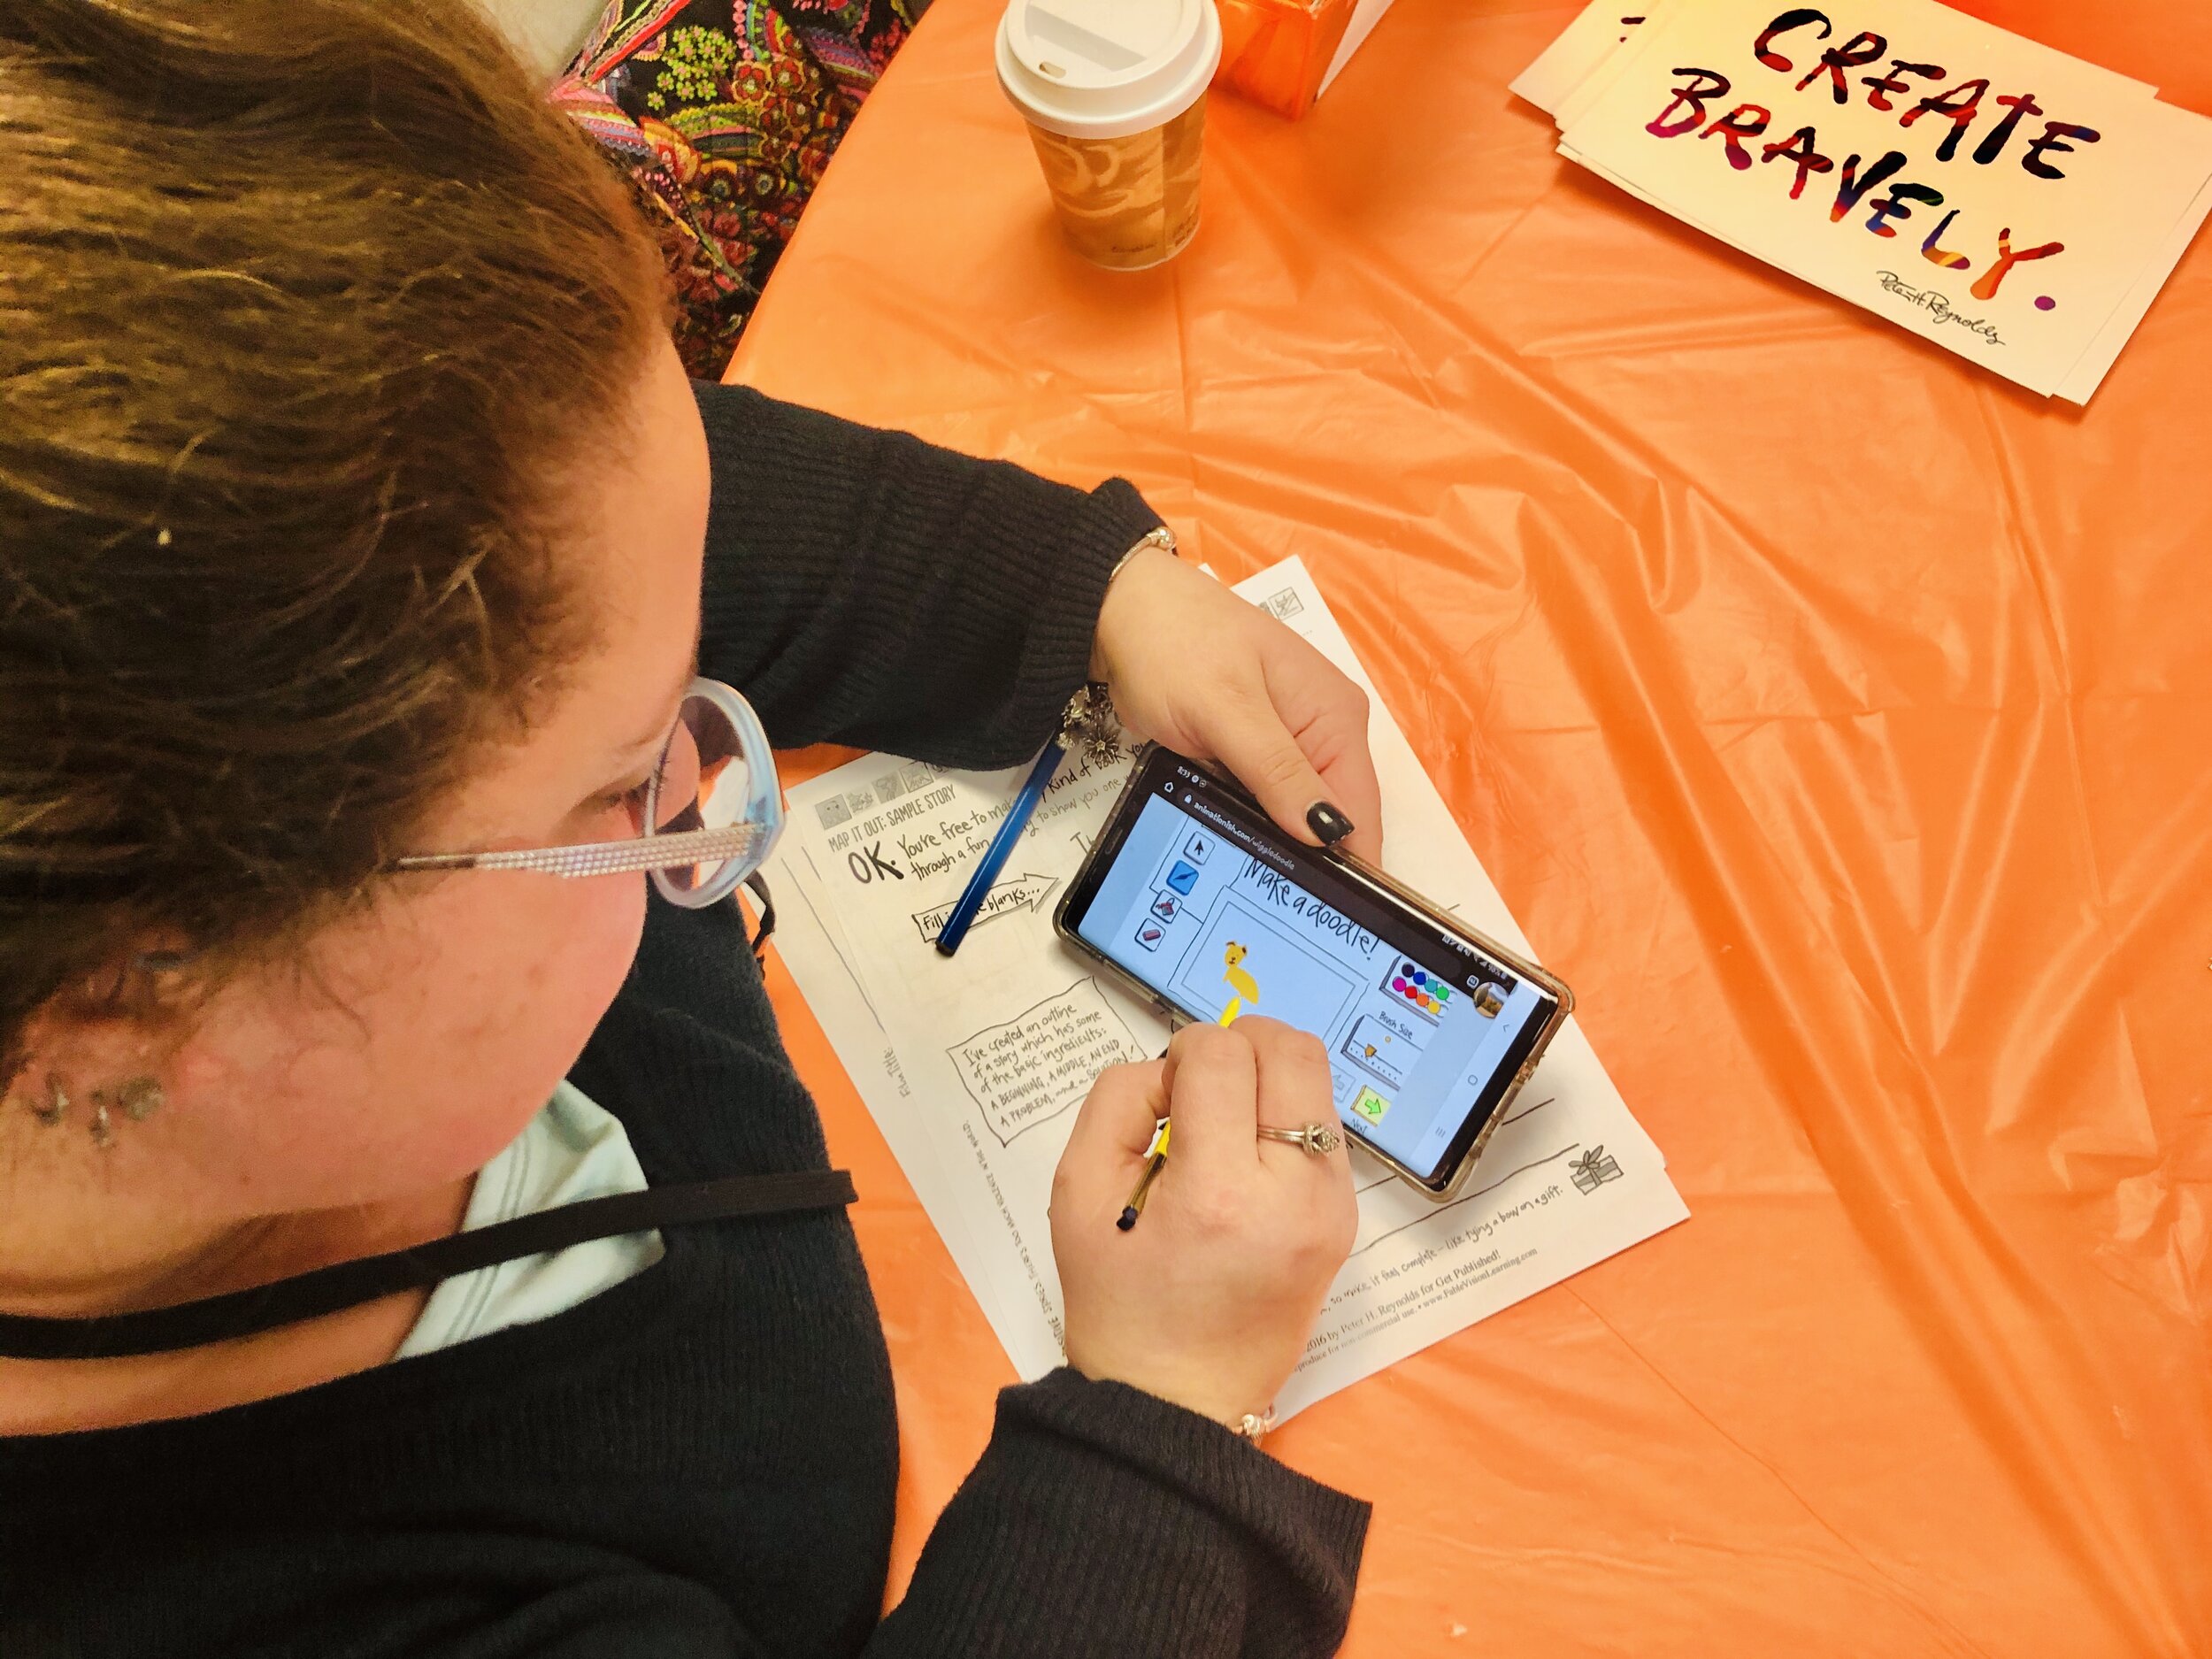
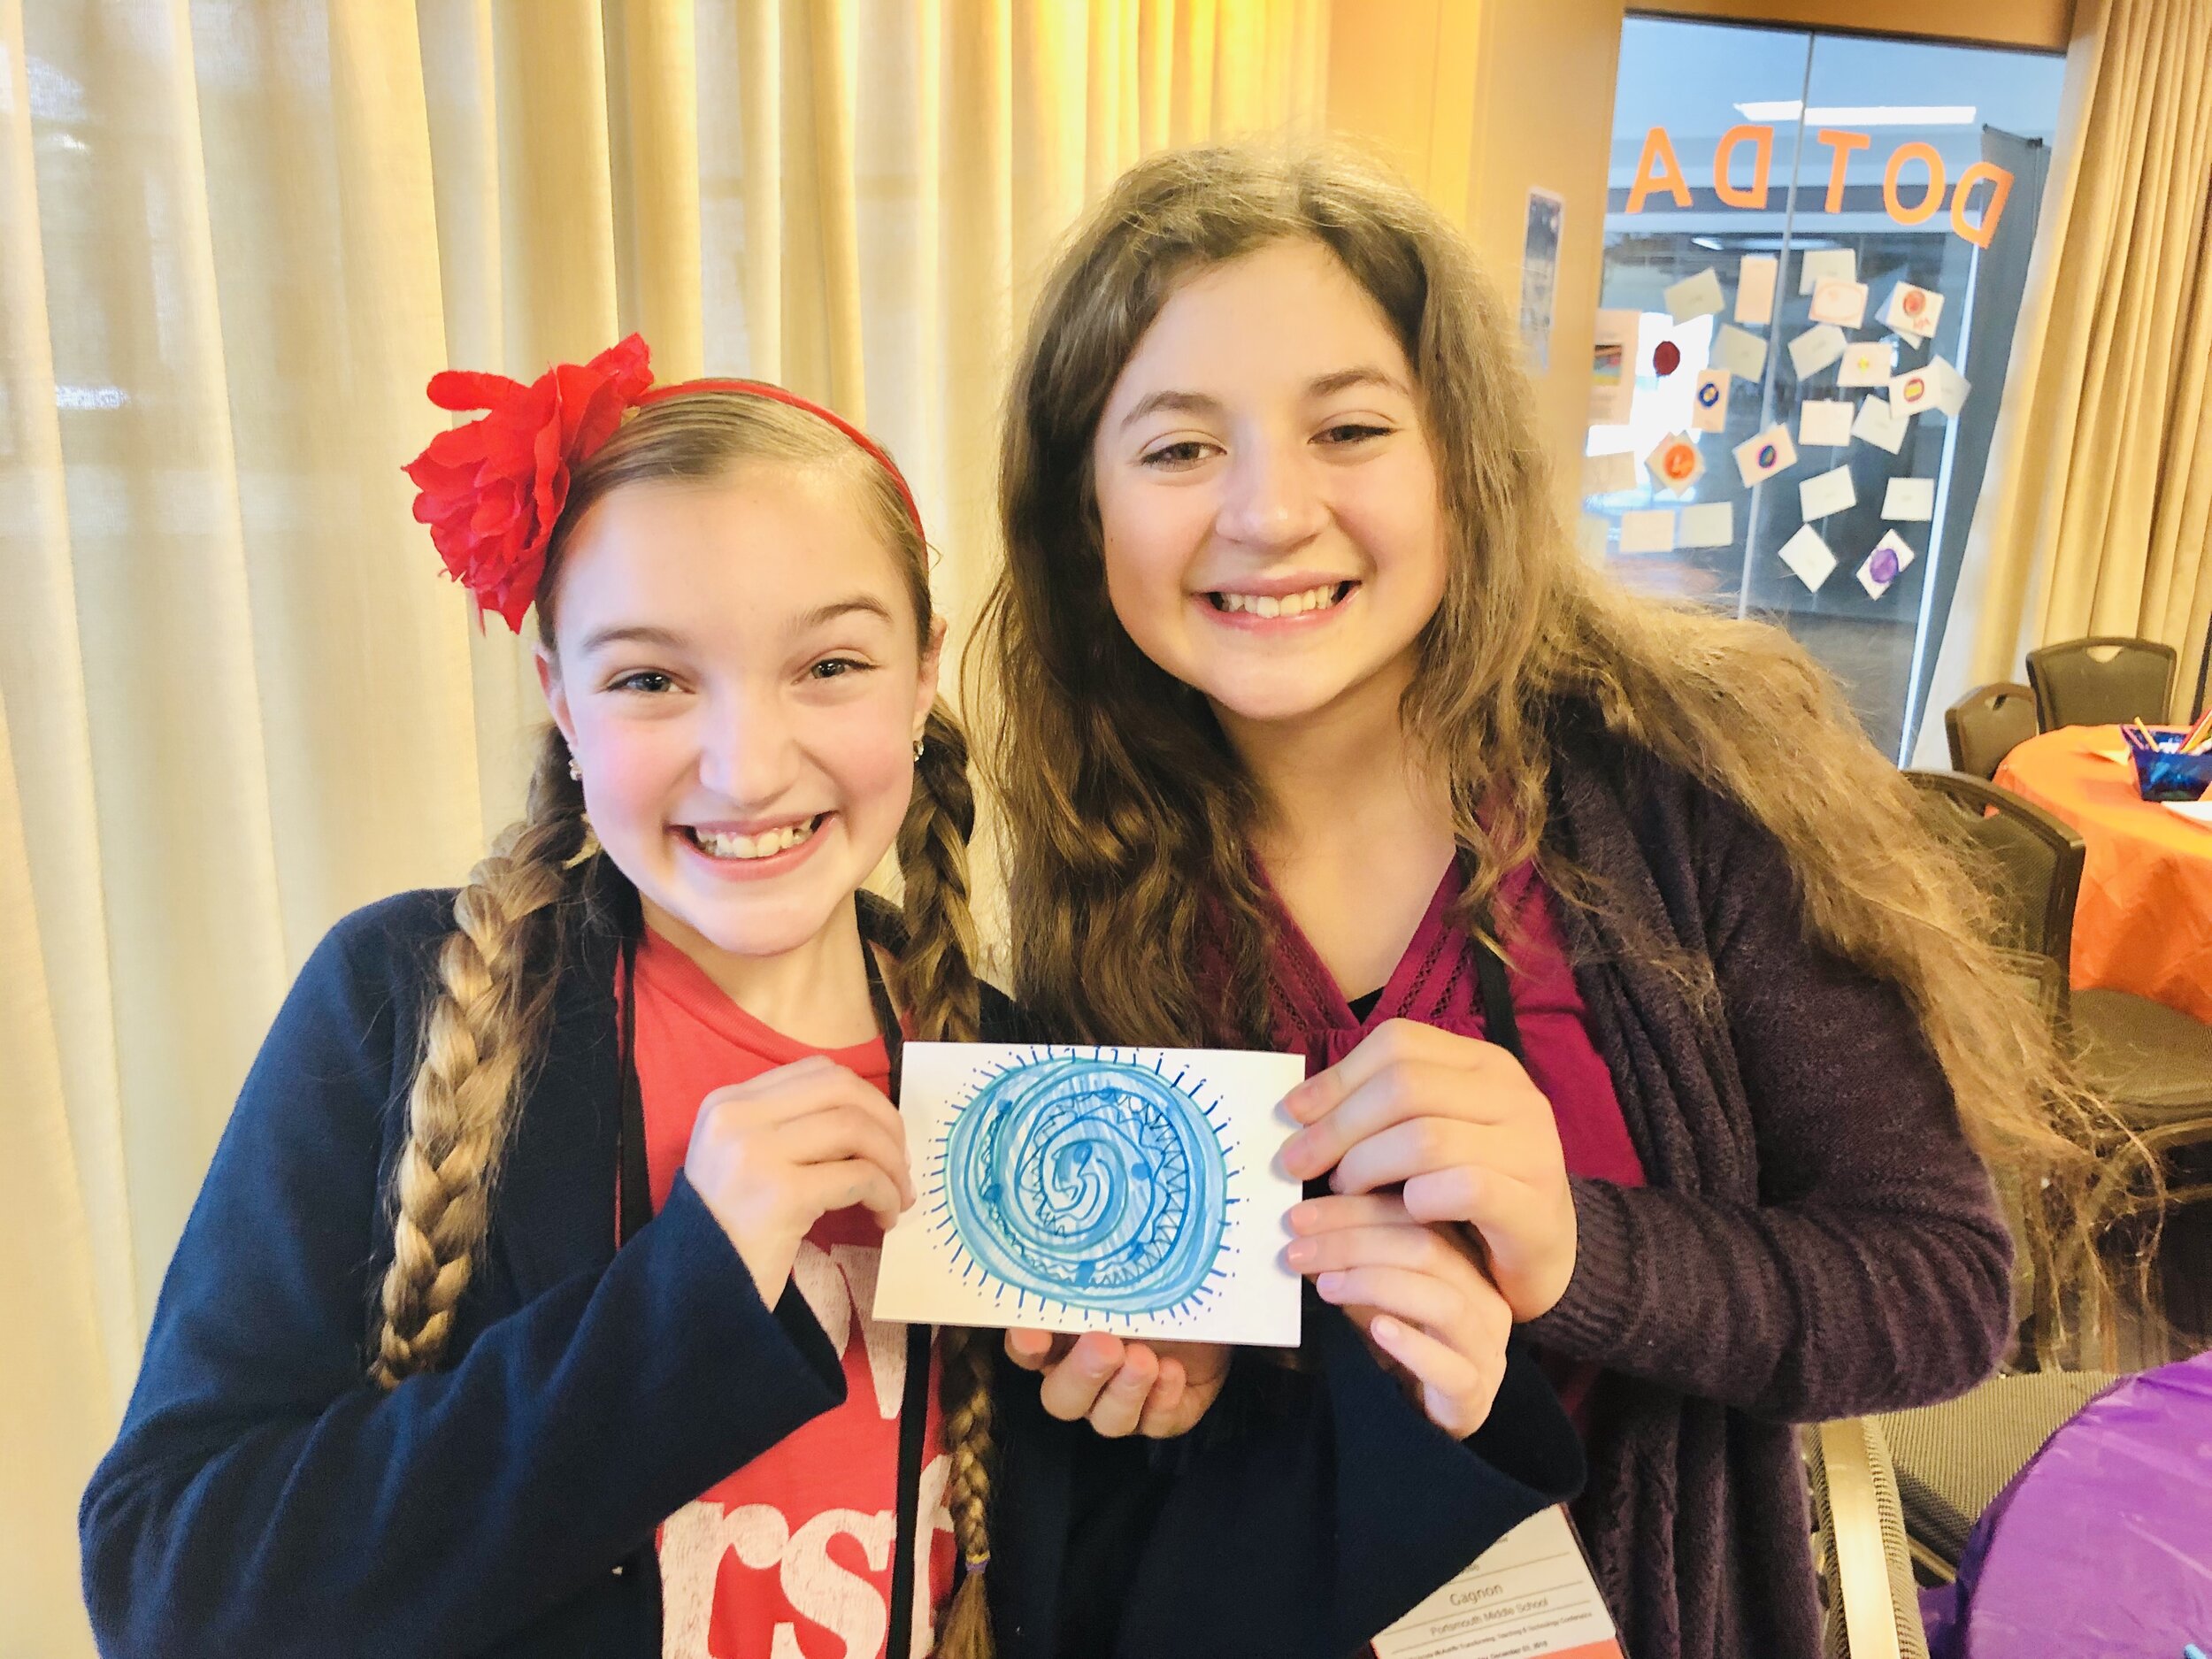
Folks were also invited to take a break from the cold weather and join us for “Creativi-Tea Time.” Hot tea was served during the FableVision Studio produced mini-film festival.
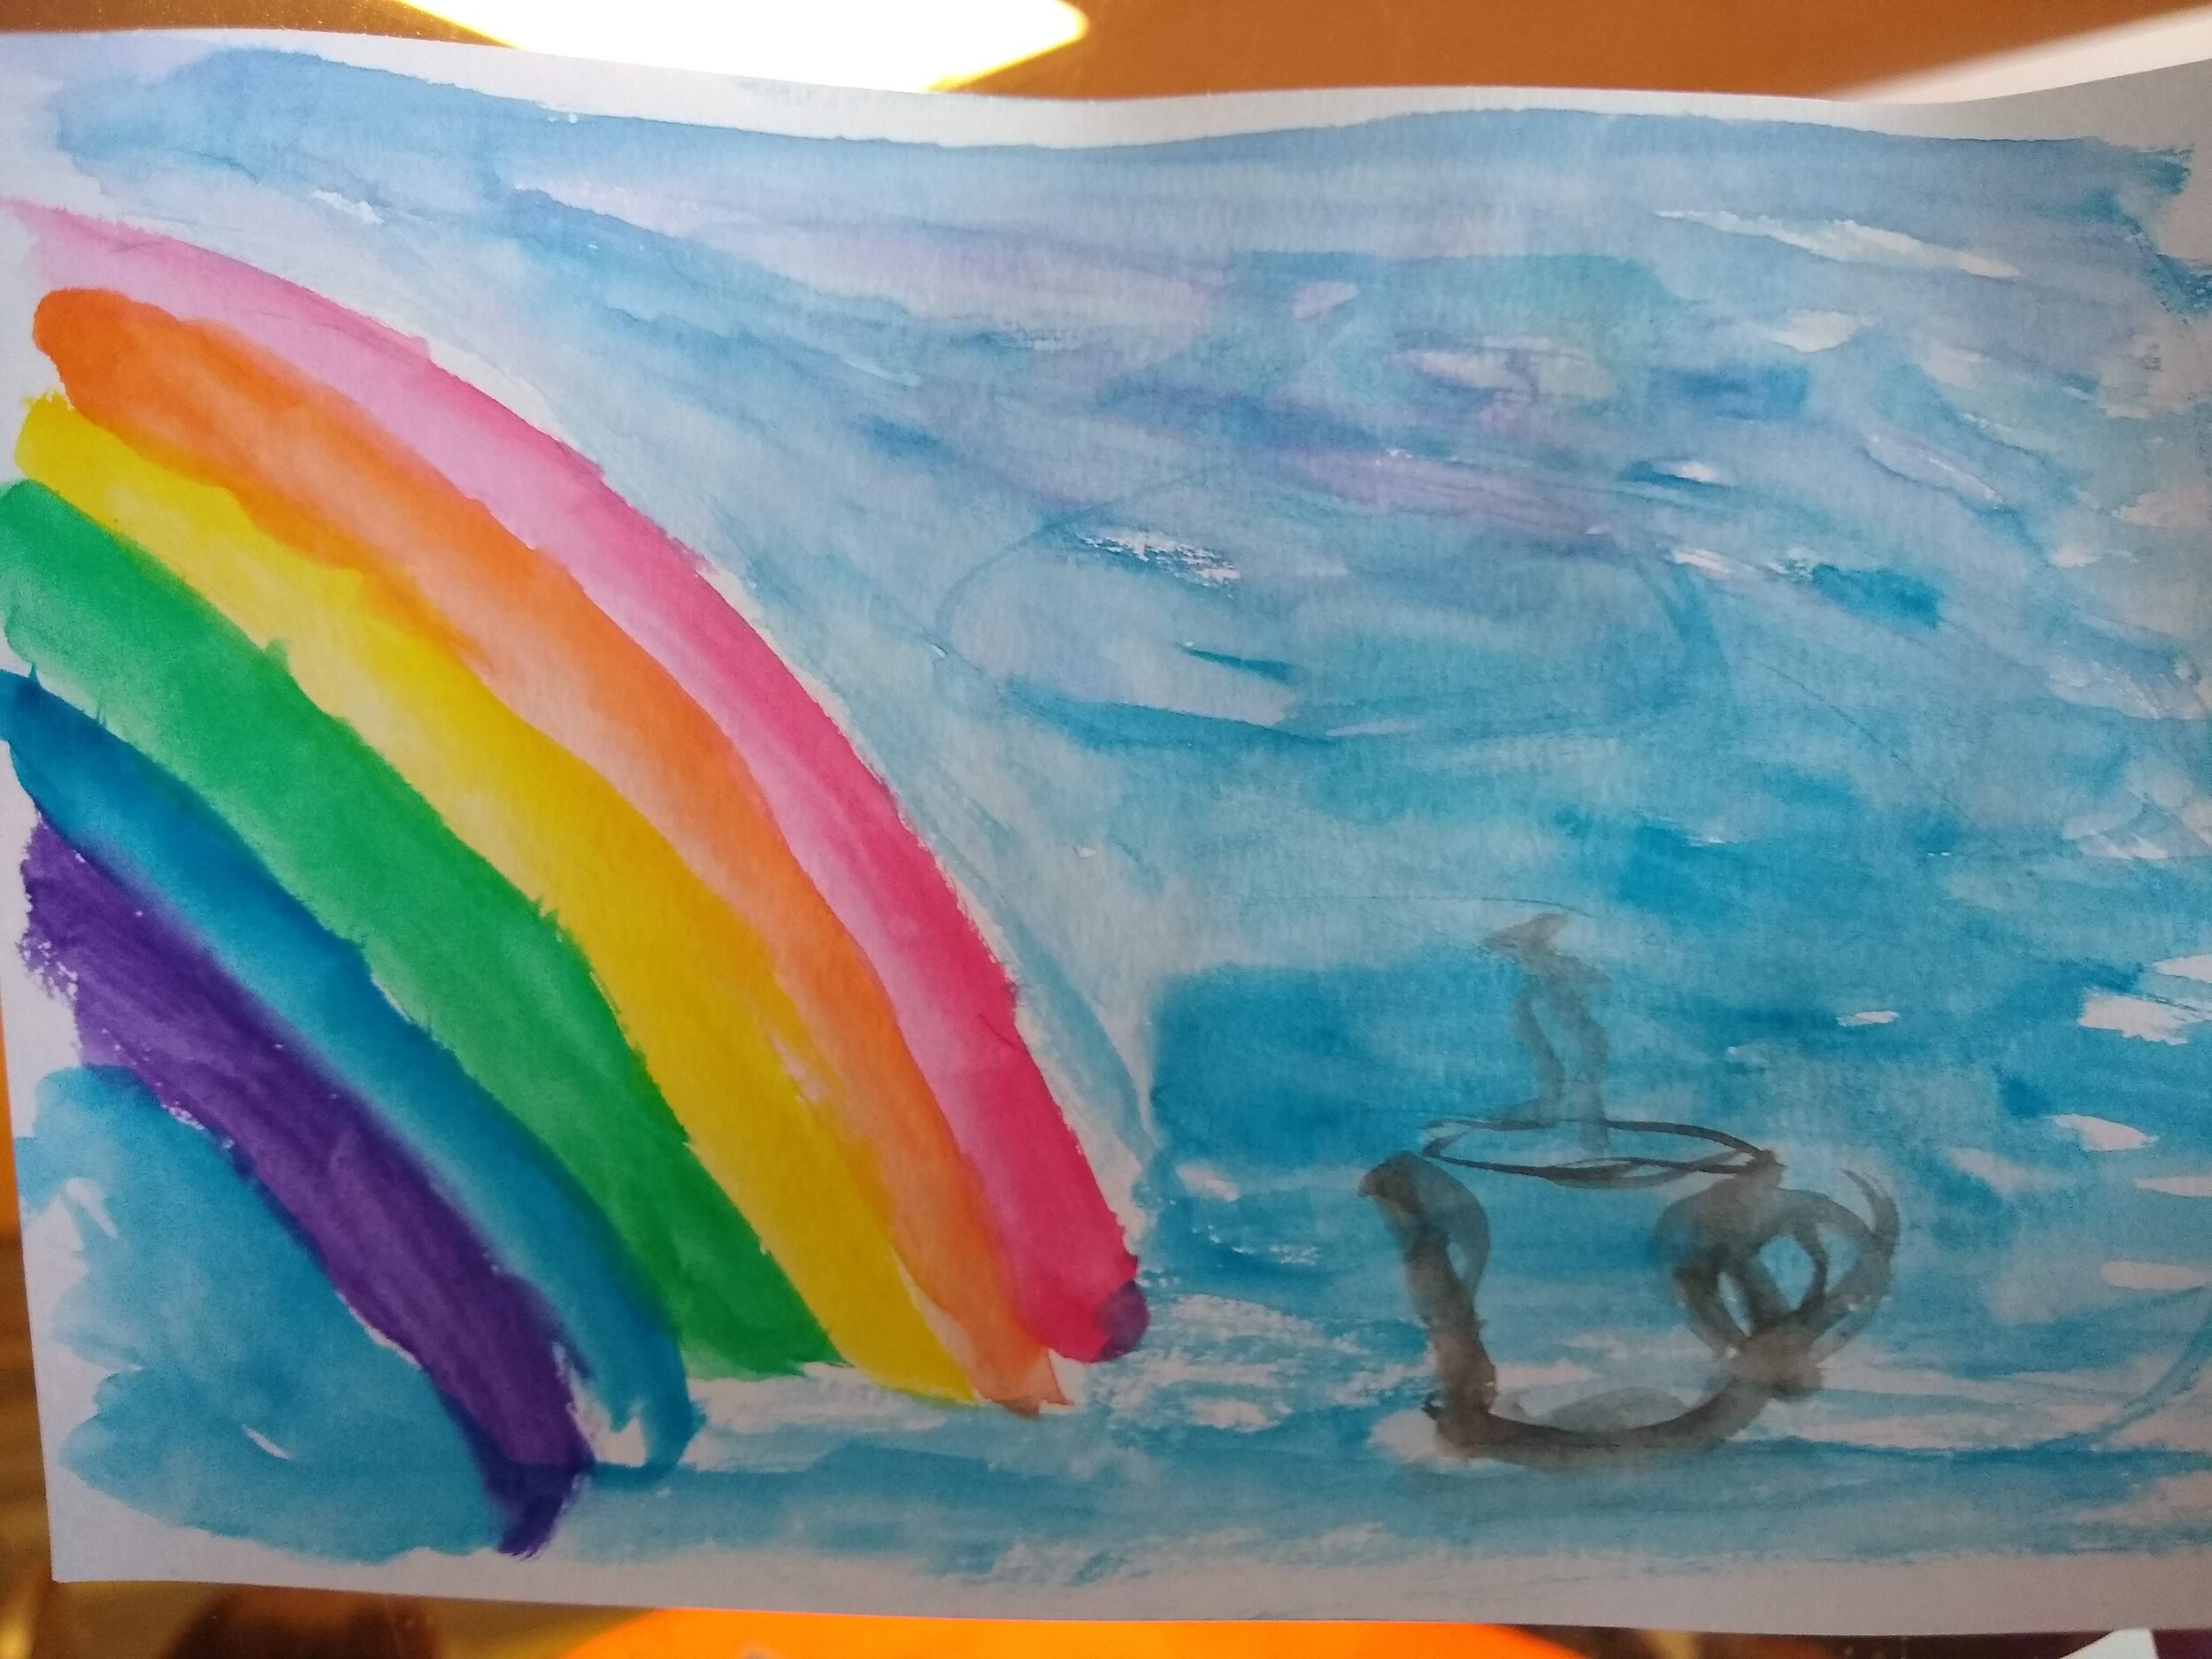
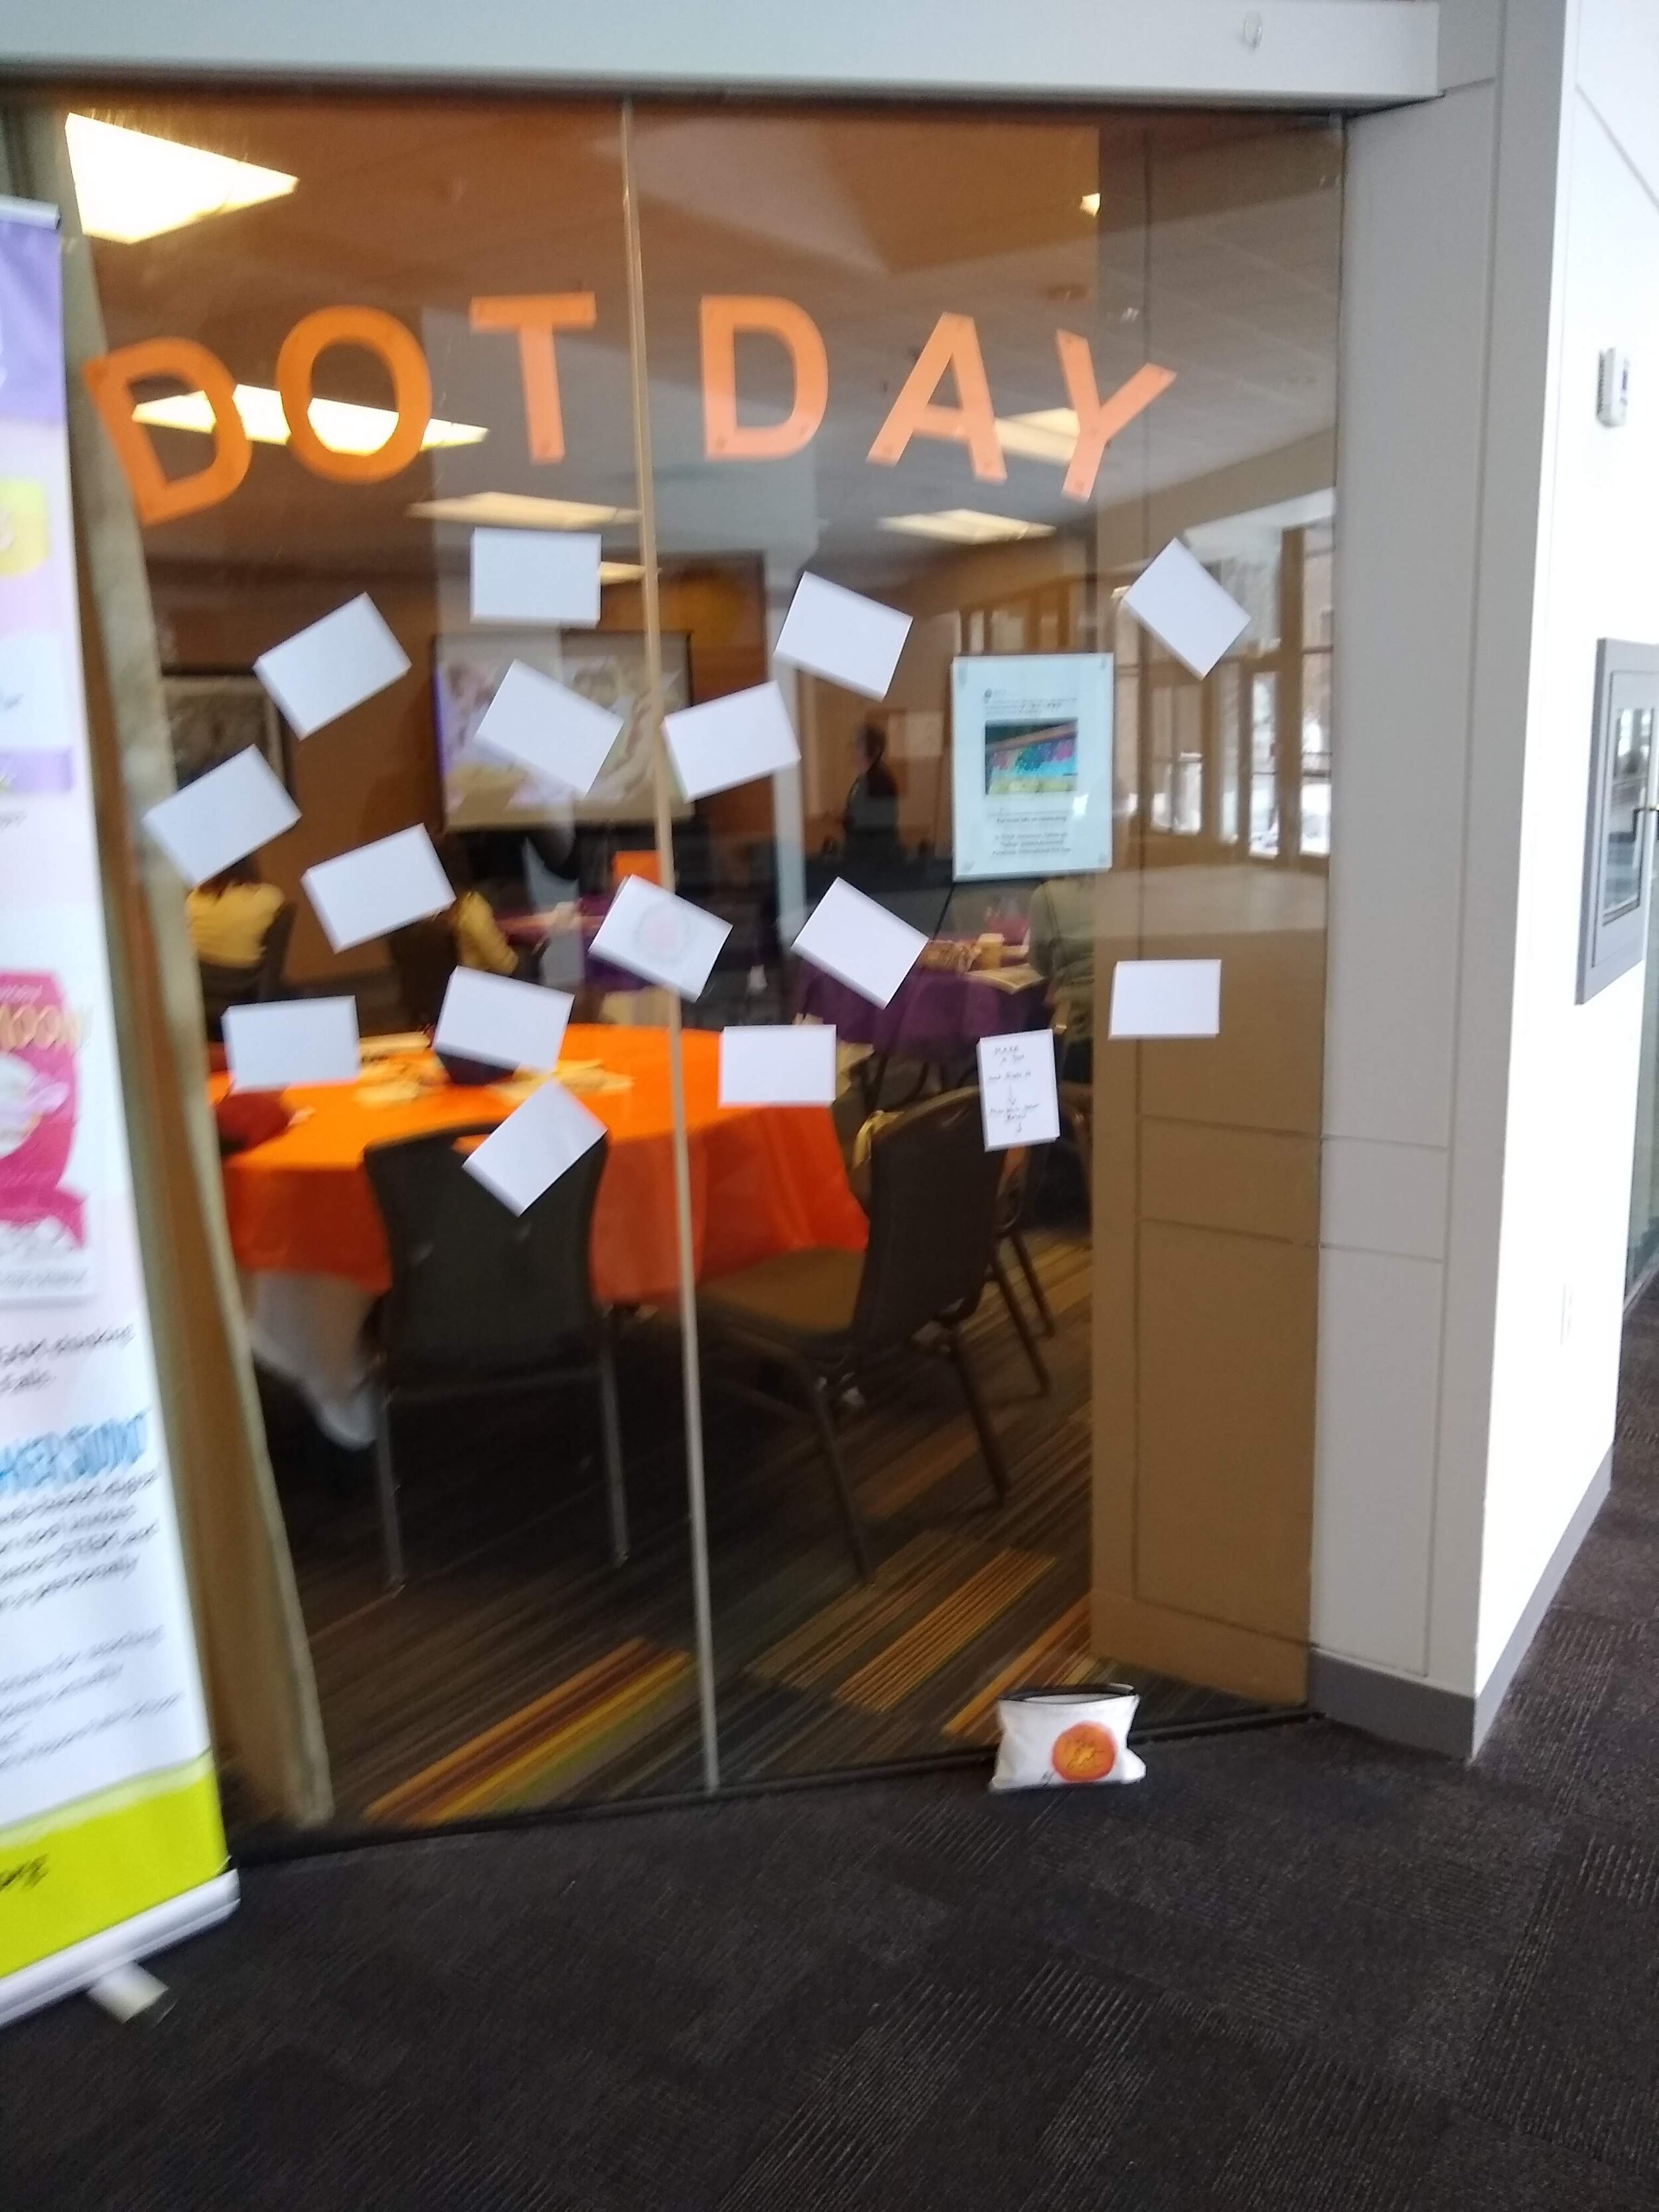
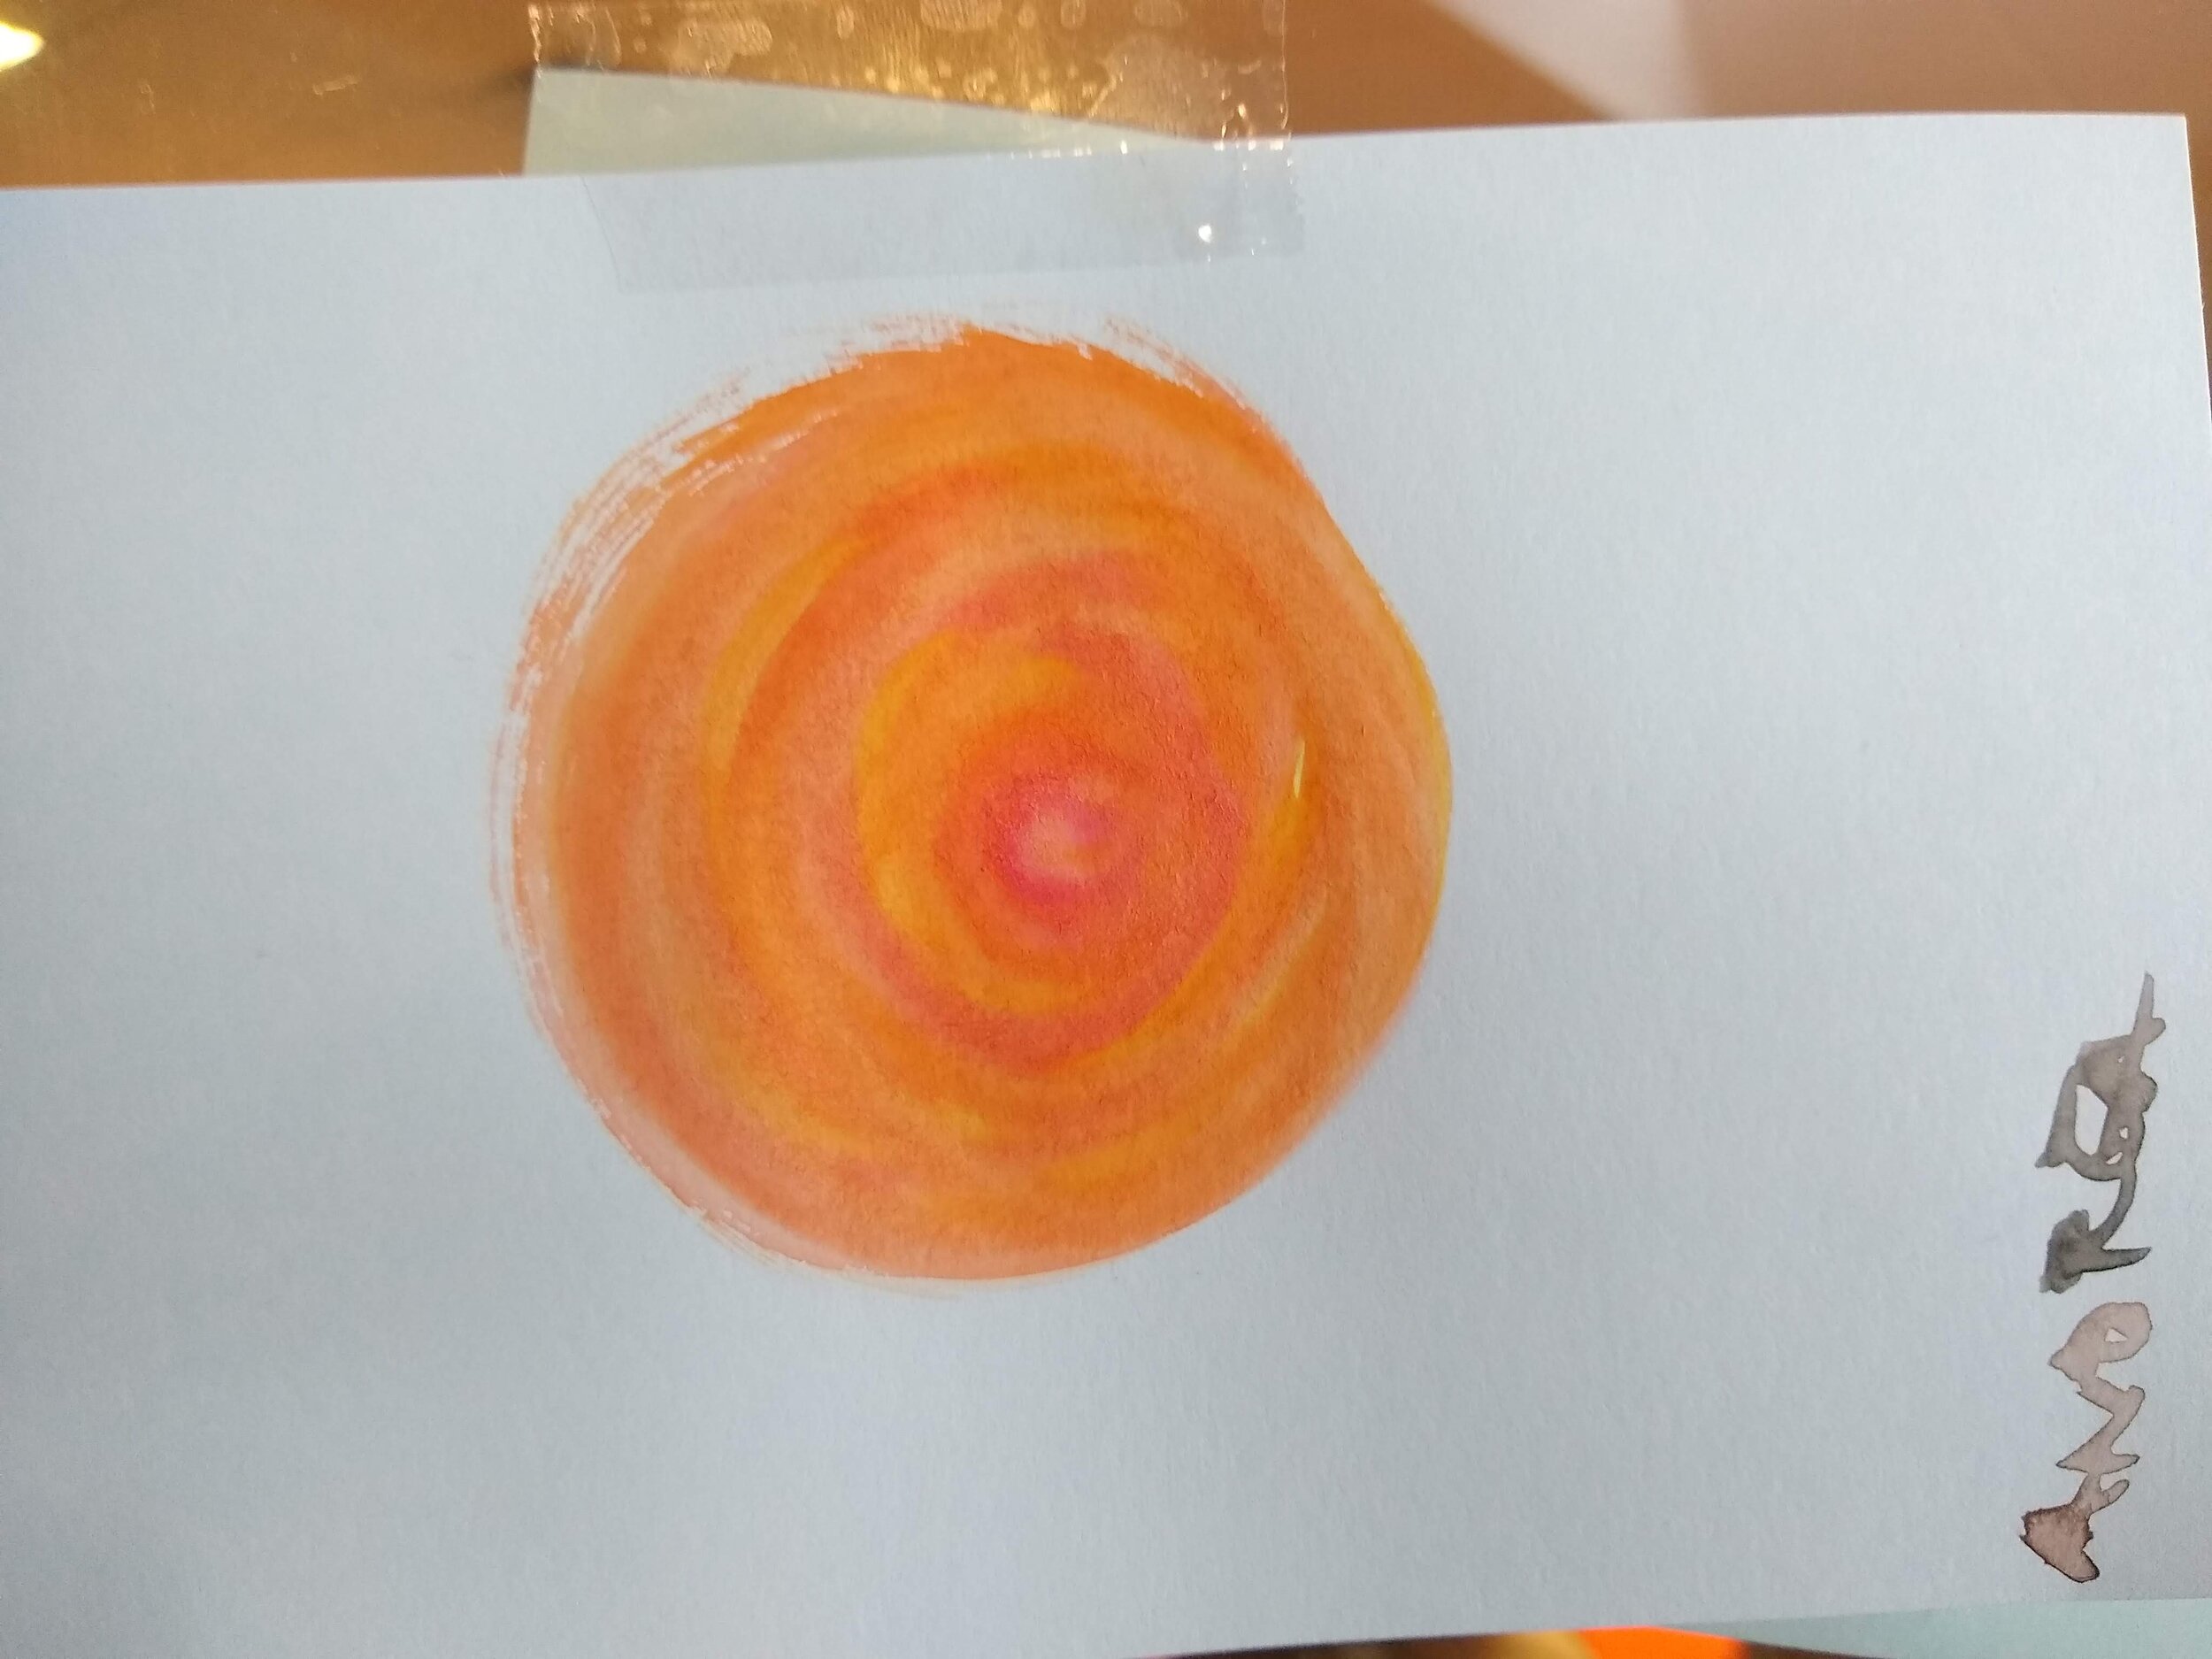
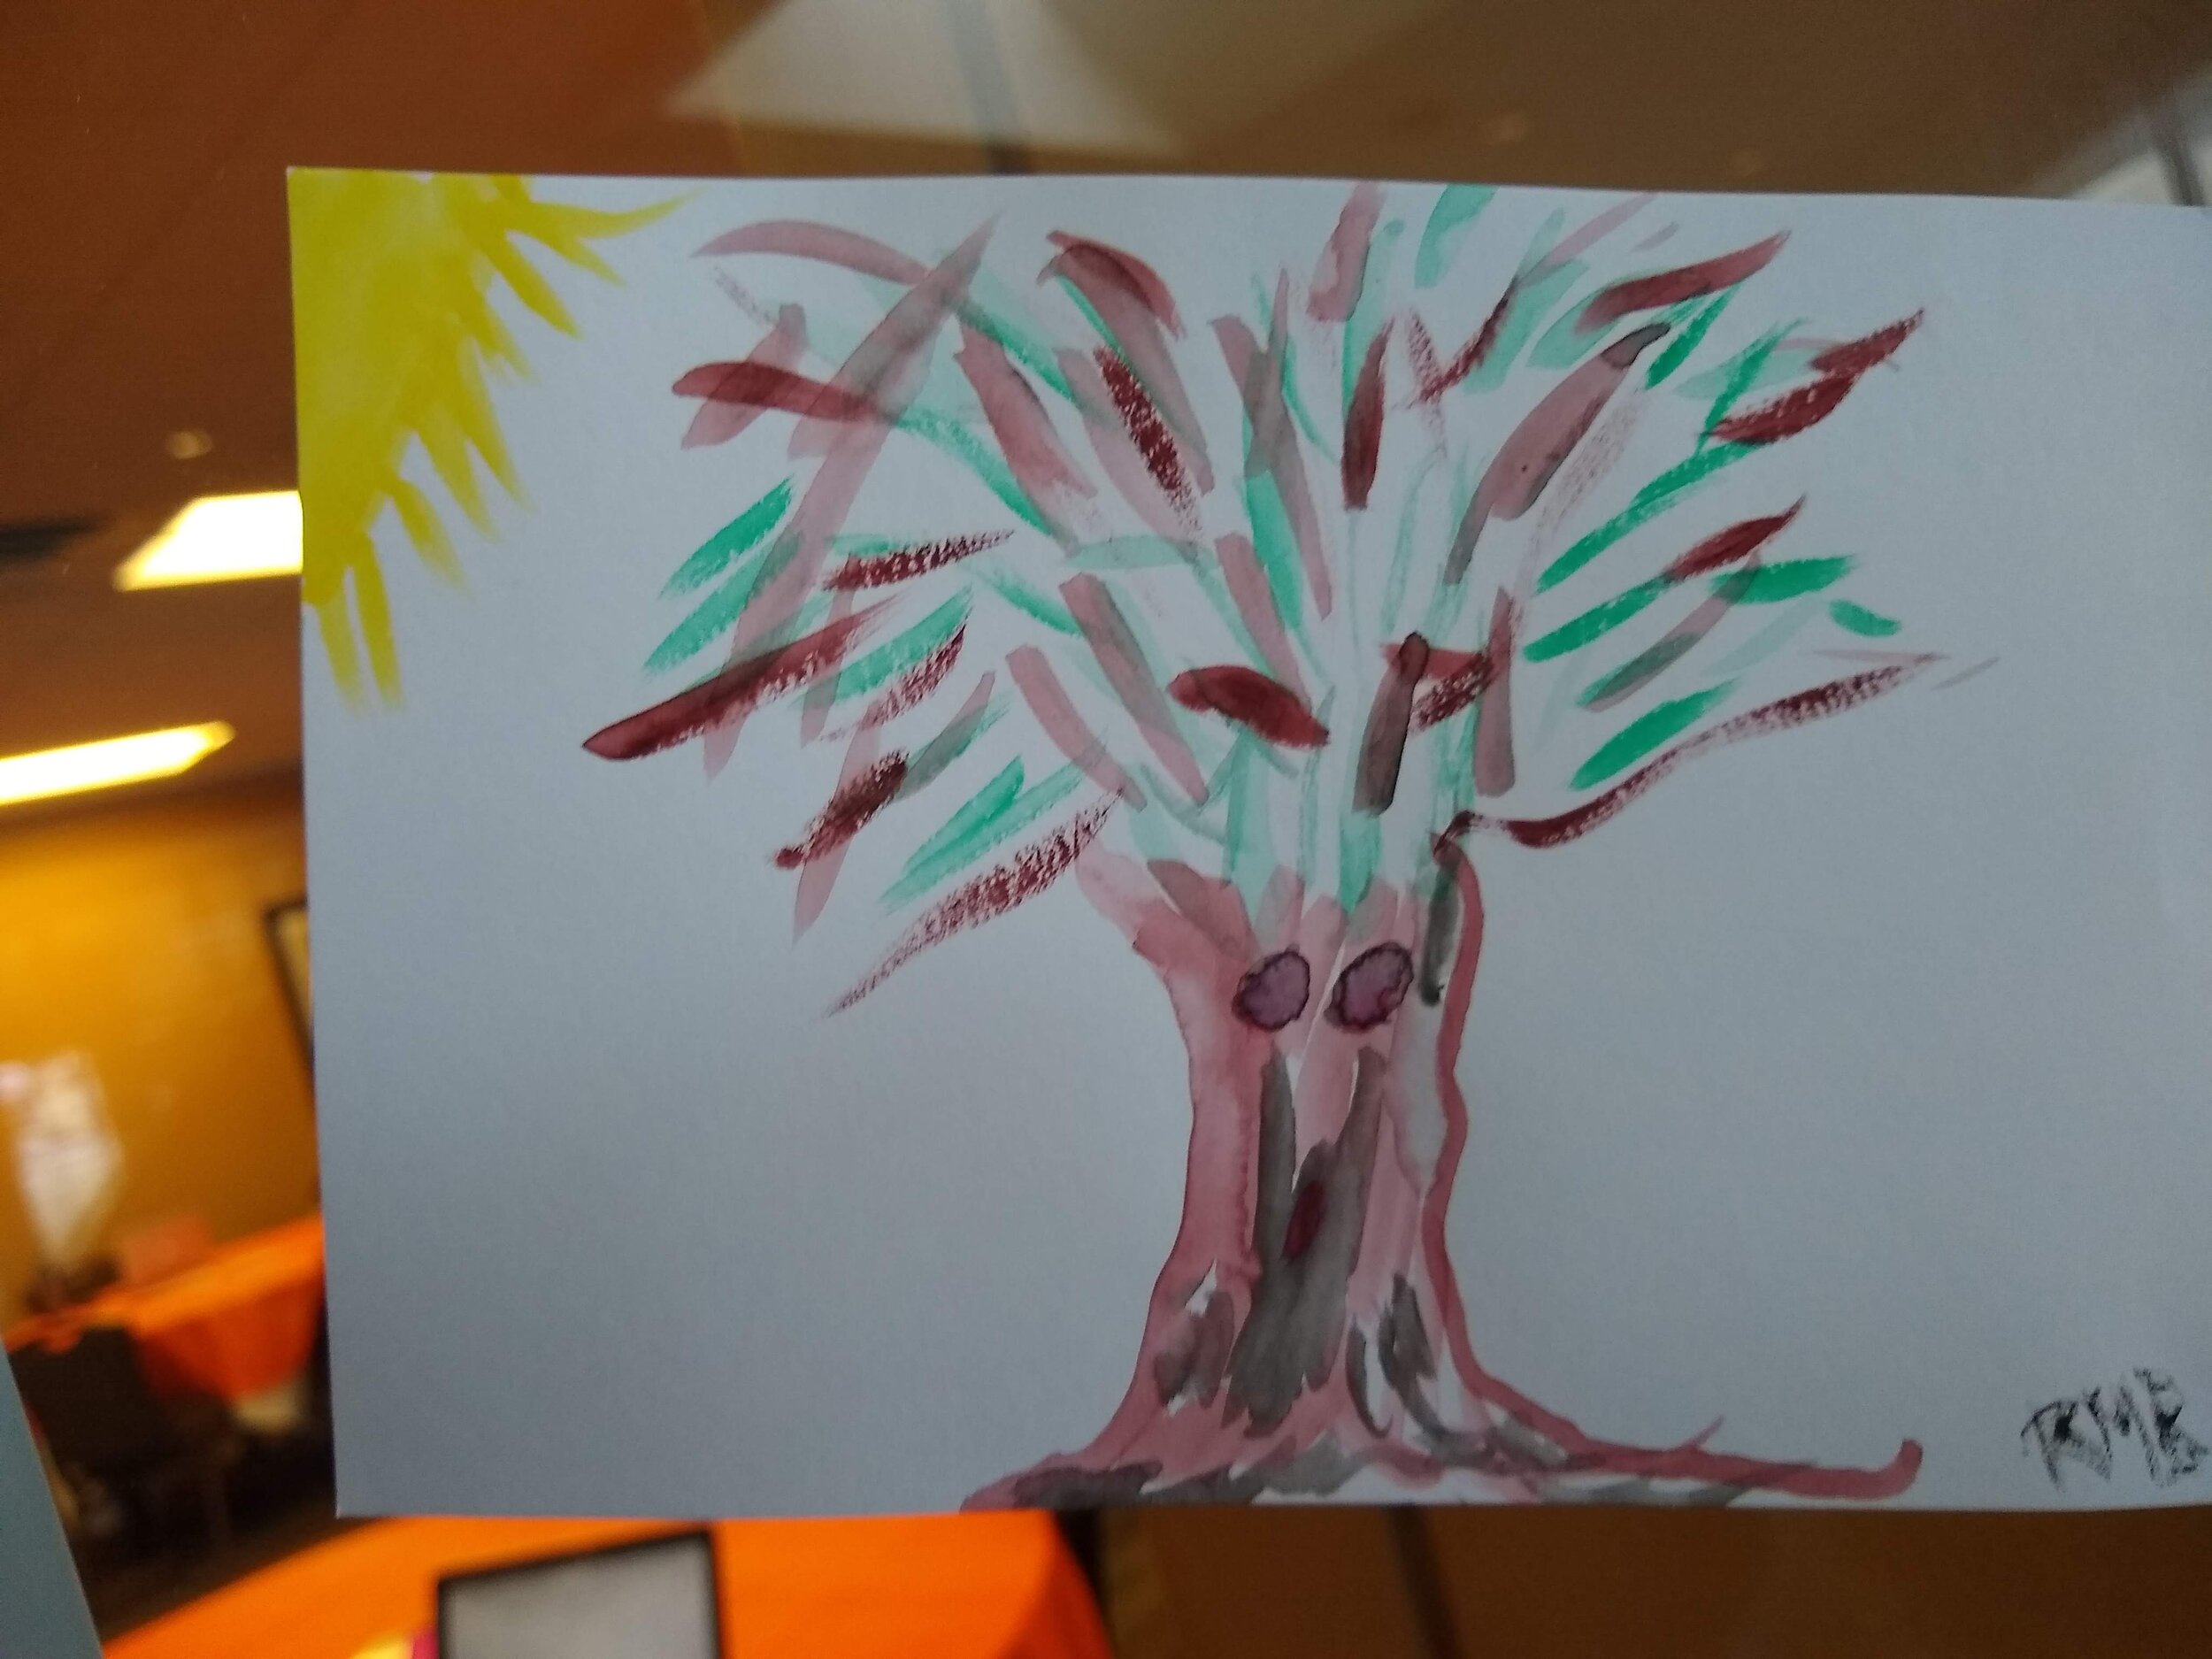
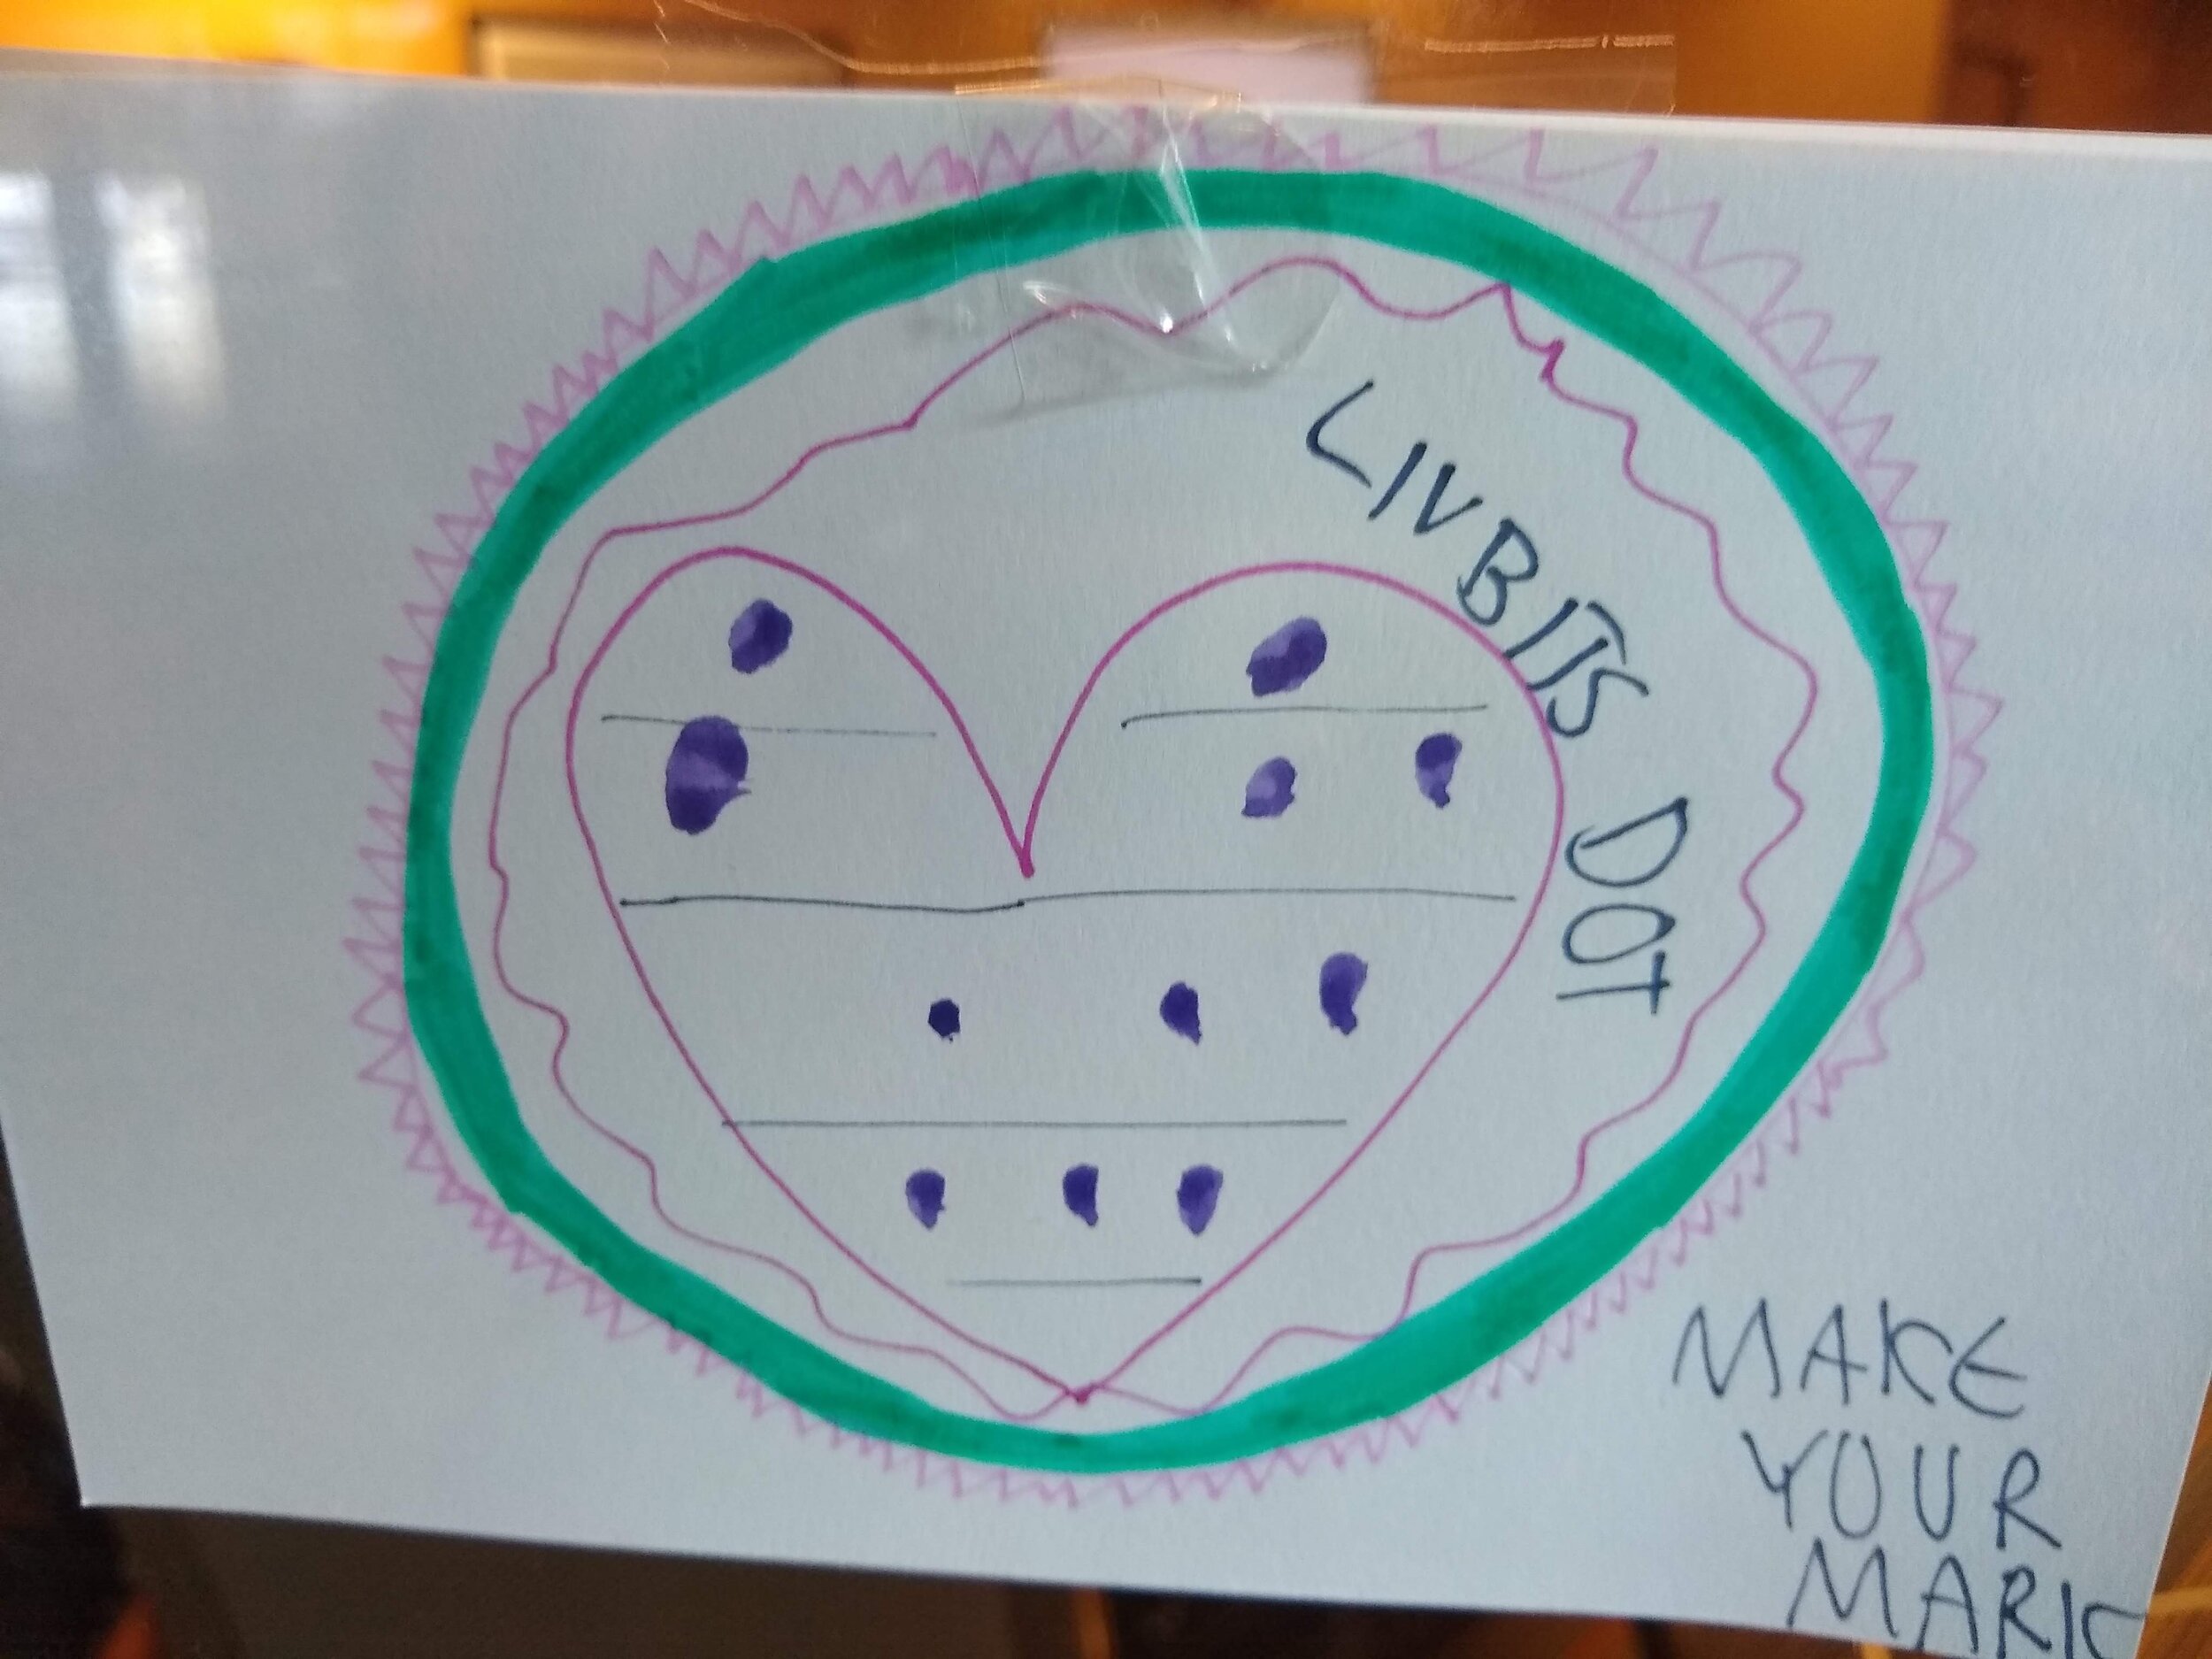
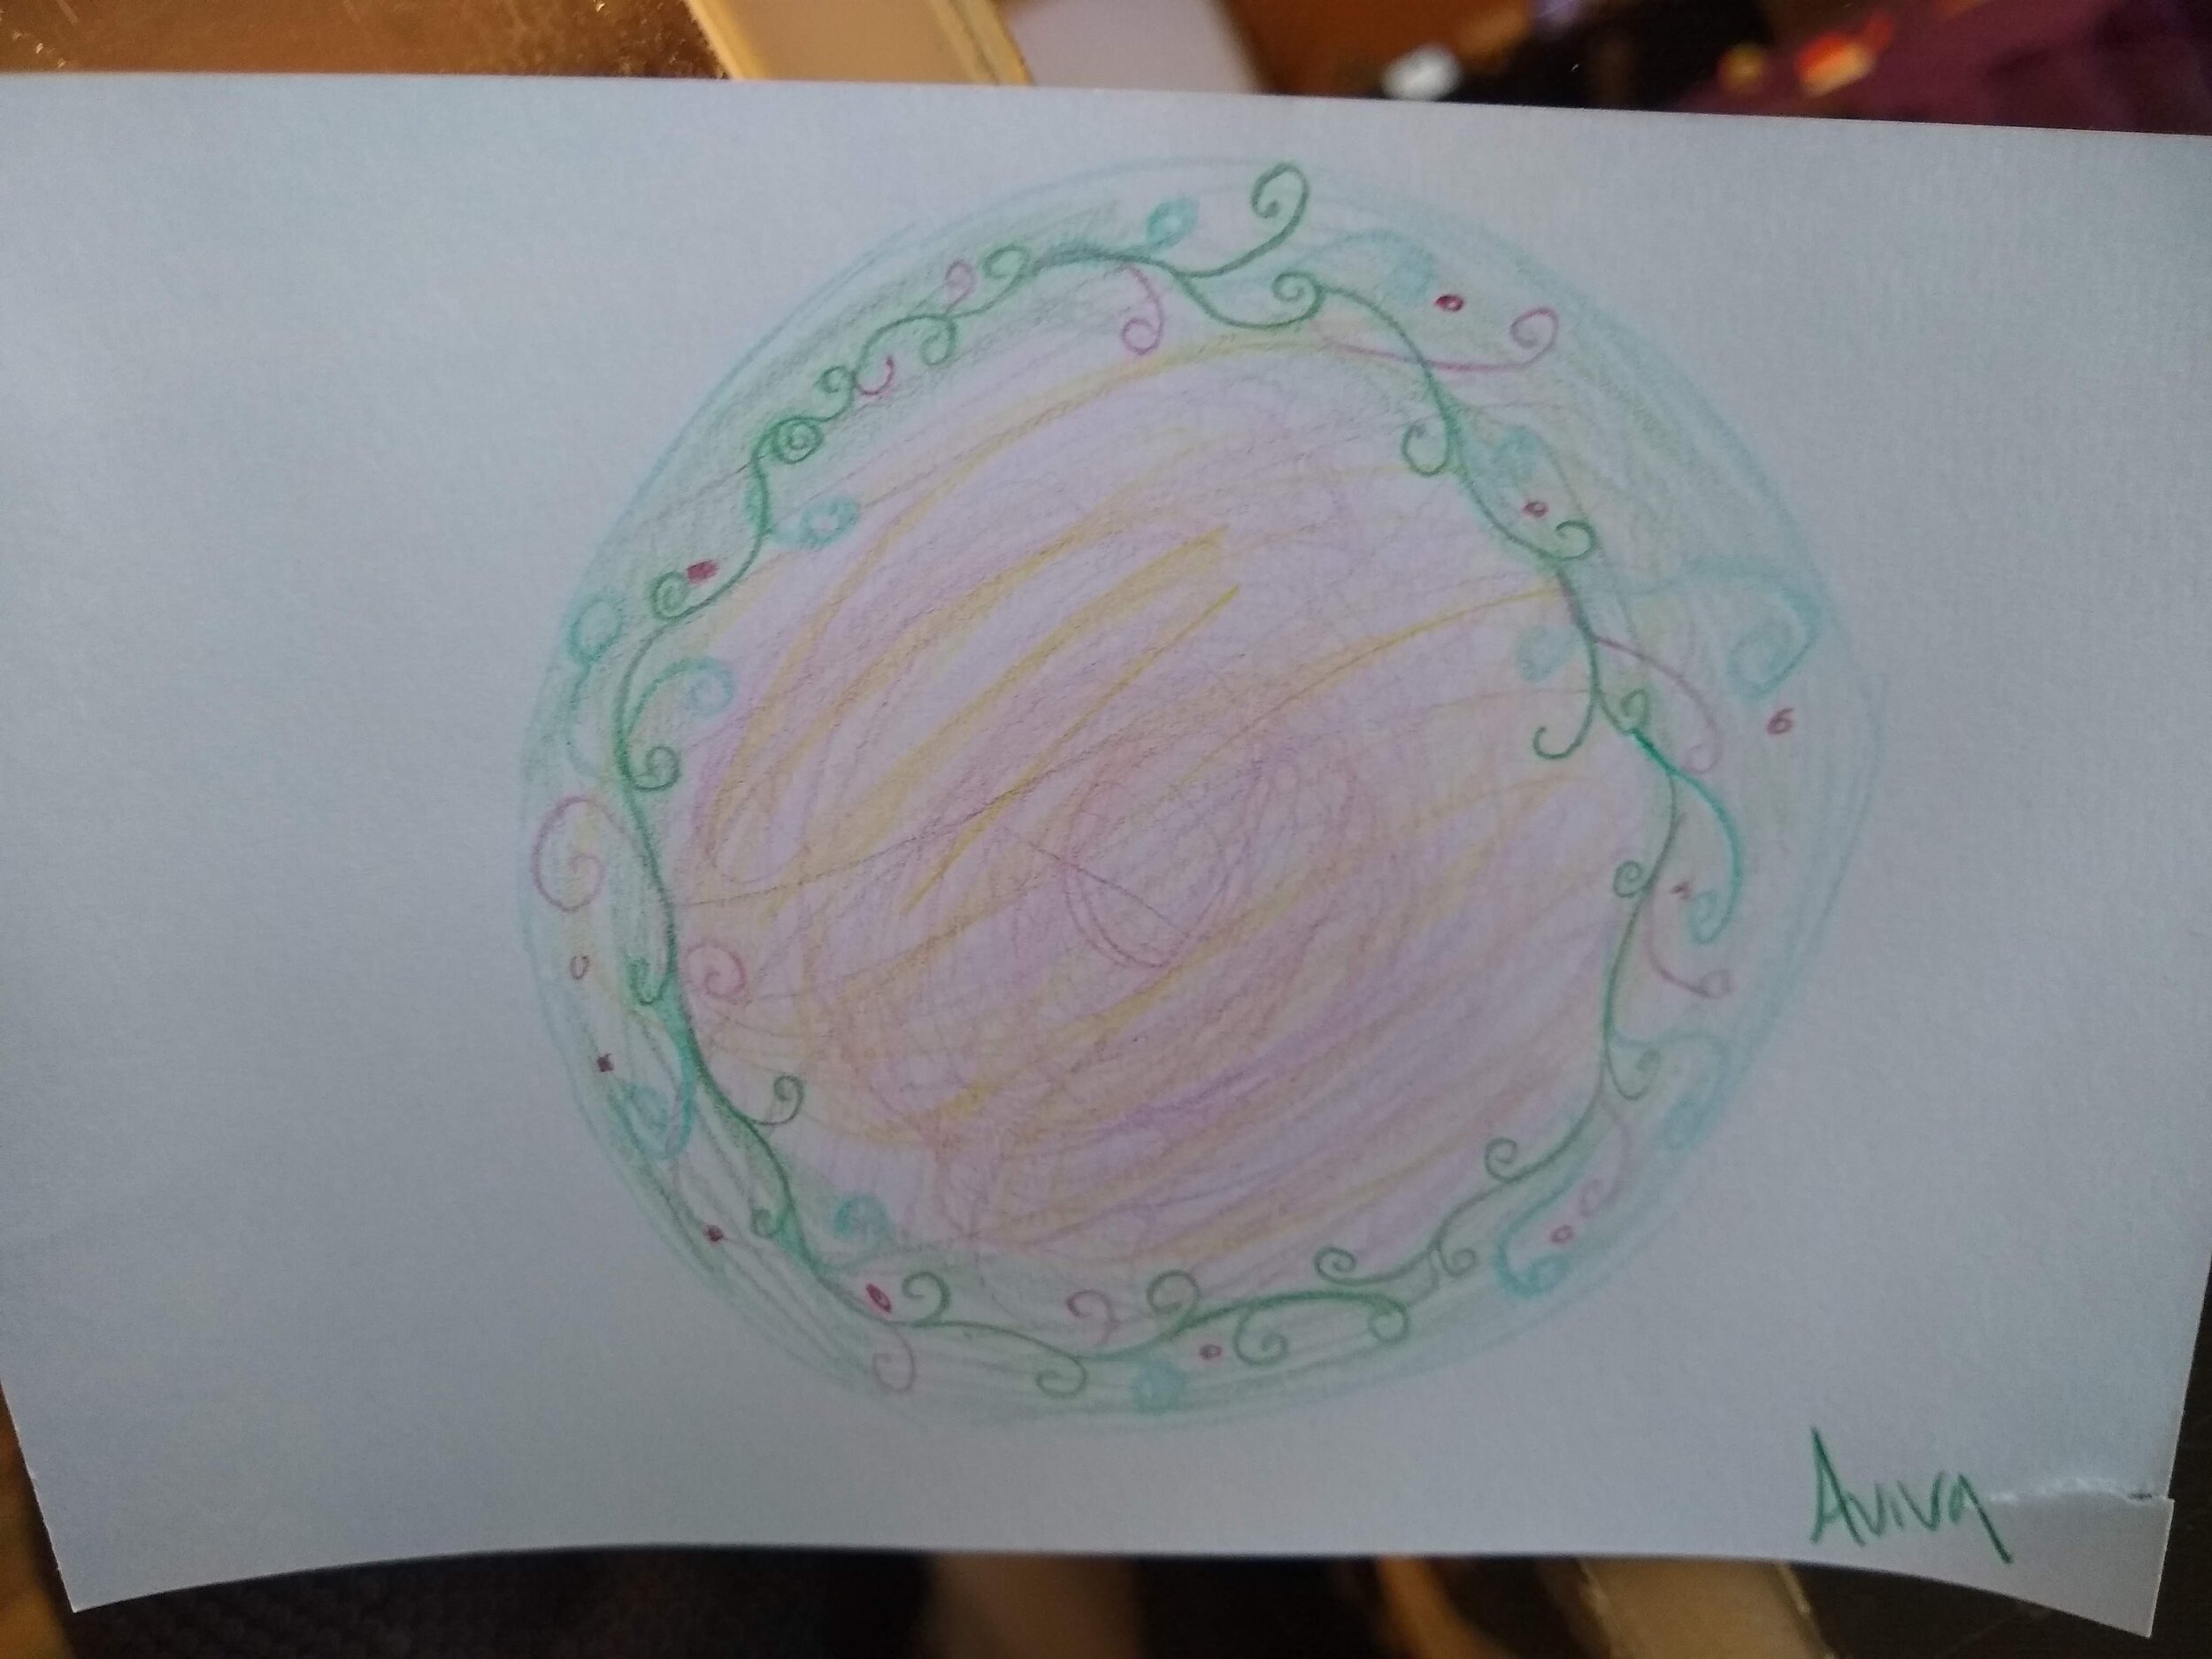
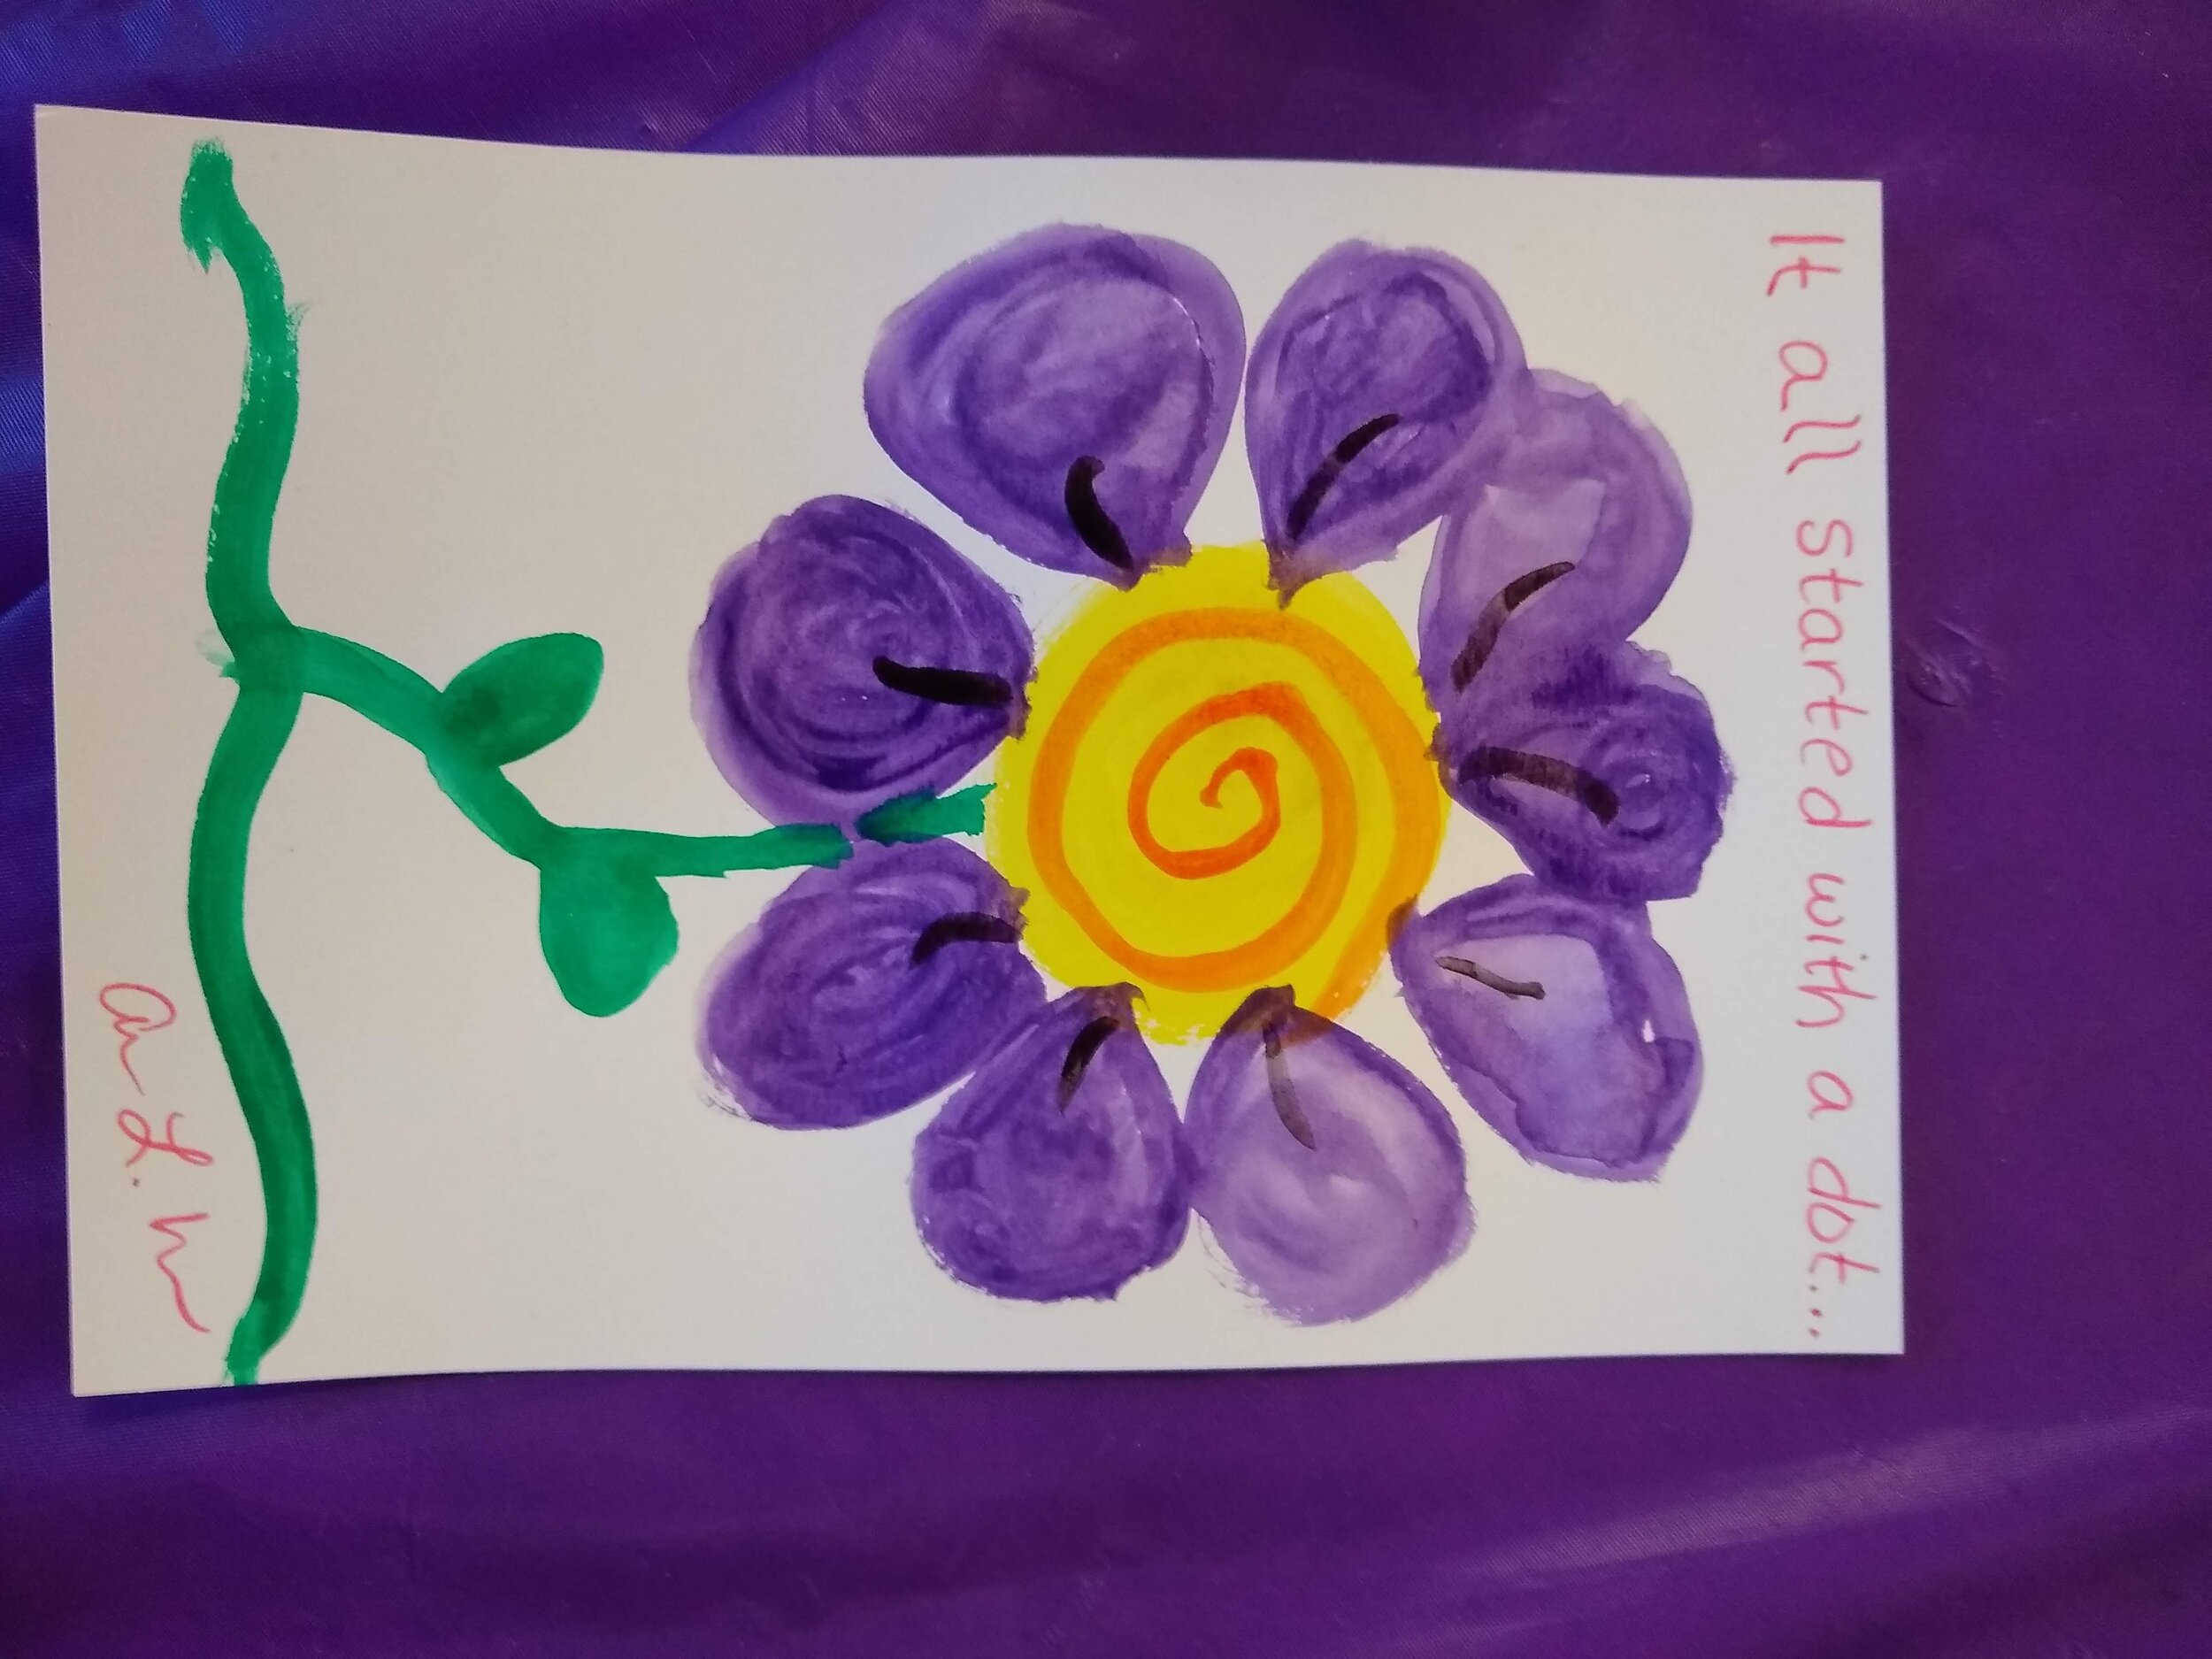
During this time, participants were encouraged to make their own dot to add to our Dot Day wall.


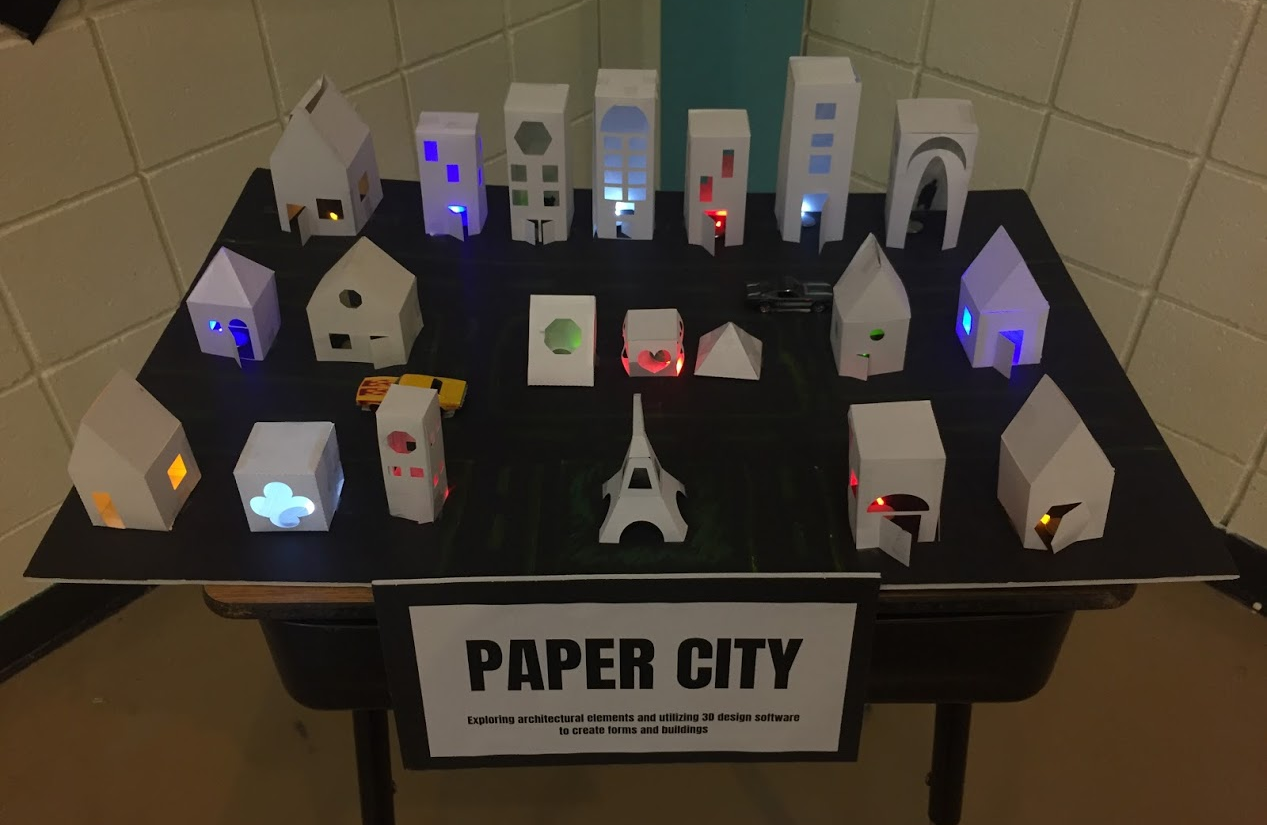
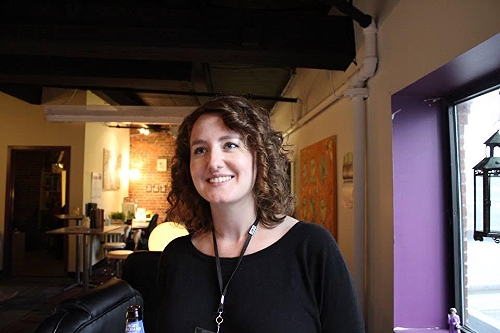
FABClassroom: Oak Ridge School Students Construct a FAB Paper City

Meet Carly Smith, Art and Technology Teacher at Oak Ridge School. Carly fuses creativity and innovation together every day with her students to program robots, create stop-motion animations, and design in Fab@School Maker Studio.
Can you share a bit about your school and your teaching journey?
I am lucky enough to teach in the elementary school that I attended as a child, so working here feels like coming home. I am in my 8th year at this school and have worn many different hats, from special education teacher to technology integrationist and my current role as a specialist teacher teaching both art and technology. A typical day is never typical! Each day is different and that’s what I like most about my role. My technology classes are working on building computational thinking skills by coding robots so my morning is lots of troubleshooting and runaway robots. My art classes are operating on a choice-based curriculum so in the afternoon I feel like a “creativity coach” teaching mini-lessons, managing the space, and meeting with student-artists.
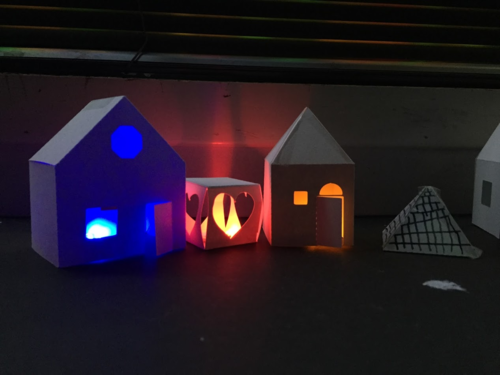
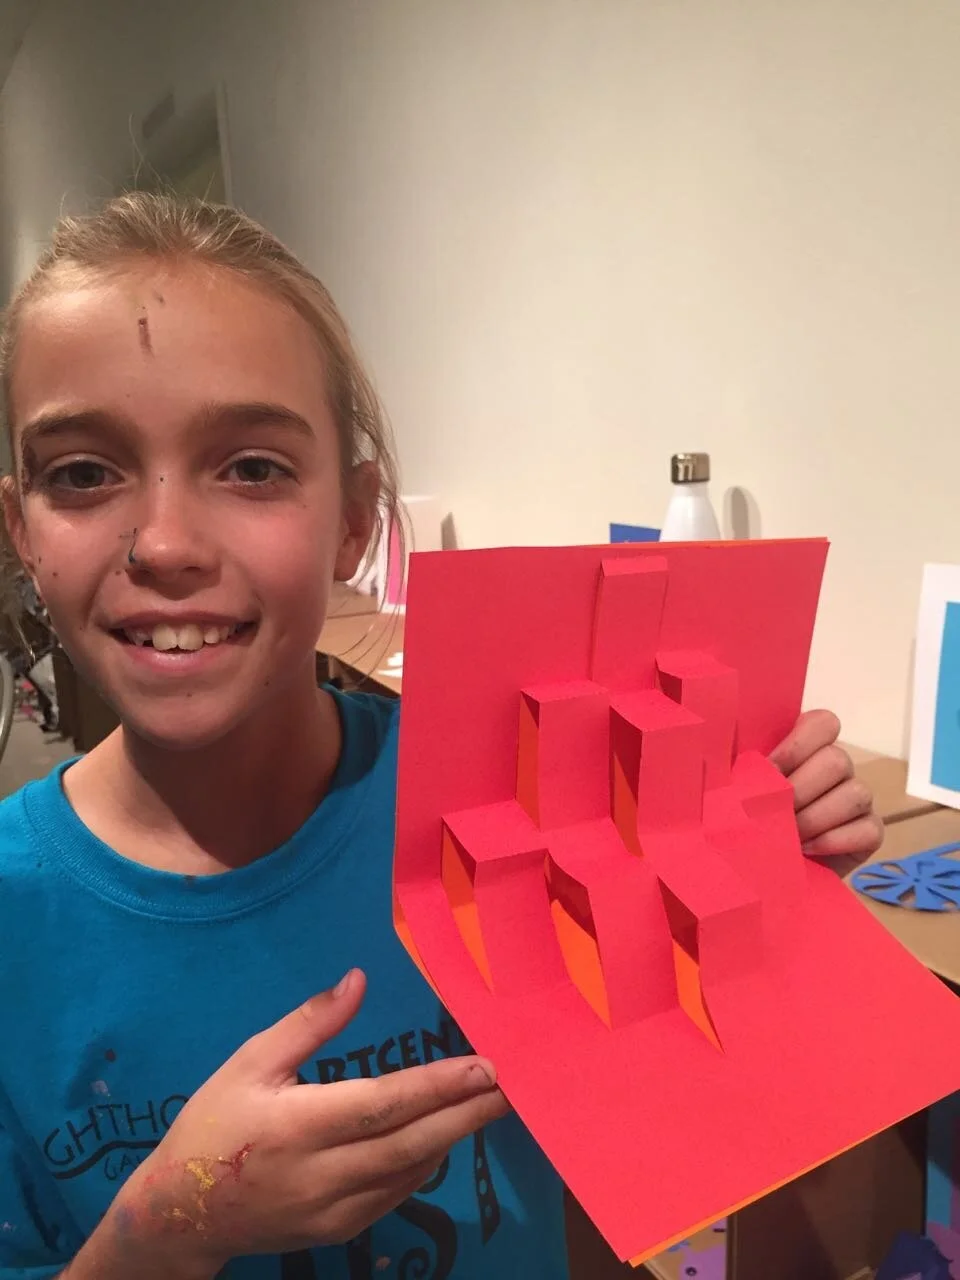
How are your students using Fab@School Maker Studio?
My students used Fab@School Maker Studio to create houses as part of an architecture project we did last year in art class. We looked at different types of buildings and the students designed their own to become part of a “Paper City." They created everything from monuments, to tent camping sites, to skyscrapers and one student even recreated the Eiffel Tower! After the buildings were fabricated the students used LEDs and coin cell batteries to light up the city. After this first project, some students used the software again to create stencils for an apparel design screenprinting project.
What has been the “aha” moment?
I discovered Fab@School Maker Studio at last year’s MassCUE conference. I was so excited the first time I used it because the options are limited only by the imagination of the designer. The software is the perfect combination of “kid-friendly” without being limiting. I had wanted to bring 3D printing into my classroom, but felt that my students’ experience would be diminished due to the expense of the filament and the time the printing takes for each item. Seeing how fast the paper cutter works combined with the affordability of the paper and cardstock made this so doable for my students and me. My PTA generously purchased the licenses and the paper cutter for my classroom and we began using it with Chromebooks last spring.
How are you integrating Fab@School with your current school curriculum?
This year I am hoping to expand the use of the software by having technology classes fabricate “cars” or “boats” that will be driven by the robots we are learning to program. The robots are waterproof so hopefully students will be able to design and program them to drive on dry land or be propelled through water. Check back with me in a few months and we will see how this grand plan comes to life!

As an Art/Tech teacher you really put the A in STEAM- can you share a bit about your role at Oak Ridge and how you incorporate arts with technology?
I am always looking for new ways to incorporate technology into the art curriculum and vice versa. The technology and art curriculums overlap in so many ways because creative problem solving and the design process are so critical to both content areas. In addition to the 3D design work they have done with Fab@School Maker Studio, my students have used software to edit photos or create unique compositions, iPads to create digital artwork, and digital cameras to learn about perspective, create illusions in photography as well as stop-motion animation.

This year we are experimenting with green screens to add interesting effects to our photos and videos. I find that my job is evolving to the point where I am putting students in the driver’s seat and empowering them to come up with ways to creatively use the technology available to them. I try to learn as much as I can about each tool or device so that I can help to guide them and troubleshoot problems. Often students know what they want the technology to do, and just need help getting there. Experimentation can sometimes feel scary because the teacher has to give up control, but the results are usually far beyond what I would have thought of or expected!
What is next?
I am excited to continue to connect with educators who are using this software because the sharing of ideas is so valuable. I would love to add a second printer so that more students can fabricate within a single class period (wish list item!). I am also open to bringing the software to other teachers in my district as part of a possible makerspace to be built. With this and other technology tools I will continue to be inspired by the creativity of my students!

Get Involved
Is your classroom a FabClassroom? We would love to feature your school in a blog post! To be featured in an upcoming post, send an email to info@fablevisionlearning.com. You can also share your Fab@School Maker Studio creations and ideas on social media with #FabMakerStudio! For more posts featuring Fab@School Maker Studio, click here.
But Wait, There's More!
Want to learn more about Fab@School? Fill out the contact form below and a FableVision Team member will get back to you.
FableVision Team Gears Up for ISTE 2016!


What is this thing called ISTE we keep talking about? ISTE, also known as the International Society for Technology in Education, is a nonprofit organization with a mission to help educators and education leaders who are devoted to "empowering connected learners in a connected world."
FableVision is excited to announce that this year we will have a hands-on booth. Our attending representatives cannot wait for June 27 to come. Read more to find out what they have to say about ISTE:
Sarah Ditkoff, Communications & Development Strategist, FableVision Studios
"I am most looking forward to the people – ISTE is the best! There’s so much going on, and it still somehow manages to find that perfect intersection between creativity and community. There are countless ideas to share, old friends to reconnect with, and new friends to meet. It’s always an inspiring gathering of inspired people."
Patrick Condon, Digital Media Engineer, FableVision Learning

"As the newest FableVisionary, I'm looking forward to ISTE because it is going to be my opportunity to meet the rest of the team and work together with them in a high-energy environment. I am also very excited to see the massive circular banner I designed hanging above the booth - It'll be hard to miss! As my first ISTE conference, I know I'm going to learn so much, so I could probably just say that I'm looking forward to everything!"
Terry Shay, Lead Ambassador, FableVision Learning

"ISTE is a great time to connect with people who share our passion for connecting and creating. I look forward to meeting old friends and making new friends. I especially look forward to meeting new people who celebrate International Dot Day and hearing their stories. Last year I met wonderful educators from PA who impressed me with stories and pictures from their Dot Day celebration!!"
Andrea Calvin, Vice President, FableVision Learning

"What aren't I looking forward to?!?! From the hands-on activities in FableVision Booth # 3704 to the fabulous presentations to the meet ups with creative educators - ISTE is going to be awesome!"
Bill Norris, Dot Connector, The Reynolds Center for Teaching, Learning and Creativity (TLC)

"I love going to conferences and special events. What makes it most intriguing to me is meeting educators from all over the globe. Over the past several years we have connected many ‘dots’, and I look forward to seeing everyone… it’s almost like a reunion. What I really like best is the opportunity to speak about our mission. Indeed we have wonderful products, but our bottom line is really about helping kids and teachers become more creative and helping us move the world to a better place!"
Denine Jimmerson, Ed.D., Creative Curriculum & Evaluation Specialist, The Reynolds Center for Teaching, Learning and Creativity (TLC)

"I am looking forward to ISTE for many reasons! First, I've never been to ISTE before... this will be FUN. Also, I am looking forward to spending time with my FableVision "family", another first for me! And, I am really excited about having the opportunity to meet new people and learning from all of the brilliant people that will be attending ISTE!"
Shelby Marshall, Vice President of Strategic Partnerships and Product Solutions, FableVision Studios

"I love going to ISTE. It's a great place to see what's new in the ed-tech industry, catch up with people I see only once or twice a year, and meet new people. It's especially rewarding to introduce people to the amazing work FableVision Studios does. I always come home inspired by what I saw and the conversations I had."
Peggy Healy Stearns, Ph.D., Software and Instructional Designer, Fab@School Coalition Co-Founder

"I’ve been coming to ISTE since 1989 when it was called NECC, and for me it’s still the most anticipated conference of the year. From airport to hotel to convention center, and on the buses that ferry us between, there are warm reunions and enthusiastic first meetings with colleagues from around the country and beyond. Inside the exhibit hall, a small city takes shape as booths are assembled and banners are hoisted. The technology changes, faces change, but the passion and enthusiasm of caring educators who come together to learn how to impact the future of children, communities, and the world remain constant through the decades."
Will you be at ISTE 2016? Let us know by tweeting at us @FableLearn! We look forward to meeting you there.